Announcement

Collapse
No announcement yet.

What did you do to your bike today?

Collapse
X
 
  • Filter
  • Time
  • Show
Clear All
new posts

  • I'm getting ready to go for a nice afternoon ride -- finally!

    The stock handle bars were bent so I put on a set of new-in-the-bag XS650B handlebars I picked up last year from GarthXS. I like the feel sitting in the garage but I haven't been able to ride anywhere since I put them on and it's been a slow and frustrating wait to go try them out.

    The 'new' seat cover I got from B and H Specialties http://www.motorcycleseatcovers.com down in Texas had a few holes in it and was starting to crack along the stitching like a weird "tear along dotted line" pop-out so I ordered a new one. It's not here yet; no delivery date so I patched the old cover to have something to sit on. I cut up the torn seat cover from my wrecked XJ11 to make patches and flipped the patches so they were fabric-to-fabric with black Shoo Goo as an adhesive. I clamped the cover and patches between a couple of wood blocks in a bench vice to stick the patches in place, then trimmed off the extra 'Goo that oozed out. It actually worked very well and it doesn't look like it was patched so I'm sure it'll hold together until the new cover gets here.

    The seat pan was rusted and the plastic edge protector was cut through and broken in quite a few places so I spent over a week stripping and painting the pan. I bought a little more than six feet of the thinnest vacuum line I could find and slit it down the middle with a razor blade to make a new pan edge protector. I still have all of my fingers and no stitches or band-aids so I used some 3M black trim adhesive to glue the vacuum line to the pan edge, then covered the entire edge with a single layer of that fiber-type strapping tape to make it slippery enough that the seat cover wouldn't pull the rubber off the pan edge when I stretched it over the hooks.

    The seat pan paint's not as pretty as I would have liked to make it but it's sat long enough to cure and not stick to the seat foam when it gets hot, it's black again and it's not rusty!

    .
    -- Scott
    _____

    2004 ST1300A: No name... yet
    1982 XJ1100J: "Baby" SS Brakes, '850 FD, ACCT
    1980 XS1100G: "Columbo" SS Brakes, '850 FD, ACCT
    1979 XS1100SF: "Bush" W.I.P.
    1979 XS1100F: parts
    2018 Heritage Softail Classic 117 FLHCS SE: "Nanuk" It's DEAD, it's not just resting. It is an EX cycle.

    Comment


    • Hey Scott,

      http://http://www.aircraftspruce.com...?clickkey=7417

      CZ

      Comment


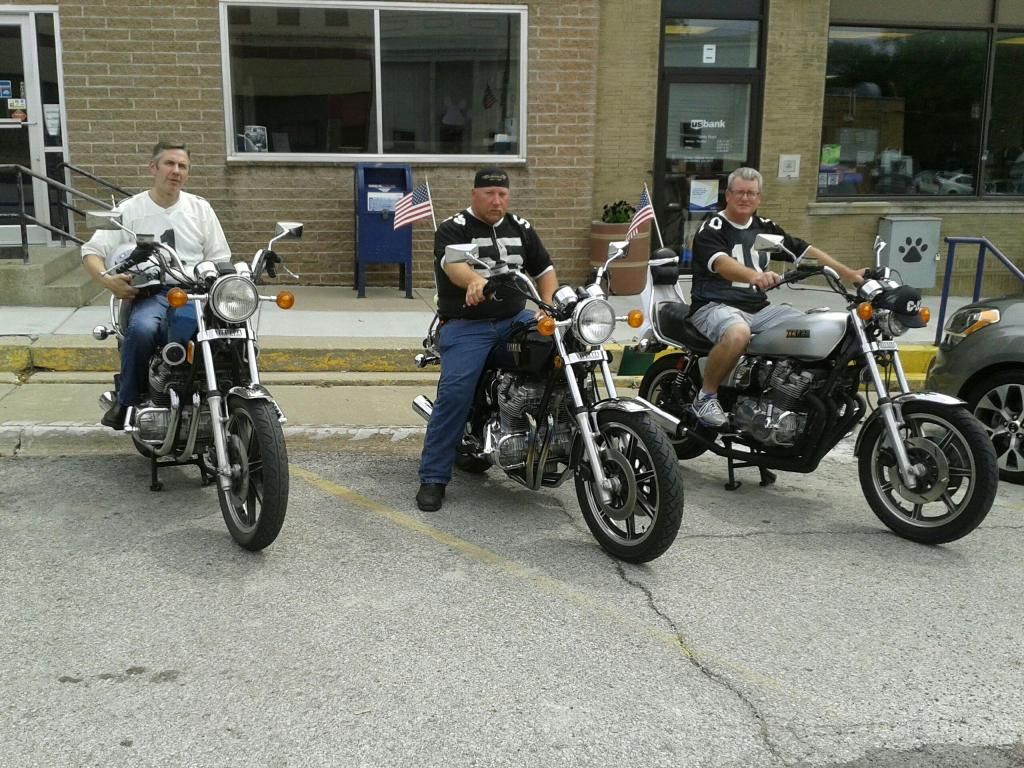
      • School Reunion Days we polished four of them up and hit the boulevard.

        79 SF

        Comment


        • Thanks, CZ! I'll need some of that when I replace the rubber trim on the saddlebags!

          I fixed the link for you. You double-http'd it and it tried to go to http.com:-
          http://http://www.aircraftspruce.com/catalog/appages/rubberchannel.php?clickkey=7417

          I really didn't want to tape the pan edges but rubber's too, uh, rubbery. The original seat pan edge trim is a plastic strip that's glued in place. A rubber replacement needs a strip of tape put on it even if it's glued down or the seat cover will grab the rubber and try to roll it off the edge of the pan as the cover's pulled tight and hooked in place.


          Buckmaster79,

          Those are some good looking Specials! I like the headlight shroud on the ('81 SH?) on the far right!


          As for my afternoon ride, everything worked great! The new handlebars are a lot more comfortable than the old ones. I can sit up more instead of leaning forward but they felt weird, mostly because I was still used to the bent bars and the straight ones didn't look or feel right.

          I made a ninety mile run out to the beach at Malibu and rode a few different freeways to get a decent mix of superslab cruising and canyon carving. Except for some crazy lady in a Lexus that tried to run me over in the fast lane, then chased me down the freeway for over five miles after I'd pulled over and away from her everything was great! Yes, I called the CHP and gave 'em the plate number.

          The gas mileage is back up to 37 mpg from its previous 27 mpg so I'm sotally toked! Or something like that anyway... Oh! The new XJ11 charging system works great too! The lights don't even dim at long stops any more as far as I could see during the daylight but I think I'll need to do a lot more riding to test it, just to be absolutely sure.

          Unfortunately when I got home I found fresh, clean, oil on the front of the engine by that 12mm head bolt casting bump/protrusion/what-ever-you-call-it above the cam chain tensioner so I'll have to pull everything off again tomorrow and throw flour on the sparkly-clean engine so I can find the leak.

          .
          -- Scott
          _____

          2004 ST1300A: No name... yet
          1982 XJ1100J: "Baby" SS Brakes, '850 FD, ACCT
          1980 XS1100G: "Columbo" SS Brakes, '850 FD, ACCT
          1979 XS1100SF: "Bush" W.I.P.
          1979 XS1100F: parts
          2018 Heritage Softail Classic 117 FLHCS SE: "Nanuk" It's DEAD, it's not just resting. It is an EX cycle.

          Comment


          • Finially got around to installing axle in rear wheel so's I can rock it on centerstand seating/centering things up front for tightening and torquing. It just been setting there with wheel hung on splines till I got back to it.
            Think the Conti Go's will make it(and me) happier. Even being the 130/17, the Continental has a wide profile at rear. Driveshaft tube clearance is at a .90(2.28mm). Profile measurements closely resemble the 4.50x17 Conti K112 I used to run 'back in the day'. That taller overall height now will make it a heck of alot easier popin' up on centerstand when loaded down on a LD ride.
            All this time, I just thought the ole' Bentley was puttin' on a few pounds. Knew it couldn't have been from old age and treachery on my part.
            81H Venturer1100 "The Bentley" (on steroids) 97 Yamaha YZ250(age reducer) 92 Honda ST1100 "Twisty"(touring rocket) Age is relative to the number of seconds counted 'airing' out an 85ft. table-top.

            Comment


            • Originally posted by motoman View Post
              Finially got around to installing axle in rear wheel so's I can rock it on centerstand seating/centering things up front for tightening and torquing. It just been setting there with wheel hung on splines till I got back to it.
              Think the Conti Go's will make it(and me) happier. Even being the 130/17, the Continental has a wide profile at rear. Driveshaft tube clearance is at a .90(2.28mm). Profile measurements closely resemble the 4.50x17 Conti K112 I used to run 'back in the day'. That taller overall height now will make it a heck of alot easier popin' up on centerstand when loaded down on a LD ride.
              All this time, I just thought the ole' Bentley was puttin' on a few pounds. Knew it couldn't have been from old age and treachery on my part.
              Completing front is gonna wait till another day. Even in the man-cave shade, this afternoons 100F temp. is more than I care to wrench in.

              70F inside riding the recliner is way better.
              81H Venturer1100 "The Bentley" (on steroids) 97 Yamaha YZ250(age reducer) 92 Honda ST1100 "Twisty"(touring rocket) Age is relative to the number of seconds counted 'airing' out an 85ft. table-top.

              Comment


              • Originally posted by motoman View Post
                ... All this time, I just thought the ole' Bentley was puttin' on a few pounds. Knew it couldn't have been from old age and treachery on my part.
                You feed it a couple of new tires and it loses weight. I love it!

                Originally posted by motoman View Post
                ... 70F inside riding the recliner is way better.
                Man, I really wish I could do that about now. I've got most of the old paint and crud stripped off the the 'new' jugs and head for Columbo but it's still too hot to paint. I'll have to start the first coat tonight after it cools off and get on it again early tomorrow morning.

                Now it's time to get back out there and do a partial assembly so I can check the valve clearances before I get too carried away.

                .
                -- Scott
                _____

                2004 ST1300A: No name... yet
                1982 XJ1100J: "Baby" SS Brakes, '850 FD, ACCT
                1980 XS1100G: "Columbo" SS Brakes, '850 FD, ACCT
                1979 XS1100SF: "Bush" W.I.P.
                1979 XS1100F: parts
                2018 Heritage Softail Classic 117 FLHCS SE: "Nanuk" It's DEAD, it's not just resting. It is an EX cycle.

                Comment


                • Packed the Dunstall muffs

                  Pulled the muffs and found some adapters that fit tight, made some new hangers, now the muffs can't move. Pulled the baffles and packed them with stainless steel wool, with the strands the long way so they won't blow out, crossed fingers. Took a ride sounds and performs great, set the idle down now at about 1000 rpm. Good Day ! Funny I spent 4 hours doing this stuff, less than an hour to test ride ?
                  76 XS650 C ROADSTER
                  80 XS650 G Special II
                  https://ibb.co/album/icbGgF
                  80 XS 1100 SG
                  81 XS 1100LH/SH DARKHORSE
                  https://tinyurl.com/k6nzvtw
                  AKA; Don'e, UD, Unca Don'e

                  Comment


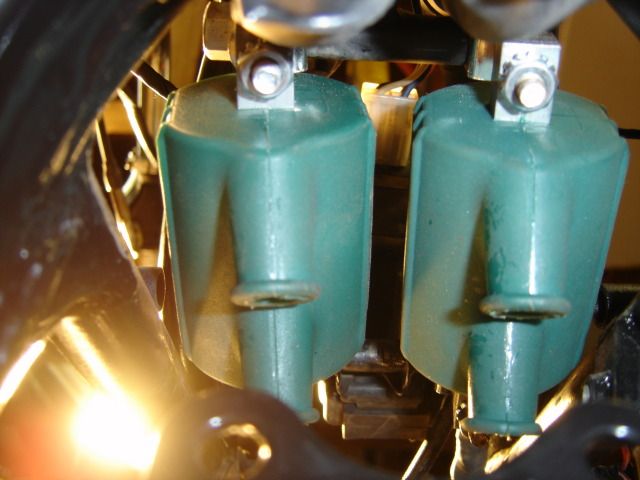
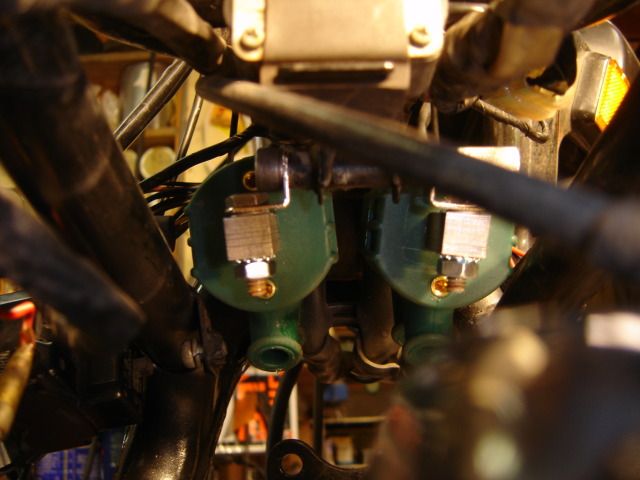
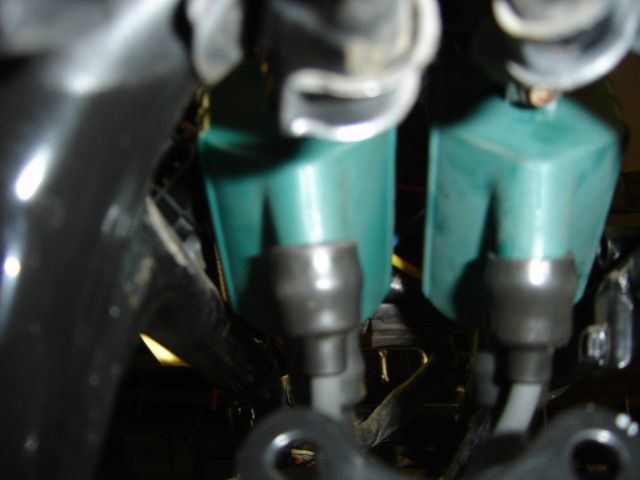
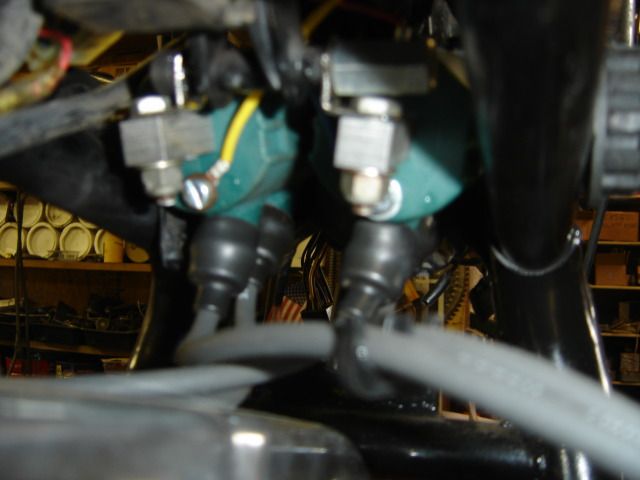
                  • 3/4" angle brackets

                    Hi,

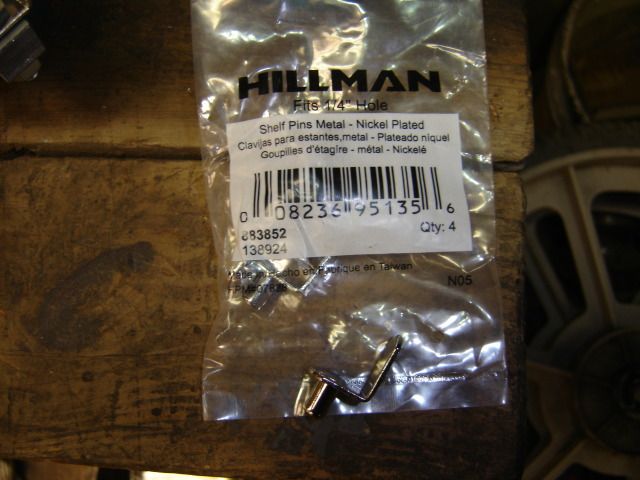
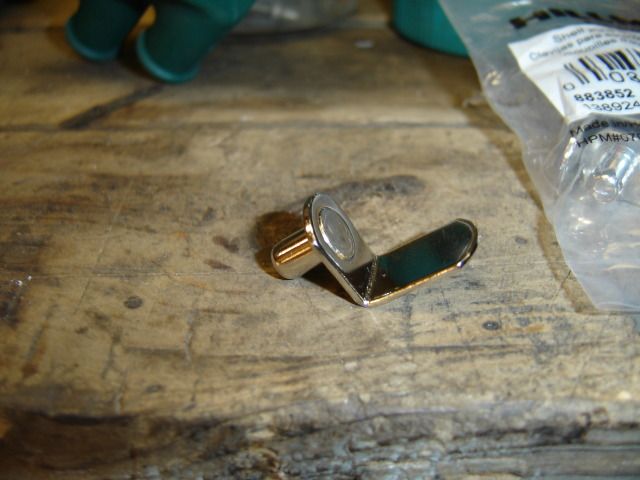
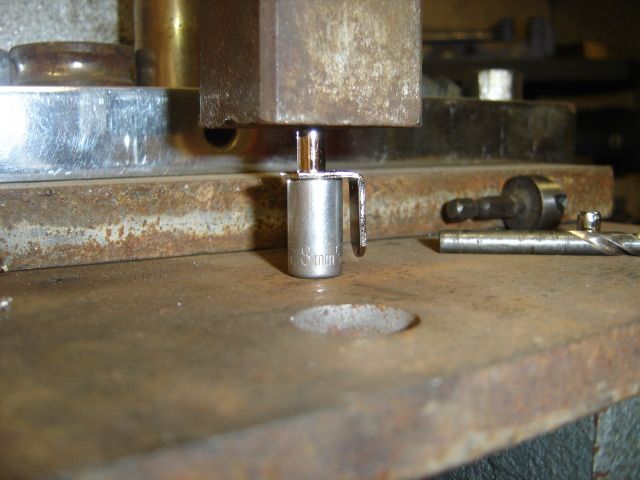
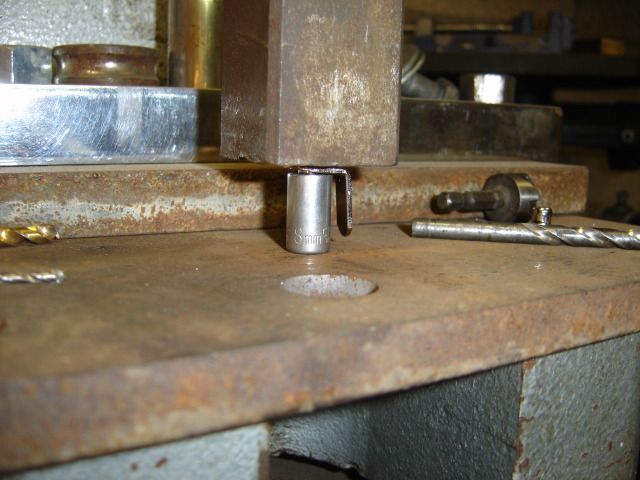
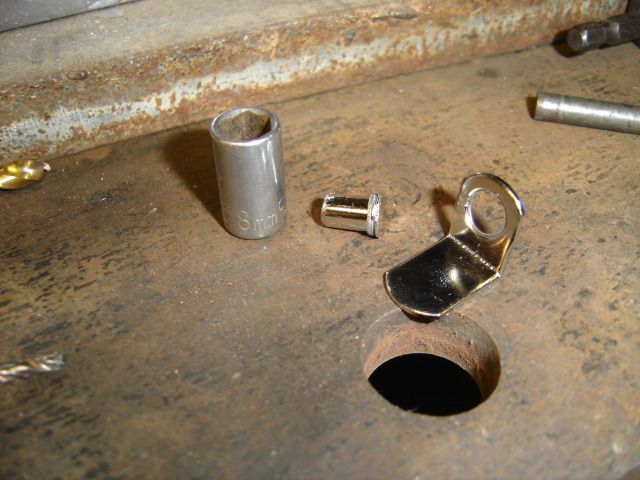
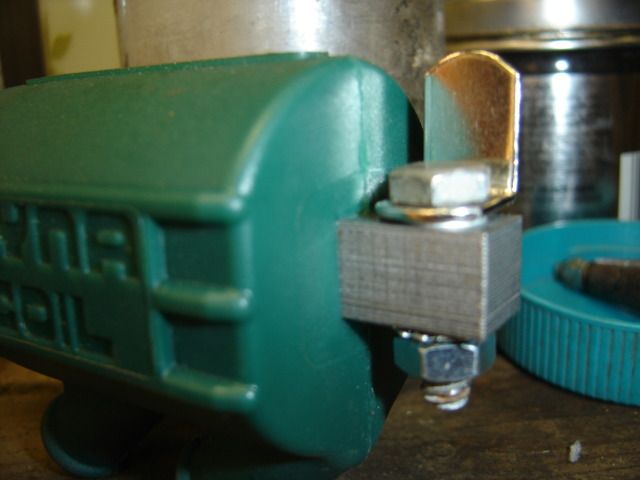
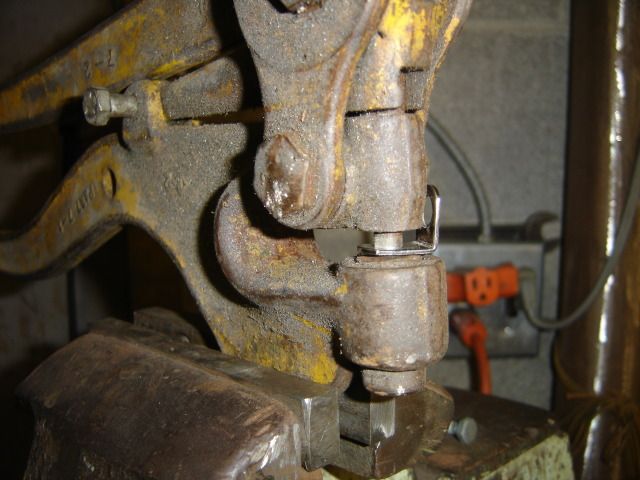
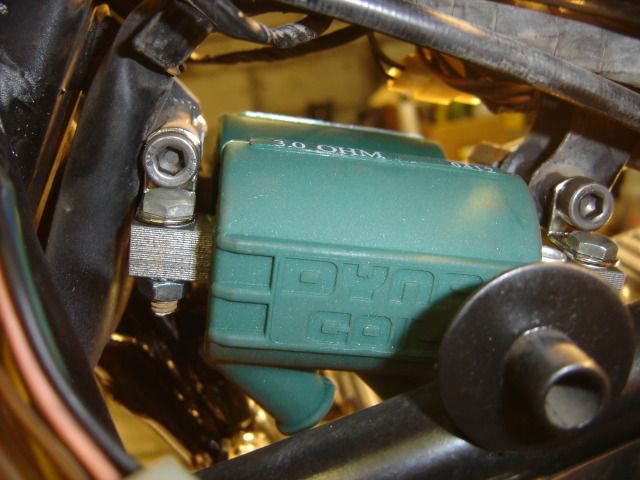
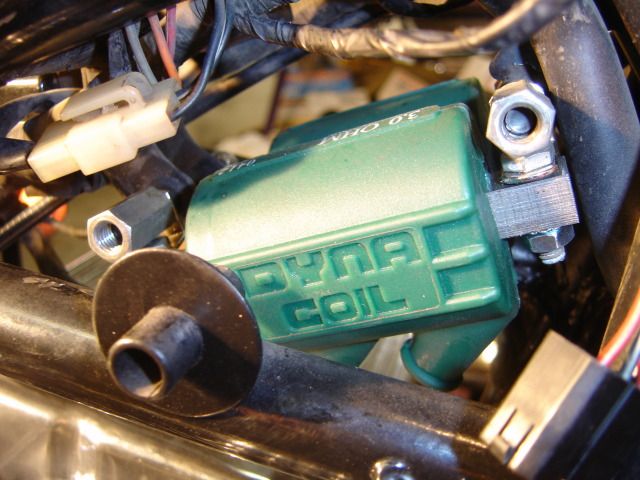
                    In reference to pictures in the post 3/4" angle brackets can be easily procured from most hardware stores. Alternatively if you have a vice, drill and a piece of suitable flat stock. brackets can easily be made. It is a great idea using the shelf brackets but most people do not have a press or a bench punch I imagine.

                    You will find that on the front frame mount on the bike that when installing the plastic wire cover/guide bracket that you will have about a 3/8"space on each side of bracket where front through frame mount is. I used a piece of 5/16" tubing and cut spacers with a copper pipe cutter. Alternatively nylon spacers can be purchased from a hardware store too. For the rear through back frame mount I just used a 1/4 bolt that was the proper length.

                    **Added note** I did need to grind the bracket for the front bracket for the plastic trim/ wire guide for bolts to go through probably.

                    I wish had taken/posted pictures but I was struggling with other issues at the time.

                    Jeff
                    Previous bikes:
                    1979 Husqvarna 390 CR (NEW)
                    80's KTM 250XC
                    I had a 80's
                    490YZ
                    TT500
                    IT 490
                    1986 600XT
                    1988 Honda 350 XR
                    2005 KTM 625 SMC LC4
                    (?) Dnieper (Ural like) 2 WD Military sidecar rig
                    I have a 2003 Honda 300 EX Wheeler
                    and a 2010 Kawasaki 750 Brute Force Wheeler


                    And now my XS1100SF

                    "MEDUSA"


                    http://s1319.photobucket.com/user/1c...Garage%20Resto

                    Comment


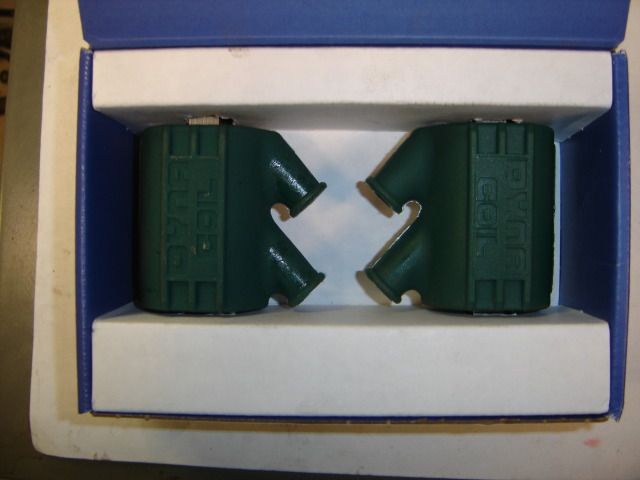
                    • Dyna coil brackets

                      Originally posted by Schming View Post


                      Shelf bracket mounts


                      In reference to pictures in the post 3/4" angle brackets can be easily procured from most hardware stores. Alternatively if you have a vice, drill and a piece of suitable flat stock. brackets can easily be made. It is a great idea using the shelf brackets but most people do not have a press or a bench punch I imagine.

                      You will find that on the front frame mount on the bike that when installing the plastic wire cover/guide bracket that you will have about a 3/8"space on each side of bracket where front through frame mount is. I used a piece of 5/16" tubing and cut spacers with a copper pipe cutter. Alternatively nylon spacers can be purchased from a hardware store too. For the rear through back frame mount I just used a 1/4 bolt that was the proper length.

                      **Added note** I did need to grind the bracket for the front bracket for the plastic trim/ wire guide for bolts to go through probably.

                      I wish had taken/posted pictures but I was struggling with other issues at the time.
                      Previous bikes:
                      1979 Husqvarna 390 CR (NEW)
                      80's KTM 250XC
                      I had a 80's
                      490YZ
                      TT500
                      IT 490
                      1986 600XT
                      1988 Honda 350 XR
                      2005 KTM 625 SMC LC4
                      (?) Dnieper (Ural like) 2 WD Military sidecar rig
                      I have a 2003 Honda 300 EX Wheeler
                      and a 2010 Kawasaki 750 Brute Force Wheeler


                      And now my XS1100SF

                      "MEDUSA"


                      http://s1319.photobucket.com/user/1c...Garage%20Resto

                      Comment


                      • Finished buttoning up front wheel and brake calipers. Installed carbs, set idle mixtures and synced. Rode some 45mi. mixed slab and secondary rds. Pilot circuit a bit on the rich side with all plugs havin a black dusting on them, plus will 'load-up' a bit initially with throttle applications below 3K. Set at highest in. vacuum seems to be on the rich side here at 5,000ft, but I thought I'd give that method a chance. That has idle mix screws on these 81Special carbs at 3 1/4 turns out, give or take a a screwdriver blabes width in actual location. One thing bout being on the rich side using that method.........sure don't need any help from an enricher for initial start-up.

                        Will be removing seat/tank and re-doing settings using the lean-drop method, which previously the year before had them at 2 3/8 turn out, give or take a screwdriver blade width between all four.

                        Other than that, all seems to be good. A hard twist of right hand on I-70 on ramp in third gear, a quick traffic glance at 6K, then quickly back to tach seeing in the red at 8900 assured me main circuit is still 'all good' with stock jetting.

                        Now, just some reprieve from these 100+ degree days here would be nice!.........yep, it do get on the warm side here, but 30min. away can be above 10,000ft..
                        81H Venturer1100 "The Bentley" (on steroids) 97 Yamaha YZ250(age reducer) 92 Honda ST1100 "Twisty"(touring rocket) Age is relative to the number of seconds counted 'airing' out an 85ft. table-top.

                        Comment


                        • Well not today but we all need a new tire once in awhile..Metzler 880.

                          '80 XS1100 SG
                          Don't let the good times pass you by..grab all you can
                          https://www.youtube.com/watch?v=x_Z4cjUlIo4

                          Comment


                          • i got my bike fired up its only been sitting since 1994

                            runs good no leaks

                            had to by pass all the fuses and will add a fuse block

                            to the list

                            lol i soldered and used heat shrink 4 atc fuse holders in looks scary but works

                            got the rear master cylinder cleaned up and rebuilt caliper and new pads

                            so the rear brake is up and running

                            new front end and brakes are next
                            79 SF

                            Comment


                            • Did a TC bladed fuse block last weekend, rewired the whole a$$-end of the bike due to a short, replaced a shorted tail light, and installed a 12v car charger socket. Long needed electrical TLC.

                              Next up: clutch springs (which have been sitting in the packaging for months ), brake pads, and a busa front end!
                              78 E - 2to1 exhaust, dynatek coils, special headlight [SOLD!]
                              79 F - gas tank refurb, headgasket change, straight pipes, late model carbs, virago lowering shocks, special headlight and gauges, TC fuse block, GSXR-1100 carbs (WIP)


                              "May my tires not fail me, nor my engine grow cold"

                              Comment


                              • Awesome now has a new starter button no more jumping the solenoid!!
                                79 SF

                                Comment

                                Working...
                                X