-
-
Well, fortunately floor and bike was clean on underside. Was in no hurry and inside garage, so layed a large piece of outdoor carpet underside, the Venturer on centerstand and up on 6"x 6", block under front wheel with rear wheel removed so front of bike sat up real high. Drained and removed the pan,layed a large peice of cardboard underneath on cardboard, sprayed a whole can of Bra-Kleen up on internals and let drip dry for a couple days.Pulled cardboard out and did all the disassembly(air gun/socket on lower shaft bolt). All was nice and clean upon removal. Dove-tailed all the dogs on ALL gears and and backcut slots to match, no washer swap needed as full engagement with dogs flush with backside of slots was taking place, and a couple days later re-assembled. Took it to a Friday nite test'n'tune at the dragstrip with three passes throwing speed shifts every gear to test trannies gear holding ability. Ran mid 13's with .40 reaction times and 105's and 107 mph. Not shabby for a factory full dresser at 5,000ft. elev. with stereo full on. All held well and that was 6yrs. ago, and still holds any gear well
 .
Last edited by motoman; 04-25-2016, 07:41 PM.
.
Last edited by motoman; 04-25-2016, 07:41 PM.Leave a comment:
-
-
Grab Bar, Sporty Seats, Almost Done, What's Missing?
T.C.
Funny you should mention the Grab Rail....
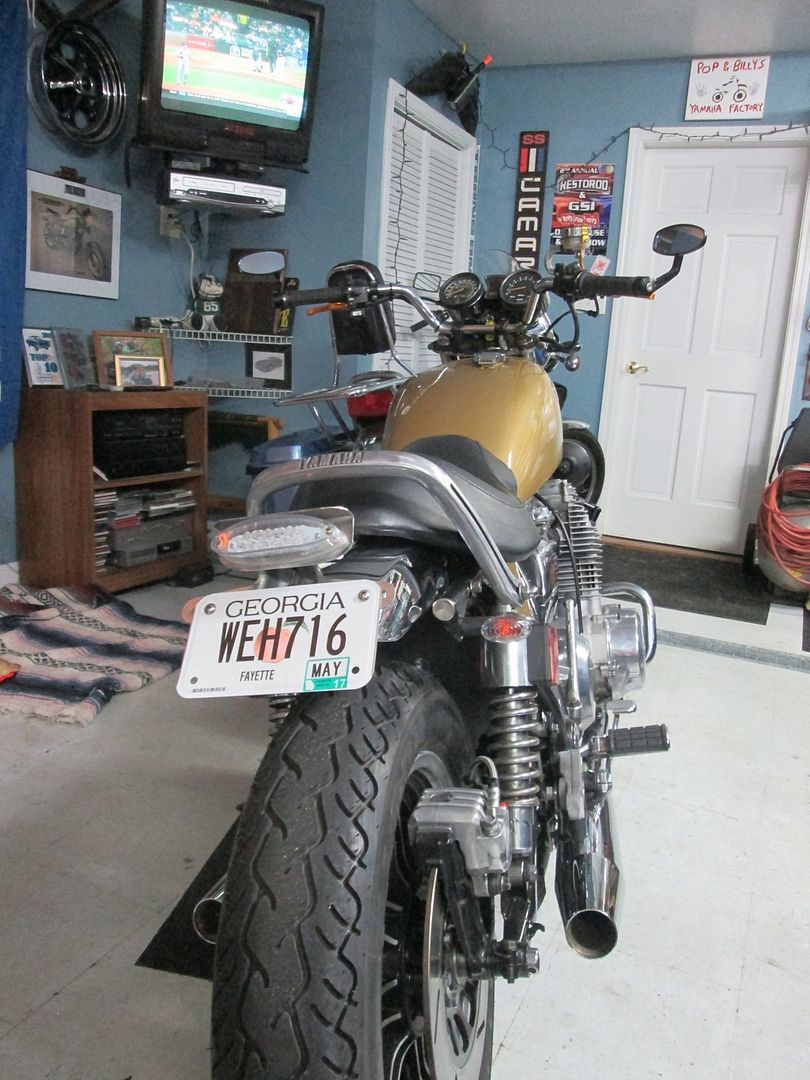
This is my only MAJOR remaining project to complete the install of the Grab Bar you provided to me. It will be much easier to complete this now that I can get the bike up next to the Aluminum MIG Welder. Doing this delicate work at home and traveling back & forth with the piece was going to be too hard. I started on it again tonight....
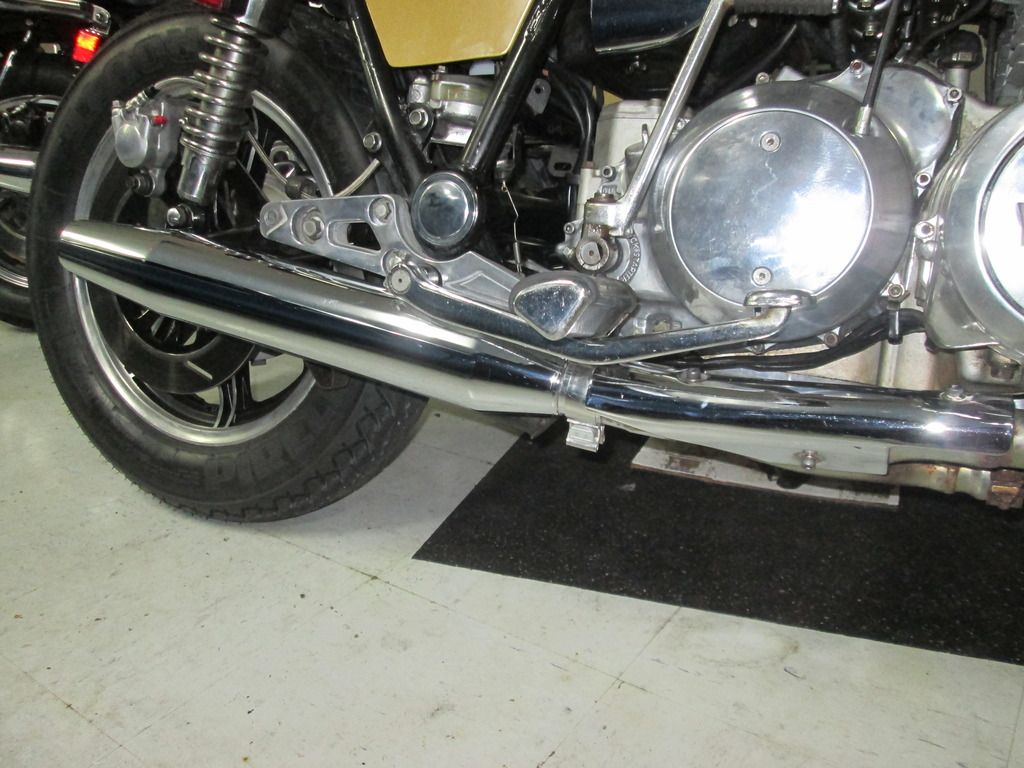
The mufflers worked out great! In a way were a LITTLE easier than my other bikes as I did not have to hack the mufflers apart to make them fit.. The special head pipes have their own challenges to adapt the pipes to but Autozone provided the 1-3/4" OD to 1-3/4" ID adapters. The chrome trim covers all the sins!

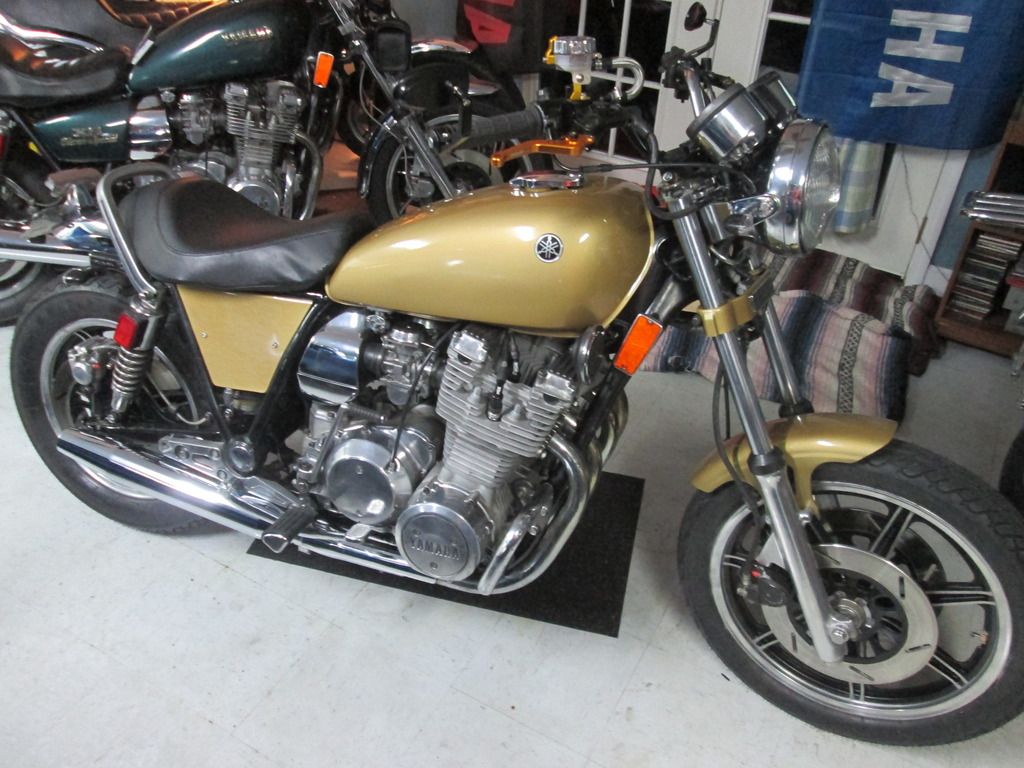
The HD "Sporty" seats have a number of different styles. Some have said mine is from a 883 others say it's from a "Sporty". I know nearly nothing about HD but know this is an OEM HD Seat. What it came from is unknown. I have seen several seats that look similar to it but have yet to see an IDENTICAL seat on any HD I've seen. Obviously, they have a BUNCH of different seats on their bikes.
BOOBER - Bobber - Café
Although SOME believe every 11 should be returned to OEM stock (i.e. FULL RESTORATION) this PO failed BOOBer attempt was not a candidate for such a restoration. I'm very pleased with the look and tried to retain as much of the FLAVOR of the XS11 as possible without turning this into a file of POOP. This is EVENTUALLY going to be driven mostly by my son Karl (age 20). When I feel he has enough experience with the Mini-Maxim (550) I'll let me loose on this. Without these modifications, my son would have nothing to do with an XS11....The XS11 just does not seem to appeal to his age group.
I don't think this bike qualifies as a BOOBER, or a Bobber, or a Café. I prefer to think of it as a MODIFIED XS11?
BUT, it seems like something is missing?:confused: I thought of adding "1.1" to the side covers but have delayed that. Are the side covers too bland? The chrome on the rear fender is really nice so I don't WANT to paint it to match the front but does that make it look GOOFY?
It FEEEEELS like something is missing? Eventually, the OEM shocks will likely be replaced as these OEM's are junk. Will that make it look better?
What would you do with it from here?
Respectfully,
KURTLast edited by kboehringer; 04-24-2016, 10:00 PM. Reason: Spelling, Bold, Etc. Making it easier to read....Leave a comment:
-
-
-
Oil in the face.....
Greg,
I wish I had the ability to lift the bike up from the rafters as you did. I did mine with the bike on its center stand! I had to tape a flashlight to the cross beam on the center stand so I could see up into the gear box.
  My floor is kinda nice but I did get some dripping in my face.
Maybe that's why my neck is so sore today?
KURTLeave a comment:
-
-
-
Yama-Sportster?
Yama-Sportster?
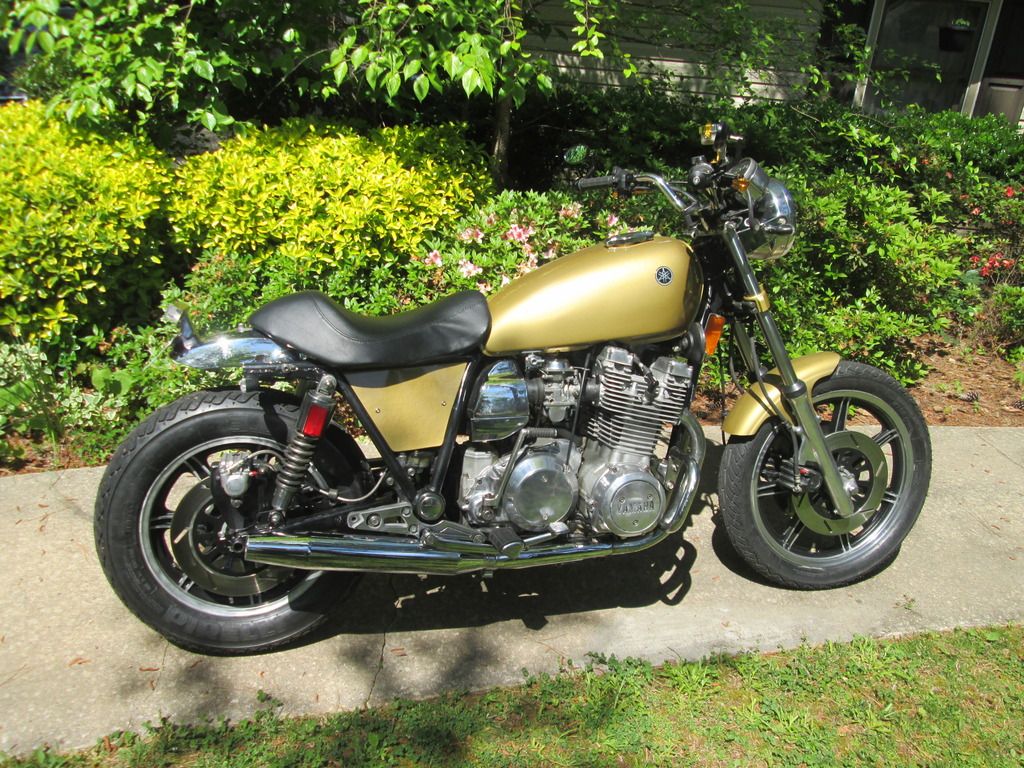
Lots of work done.... still more to do..... Ready for a test drive....
SOUNDS EXCELLENT!
KURTLeave a comment:
-
-
Here's the special tool you need to install the shift forks Kurt....
Just use the straight piece to replace the shift fork rod to hold them in place so you can slip the rod back into them one at time.
Leave a comment:
-
Both ways have some benefits....
Motoman,
I would agree there are much less parts to remove and re-install (seat, tank, controls, handlebar (I used an old spare bar for the flip), tail lamp, rear fender, rear signals, etc.). I also messed the VCT tile floor in my garage when I did the flip.
BUT, the shift forks were a TON easier upside down. I believe that ease was totally related to TC's great instructions which I had followed very closely the first time. It's also a lot easier to SEE everything in there.
This time I got a little confused trying to PARTIALLY use TC's instructions and struggled a LOT with shift arm #2. If I hadn't gotten myself confused with the two methods, I would have made better time with the repair.
Now that I've done this both ways and know how to do it. I will stick with the right side up method because there is a LOT less stuff to remove and reinstall. Nancy helped me with tools this time, but I didn't need her help flipping the bike over
KURTLeave a comment:


Leave a comment: