

-
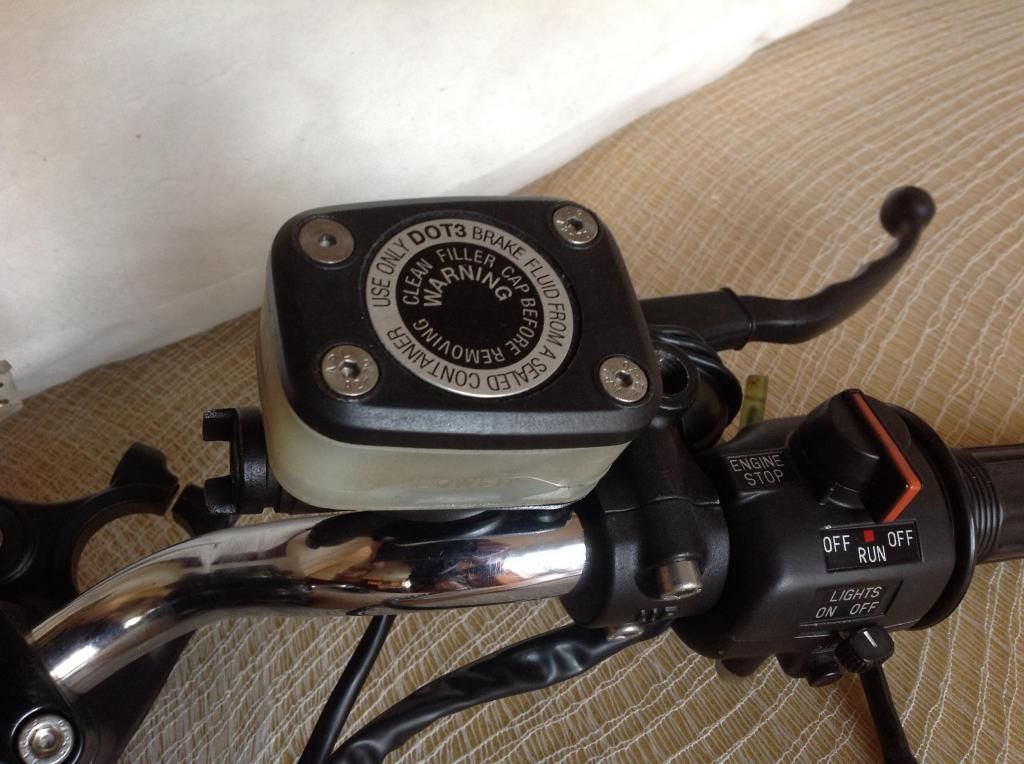
Pending blasting the engine on the new project, I renovated the handlebar switchgear. I stripped them all to all their components, cleaned everything with de-Oxit, greased the moving parts, painted the switch casings and then put new decals on them, readily available on eBay. I used stainless Allen bolts for everything and also fit new replica grips, again from eBay. It's amazing how much dirt was in the switches and how much better they operate once cleaned and re-greased. Well worth doing, IMO....
So, onwards and upwards!


Leave a comment:
-
Getting on with it
I've managed to get a bit more done on the new project (which feels now like an old project) and thought I would report back with a little update.
The engine was black, as are all the European models, so I used a compressor and blast gun to strip it using sodium bicarbonate instead of grit. For the uninitiated, soda does not ruin bearings or rubber and will dissolve in oil. So, after a rebuild, the engine can be run with flushing oil and the soda drained out with it.
It's been incredibly messy, since I can't find a blasting cabinet big enough for the whole engine. So I did it outside on some sheets so that I can recycle the soda.
Here are some pix.... I've not blasted the clutch casing or cam cover as I will remove those and do them separately. The main thing is that the cylinders and head and crankcases are just about ready for painting. Once that's done, I can finally get the engine back in the frame and get a rolling chassis going. I think getting the engine into the frame will be much easier since loads of heavy bits are already off it.......
Onwards and upwards....!

 Last edited by James England; 07-03-2014, 02:48 PM.
Leave a comment:
-
-
Well, I'll take the bike to work today James, and admire the PJ1 paint job you pointed me too!
Leave a comment:
-
Sorry, guys, couldn't resist:
Last edited by Prisoner6; 05-18-2014, 06:35 AM.Leave a comment:
-
-
-
yep, thanks to you. I'd never have seen the VHT on eBay and I'm very grateful that you took the trouble to PM me with the link.
I think that the VHT, because it's clearly marked made in the USA, probably has all sorts of stuff in it that the neutered PJ1, made in safe, clean, healthy, boring Europe, doesn't. It's without doubt a vastly better product....... Great!!!Leave a comment:
-
Nice!
Hi, James -
Those covers are looking really good!

I'm really glad you were able to find a product that looks like it's going to work very well for you ...
And right in your own back yard, to boot!
Out with the castrated PJ1, in with the VHT!
Leave a comment:
-
A few more bits
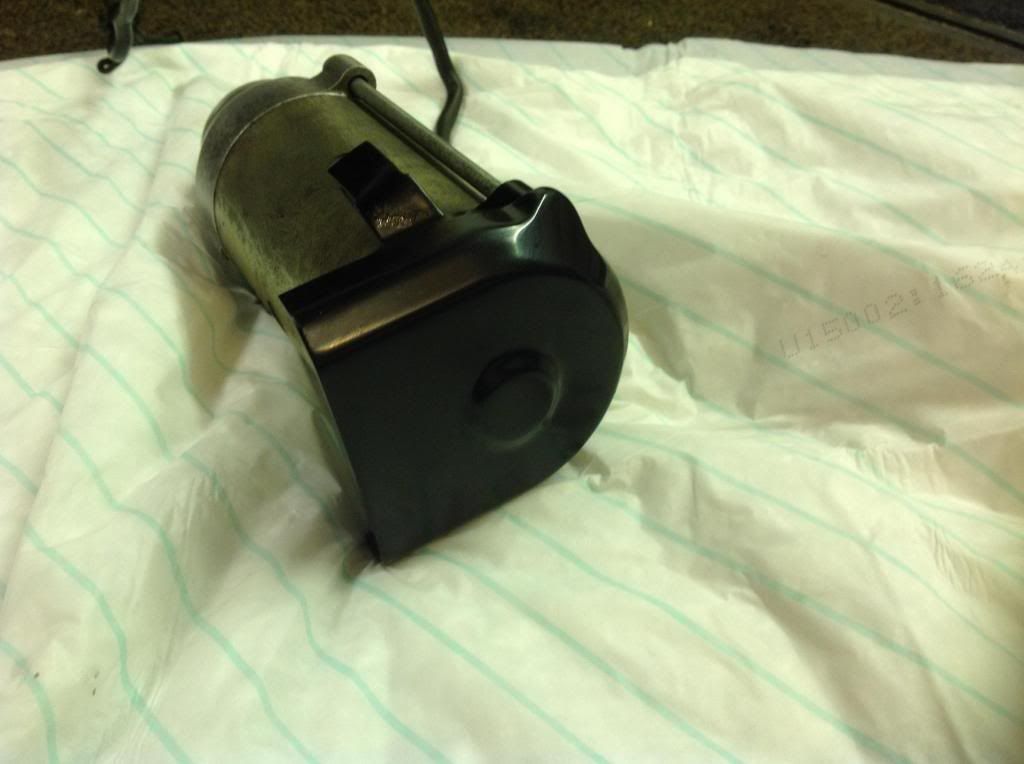
I did a few more bits this afternoon with the VHT enamel......

Leave a comment:
-
-
A little update
Well folks, I've been tinkering only a little bit on the project recently. I've decided to buy a soda blasting gun to clean the barrels and head and cases whilst still on the engine. In the meantime, I had a go at the black engine casing and cam cover.
An XSive in the USA, the very helpful Prisone6, pointed me to a product here in the UK...satin black engine enamel called VHT Engine Enamel and it seems to address the problem of PJ1 having been castrated for the European market. It looks good! And goes on well! It's half the price and also has a vastly better spray nozzle for applying it. Interestingly, it's clearly marked 'made in the USA', so those aerosols must have got to the UKsomehow... The product is sprayed on, then touch dry, then baked in the oven at 95C for an hour. The it takes a week to fully cure. So, to me, that sounds like a potentially durable and resistant coating.
In order to avoid a lot of work later, getting the shiny bits of the casings scraped clean of product (this really only applies to the Euro black engines, I suppose), I used a brush and painted latex rubber on the shiny bits....like so...in this pic, I've done the circular area that's alloy finish and the latex has almost dried....the latex clings to the raised bits naturally and doesn't try to run where it should go. Then, once the enamel coating has touch dried, you just rub off the latex which obligingly forms a ball as you run your finger along it. Then put the component in a domestic oven for an hour. I tried baking one casing with the latex still on but it turns to goo and is difficult to remove afterwards, so removal of the latex prior to baking is essential.

Here's what it looks like after coating....


Here's the camcover.....but this was using the neutered PJ1. It's more satin but very slightly kind of brown somehow, compared to the other product. So, I'm going to soda blast it and do it again so that all the casings are consistent.....
 Last edited by James England; 05-17-2014, 09:51 AM.
Leave a comment:
-
yambits
found one on your side of the pond on the site you mentioned earlier.Leave a comment:
-
James
I found this on Ebay. http://www.ebay.com/itm/yamaha-xs400...34dfeb&vxp=mtr
you may find a cheaper alternative.Leave a comment:


Leave a comment: