 Tweet
Tweet
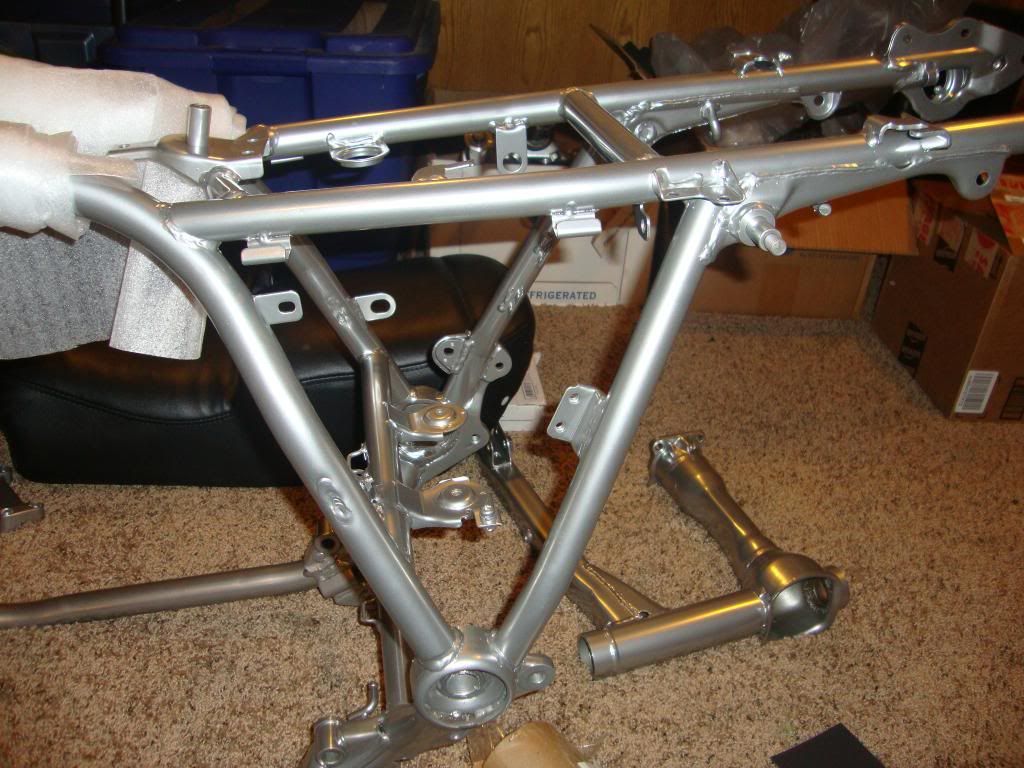
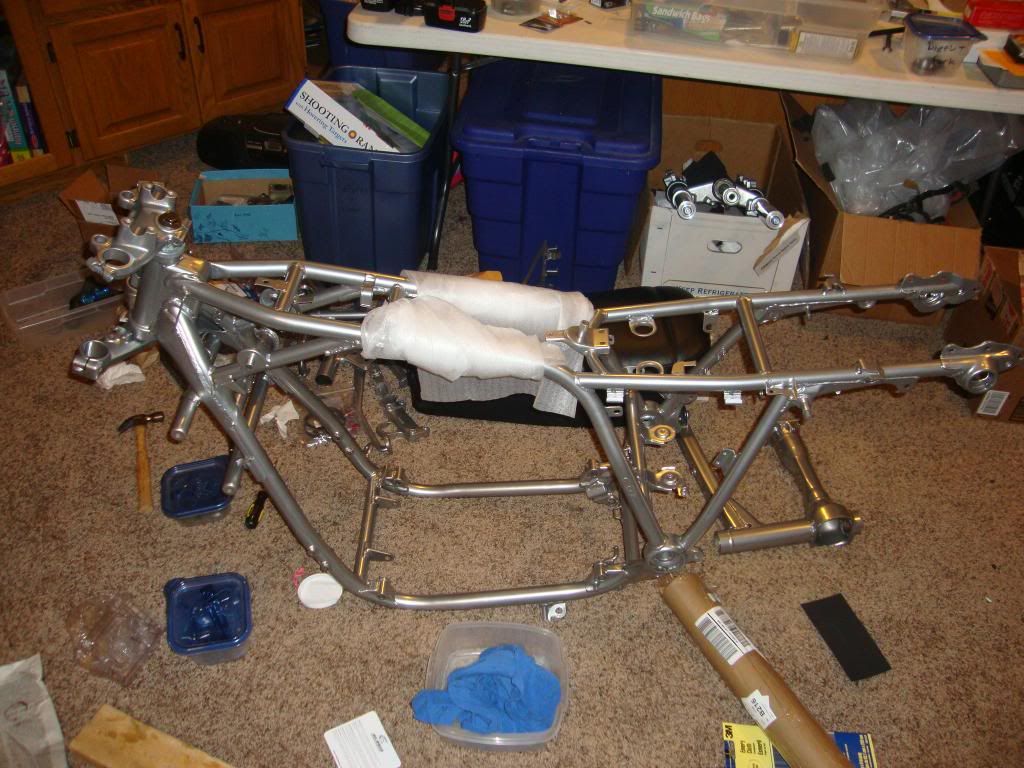
Well, that's a long story, starting 300 miles and nearly 9 years ago. Let's just say that things didn't go as planned...or maybe that I just didn't have a plan. The current situation is that the bike is in storage 300 miles away, needs some repair to get back on the road, and my apartment complex isn't very friendly to people who care to work on their vehicles. But I come here anyway to torture myself/dream about the motorcycle. I'm working on a plan where I might be able to pull it all together this spring though...we'll see if I can make that happen.
Until then, the thing that you will find between my legs is a 1981 Kawasaki KE175 2-stroke motorcycle. This is probably what I'll be on for the Slimey Crud Run.
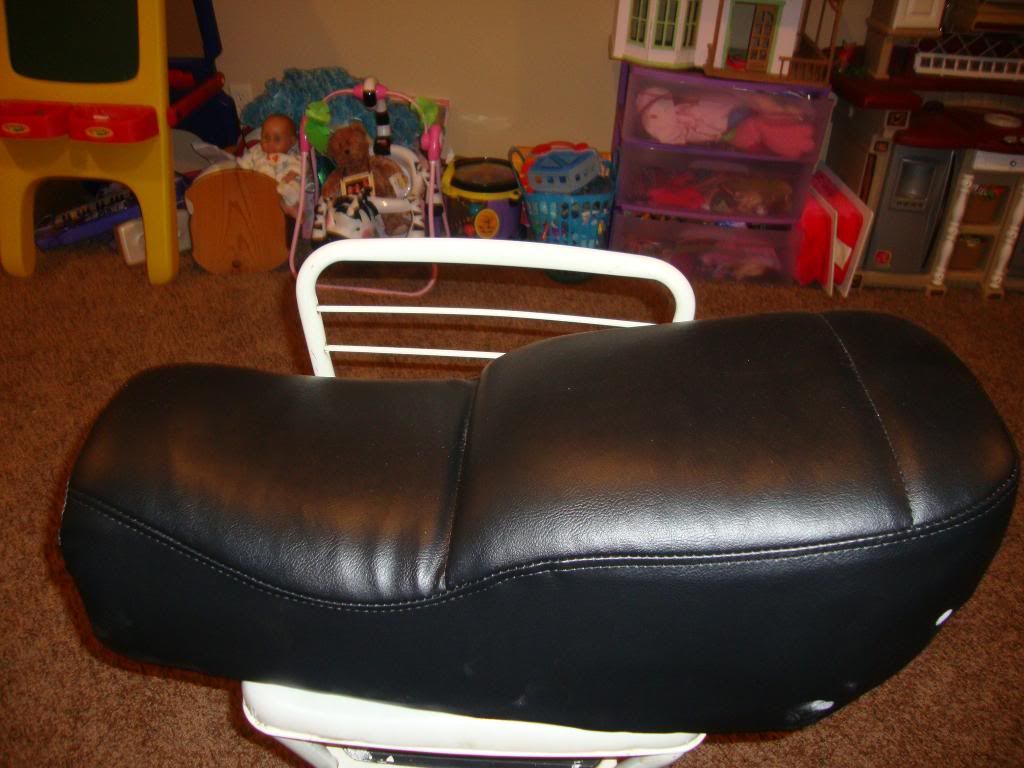
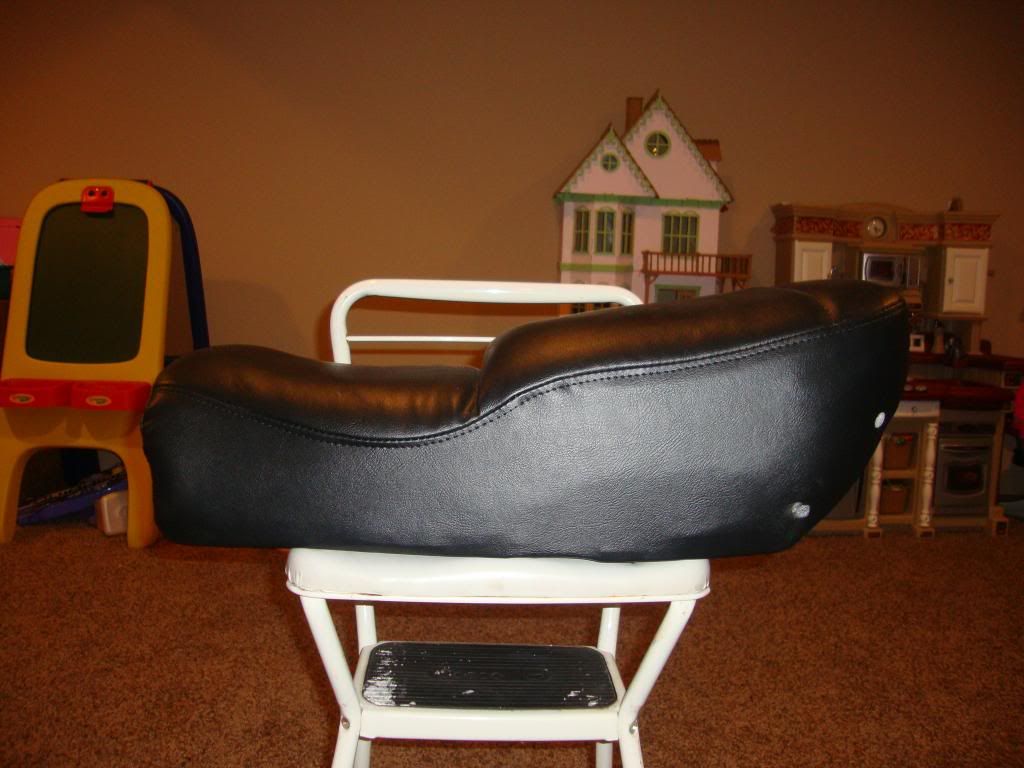
If you do care to undertake the seat cover endeavor, I have a sewing machine. No guarantees that it can sew the vinyl, though. I've had some trouble sewing canvas and velcro for other projects, but we can test it out on your old cover if you want. Otherwise, I'm sure you'll be able to find a suitable upholstery shop around here.
Until then, the thing that you will find between my legs is a 1981 Kawasaki KE175 2-stroke motorcycle. This is probably what I'll be on for the Slimey Crud Run.
If you do care to undertake the seat cover endeavor, I have a sewing machine. No guarantees that it can sew the vinyl, though. I've had some trouble sewing canvas and velcro for other projects, but we can test it out on your old cover if you want. Otherwise, I'm sure you'll be able to find a suitable upholstery shop around here.


Comment