Hey Kurt,
Thanks, I have a REAL local hardware store, they have lots of metric stuff, Stainless, Grade 8.8 and such. I got a bunch of bolts, flat and lock washers, crown nuts, most in Stainless, along with a few other bits, ran to about $75.00!! Took me over an hour to do that shopping....finding the right sizes...had made a long list Friday Night noting the size/pitch/length and type, socket or hex head, etc.! Then did the regular household shopping, so I didn't get to start working on the bike until around 3pm today after late lunch!
I got some stuff done, specifically the crank shaft seals....and have an interesting twist on doing it. I remember reading about RichV and the several attempts he went thru to get his seals in and NOT leak....can't remember if it was more due to a double lip on the crank side, or just getting the RTV to seal and hold them in place?? So..I thought about that for a while and then came up with what I think is a good simple solution!
First, the photos! I may make a tech tip out of this if you guys think it merits it.
BTW, I switch from the left to right side just because of the different steps that I photodocumented...got in a hurry on the first side!
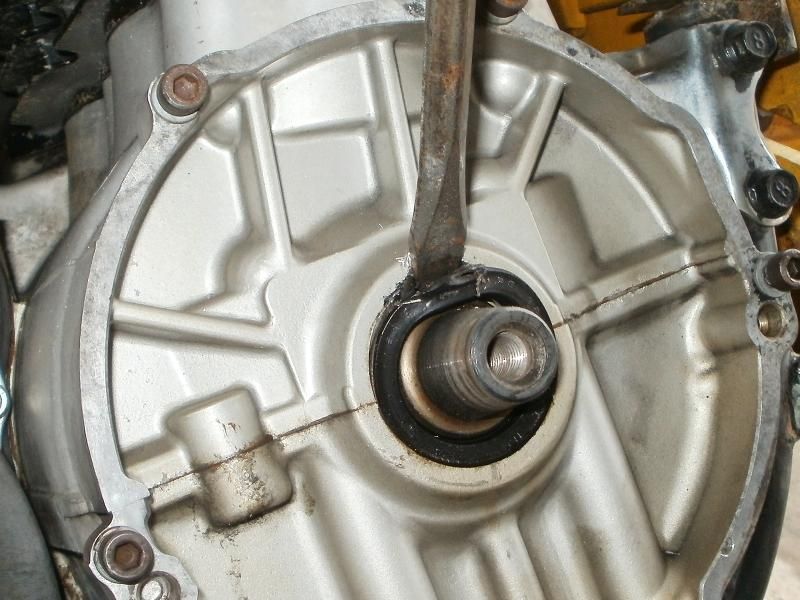
First step, pry out the old seal with a flat blade screwdriver and hammer.
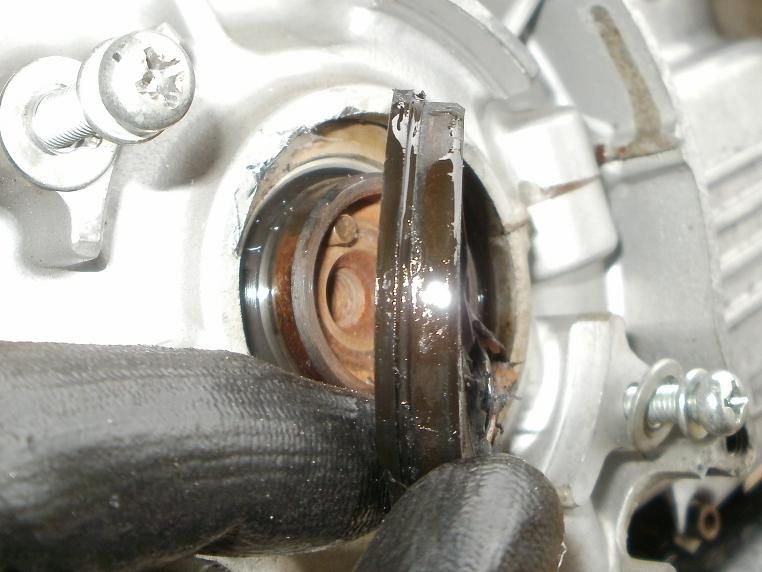
Here is the sideview showing the inner LIP edge of the OEM seal.
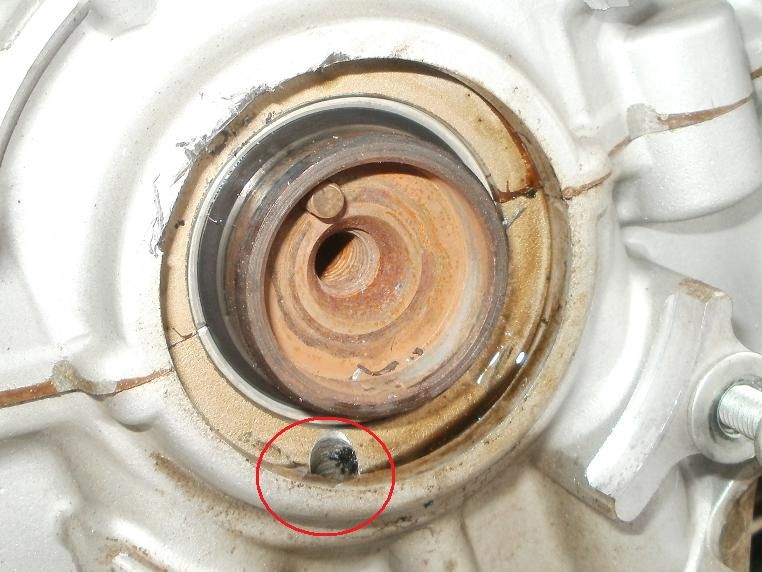
This shows the area of the crank case, and what's interesting is the oil galley hole at the bottom...that I remember reading about someone saying that it didn't do anything!?
But then I thought about it more, and it opens just behind the seal, and so I think it actually provides lubrication to help keep the seal and it's contact surfaces with the crank lubed?? And so there's Oil PRESSURE coming out of that port, and that's partly why the seal has to have an internal LIP to help keep it in place against that pressure. And so folks have installed lipless replacement seals so that they wouldn't have to split the cases, and have used just RTV and the tightness of the seal to try to hold it in place.
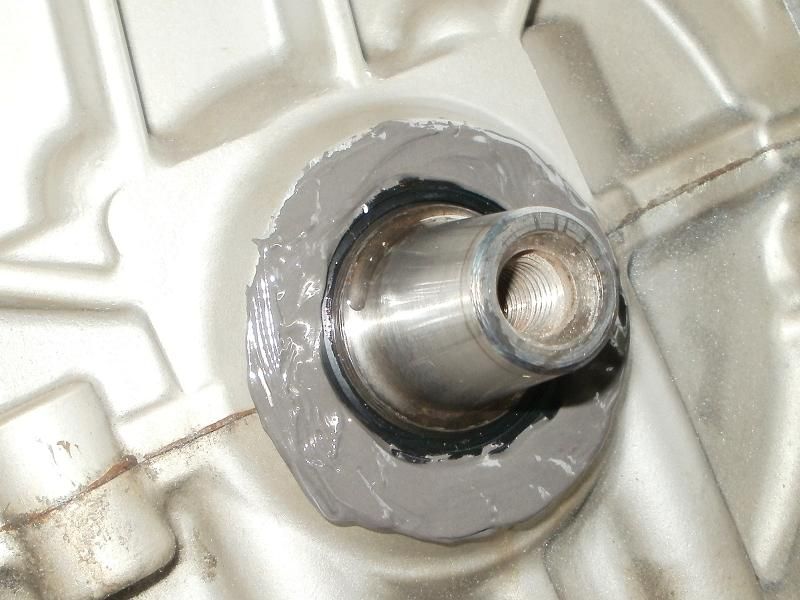
So....my idea was to try to provide a better securing method of the seal after it's been inserted. This image shows the seal already in place, but also that I've roughed up the edges of the crankcase for better sticking grip!
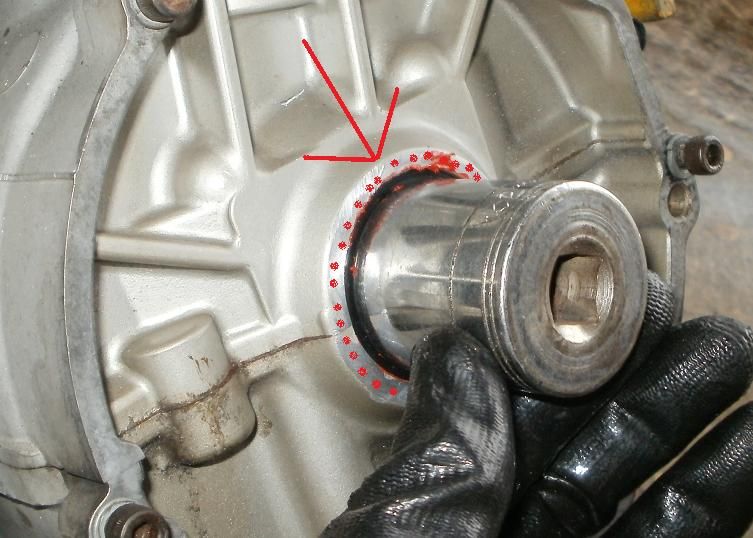
And here's my solution to prevent the seal popping out. I mixed up a batch of J-B Weld
and slathered a nice layer around the seal just a mm or so away from the crankshaft, but plenty of it all around the seal and crankcase which I hope will provide the support the seal will need to keep it from being pushed outwards by the oil pressure.
I didn't get to replacing the cam chain....was checking my valve clearances, all within spec but 2 intakes...they were both .004", modded the Motion Pro tool to get it to work, found one shim was 280 and had a 275 that I could swap. The other one had a 275 and needs a 270, but all I have is a 265 which will be too loose!
George, do you have any shims, specifically a 270??
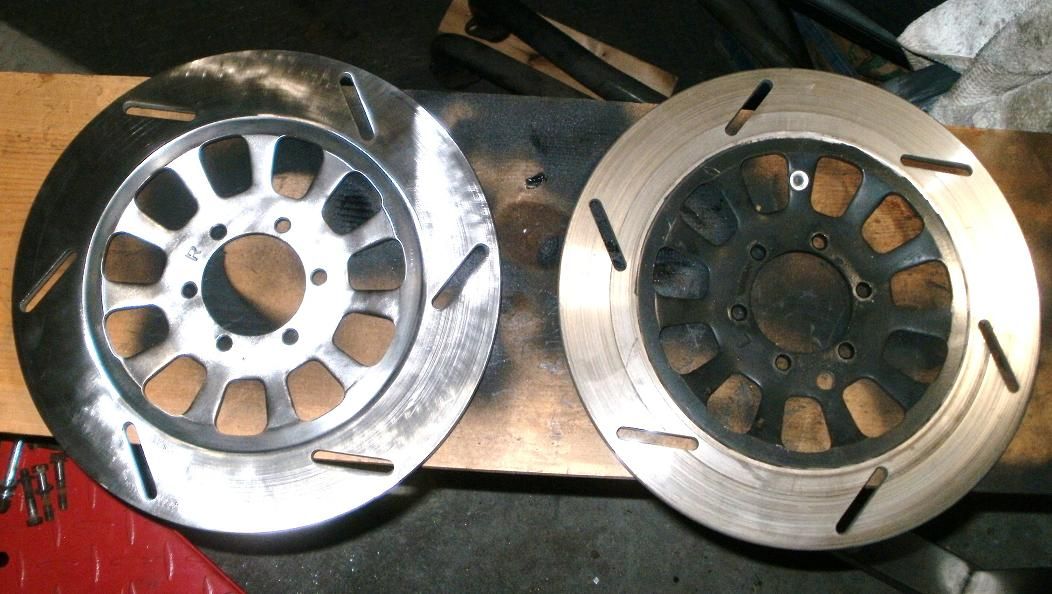
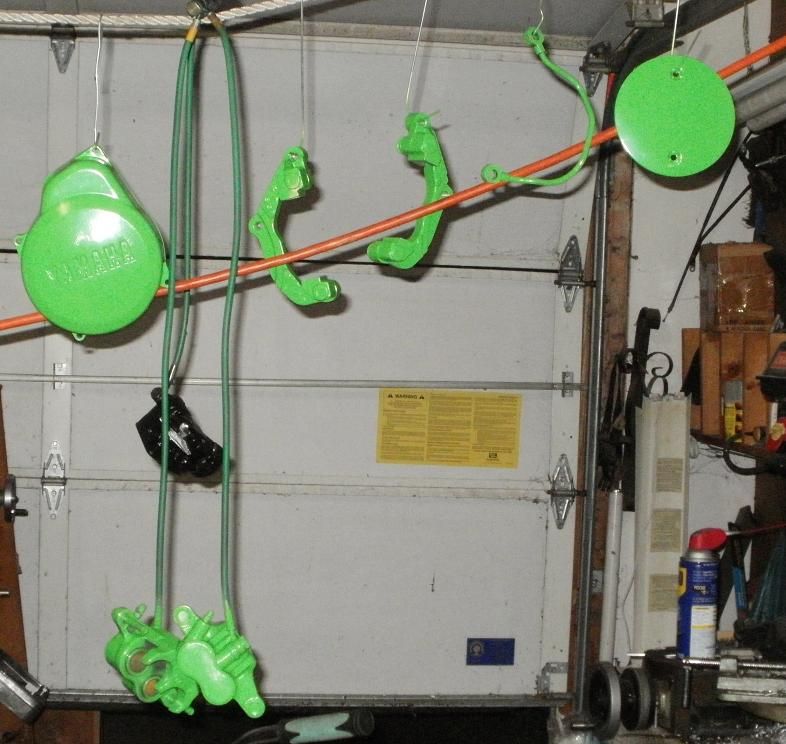
Here's a photo of the Rotors after I cleaned one up compared to the other old one. At least they are ready for painting now!
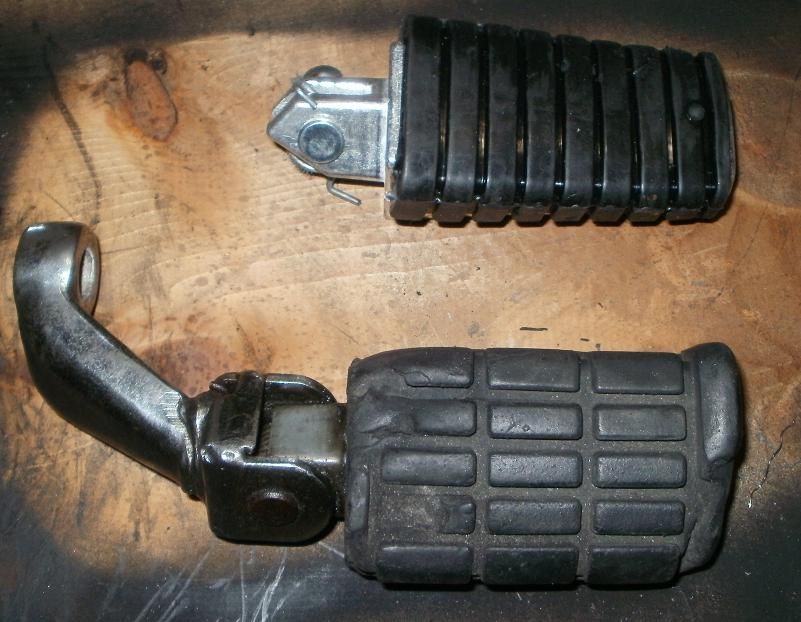
And Kurt, here's a shot of the OEM Special footpeg and the replacement from a Yamaha cruiser IIRC? The shape is quite different, and it's aluminum instead of steel, and from looking at it, looks like it won't STOP in the correct position. I think I will be able to weld a stop brace down inside the OEM part to stop the peg in the right position.
T.C.
Thanks, I have a REAL local hardware store, they have lots of metric stuff, Stainless, Grade 8.8 and such. I got a bunch of bolts, flat and lock washers, crown nuts, most in Stainless, along with a few other bits, ran to about $75.00!!
 Took me over an hour to do that shopping....finding the right sizes...had made a long list Friday Night noting the size/pitch/length and type, socket or hex head, etc.! Then did the regular household shopping, so I didn't get to start working on the bike until around 3pm today after late lunch!
I got some stuff done, specifically the crank shaft seals....and have an interesting twist on doing it. I remember reading about RichV and the several attempts he went thru to get his seals in and NOT leak....can't remember if it was more due to a double lip on the crank side, or just getting the RTV to seal and hold them in place?? So..I thought about that for a while and then came up with what I think is a good simple solution!
First, the photos! I may make a tech tip out of this if you guys think it merits it.
BTW, I switch from the left to right side just because of the different steps that I photodocumented...got in a hurry on the first side!

First step, pry out the old seal with a flat blade screwdriver and hammer.

Here is the sideview showing the inner LIP edge of the OEM seal.

This shows the area of the crank case, and what's interesting is the oil galley hole at the bottom...that I remember reading about someone saying that it didn't do anything!?
But then I thought about it more, and it opens just behind the seal, and so I think it actually provides lubrication to help keep the seal and it's contact surfaces with the crank lubed?? And so there's Oil PRESSURE coming out of that port, and that's partly why the seal has to have an internal LIP to help keep it in place against that pressure. And so folks have installed lipless replacement seals so that they wouldn't have to split the cases, and have used just RTV and the tightness of the seal to try to hold it in place.

So....my idea was to try to provide a better securing method of the seal after it's been inserted. This image shows the seal already in place, but also that I've roughed up the edges of the crankcase for better sticking grip!

And here's my solution to prevent the seal popping out. I mixed up a batch of J-B Weld
and slathered a nice layer around the seal just a mm or so away from the crankshaft, but plenty of it all around the seal and crankcase which I hope will provide the support the seal will need to keep it from being pushed outwards by the oil pressure.

I didn't get to replacing the cam chain....was checking my valve clearances, all within spec but 2 intakes...they were both .004", modded the Motion Pro tool to get it to work, found one shim was 280 and had a 275 that I could swap. The other one had a 275 and needs a 270, but all I have is a 265 which will be too loose!
George, do you have any shims, specifically a 270??
Here's a photo of the Rotors after I cleaned one up compared to the other old one. At least they are ready for painting now!

And Kurt, here's a shot of the OEM Special footpeg and the replacement from a Yamaha cruiser IIRC? The shape is quite different, and it's aluminum instead of steel, and from looking at it, looks like it won't STOP in the correct position. I think I will be able to weld a stop brace down inside the OEM part to stop the peg in the right position.

T.C.


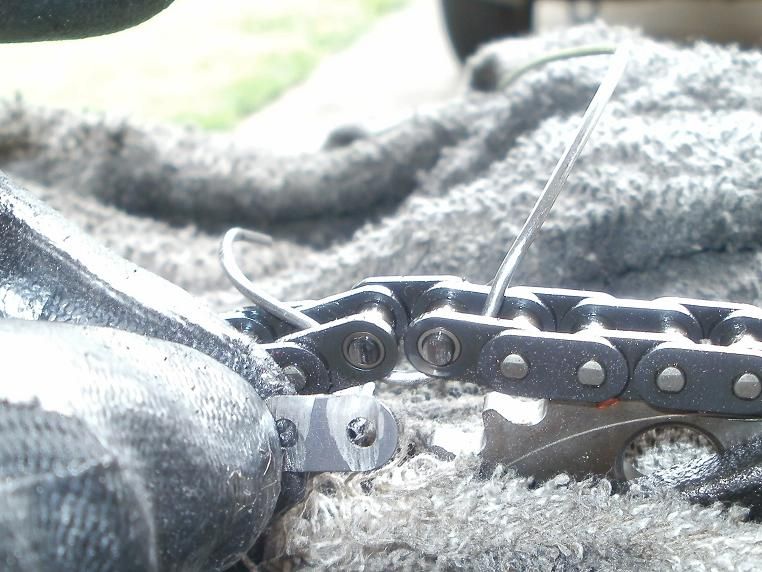
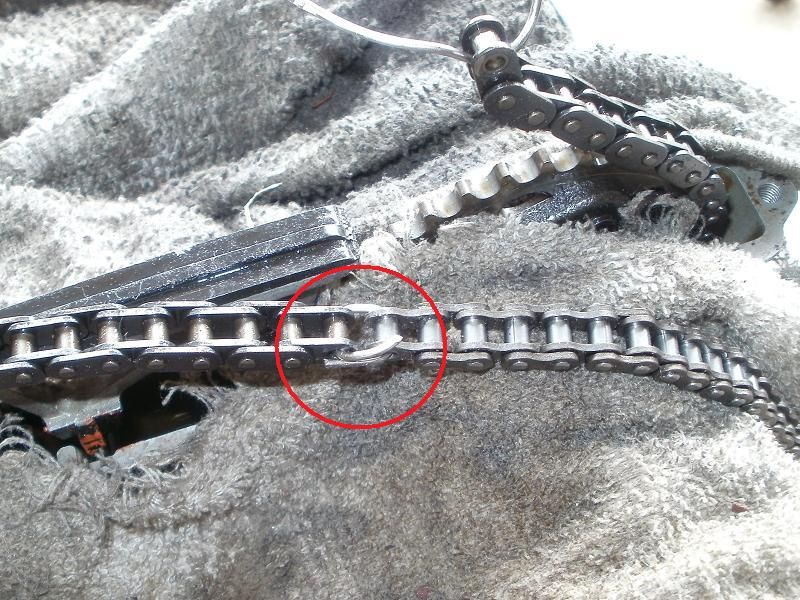
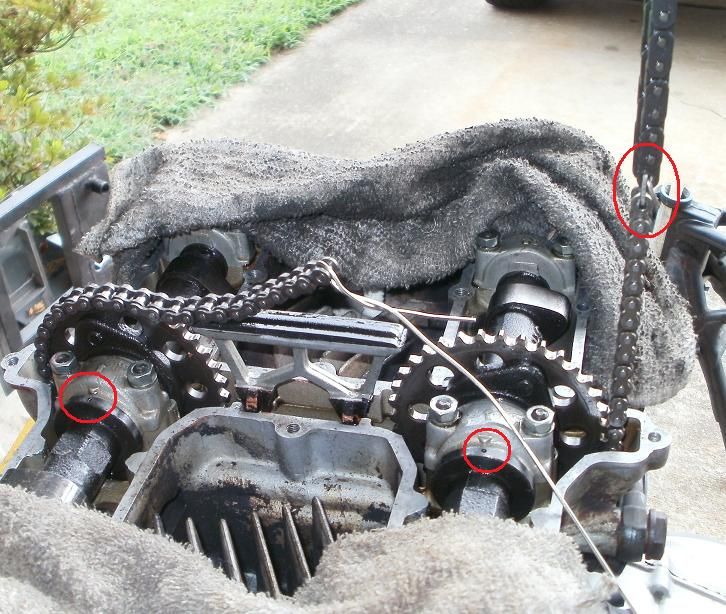
 Of course, it didn't come with any instructions...and I didn't realize that I needed to grind off the peened edges of the pins of the link I wanted to break first, and so the push out pin of the tool broke. SO I said, okay, I'll still try to use the peen part later!
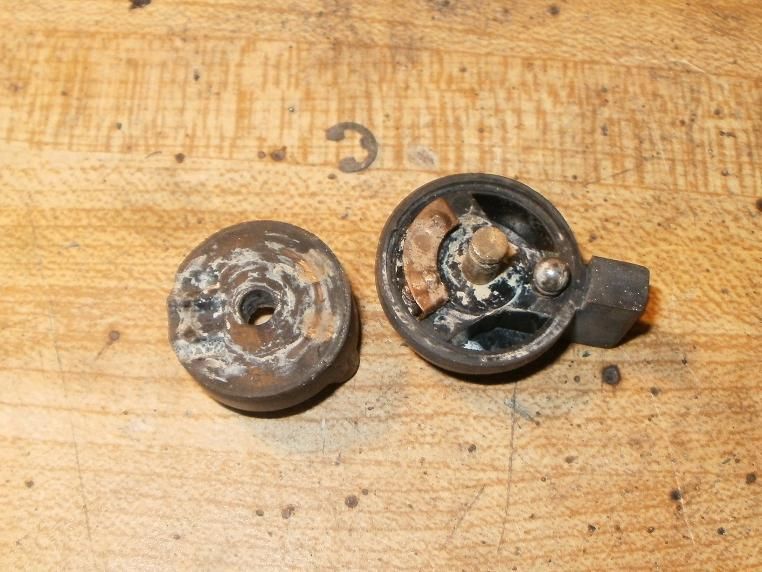
 Did a bunch of cleaning/prepping of other parts, like the handlebar switch sets, and while I was at it, took apart the Emergency Kill Switch....everybody talks about it, but nobody ever posted a photo so here's one! Note the dried/gunked grease and contact plate.
Comment