
 Tweet
Tweet
Kurt,
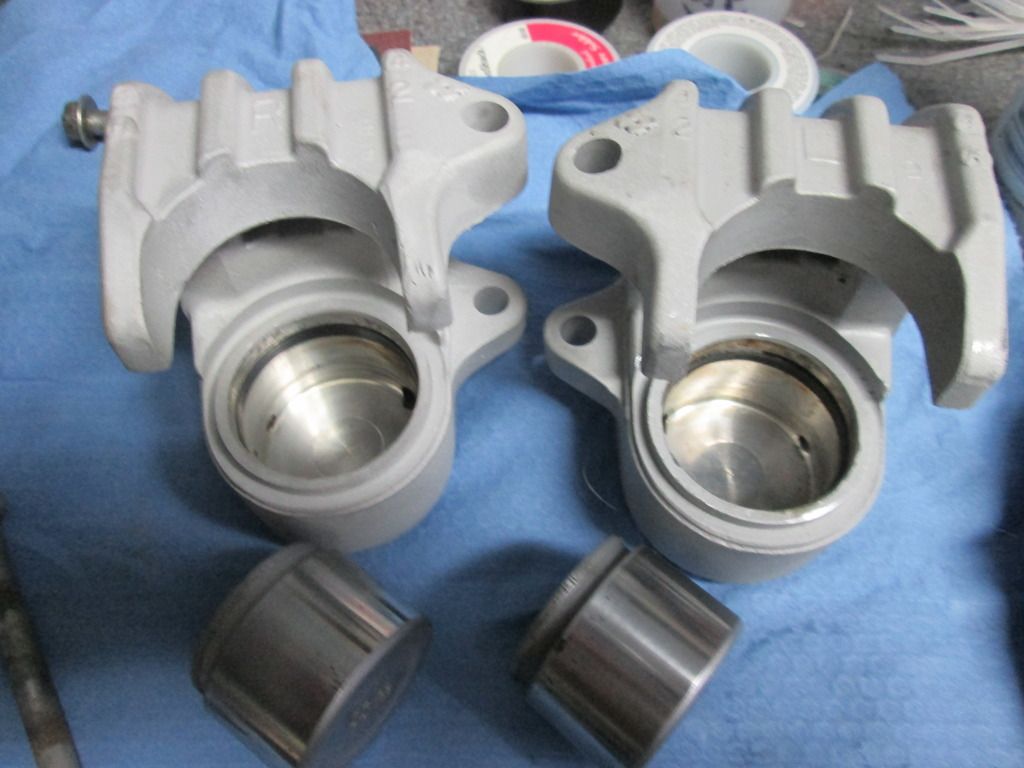
DO NOT HONE THE CALIPERS!!!!!!! clean the inside with brake fluid, and clean the grove the seal goes into VERY WELL. You probably want to soda blast the parts, as they are all alloy, and sand will pit them.
You CAN get buy WITHOUT the octy, just search on the fuel mods and I think the thread should be there. IF not, just make SURE you do NOT mix Left and Right petcocks, as they ARE different. To bypass, just plug the FRONT nipple on each petcock, and you have off, on, reserve operational.

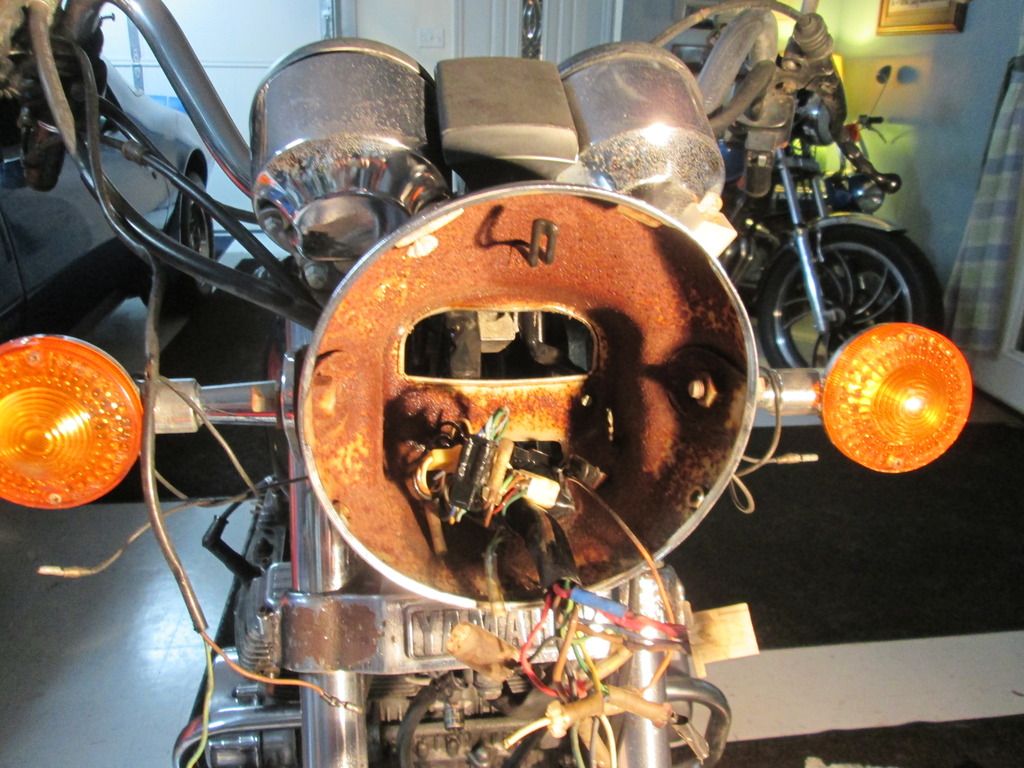
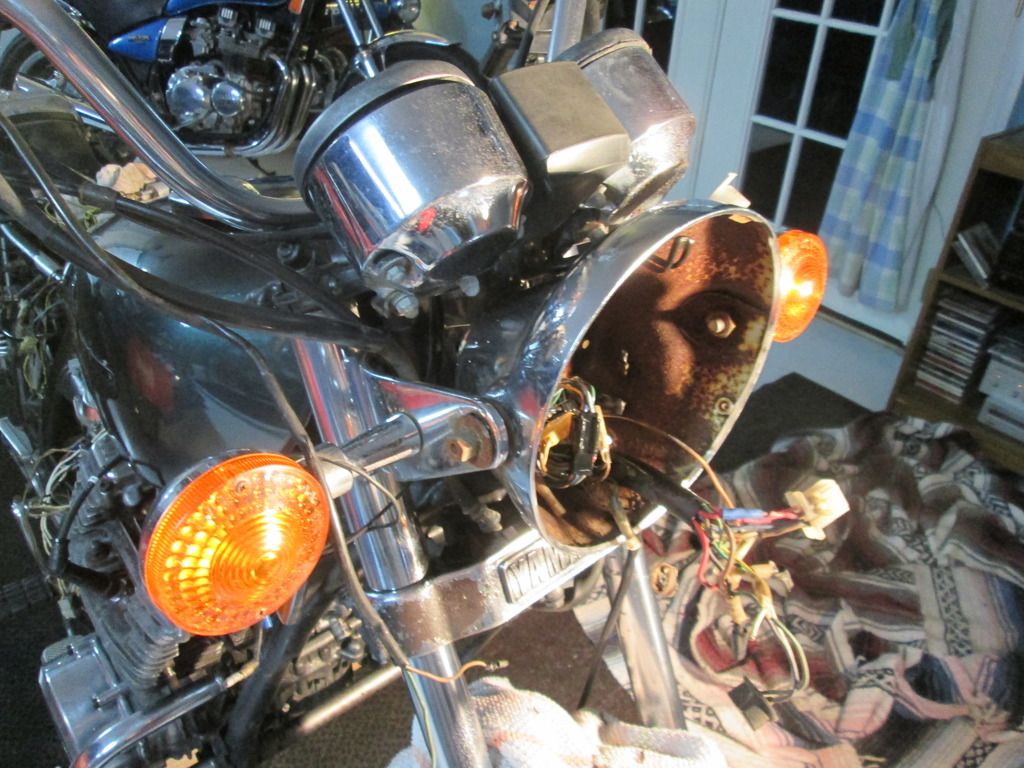


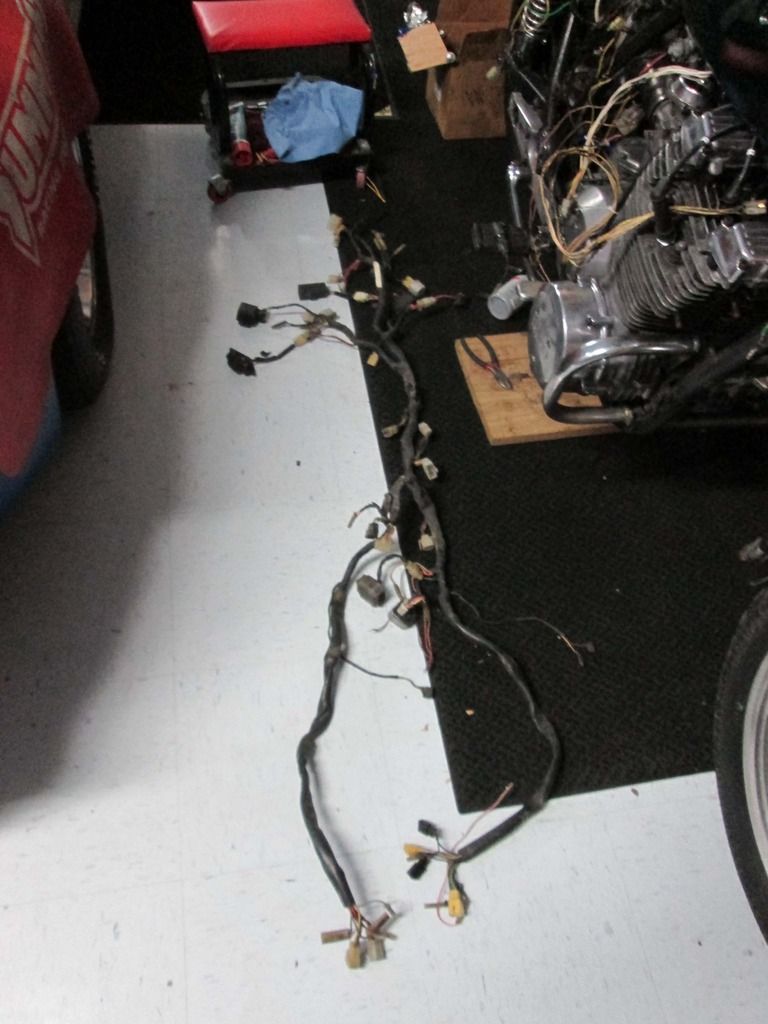
 Basically all the stuff behind/around the back of the battery box and the little metal plate that holds the fuse box and etc.


Comment