Timing Issue
Collapse
X
-
-
I rejetted to stock 137.5/42.5 and went for a ride. It was very nice until 1/2 throttle then it would start backfiring, regardless of rpms. So I took off the filters and tried again, same thing, but I was able to get very high rpms without a backfire by keeping less than 1/2 throttle.
So based on all my searching it looked like the PU coils were the culprit, so I took them off and checked the wires. I didn't find any breaks, but it was only a half-hearted effort, so I will check them again tomorrow and more than likely replace the wires with cheap DVM lead wires as was suggested.
However I found out that my mechanical advance was sticky and would not return without some persuasion, so I swapped in the 78 mech advance that I had ordered and then I tested the vacuum advance. Turns out it cannot hold a vacuum, so I just ordered one off eBay.
When I installed the mech advance and the timing plate I noticed that the PU coils were not gapped properly and may have been hitting on the previous reluctor tab. They look like they were possibly worn down, but I cannot be sure.
Would those three problems be what was causing my symptoms?79 SF 3H3 Engine, 145/45 Mikuni Jets, El Cheapo Pod Filter Mod w/ EMGO Pods, Coil Repower w/ Dyna Coils, Accell Wires and Side Gapped Plugs, 78 Mech Advance, 4-2 TurnoutsComment
-
Well least your gettin' things stock so you have a baseline to tune from. Those three and maybe a few still hidden...........doin good. That advance plate needs to be 'floppy' loose for unrestricted movement. PU coil gaps should be set with a non-magnetic feeler gauge(brass).I rejetted to stock 137.5/42.5 and went for a ride. It was very nice until 1/2 throttle then it would start backfiring, regardless of rpms. So I took off the filters and tried again, same thing, but I was able to get very high rpms without a backfire by keeping less than 1/2 throttle.
So based on all my searching it looked like the PU coils were the culprit, so I took them off and checked the wires. I didn't find any breaks, but it was only a half-hearted effort, so I will check them again tomorrow and more than likely replace the wires with cheap DVM lead wires as was suggested.
However I found out that my mechanical advance was sticky and would not return without some persuasion, so I swapped in the 78 mech advance that I had ordered and then I tested the vacuum advance. Turns out it cannot hold a vacuum, so I just ordered one off eBay.
When I installed the mech advance and the timing plate I noticed that the PU coils were not gapped properly and may have been hitting on the previous reluctor tab. They look like they were possibly worn down, but I cannot be sure.
Would those three problems be what was causing my symptoms?81H Venturer1100 "The Bentley" (on steroids) 97 Yamaha YZ250(age reducer) 92 Honda ST1100 "Twisty"(touring rocket) Age is relative to the number of seconds counted 'airing' out an 85ft. table-top.Comment
-
Hey Brant,
I understand that the PU coils create signal pulses when the reluctor flies past it, but I thought that the PU coils were electromagnets....and that they were only working with the key on, power running thru them. SO...why would a non-magnetic feeler gauge be needed to set the gap? Once the gauge is in position...PU coil in position, the nut/bolt is secured and then the gauge removed. The coil can't move once it's locked down, so any sort of magnetic attraction affect of the gauge shouldn't cause any problem with setting the gap?? Just curious about this recommendation...I'm not a pro mech and would like to know/learn about this.
T.C.T. C. Gresham
81SH "Godzilla" . . .1179cc super-rat.
79SF "The Teacher" . . .basket case!
History shows again and again,
How nature points out the folly of men!Comment
-
T.C.,
Yeah, the pick-up coils are magnetic so you really should use a non-magnetic feeler gauge to set the air gap. It can be done with regular gauges but they're a lot more difficult to use because they stick to the pick-up coils just like they do to the right-hand engine cover when you check the alternator.
The pick-up coils are not powered, they're just a bunch of fine wire wrapped around a magnet. As the reluctor blade moves past the pick-up coil it induces a current that's used by the TCI.
The signals from the pick-up coils are A/C signals so if there's a DC voltage on them it's probably from a TCI that's on its way to Silicon Heaven (where the old calculators go!).
.-- Scott
_____
♬
2004 ST1300A: No name... yet
1982 XJ1100J: "Baby" SS Brakes, '850 FD, ACCT
1980 XS1100G: "Columbo" SS Brakes, '850 FD, ACCT
1979 XS1100SF: "Bush" W.I.P.
1979 XS1100F: parts
2018 Heritage Softail Classic 117 FLHCS SE: "Nanuk" It's DEAD, it's not just resting. It is an EX cycle.
♬Comment
-
Thanks for askin' T.C................now we both know more than the day before...........Thanks 3Phase!Hey Brant,
I understand that the PU coils create signal pulses when the reluctor flies past it, but I thought that the PU coils were electromagnets....and that they were only working with the key on, power running thru them. SO...why would a non-magnetic feeler gauge be needed to set the gap? Once the gauge is in position...PU coil in position, the nut/bolt is secured and then the gauge removed. The coil can't move once it's locked down, so any sort of magnetic attraction affect of the gauge shouldn't cause any problem with setting the gap?? Just curious about this recommendation...I'm not a pro mech and would like to know/learn about this.
T.C.81H Venturer1100 "The Bentley" (on steroids) 97 Yamaha YZ250(age reducer) 92 Honda ST1100 "Twisty"(touring rocket) Age is relative to the number of seconds counted 'airing' out an 85ft. table-top.Comment
-
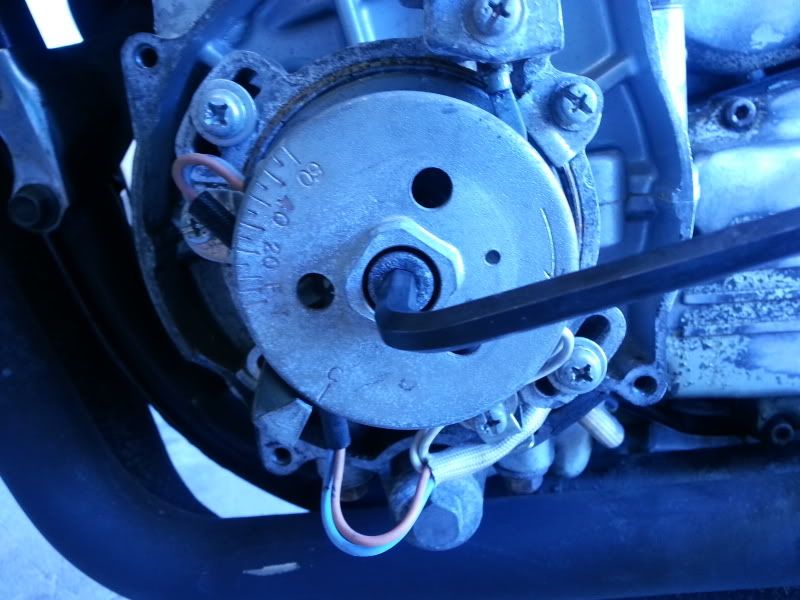
Here is the timing plate as it sat.
I cleaned up the case
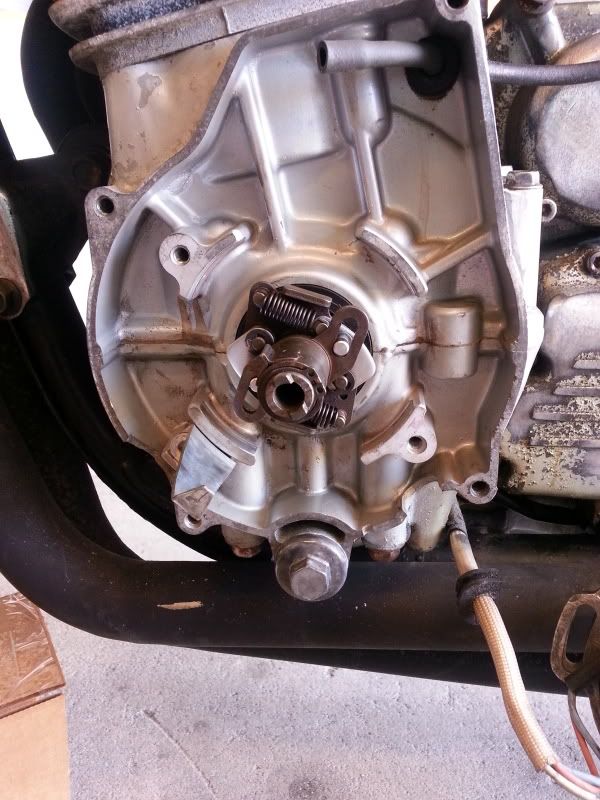
and installed the 78 mechanical advance. I wire wheeled the PU Coil backing plate to remove all the corrosion and I am going to splice these:
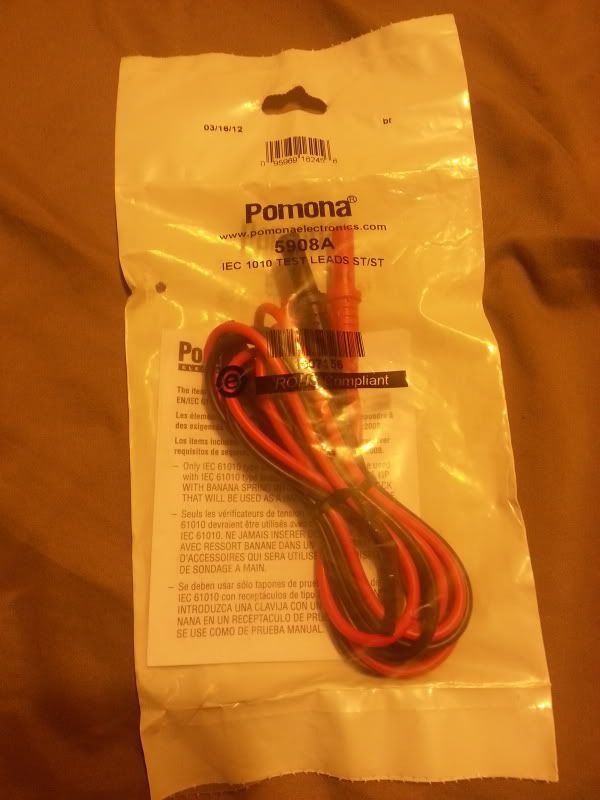
in for the pick up coil wires. I'm hoping that this will resolve my problem, and give me that extra .3 seconds in the 1/4 mile.Last edited by spayne83; 08-06-2013, 06:34 PM.79 SF 3H3 Engine, 145/45 Mikuni Jets, El Cheapo Pod Filter Mod w/ EMGO Pods, Coil Repower w/ Dyna Coils, Accell Wires and Side Gapped Plugs, 78 Mech Advance, 4-2 TurnoutsComment
-
When you splice the wires be CERTAIN the splices are immobilized or they will break again pretty quickly at the solder joint.Greg
Everybody is a genius. But if you judge a fish by its ability to climb a tree, it will live its whole life believing that it is stupid.”
― Albert Einstein
80 SG Ol' Okie;79 engine & carbs w/pods, 45 pilots, 140 mains, Custom Mac 4 into 2 exhaust, ACCT,XS850 final drive,110/90/19 front tire,TKat fork brace, XS750 140 MPH speedometer, Vetter IV fairing, aftermarket hard bags and trunk, LG high back seat, XJ rear shocks.
The list changes.
Comment
-
SPayne83,
That looks good so far! As Greg said, be careful with the splices!
When you start to put it all back together make sure you add a small amount of high-temp grease to the centrifugal advance pins and weights.
While you have it off the engine now is a good time to clean and grease the vacuum advance plate bearing. It should turn absolutely freely with no binding at all. If it's dirty or binds, pop the dust shield off the back of the bearing. Gently turn the bearing by hand while spraying it with brake cleaner and watch (Carefully! Brake cleaner will get you right in the eyes!) to see all the dirt and rust come pouring out of it. Keep spraying until the bearing is clean, then re-pack the bearing with a small amount of high-temp grease and pop the dust shield back in. The vacuum advance plate should be able to turn like a Lazy-Susan so don't add too much grease to the bearing or it'll 'stick' when the engine is cold and possibly even after it warms up.
Finally, mark the '79SF timing plate for the '78E timing marks. IanDMacDonald is doing something similar with the centrifugal advance on his '79F:-
Re-Attaching Vacuum Advance
.-- Scott
_____
♬
2004 ST1300A: No name... yet
1982 XJ1100J: "Baby" SS Brakes, '850 FD, ACCT
1980 XS1100G: "Columbo" SS Brakes, '850 FD, ACCT
1979 XS1100SF: "Bush" W.I.P.
1979 XS1100F: parts
2018 Heritage Softail Classic 117 FLHCS SE: "Nanuk" It's DEAD, it's not just resting. It is an EX cycle.
♬Comment
-
I've actually never taken the plate bearing apart Scott. There is no real seal in there just a dust cover. I've just used Brakleen and air, then some penetrating oil or spray lithium grease to lubricate.Greg
Everybody is a genius. But if you judge a fish by its ability to climb a tree, it will live its whole life believing that it is stupid.”
― Albert Einstein
80 SG Ol' Okie;79 engine & carbs w/pods, 45 pilots, 140 mains, Custom Mac 4 into 2 exhaust, ACCT,XS850 final drive,110/90/19 front tire,TKat fork brace, XS750 140 MPH speedometer, Vetter IV fairing, aftermarket hard bags and trunk, LG high back seat, XJ rear shocks.
The list changes.
Comment
-
Greg,
The dust cover will pop right out with a mechanic's pick and presses back in with a little fiddlin' -- it's just a dust cover so No Banjos!
It makes it easier to see if the bearing is actually clean and you can also get a parts cleaning brush in there after soaking it in a regular can of parts dip instead of burning your eyes out with brake cleaner.
.-- Scott
_____
♬
2004 ST1300A: No name... yet
1982 XJ1100J: "Baby" SS Brakes, '850 FD, ACCT
1980 XS1100G: "Columbo" SS Brakes, '850 FD, ACCT
1979 XS1100SF: "Bush" W.I.P.
1979 XS1100F: parts
2018 Heritage Softail Classic 117 FLHCS SE: "Nanuk" It's DEAD, it's not just resting. It is an EX cycle.
♬Comment
-
Thanks for the link. The mech advance came with a timing plate, so I am going to use that. The vacuum advance is from a 79, so it shouldn't be that different.79 SF 3H3 Engine, 145/45 Mikuni Jets, El Cheapo Pod Filter Mod w/ EMGO Pods, Coil Repower w/ Dyna Coils, Accell Wires and Side Gapped Plugs, 78 Mech Advance, 4-2 TurnoutsComment
-
I spliced in the multimeter test leads to repair the pick-up coil wires
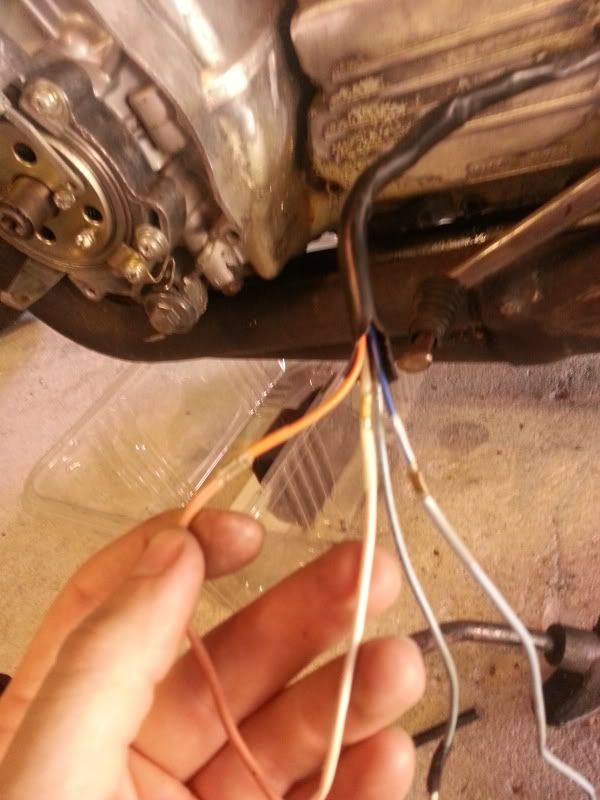
The original wires look like they might have been repaired once already.
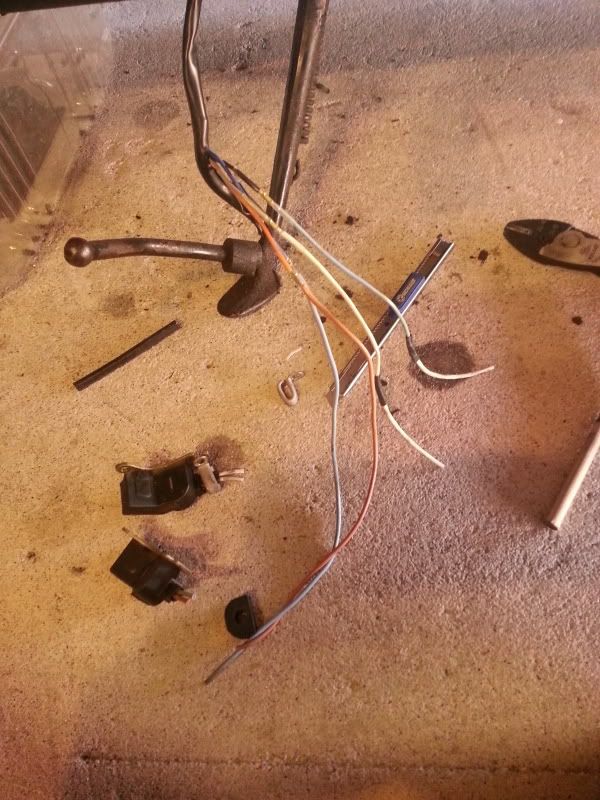
So I cut off the wires about a half inch from the coil to leave room for the crimp
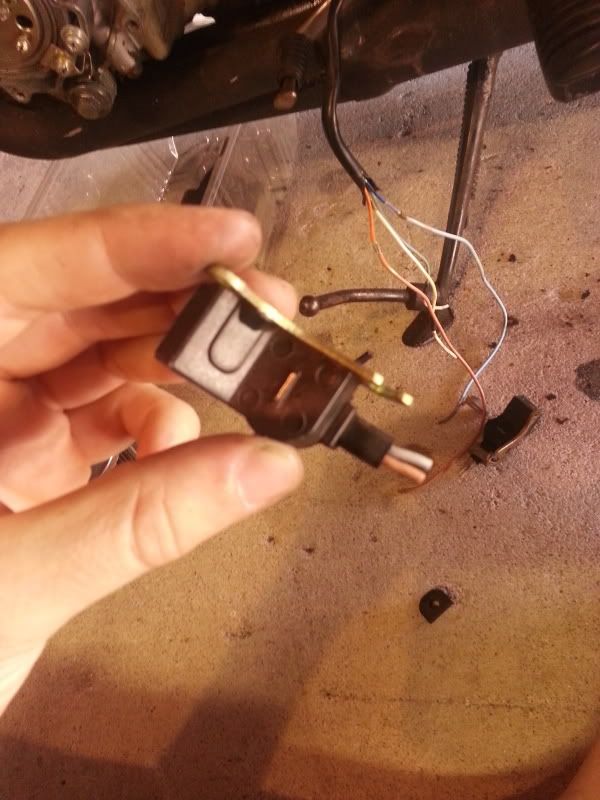
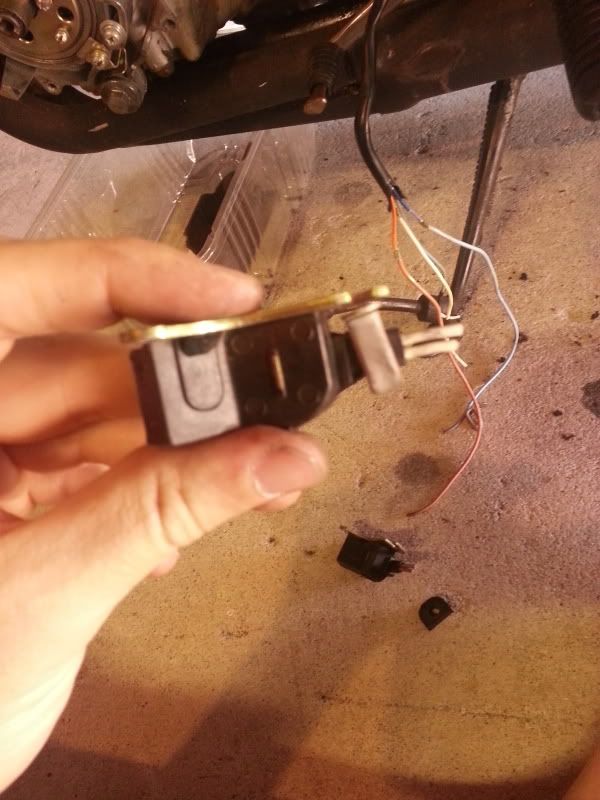
Then I crimped on the new test leads and covered them with heatshrink
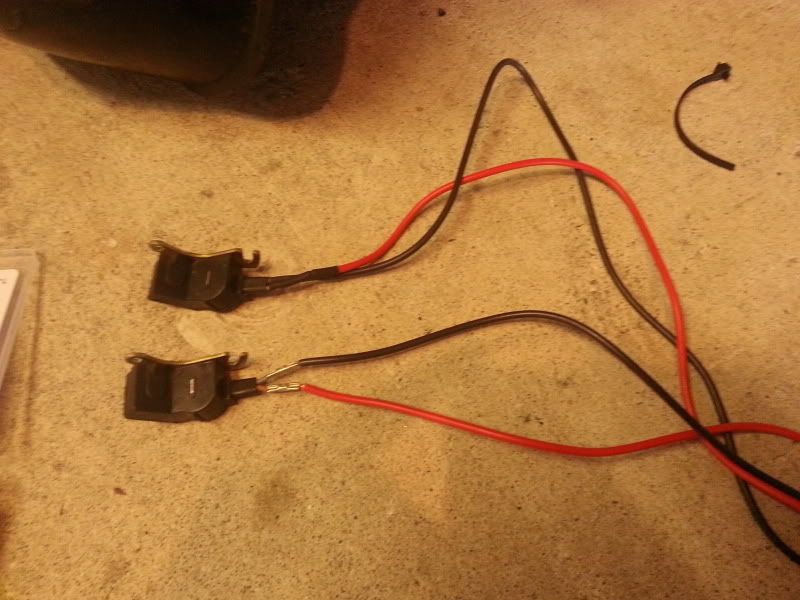
I reinstalled them on the bike and set the gap to .660 mm (the closest feeler gauge I had). The old covering would not go over the new leads too well since they were much larger than the previous wires, so I focused on the areas where they would rub. I also got a vacuum unit off a 79 that does work and has full advance around 7 inches of vacuum.
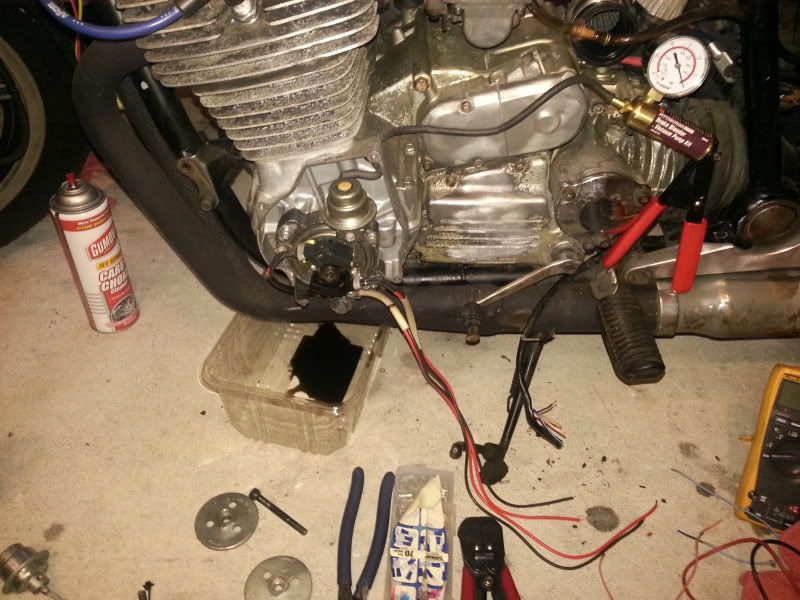
One question. Does it matter which order the wires go back in for the coils? Since it is just a magnetic field being induced is there a positive and negative? I can figure out the blue and red wires, but the two white wires I forgot to look to see which connected to which, so I'd rather not have to come back and try to fix this if it doesn't work right. I checked the impedance at the ends of the new leads and they are 742 ohms and 741 ohms which is within spec according to the Clymer manual. Is there anything else I need to check while this is all apart?Last edited by spayne83; 08-07-2013, 11:05 PM.79 SF 3H3 Engine, 145/45 Mikuni Jets, El Cheapo Pod Filter Mod w/ EMGO Pods, Coil Repower w/ Dyna Coils, Accell Wires and Side Gapped Plugs, 78 Mech Advance, 4-2 TurnoutsComment
Comment