Seeing your pipe Greg reminded me of the whoops you had and the quick fix........would have to have been the main pipe and not #2 or #3........dern....
CCT conversion
Collapse
X
-
Nope, check here Greg. http://www.yamaha-triples.org/librar...oil_cooler.pdf
Now just Google the part number... possibly been superceded by some other prefix like 4E2... maybe.1980 SG. (Sold - waiting on replacement)
2000 XJR1300. The Real modern XS11. Others are just pretenders.
Woman (well, my wife anyway) are always on Transmit and never Receive.
"A man should look for what is, and not for what he thinks should be" Albert Einstien.Comment
-
The European adapter plates are a little different than what we have in the USA. The ends of their lines are flanged and bolt onto the adapter plate, kinda neat and a little more professional looking than our version...
Got my VMax CCT all prepared to go in, just need to find the "procedure" to make sure I do it right. Should be 10 mins or less, hell I probably spent more than that just making a gasket! Its all good though, trying to kill time, adjusting my sleep schedule for nights this coming week! '79 XS11 F
Stock except K&N
'79 XS11 SF
Stock, no title.
'84 Chevy K-10 "Big Blue"
GM 350, Muncie SM465, NP208, GM 10 Bolt with 3.42gears turnin 31x10.5 Baja Claws
"What they do have is an implacable, unrelenting presence and movement that bespeaks massive power lurking behind paint and chrome. They don't wail like a screeching ninja, the don't rumble like a harley. They just growl like a spactic, stressed out badger waiting to rip your face off and eat your soul." Trainzz~RIP~Comment
-
Not sure exactly what I should be following in the manual to pull the old CCT. I found the CCT adjustment steps in the General Maintenance section that says "rotate clockwise to C mark..." and then in chapter 4 it has steps for removing the the head and in that process they remove the CCT by "turn clockwise to T mark" and then remove CCT...
Don't know if someone has done a write up on the exact steps or if someone stated the steps out of the manual to use... I could use a tip! Intuition tells me to use the later...
Thanks!'79 XS11 F
Stock except K&N
'79 XS11 SF
Stock, no title.
'84 Chevy K-10 "Big Blue"
GM 350, Muncie SM465, NP208, GM 10 Bolt with 3.42gears turnin 31x10.5 Baja Claws
"What they do have is an implacable, unrelenting presence and movement that bespeaks massive power lurking behind paint and chrome. They don't wail like a screeching ninja, the don't rumble like a harley. They just growl like a spactic, stressed out badger waiting to rip your face off and eat your soul." Trainzz~RIP~Comment
-
Put your bike on the centerstand before removing your old tensioner. That way if the chain slacks below the crank, it won't slip off the left side down below. BTW, it can't slip off the right side. Remove it on the "C" mark and don't disturb the crank until the new one is in.2H7 (79) owned since '89
3H3 owned since '06
07 Triumph Tiger 1050
"If it ain't broke, modify it"
☮Comment
-
Also, if the auto tensioner didn't come with the allen bolts, your gonna have to cut some lenght off the originals. Those ARE bottom holes!81H Venturer1100 "The Bentley" (on steroids) 97 Yamaha YZ250(age reducer) 92 Honda ST1100 "Twisty"(touring rocket) Age is relative to the number of seconds counted 'airing' out an 85ft. table-top.Comment
-
Thanks! I've been around long enough to know it should be performed on the center stand, just wasn't sure of the timing mark. Luckily the CCT came with the allen bolts from the VMAX, should be all set!'79 XS11 F
Stock except K&N
'79 XS11 SF
Stock, no title.
'84 Chevy K-10 "Big Blue"
GM 350, Muncie SM465, NP208, GM 10 Bolt with 3.42gears turnin 31x10.5 Baja Claws
"What they do have is an implacable, unrelenting presence and movement that bespeaks massive power lurking behind paint and chrome. They don't wail like a screeching ninja, the don't rumble like a harley. They just growl like a spactic, stressed out badger waiting to rip your face off and eat your soul." Trainzz~RIP~Comment
-
Well... this day is getting long... installed the CCT then rotated the engine a few more times clockwise for good measure and everything seemed great. I was expecting to hear the plunged ratchet when I torqued down the end bolt but, nothing... probably just couldn't hear it. Well, after rotating it clockwise... for some reason, decided to rotate it counter clockwise... didn't get maybe a quarter turn before I heard what sounded like the cam chain jump 2 teeth on the crank.
  Went to rotate it clockwise again and ran into some resistance.
  I think I will be taking the cams out and setting everything back to where it needs to be.
  The only good thing I can think of is I have a reason to do a valve check... I had the plugs out while rotating and was going slow so I doubt any damage was done. Any thoughts? Is turning the engine counter clockwise like a cardinal sin or something? Didn't seem to take much to make it jump a tooth...
'79 XS11 F
Stock except K&N
'79 XS11 SF
Stock, no title.
'84 Chevy K-10 "Big Blue"
GM 350, Muncie SM465, NP208, GM 10 Bolt with 3.42gears turnin 31x10.5 Baja Claws
"What they do have is an implacable, unrelenting presence and movement that bespeaks massive power lurking behind paint and chrome. They don't wail like a screeching ninja, the don't rumble like a harley. They just growl like a spactic, stressed out badger waiting to rip your face off and eat your soul." Trainzz~RIP~Comment
-
I first used it 20 years ago and have sworn by it ever since. It's exactly the same now and even the same tin design.
There's a couple of things about it BTW. Like with any paint, the surface has to be absolutely oil free, otherwose you get little dots where the PJ1 isn't going. The other thing which makes a huge difference, is if you warm the casing in the oven first. I always do this wherever possible and heat the part until it feels very warm. Also, I float the can of PJ1 in a bowl of fairly hot (not too hot) water for about 15 minutes. The can needs a really good shake before use.
Then, apply one coat. Don't try to get the item you're spraying to look black. Just one thin coat which will look blotchy as you see the alloy underneath. Leave it 10 mins. Then another thin coat. I usually do at least 6 coats. Keep shaking the tin as it will definitely need it. You gradually build up the finish and then give it one final coat. If you put too much on at one time, you'll definitely get runs and, if you do, the only solution is to remove it all with thinners and start again!
Finally, do leave the item you've sprayed for 24 hours to cure. It will be touch dry after less than an hour but you will damage the finish if you pick the component up.
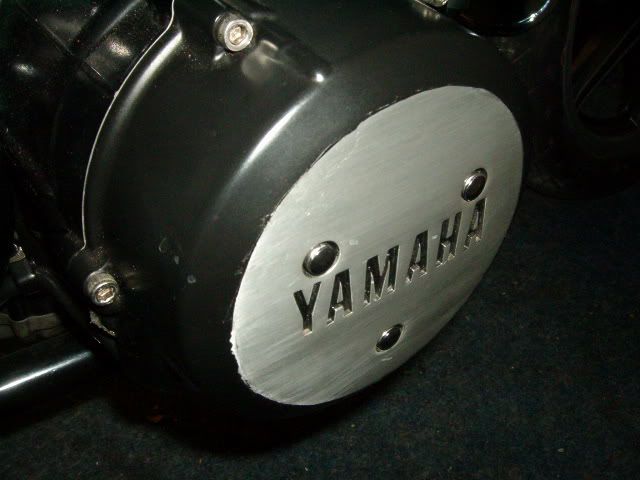
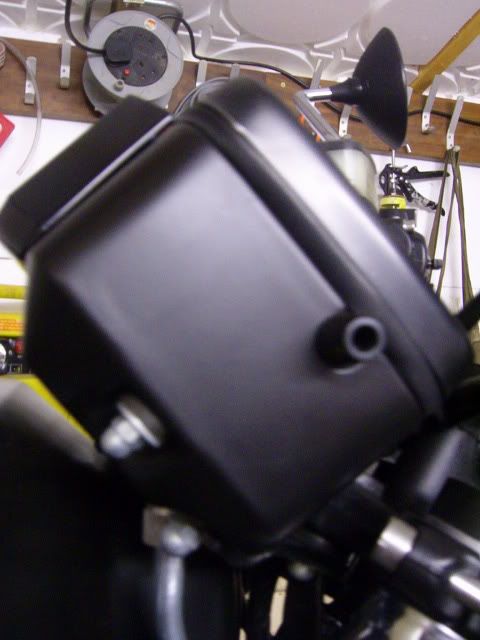
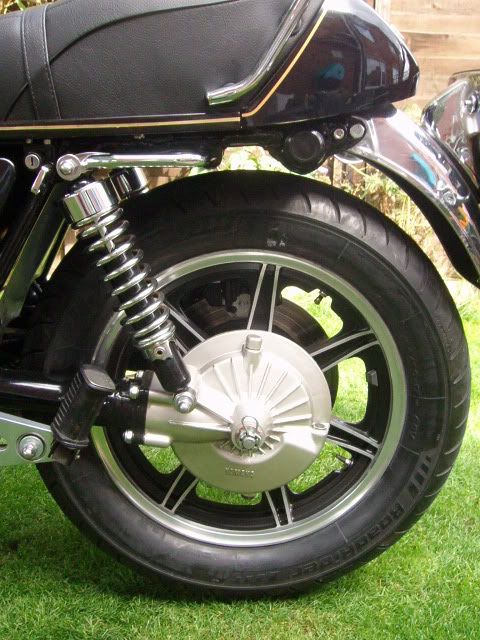
It also goes on, and stays on, plastic... here's some pix of stuff I've done...


 Last edited by James England; 06-26-2011, 02:14 AM.XS1100F 1980 European model. Standard. Dyna coils. Iridium plugs. XS750 final drive (sometimes). Micron fork brace. Progressive front springs. Geezer regulator/rectifier. Stainless 4 into 2 exhaust. Auto CCT (Venturer 1300) SOLD. New project now on the go. 1980 European model.
Comment
-
All cam chain work should be done using the C mark. (C for camchain) and all timing (eg strobe light) work uses the T (T for timing). The T is top dead centre and the point when the spark occurs.
When I fitted mine yesterday, it only made one small click. I almost missed it.
Take your plugs out. Then, very slowly with a wrench, rotate the engine clockwise. If you feel any resistance (piston touching an incorrectly timed valve) STOP. If not, rotate until the two dots on the cams are next to their pointers. Then look at your timing plate and it should be at T. If it's not, then your chain did jump. If it's at the T mark, and your dots are lined up, then the noise you heard was something like the starter motor clutch or other component.
Somehow, I doubt that you've made the chain jump teeth. Not if you rotated the engine clockwise to C and then immediately put the tensioner end bolt in and tightened it.
Check everything. When I did my shims last week, I removed the cams to get at the shims and put the cams back together wrongly. I was about to hit the starter button when a little warning bell told me to use a wrench and do it by hand. The valves were out!XS1100F 1980 European model. Standard. Dyna coils. Iridium plugs. XS750 final drive (sometimes). Micron fork brace. Progressive front springs. Geezer regulator/rectifier. Stainless 4 into 2 exhaust. Auto CCT (Venturer 1300) SOLD. New project now on the go. 1980 European model.Comment
-
Yeah, if you stopped turning when you met resistance, it should be fine as long as you reset the chain to the marks like you said. Been there done that. In my case I was trying to turn the crank with my finger (or a screwdirver?) in the tensioner hole to keep pressure on the tensioner guide. I think I remebered reading that in a manual...I can attest that that is a faulty method!!!Well... The only good thing I can think of is I have a reason to do a valve check... I had the plugs out while rotating and was going slow so I doubt any damage was done. Any thoughts? Is turning the engine counter clockwise like a cardinal sin or something? Didn't seem to take much to make it jump a tooth...Skids (Sid Hansen)
Down to one 1978 E. Stock air box with K&N filter, 81H pipes and carbs, 8500 feet elevation.Comment
-
Very! I'd never changed shims before and went for the camshaft removal method (not having the DIY Motion-Pro tool). I really got the heeby geebies afterwards, thinking of what would have happened if I'd hit the starter button. Fortunately, good sense and caution prevailed and I was ultra-careful....... at the last minute.....thankfully......XS1100F 1980 European model. Standard. Dyna coils. Iridium plugs. XS750 final drive (sometimes). Micron fork brace. Progressive front springs. Geezer regulator/rectifier. Stainless 4 into 2 exhaust. Auto CCT (Venturer 1300) SOLD. New project now on the go. 1980 European model.Comment
-
Wade, if you installed the tensioner without disturbing the motor, the spring should have ratcheted the chain tight. I usually push the ratchet all the way in with a small screwdriver before installing the spring and retaining bolt. As to turning the motor backwards, it will normally make a disturbing sound, might be from the starter clutch. Better off safe than sorry checking the cam timing. Good luck!Well... this day is getting long... installed the CCT then rotated the engine a few more times clockwise for good measure and everything seemed great. I was expecting to hear the plunged ratchet when I torqued down the end bolt but, nothing... probably just couldn't hear it. Well, after rotating it clockwise... for some reason, decided to rotate it counter clockwise... didn't get maybe a quarter turn before I heard what sounded like the cam chain jump 2 teeth on the crank.
  Went to rotate it clockwise again and ran into some resistance.
  I think I will be taking the cams out and setting everything back to where it needs to be.
  The only good thing I can think of is I have a reason to do a valve check... I had the plugs out while rotating and was going slow so I doubt any damage was done. Any thoughts? Is turning the engine counter clockwise like a cardinal sin or something? Didn't seem to take much to make it jump a tooth...2H7 (79) owned since '89
3H3 owned since '06
07 Triumph Tiger 1050
"If it ain't broke, modify it"
☮Comment
-
What Phil says is right. If the tensioner was installed correctly and the engine turned in the proper direction OK then it is probably OK.
Turning it in the opposite direction could engage the starter clutch and make it not feel or sound right.
If you aren't sure, checking won't hurt a bit.Greg
Everybody is a genius. But if you judge a fish by its ability to climb a tree, it will live its whole life believing that it is stupid.”
― Albert Einstein
80 SG Ol' Okie;79 engine & carbs w/pods, 45 pilots, 140 mains, Custom Mac 4 into 2 exhaust, ACCT,XS850 final drive,110/90/19 front tire,TKat fork brace, XS750 140 MPH speedometer, Vetter IV fairing, aftermarket hard bags and trunk, LG high back seat, XJ rear shocks.
The list changes.
Comment
Comment