
 Tweet
Tweet
") Have just received a replacement seat cover. Any idea on how and where do I start when placing the cover over the base unit? Do I start at the rear and work my way forward??? Dont want to stuff this up and have a saggy cover.
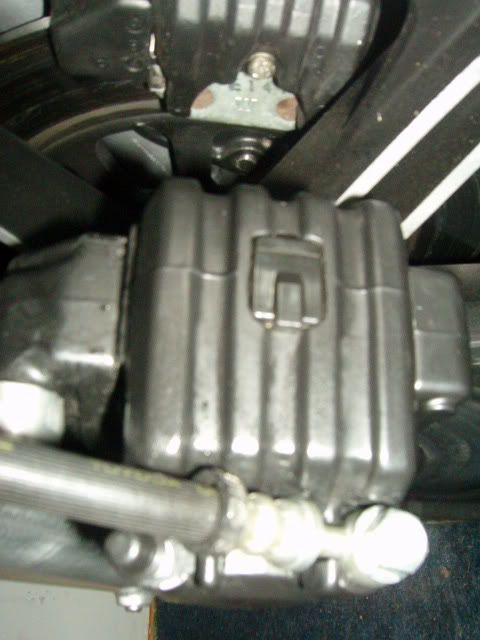
Have just received a replacement seat cover. Any idea on how and where do I start when placing the cover over the base unit? Do I start at the rear and work my way forward??? Dont want to stuff this up and have a saggy cover. Also what paint did Yamaha use on the Brake Calipers. Is it the PJ1 Satin Engine or the Gloss?
Many Thanks to anyone who can help
")


Comment