Announcement

Collapse
No announcement yet.

New Seat Cover XS1100E

Collapse
X
 
  • Filter
  • Time
  • Show
Clear All
new posts

  • New Seat Cover XS1100E

    Have just received a replacement seat cover. Any idea on how and where do I start when placing the cover over the base unit? Do I start at the rear and work my way forward??? Dont want to stuff this up and have a saggy cover.

    Also what paint did Yamaha use on the Brake Calipers. Is it the PJ1 Satin Engine or the Gloss?

    Many Thanks to anyone who can help

  • #2
    Start in the middle where the crease is and work your way out on the cover.

    I don't know what paint YAMAHA used on the calipers but the high heat ceramic seems to work best to resist the brake fluid.

    IMHO
    Greg

    Everybody is a genius. But if you judge a fish by its ability to climb a tree, it will live its whole life believing that it is stupid.”

    ― Albert Einstein

    80 SG Ol' Okie;79 engine & carbs w/pods, 45 pilots, 140 mains, Custom Mac 4 into 2 exhaust, ACCT,XS850 final drive,110/90/19 front tire,TKat fork brace, XS750 140 MPH speedometer, Vetter IV fairing, aftermarket hard bags and trunk, LG high back seat, XJ rear shocks.

    The list changes.

    Comment


    • #3
      Originally posted by russell View Post
      Have just received a replacement seat cover. Any idea on how and where do I start when placing the cover over the base unit? Do I start at the rear and work my way forward??? Dont want to stuff this up and have a saggy cover.

      Also what paint did Yamaha use on the Brake Calipers. Is it the PJ1 Satin Engine or the Gloss?

      Many Thanks to anyone who can help
      I'd put the cover on the foam so that the top of the seat cover is lined up correctly on the foam. Then, with the seat facing forwards as if on the bike, I would take one side down to the seat pan and secure it, but without making the top of the cover move on the foam. Then do the other side. Then work your way forwards and then backwards, securing as you go. The trick is to get the seat cover sufficiently stretched so as not to sag but not enough to start pulling the quilted area on the top of the cover too much so that it moves on the foam. Too tight and you'll have too much tension on the cover. On replica seats, the cover is only GLUED down under the seat pan... no metal pins or sharp bits to hold it.

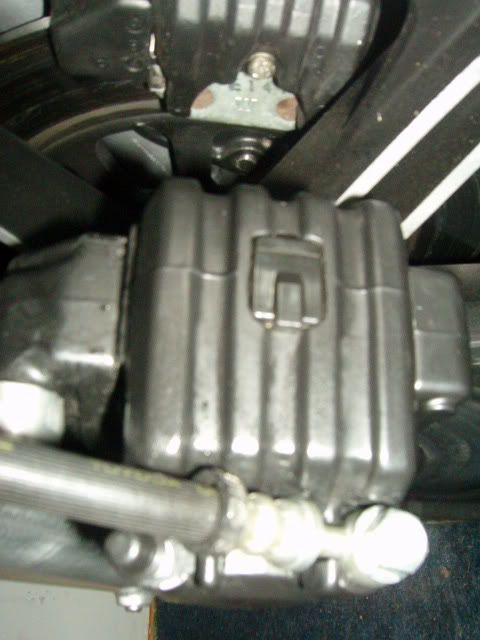
      The original finish on the calipers was gloss. I did all mine in PJ1 satin black case paint. It doesn't resist brake fluid though. I had a weep at the back and it took the PJ1 off. IMO, the PJ1 looks a lot better than the OEM gloss.......

      Last edited by James England; 06-20-2011, 04:45 PM.
      XS1100F 1980 European model. Standard. Dyna coils. Iridium plugs. XS750 final drive (sometimes). Micron fork brace. Progressive front springs. Geezer regulator/rectifier. Stainless 4 into 2 exhaust. Auto CCT (Venturer 1300) SOLD. New project now on the go. 1980 European model.

      Comment


      • #4
        Thanks for the info

        Have the OEM seat. Had some rust in the base of the seat. Used Por 15 paint to repaint the seat. Will attempt the cover replacement this weekend!!! Just hope none of the meatal tabs under the base break off.

        Also have ordered the PJ1 paint. So far the restore project is going as planned.

        Thank god there is the internet

        Comment


        • #5
          If you have a few tabs break, you can use SHORT sheet metal screws or pop rivets in place of the tabs.
          Ray Matteis
          KE6NHG
          XS1100 E '78 (winter project)
          XS1100 SF Bob Jones worked on it!

          Comment


          • #6
            Originally posted by DiverRay View Post
            If you have a few tabs break, you can use SHORT sheet metal screws or pop rivets in place of the tabs.
            Another method is to take the pan down to your local old tyme sheetmetal shop, along with some beers or other cumshaw, and get the old tyme tinner to use his hand notchers on the edge of the pan.
            He will have to jury rig a stop on the tool, so that the original tabs are replicated when the tool is used.
            CZ

            Comment

            Working...
            X