Very nice and I am impressed.
82 XJ 1100 "Naked Boy" project - Finished
Collapse
X
-
Just ME and my 82 XJ 1100. Mac 4>1-2 1/2" open baffle shotgun, no octy, K&N pod filters, LED tail/brake light & directionals, 750 FD mod, Ear Cannon air horn, modified bars and dash. "Motorcyclists are all bound together by a brotherhood tie through their love of the sport, and what difference does it make what machine he rides as long as he belongs to the clan." Walter Davidson, Dec. 1920 edition of Harley-Davidson Enthusiast Magazine http://s851.photobucket.com/albums/ab78/justme1100/ -
Polishing....again
OK so I made a little more progress today polishing covers, and Salty Dog and Wing nut installed the last shim needed a (275) in the valve cover and buttoned the top shut.
Here's the before picture on the shifter cover, mind you it is clean and has been scrubbed with dawn dish soap, it's just stained up that badly.

Then after some sanding, and more sanding, then some buffing and more buffing, here is the final result.

Next came the clutch basket cover. The single most difficult piece on the bike to polish. I'm glad its behind me now and I’m happy with the results. I started wet sanding on it before I remembered the camera but hey we all know what dirty side covers look like.
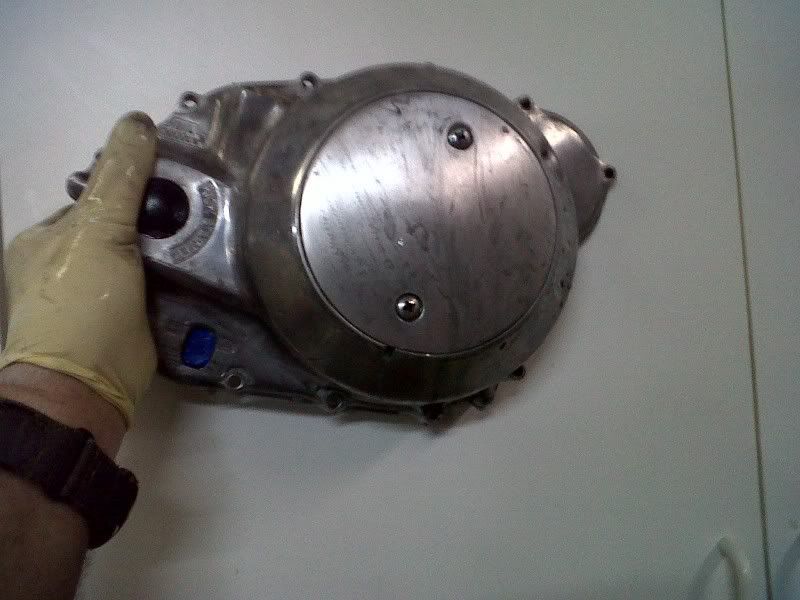
And now for the money shot! I have learned one thing doing this is that I would rather polish the paint any day of the week .
.

Salty Dog also painted and clear coated the timing cover and plate, and fixed some bad wiring. So the only piece left to polish before motor assembly is the alternator cover which will be done tomorrow.
Thanks for all the compliments guys and I’ll try to keep the pictures coming.
~ CamelComment
-
You are freakin amazing at polishing! Love the clear picture of the engine in the reflection on the clutch cover!Nathan
KD9ARL
μολὼν λαβέ
1978 XS1100E
K&N Filter
#45 pilot Jet, #137.5 Main Jet
OEM Exhaust
ATK Fork Brace
LED Dash lights
Ammeter, Oil Pressure, Oil Temp, and Volt Meters
Green Monster Coils
SS Brake Lines
Vision 550 Auto Tensioner
In any moment of decision the best thing you can do is the right thing, the next best thing is the wrong thing, and the worst thing you can do is nothing.
Theodore RooseveltComment
-
Alternator cover
Hey guys he is the last engine piece that need to be polished before the engine reassembly can be finished. Check with Amazon the Clear 2000 wont be here till Thursday now so between painting and drying it will probably be the weekend before the motor can go back in the frame, but hey with 4” of snow on the ground it ain’t like I’m try to ride any time soon. So in my usual style here is the before shot. It was stained and scratched pretty good and the sand blasting gives a nice base to start with.
Alternator cover before.
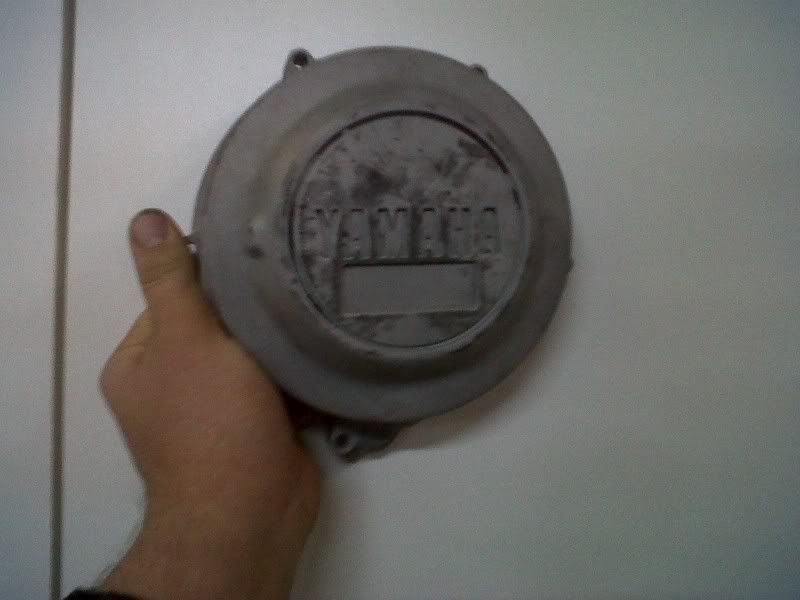
I also am finding it hard to find lower grit 80, 120, & 180 WET/Dry sand paper but I found out today that the mesh drywall sanding screen really works well preventing loading of the paper and you don’t have to worry about the glues falling apart like with regular sand paper.
Here what it looked like right before buffing, wet sanded from 80-1200

Here's the final product.

Next on the list is to paint the black rings and Yamaha on the side covers
Install the restored YICS
Paint the motor Clear
Install all thee side covers
Polish the foot peg brackets and paint black strips.
Then install the motor.
Till then guys
~CamelComment
-
-
-
oh yea... let ask you a question. DO YOUR HANDS HURT? lol looks very good_____________________________________________ 1979 XS 1100 Special "The judge" mods- K&N air pods, 4-1 mac, 147.5 pilots, 57.5 mains, LED turn signal, cafe bars, HEL translucent yellow stainless steel brake line, dyna coil (dc2-1), raptor 660 mc, r6 controls..(sold)
1982 gs1100e "all business" cafe project
1980 gs1000g "stock"
1982 honda express "stretched 10 inch(my daughters scooter)
2008 jmstar 150cc Chinese scooter ( wife's bike)Comment
-
Oh Yeah!!!!
Aleve is a great thing
The worst part though is the crusty, hard painful to pull out Alumininum Oxide nose goblins you can get.
Comment
-
Nathan
KD9ARL
μολὼν λαβέ
1978 XS1100E
K&N Filter
#45 pilot Jet, #137.5 Main Jet
OEM Exhaust
ATK Fork Brace
LED Dash lights
Ammeter, Oil Pressure, Oil Temp, and Volt Meters
Green Monster Coils
SS Brake Lines
Vision 550 Auto Tensioner
In any moment of decision the best thing you can do is the right thing, the next best thing is the wrong thing, and the worst thing you can do is nothing.
Theodore RooseveltComment
-
the parts are coming along nicely,
i know ur nearly finished but..
ive used these pads for rubbing down the alloy
with good success, ive used wet/dry and find
these work better.
 pete
pete
new owner of
08 gen2 hayabusa
former owner
1981 xs1100 RH (aus) (5N5)
zrx carbs
18mm float height
145 main jets
38 pilots
slide needle shimmed .5mm washer
fitted with v/stax and uni pod filters
[url]http://www.youtube.com/watch?v=3pA8dwxmAVA&feature=mfu_in_order&list=UL[/url]Comment
-
I keep telling my self that and never seem to remeber when its time to start buffing
Pete - I have some of those and started with them and they work great if you are not trying to move lots of material. Maybe it was me but I couldn't really get the "cut" I needed to get out the deep gouges with the hand pad style. I do have the brillo style drill chuck style in my drill press and they do move material but not very evenly. The brown one is soft enough to get into the hard to reach places nicley with out killing the finish, the Black Grey hard one, Well now, lets just say you dont pull that one out unless you're ready to get Medievil on something.Comment
-
Motor Done!
Here it is boys,
The motor is back together.
The VHT 2000 degree clear came in today and we applied 3 coat in the heated garage. Waited about an hour and started stripping off tape and installing the covers back on.
Salty dog took the port side and I took the Starboard side.
Then I started cleaning up the garage a little and Salty-dog went through the old pics to determine where all these little freaking clip went and routed the wires to where the belonged.
Hope you enjoy.

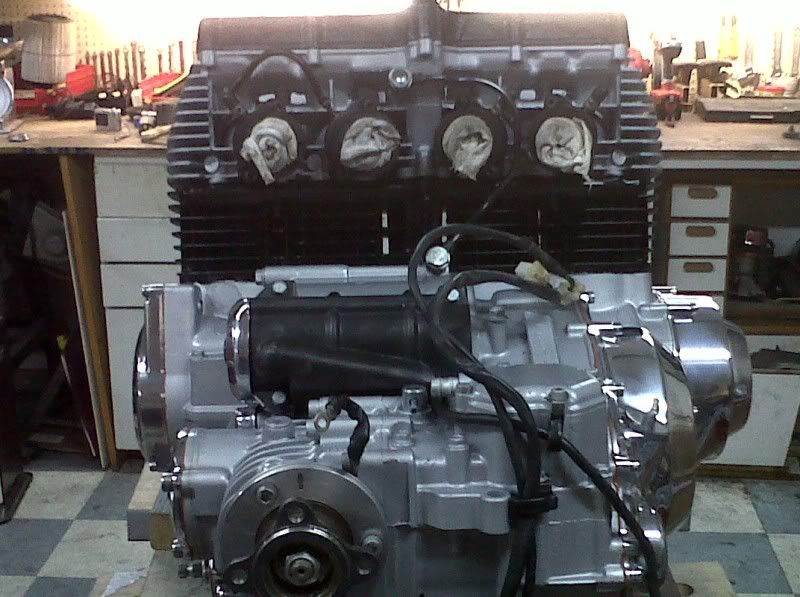
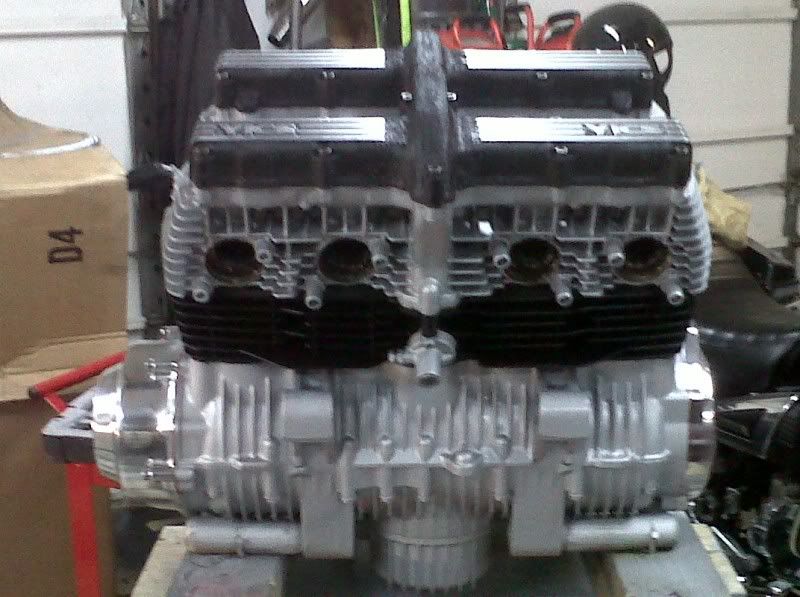


Tomorrow we plan on cleaning up the motor mount brackets and installing the motor into the frame.
Wish us luck!
~CamelComment
-
Very Very nice work!! I bet it did not look that nice coming off the factory line!!
Slow and easy is the only way to work on things like this, so plan the install out and don't rush or force it and you will have no problems. But good luck anyway!!! Life is what happens while your planning everything else!
When your work speaks for itself, don't interrupt.
81 XS1100 Special - Humpty Dumpty
80 XS1100 Special - Project Resurrection
Previously owned
93 GSX600F
80 XS1100 Special - Ruby
81 XS1100 Special
81 CB750 C
80 CB750 C
78 XS750Comment
-
+1 on the great work,
compared to how it started out
the both of you have done a fantastic job.pete
new owner of
08 gen2 hayabusa
former owner
1981 xs1100 RH (aus) (5N5)
zrx carbs
18mm float height
145 main jets
38 pilots
slide needle shimmed .5mm washer
fitted with v/stax and uni pod filters
[url]http://www.youtube.com/watch?v=3pA8dwxmAVA&feature=mfu_in_order&list=UL[/url]Comment
-
no motor today
Why is it every time I think a piece is in good enough condition just to buff I end up at the sink pissed off an hour and a half later sanding away?
I seem to do this all the time and you would of thought I would of leaved by now.
Conclusion:
I've you spend more the 10 mins at the buffer then you probably didn’t sand it enough first.
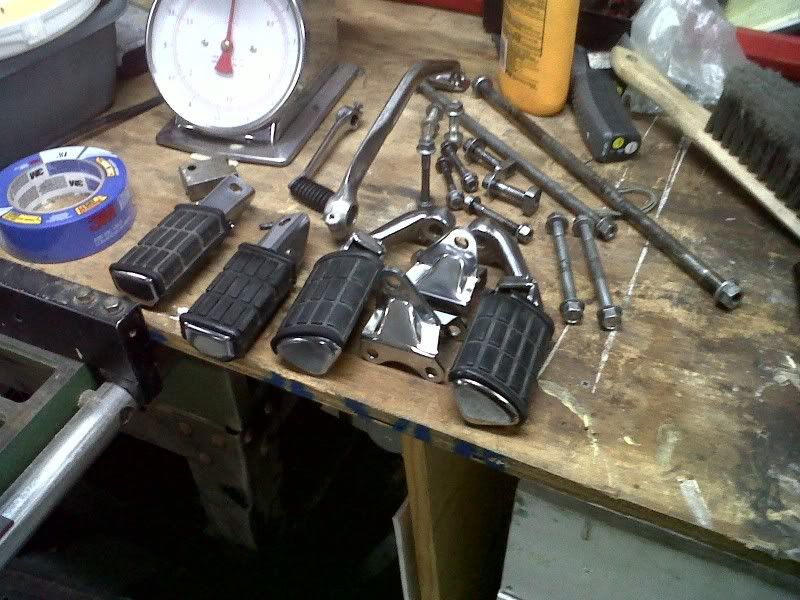
Well as it turns out the motor didn’t go into the bike today. As we were scrounging up all the pieces needed to mount it in the bike we realized that there was no way in hell all those dirty ass bolt were going into that pretty motor and frame. So Salty Dog fashioned an miniature (5 gal Bucket) sized electrolysis tank. And I hit the buffer.
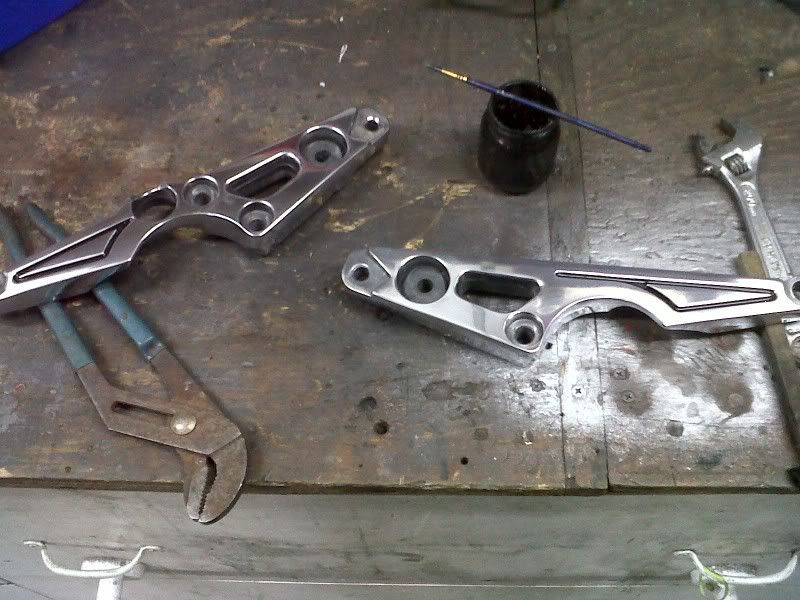
Here are the foot peg brackets I polished and painted the black stripes into.
Here a handful of the bits and pieces that Salty Dog cleaned up and then clear coated. Hopefully the motor can go in tommorow, but hey as somebody pointed out, why rush it.
Later yall
~CamelComment
Comment