all those product work good if you dont care about the scratches. If you want a mirror shine you have to remove the material around the scratch to the at least the deepth of the scratch. getting something to shine is all about flattening out a surface to reflect light. So to produce a shine a product has to do one of two things. Remove the humps and bumps taking big mountians and makinging this small hills through sanding of buffing (which is sanding only with wax abbrasives) or by filling in the canyons and hill and leaving a flat surface on top, which is how wax and paint works. Although if you use a clear product you will still be able to see the scratches beneath the finish. Kinda like those acrylic bar tops you see at the bar (you all have seen them) It's shining at heck but it's still got pictures and scratches and money and everything else underneath them.
82 XJ 1100 "Naked Boy" project - Finished
Collapse
X
-
-
Hand that bone head both of your side covers. The polished one and the dirty one. Buy him a tube of Fitz, make three other people judges, and tell him to make the dirty one look like yours only using the directions on the tube of polish and bet him a hundred dollars that he cant do it. Then collect your money and tell him to STFU about stuff he doesnt know about.
I hate people who give advice about crap they dont have a clue about.
Like two drunk bar flys sitting around at a bar givving each other marriage advice.Comment
-
I assumed as much. I was pretty pleased with the techniques that you were using and figured that someone like you and your team (who seem to know what you are doing) would not go around using methods that were not warranted.
This co-worker is generally OK but a bit of a blow hard and I did not think that using the product he was talking about would be that easy.Kawasaki 74 XL400S, 83 550 GPz
Honda 86 GL1200, 80 XL500S, 82 750 Nighthawk
Yamaha 78 XS1100E, 80 XS1100G, 92 YZ80
Suzuki 82 GS650LComment
-
electrolysis 101
Hey Guys,
Been puttering around with a few things the last couple of days but not really anything major that warrants the eye candy photo shots.
First off let check out some electrolysis. AKA “Salty Dog's Mad science Lab”
Here's a before shot of the headlight bucket.
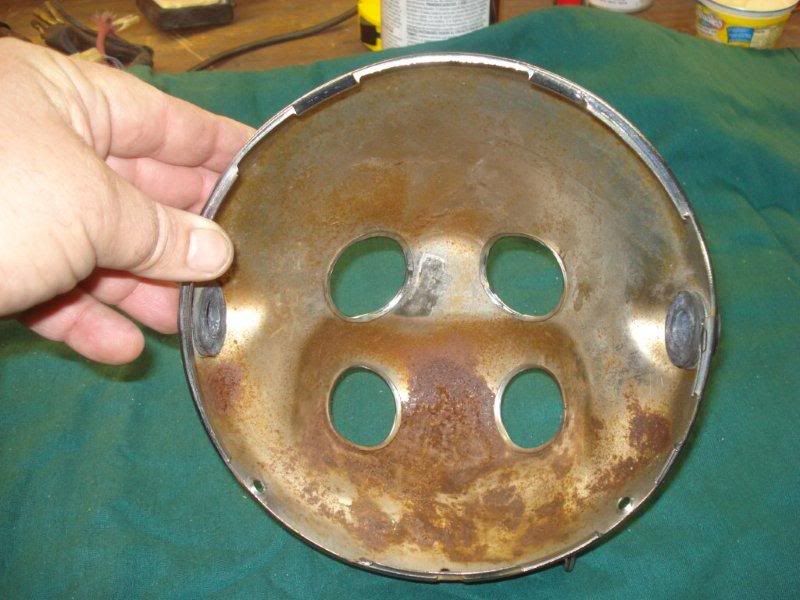
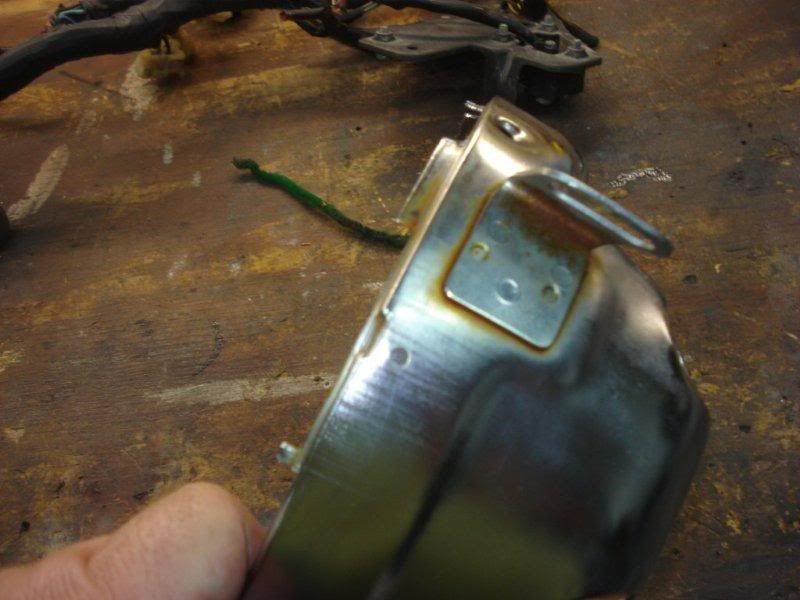
Next we need a DC power source (a 15 amp battery charger works great) the higher the amperage the better.
Then we need a tank big enough to hold the crudy part we want to work with.
Followed by a anode that works for you part. The process works mainly line of sight. So the more you can surround your part with out touching it the better, although that's not to say it wont work in the blind spots, just not as well.
We used a piece of steel mesh bent up to fit the tank elevated by a couple of 2x4 block. Steel only. Galvanized Steel, and stainless will make a nasty witch’s brew that might damage or discolor your part.
Then you fill it with water and baking soda.
This is about a 20 gal tub and we use a cup of baking soda in it. We also used scalding hot water, I don’t know if the water temp really makes a difference because it still work hours later after it cools off, but I do know it hurts like heck when you gotta get your hands in there to insulate a part from your anode.
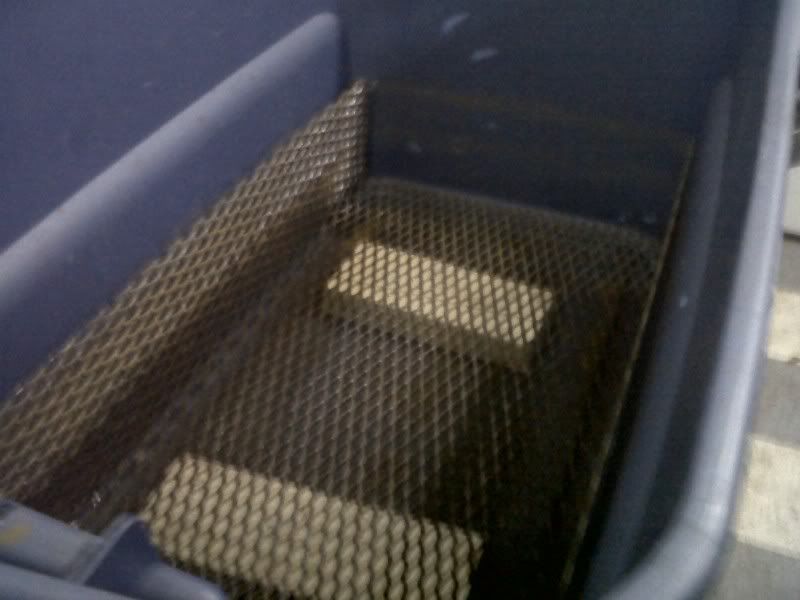
Next we place our part to be de-rusted in the tank making sure to insulated it for your anode either through suspension or plastic or wooden spacers.
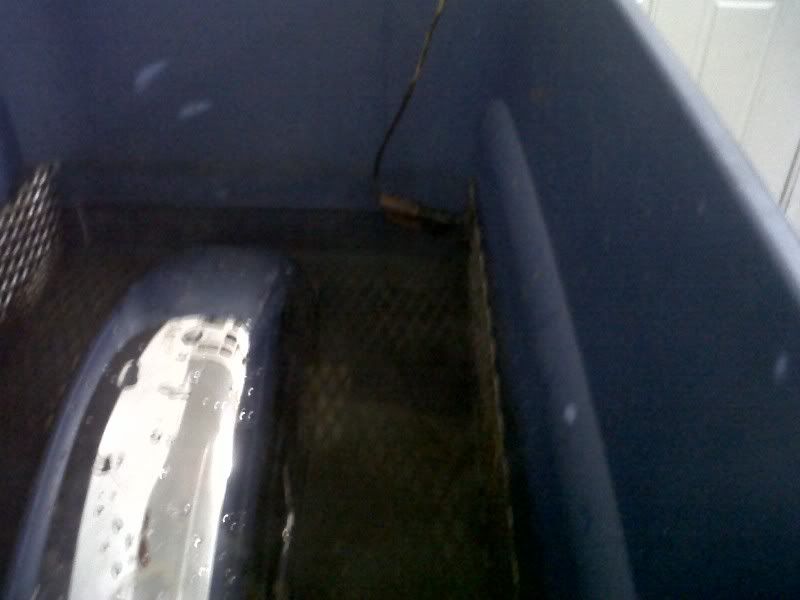
Fill the water up to submerge the whole part connect you positive terminal to you anode and your negative terminal to your part. If you get this backwards then you will be putting rust and all other kinds of crap onto your parts. Although flipping is backwards and adding dye is also how you anodize aluminum which I might experiment with later on.
A couple of second later you should see bubbles racing to the top. The bubbles are hydrogen being released from the water.
Youtube “exploding hydrogen” for some quick amusement
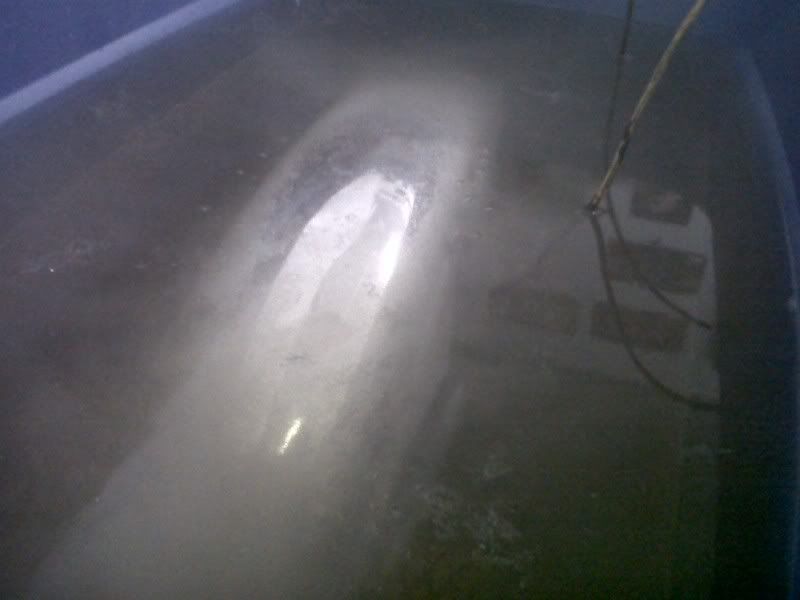
Straight steel can be left in for days with little problems if you want, but hardly necessary. Although Chrome needs to be done in short bursts especially if its thin. It can start to remove the chrome if left in too long, as we found out with a grab rail for the xs750 tripp.
Remember guys while the cavitation and bubble will move the material away from the part for you the idea here is to just get the rust to lose its bond to the steel which happen quickly. So my suggestion here is to soak it for 15 mins, scrub loose all the stuff that has come loose, and then soak it again letting all those little electrons get to the parts that were covered up by the crude you just removed. Then scrub and soak for another 15 mins. After which you will have some parts that look like this.
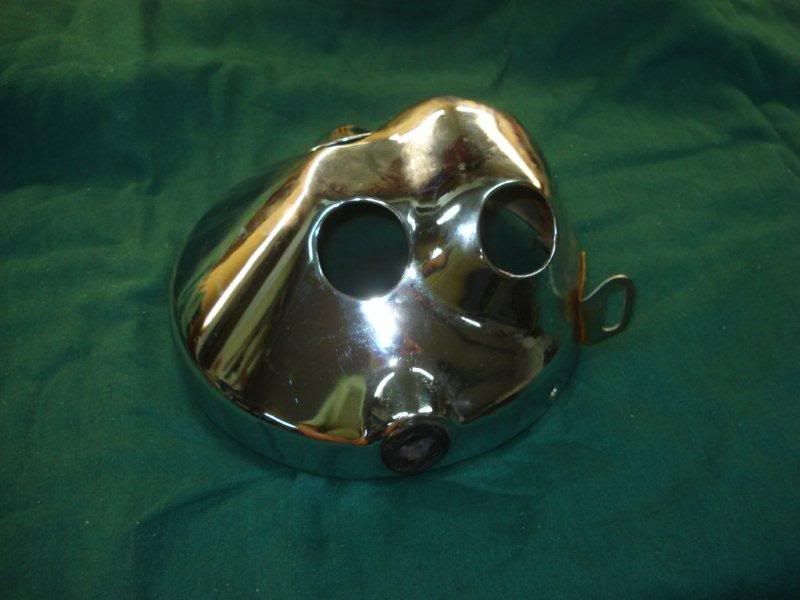
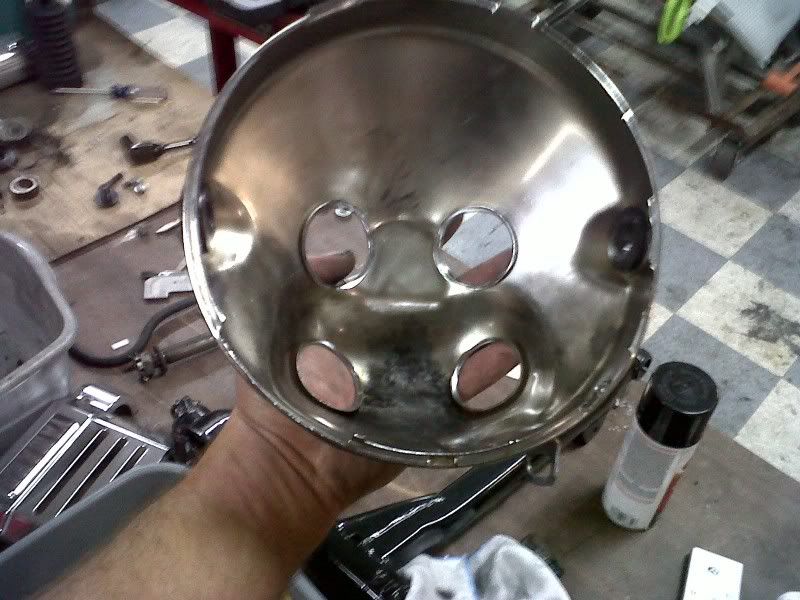
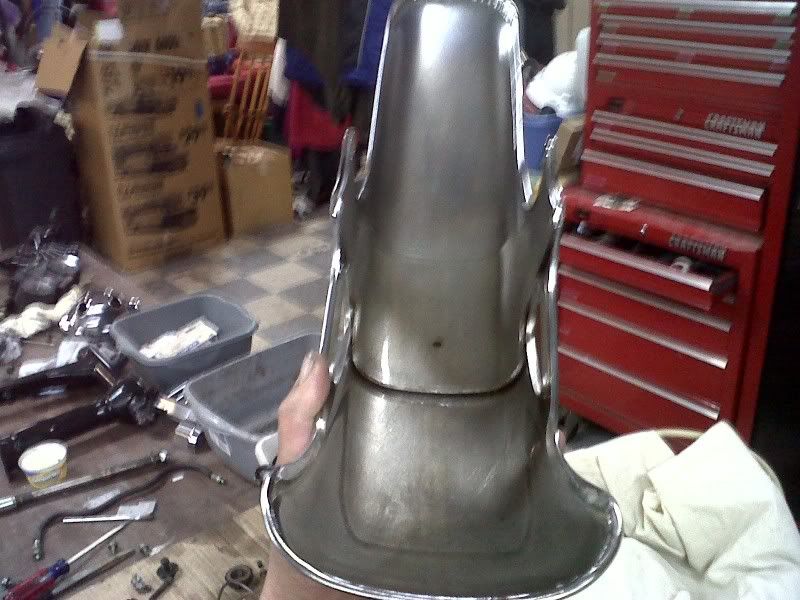
We then clear coated the inside to help preventing re-rusting. If you dont it will be rusty the next day.
It also works great removing paint!
Check out the rotor below. And any body who has tried to strip off this paint knows how hard it can be.
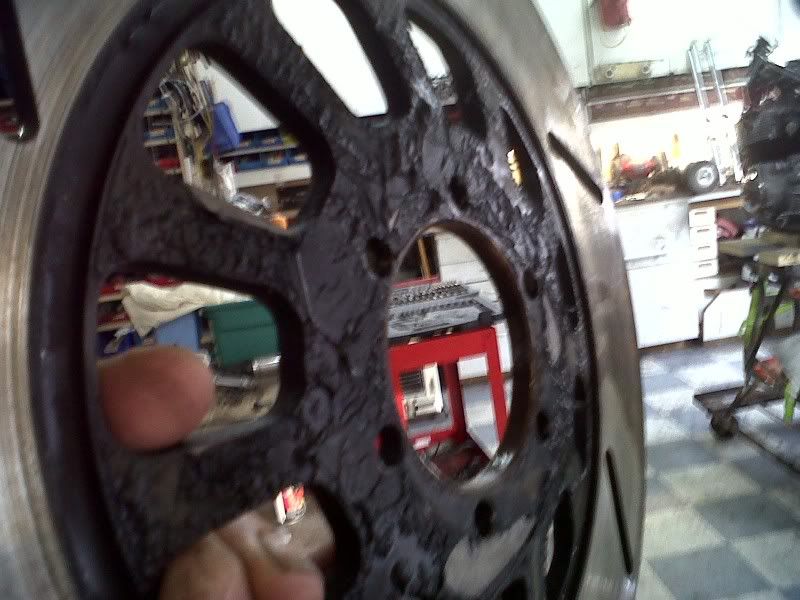
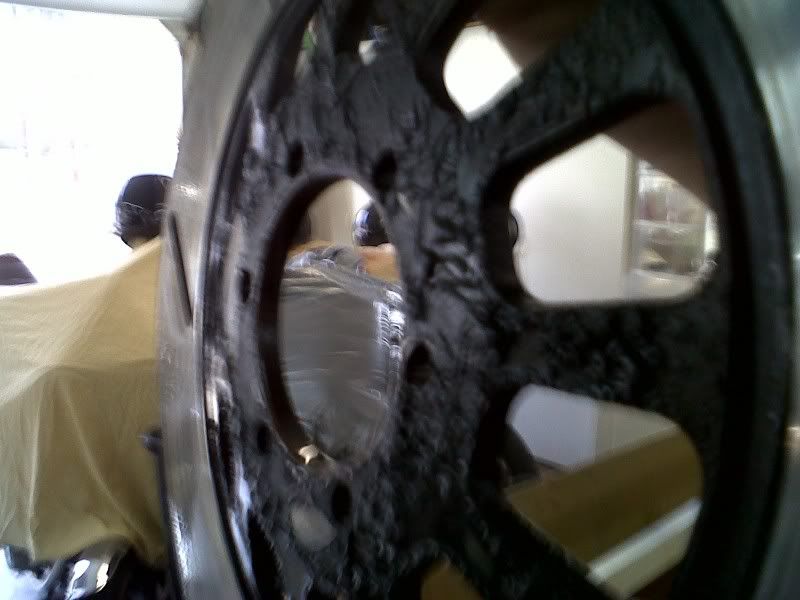
Thanks to Salty Dog “AKA Dad” for working out all the kinks to this.Comment
-
Welcome to another episode of Salty-Camel's Garage.
Next on the agenda: get the front end on.
But its far too nasty just to wipe it down.
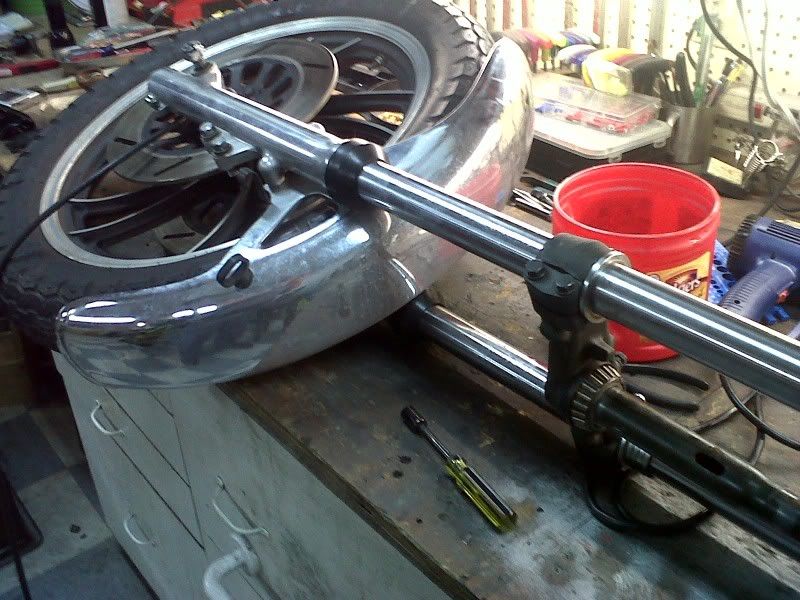
So I striped it down to it's basics and picked one part at a time to work on.
I soaked all the little parts in acetone, cleaned up the axle, and washed everything in dawn.
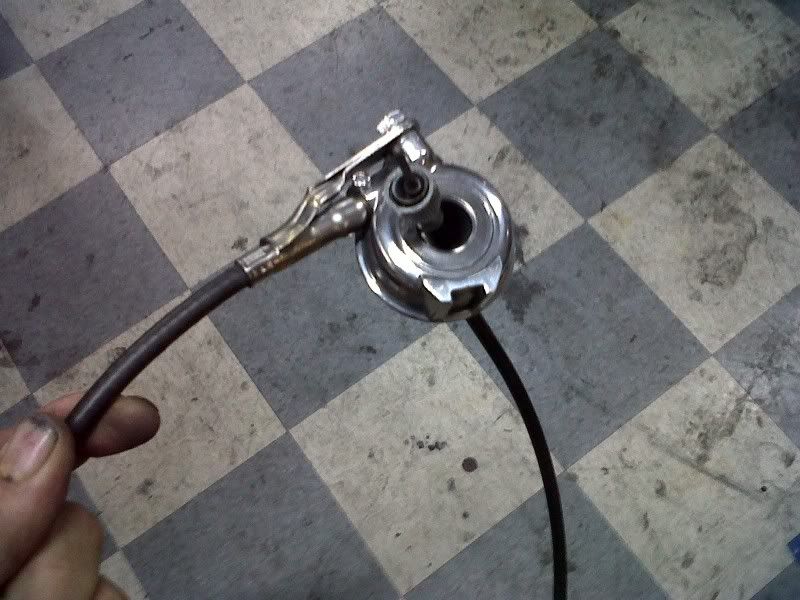
While rinsing the speed-o dog down with acetone the black started to come off so I decided to polish it verses paint. (I loth painting)
Next I went after the calipers. I pre-sanded and filed everything down before I painted to make it easier to removed the paint later in the spots I wanted to keep bare. Then I disassembled them cleaning out the barrel, then washed and soaked them overnight in Dawn because they were covered in oil. I hung them up and sprayed them with 3 coats of VHT caliper paint. Sanded and filed them back off after they dried and reassembled.
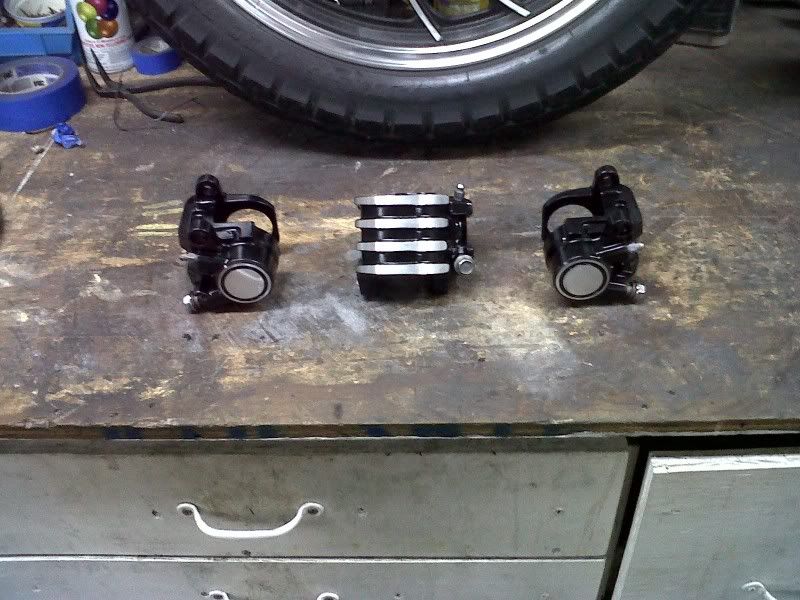
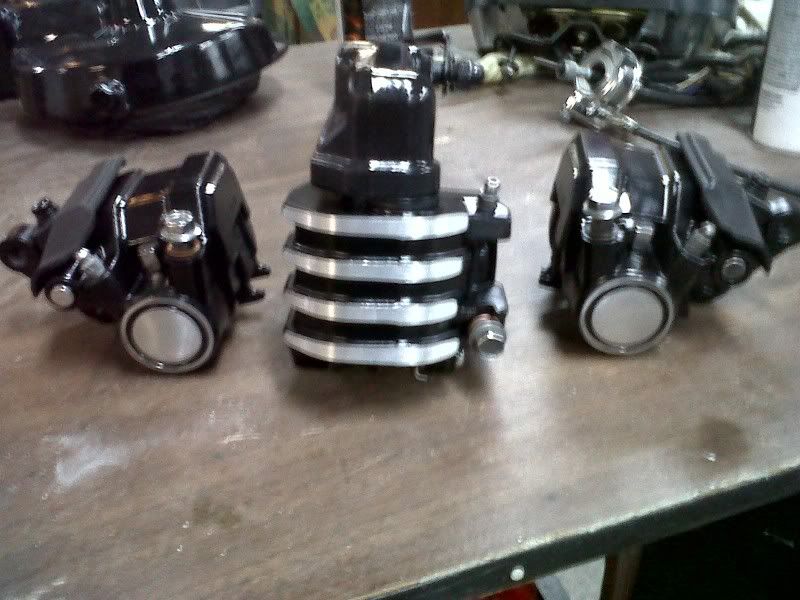
I also decided to file off the final drive slashes while I was at it.
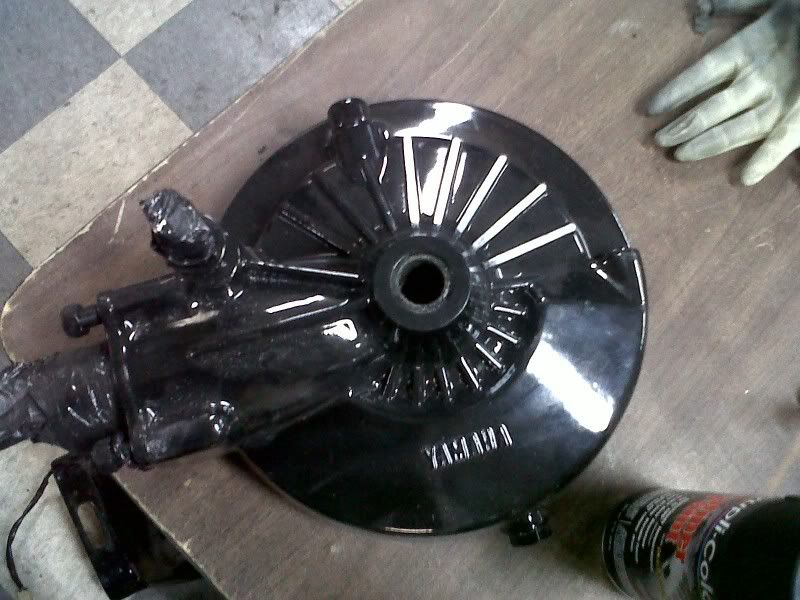
Time for the rotors.
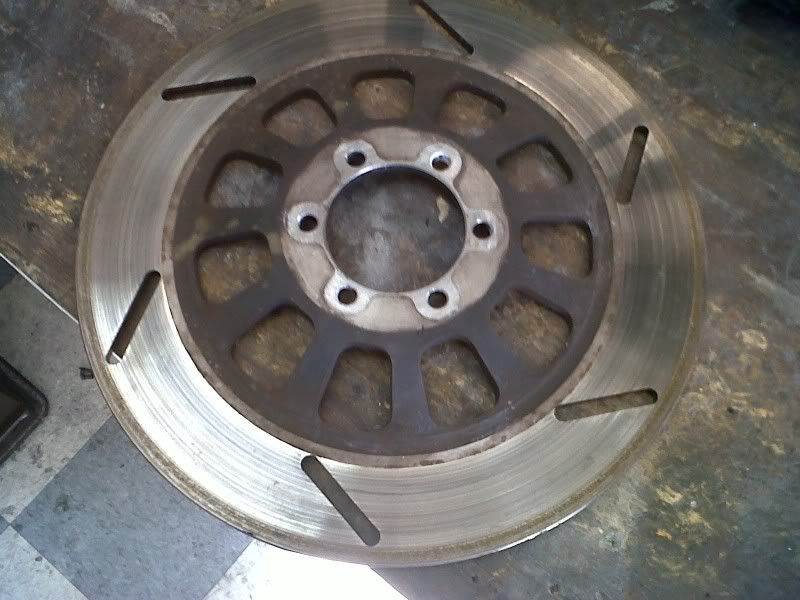
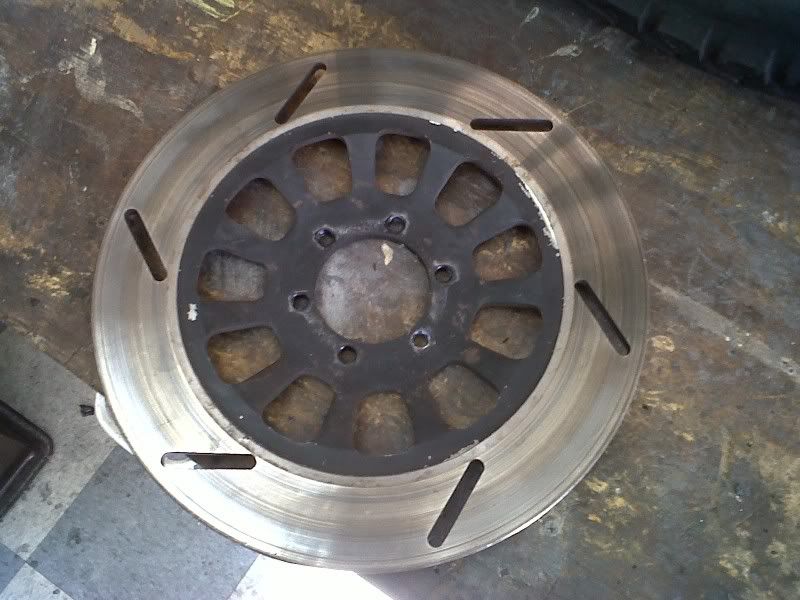
I used electrolysis to loosen the paint and scrubed off with a brass wire brush.

I then taped them up and used and exact-o knife to cut out the radius.
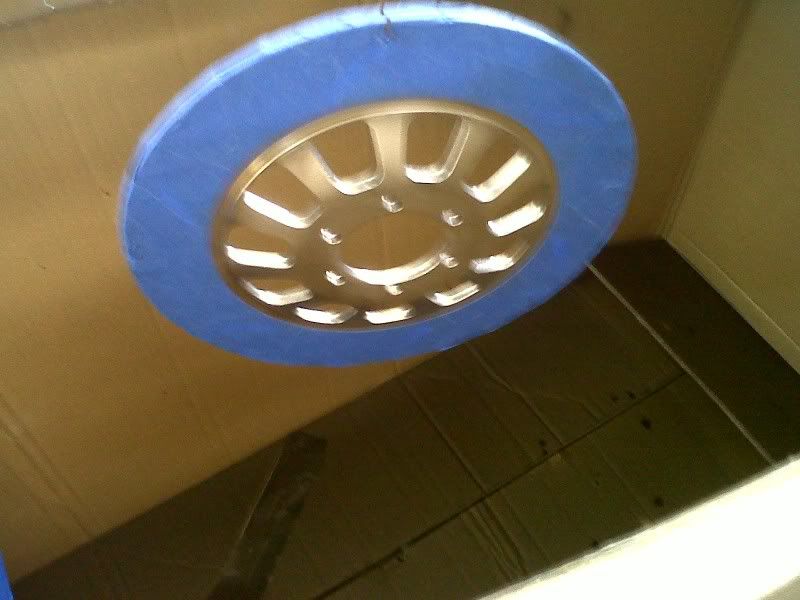
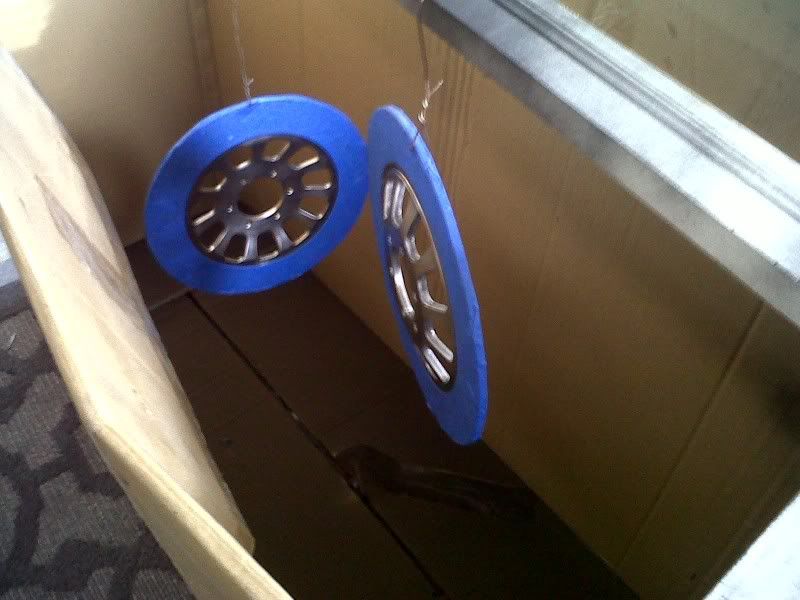
Finally I painted them with 3 coated of caliper paint.
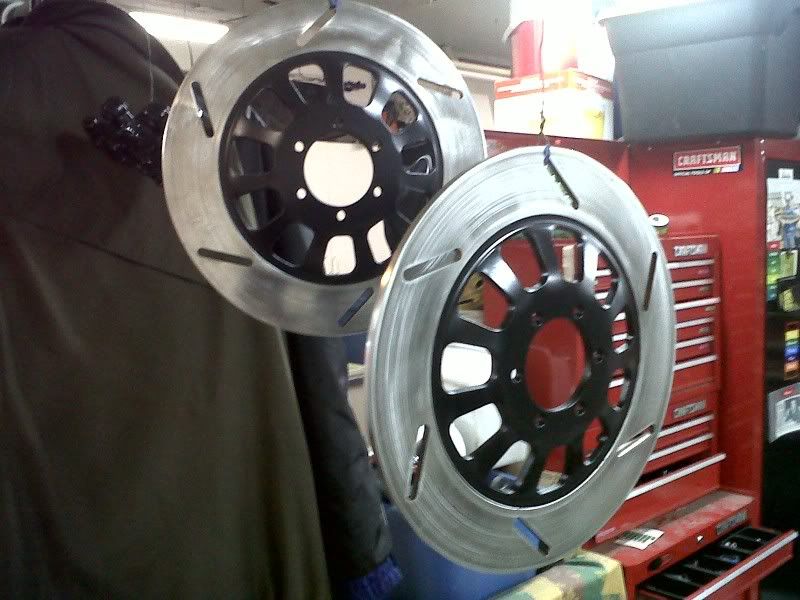
Wheels, wheels, wheels,
This picture makes it look sooooo much cleaner then it was.
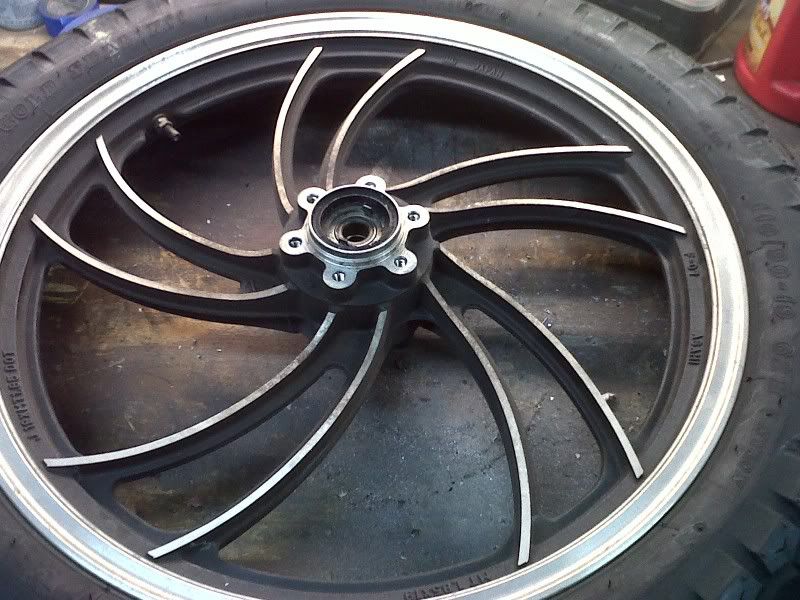
close up.
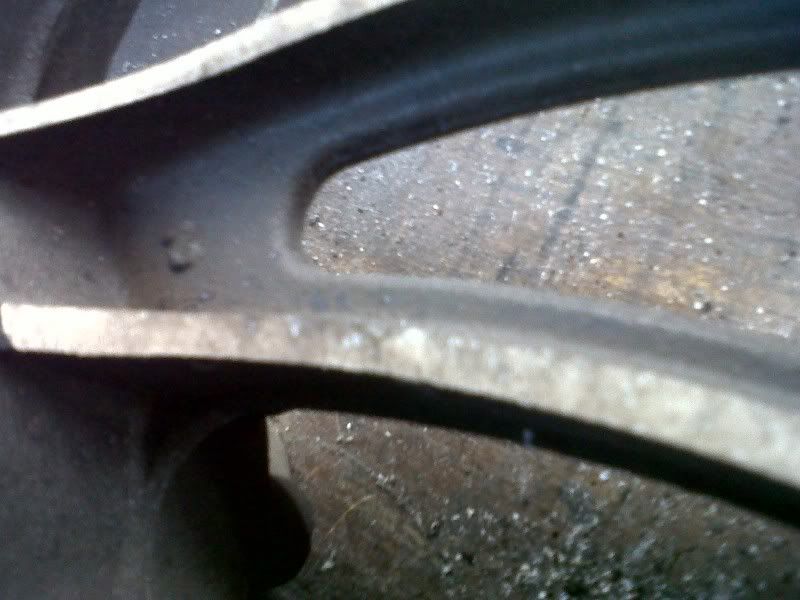
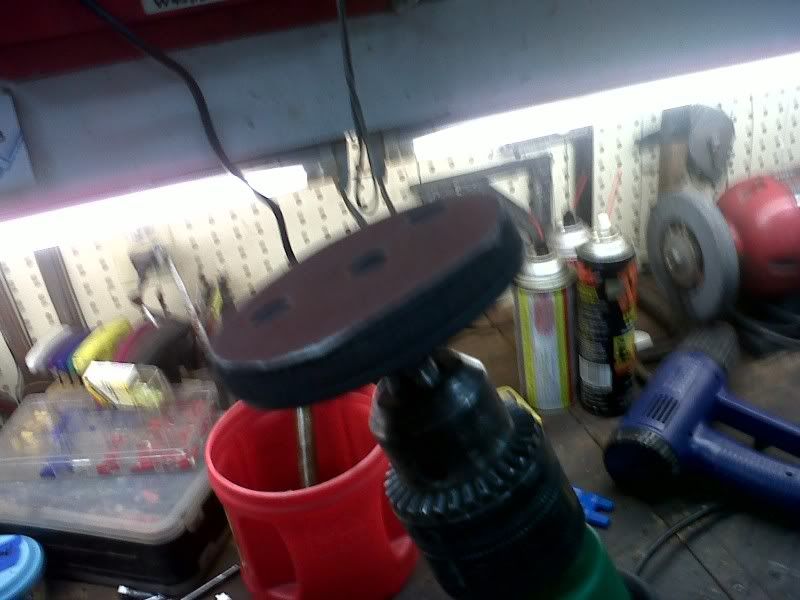
I chucked a 3 inch buffing wheel in a drill and went around and around. Then I took a 220 sanding disc and sanded smooth all those fly cutter marks on the swirly wheels hopefully making them easier to clean later.
Then I used Back to black and a tooth brush to bring the black back out of the rims.
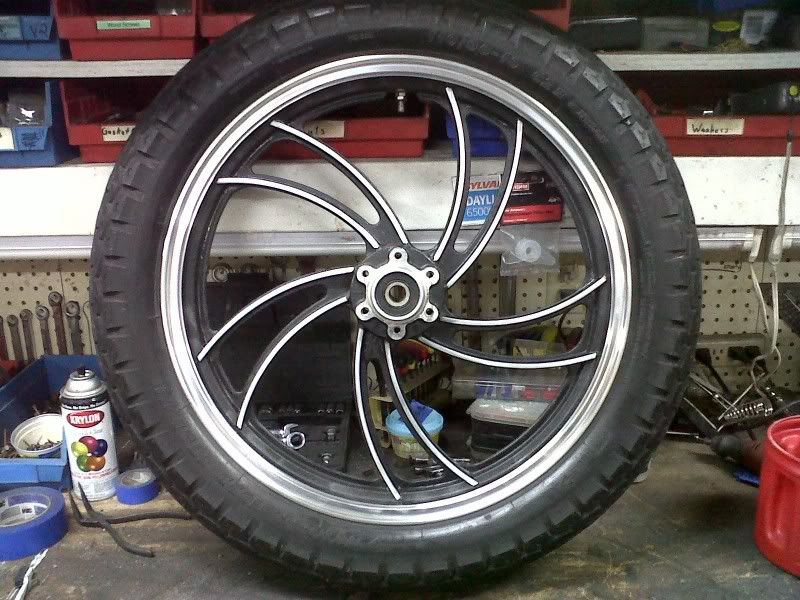
Well..... Hanging the front end will have to wait as I still need to get a good polish on the forks. (probably a day long project on it's own)
But,,,,,,,,,,,,
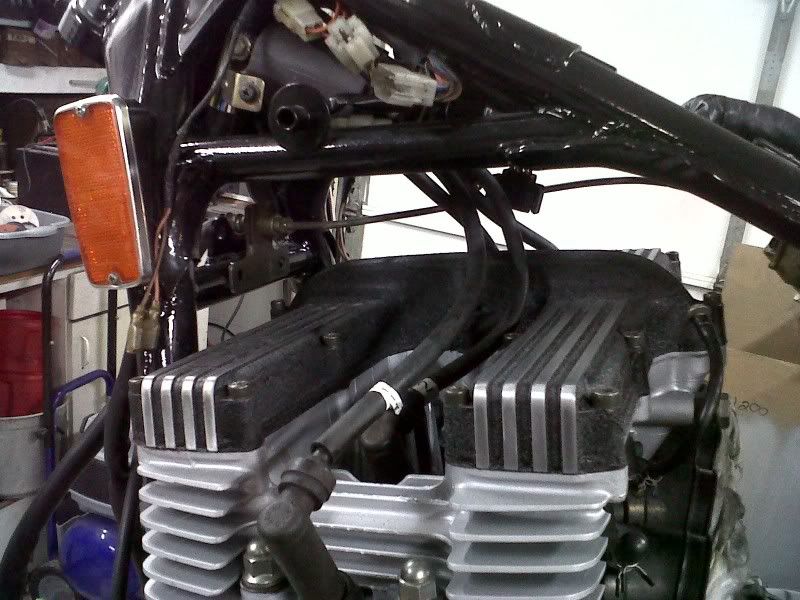
Meanwhile on the other side of the Garage “Salty” was busy installing the harness back into the bike.
His comments on the subject at the end on the day? “Boy... there aint a lot of room in there. . “
. “
Brains looking for a bucket to go in.
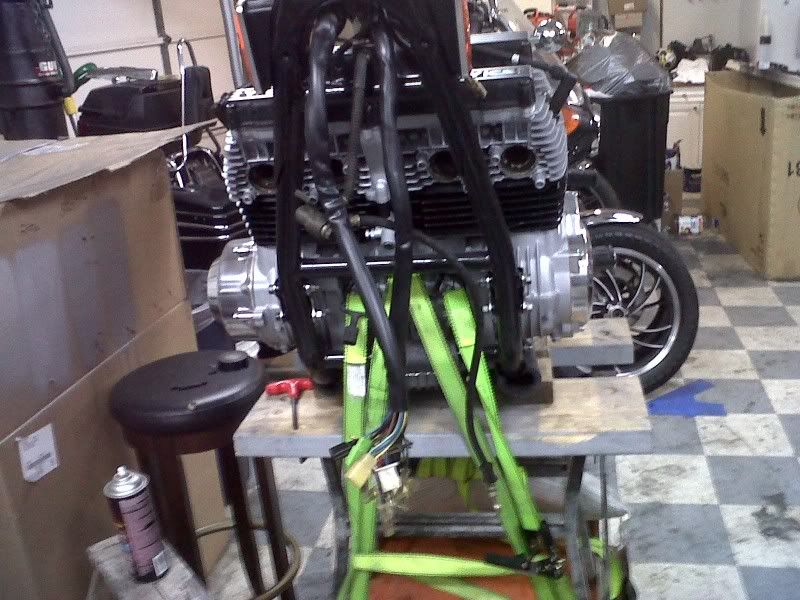
Coils dialed in, refurbed, and ready to go.
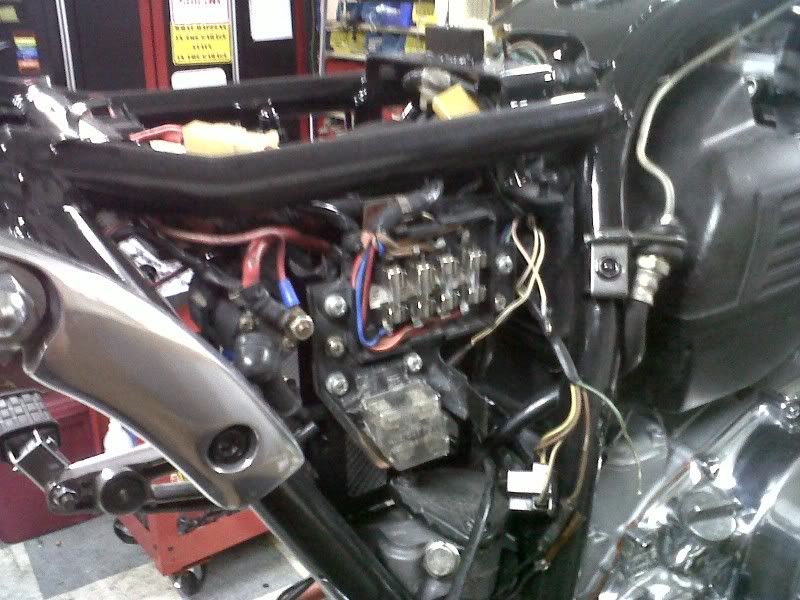
Rebuilt fuse box with new clips, solder joints, and shrink tube.
Great Job Dad!
Tune in next week to see : “How to polish your forks” “Getting a fat rubber in the rear.” and “Where the @@@@ does that go?”
Seriously guys Hope you guys enjoy the build as much as we do.
~CamelComment
-
You left the old fuses in there?? Why not put an ATC fuse block in there and toss those dinky tube fuses?
Those calipers look really nice, BTW!1980 XS850SG - Sold
1981 XS1100LH Midnight Special (Sold) - purchased 9/29/08
Fully Vetterized and Dynojet Kit added, Heated Grips, Truck-Lite LED headlight, Accel Coils, Irridium plugs, TKAT Fork Brace, XS850LH Final Drive & Black SS Brake lines from Chacal.
Here's my web page devoted to my bike! XS/XJ User's Manuals there, and the XJ1100 Service Manual and both XS1100 Service manuals (free download!).
Whether you think you can, or you think you cannot - You're right.
-H. FordComment
-
Thanks on the compliments. As far a the fuzes go why would I replace the whole block? The smaller size fuzes are readly available at any radio shack. We found a source for new stainless steel clips and now just replace the guts, new solder joints, and new fuzes, ready for another 20+ plus years of service, and we maintain that whole cool "Retro" look for only a couple of bucks.
I'm not saying I'm opposed to the modern fuze blocks but if i'm smarter then the some of my parts and tools i'm working with, and can do it inexpensivly why not keep it as much stock as possibly? After all the weak point on these boxes were the clips, and you dont get much better then SS.Comment
-
Fast, Cheap, Reliable... Pick any two
'78E original owner - resto project
'78E ???? owner - Modder project FJ forks, 4-piston calipers F/R, 160/80-16 rear tire
'82 XJ rebuild project
'80SG restified, red SOLD
'79F parts...
'81H more parts...
Other current bikes:
'93 XL1200 Anniversary Sportster 85RWHP
'86 XL883/1200 Chopper
'82 XL1000 w/1450cc Buell, Baker 6-speed, in-progress project
Cage: '13 Mustang GT/CS with a few 'custom' touches
Yep, can't leave nuthin' alone...Comment
-
Actually, it's not just the clips that are an issue. The tube-style fuses themselves are known to be questionable. They can LOOK just fine, with an intact wire, but still not conduct electricity because the conneciton INSIDE the fuse is broken. I have picked up tube fuses and had the metal ends twist off in my hands.
I applaud your desire to maintain the authenticity of the system, but for $11, a new fuse block is cheap insurance against electrical failure IMHO.1980 XS850SG - Sold
1981 XS1100LH Midnight Special (Sold) - purchased 9/29/08
Fully Vetterized and Dynojet Kit added, Heated Grips, Truck-Lite LED headlight, Accel Coils, Irridium plugs, TKAT Fork Brace, XS850LH Final Drive & Black SS Brake lines from Chacal.
Here's my web page devoted to my bike! XS/XJ User's Manuals there, and the XJ1100 Service Manual and both XS1100 Service manuals (free download!).
Whether you think you can, or you think you cannot - You're right.
-H. FordComment
-
Right.....Or I can properly go through my electrical system to make sure I dont blow fuzes and keep spares in the tool box.Actually, it's not just the clips that are an issue. The tube-style fuses themselves are known to be questionable. They can LOOK just fine, with an intact wire, but still not conduct electricity because the conneciton INSIDE the fuse is broken. I have picked up tube fuses and had the metal ends twist off in my hands.
I applaud your desire to maintain the authenticity of the system, but for $11, a new fuse block is cheap insurance against electrical failure IMHO. IMHO
IMHO
The upgraded fuze box is a great idea that works, just not my style for what I'm looking for in this build.Comment
-
Comment
-
However even under the best of conditions the glass fuses don't really work very well. There is a reason that they are used in almost nothing that sees the outdoor anymore, they really are pretty inferior. When my 400 was new (ok, 4 years old, but new to me from my uncle) I had to fight with the fuses in that junk fuse box even then. Yamaha has long been known for crappy fuse boxes, and had I been able to find what I have in both my bikes now back then, I would have changed it even then.Cy
1980 XS1100G (Brutus) w/81H Engine
Duplicolor Mirage Paint Job (Purple/Green)
Vetter Windjammer IV
Vetter hard bags & Trunk
OEM Luggage Rack
Jardine Spaghetti 4-2 exhaust system
Spade Fuse Box
Turn Signal Auto Cancel Mod
750 FD Mod
TC Spin on Oil Filter Adapter (temp removed)
XJ1100 Front Footpegs
XJ1100 Shocks
I was always taught to respect my elders, but it keeps getting harder to find one.Comment
-
Really?!?!?!However even under the best of conditions the glass fuses don't really work very well. There is a reason that they are used in almost nothing that sees the outdoor anymore, they really are pretty inferior. When my 400 was new (ok, 4 years old, but new to me from my uncle) I had to fight with the fuses in that junk fuse box even then. Yamaha has long been known for crappy fuse boxes, and had I been able to find what I have in both my bikes now back then, I would have changed it even then. I'm not trying to start a glass tube vs spade debate here. You even quoted me saying I thought the spade box was a good idea. I'm baffled as to why you guys have a hard on for this.
If I wanna paint it purple and hang tassles from it thats my right , your right is to tell me its fugly, dont try to convince me what i'm doing it wrong, becuase it's not. Its just a matter of taste with this build.
This is equivalent to the fact that the rear drum brakes on xj650 and smaller inferior to the rotors on a 1100 and are prone to brake delamination (just as Bigfitz at "XJbike.com" about it) and although its possible to swap out rims and brakes people dont advocating the swap out. No you just fix the bad stuff and replace it with good stuff and get some new drum pads. I similarly just got new clips and extra fuses to keep in the tool box under the seat.
Dont take this the wrong way I know you guys are trying to help me out here down the road, I'm just saying, I'm very aware of the pros and cons here, we even talked in the shop about doing it, I just decided to keep it stock.Last edited by thecamelman79; 01-21-2011, 11:36 PM.Comment
-
I have to agree with you. You adressed the issues of the old possibly broken fuses, replaced the old brittle brass clips, so to each their own. Will they last as long as newer style fuses, who knows, but I bet it will last longer than the oem brass did and there are plenty I am sure that are still runnning the brass clips without problems.
More power to you!Nathan
KD9ARL
μολὼν λαβέ
1978 XS1100E
K&N Filter
#45 pilot Jet, #137.5 Main Jet
OEM Exhaust
ATK Fork Brace
LED Dash lights
Ammeter, Oil Pressure, Oil Temp, and Volt Meters
Green Monster Coils
SS Brake Lines
Vision 550 Auto Tensioner
In any moment of decision the best thing you can do is the right thing, the next best thing is the wrong thing, and the worst thing you can do is nothing.
Theodore RooseveltComment
Comment