Announcement

Collapse
No announcement yet.

My first project

Collapse
X
 
  • Filter
  • Time
  • Show
Clear All
new posts

  • My first project

    Well, I finally bought a house and now that I have a garage to tinker in I started looking for a bike to restore.

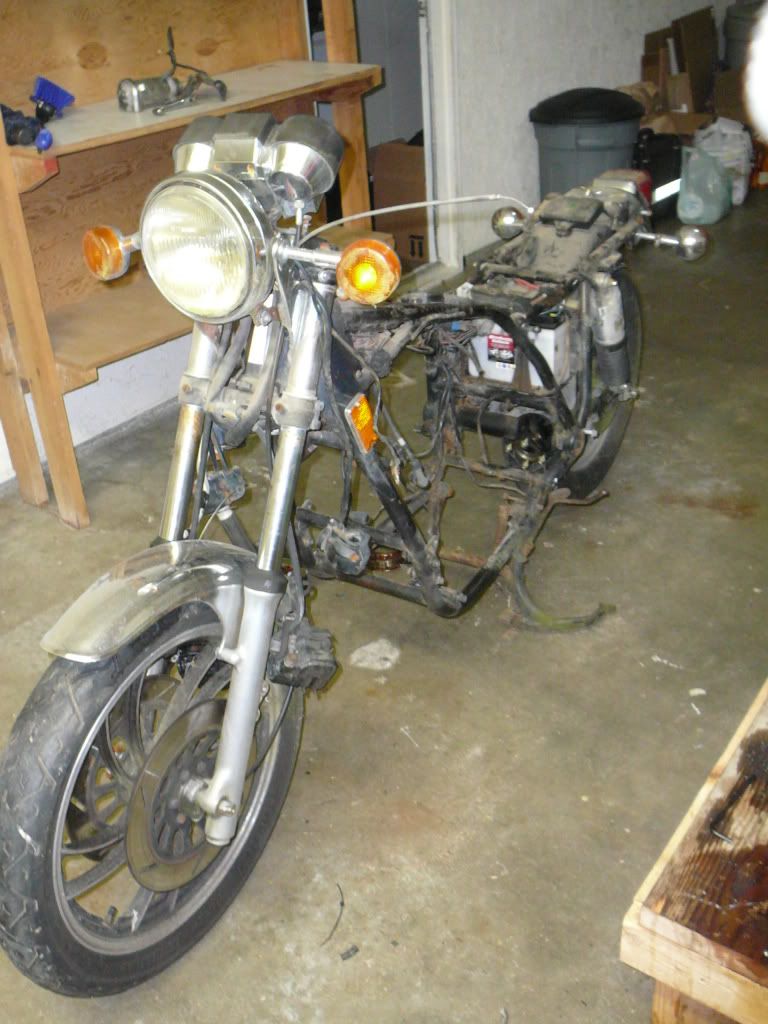
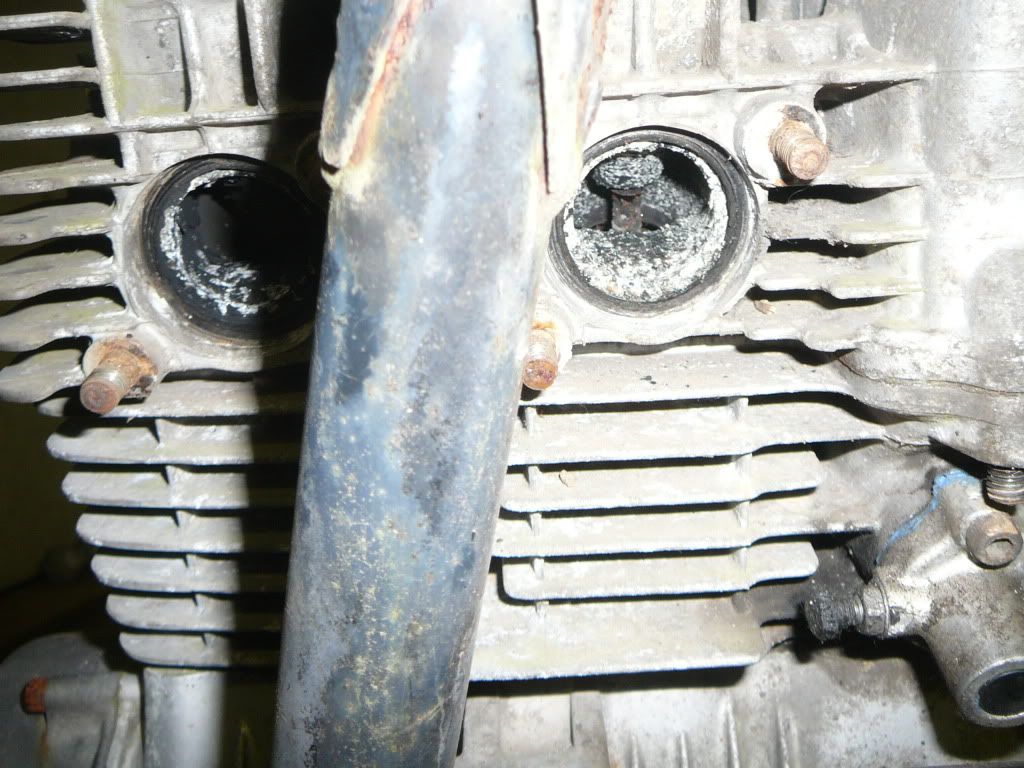
    Since I bought the house I also have no money to do the project so I lucked out when I came across a Craigslist ad for a free bike. The bike is an '82 XJ1100 with 40,000kms on it. It is a complete bike, although some of the parts are rusting away. It has sat outside, uncovered for the past eight years and it shows. It doesn't run but when I turned the key on there was still a little juice in the battery!
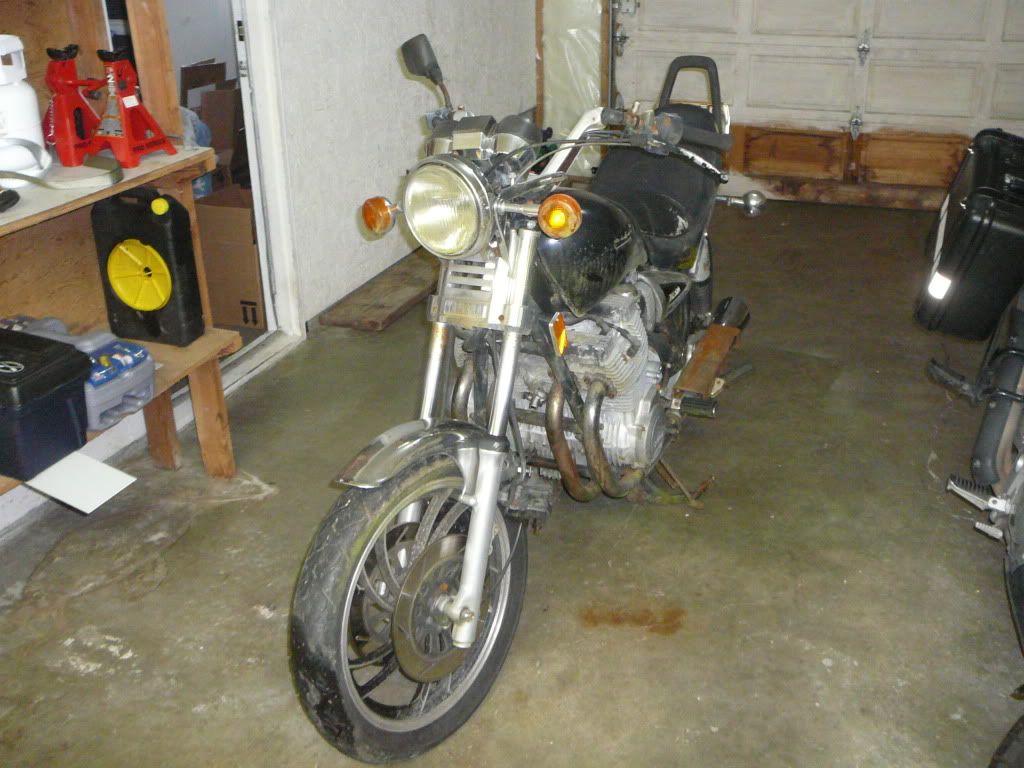
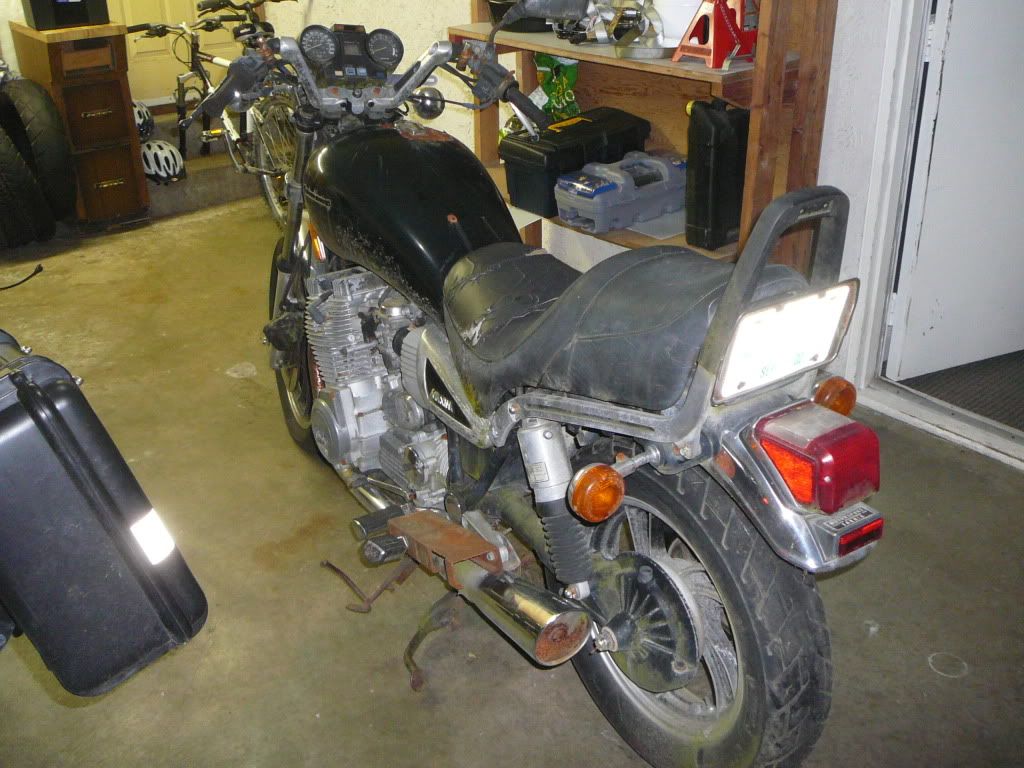
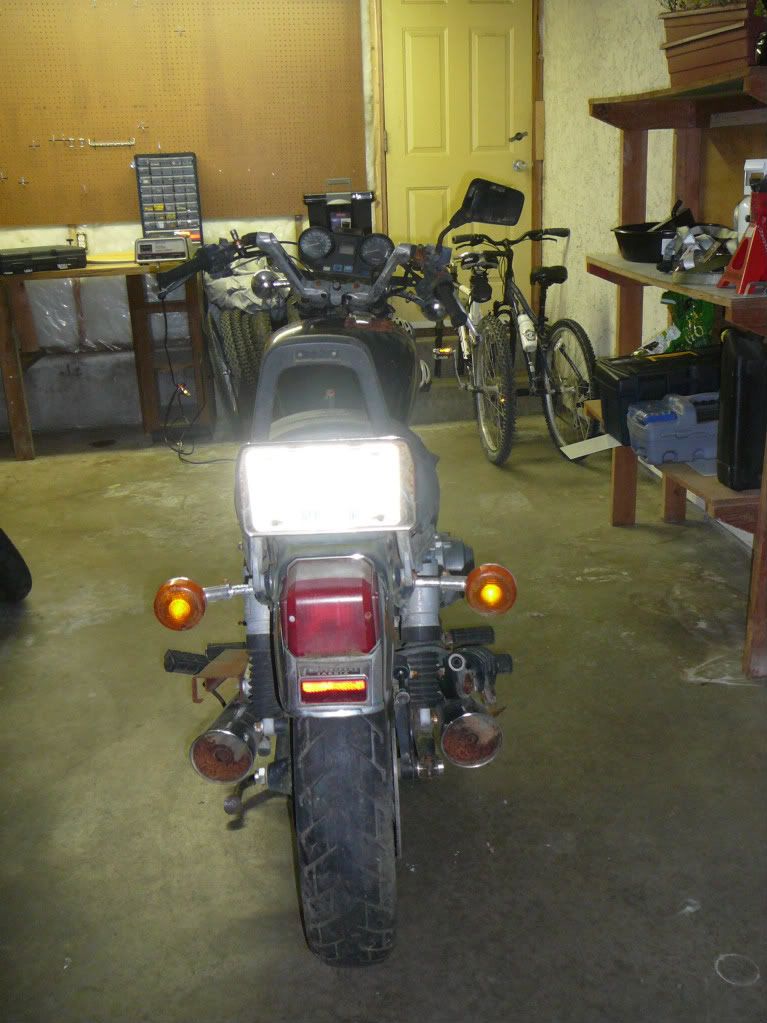
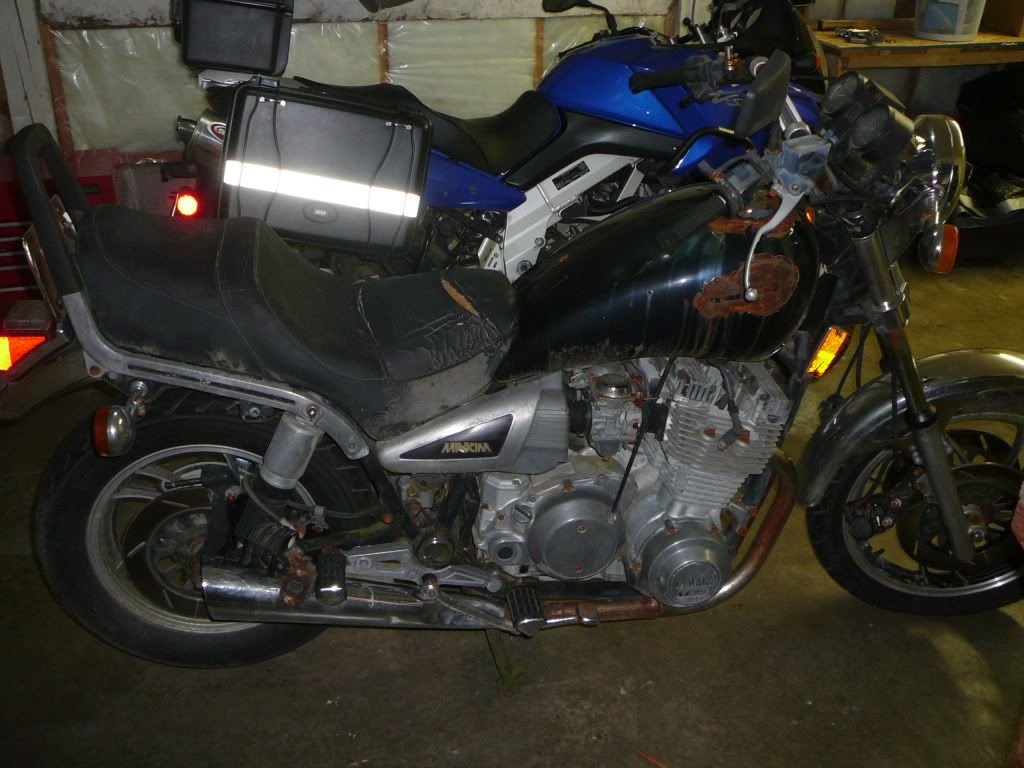


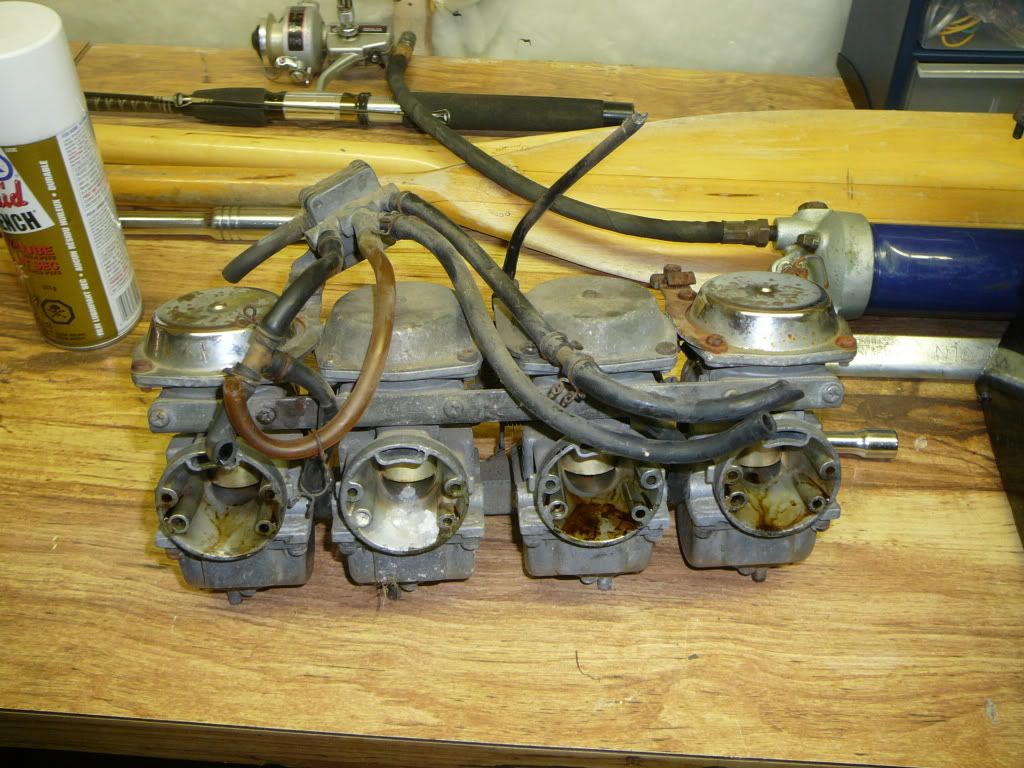
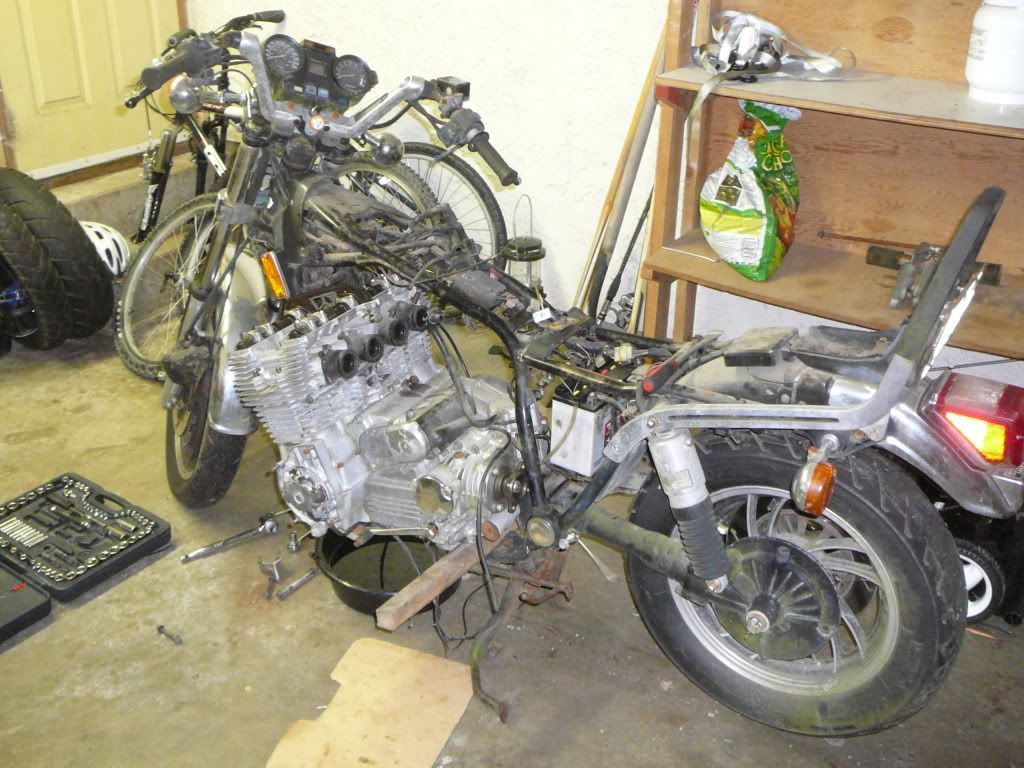
    The bike was growing moss and other things and after calling it a piece of crap my wife affectionatly nicknamed it 'Moulder'. This is the bike when I first picked it up and a few of the tear down.

    This will be a picture heavy thread since I am more into pictures than typing.

    Yucky!


  • #2
    Welcome! Rough looking but she looks mostly complete! and pictures are good, we like pictures.
    Nathan
    KD9ARL

    μολὼν λαβέ

    1978 XS1100E
    K&N Filter
    #45 pilot Jet, #137.5 Main Jet
    OEM Exhaust
    ATK Fork Brace
    LED Dash lights
    Ammeter, Oil Pressure, Oil Temp, and Volt Meters

    Green Monster Coils
    SS Brake Lines
    Vision 550 Auto Tensioner

    In any moment of decision the best thing you can do is the right thing, the next best thing is the wrong thing, and the worst thing you can do is nothing.

    Theodore Roosevelt

    Comment


    • #3
      That thumbs down isn't supposed to be there.....I have fat fingers....
      Nathan
      KD9ARL

      μολὼν λαβέ

      1978 XS1100E
      K&N Filter
      #45 pilot Jet, #137.5 Main Jet
      OEM Exhaust
      ATK Fork Brace
      LED Dash lights
      Ammeter, Oil Pressure, Oil Temp, and Volt Meters

      Green Monster Coils
      SS Brake Lines
      Vision 550 Auto Tensioner

      In any moment of decision the best thing you can do is the right thing, the next best thing is the wrong thing, and the worst thing you can do is nothing.

      Theodore Roosevelt

      Comment


      • #4
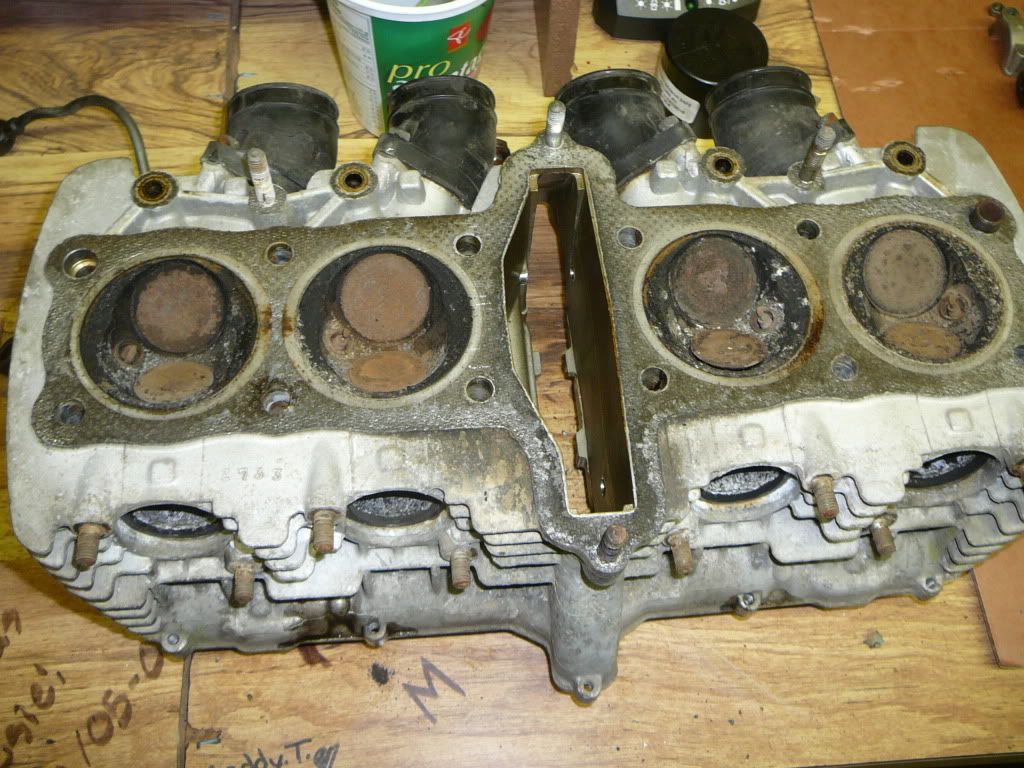
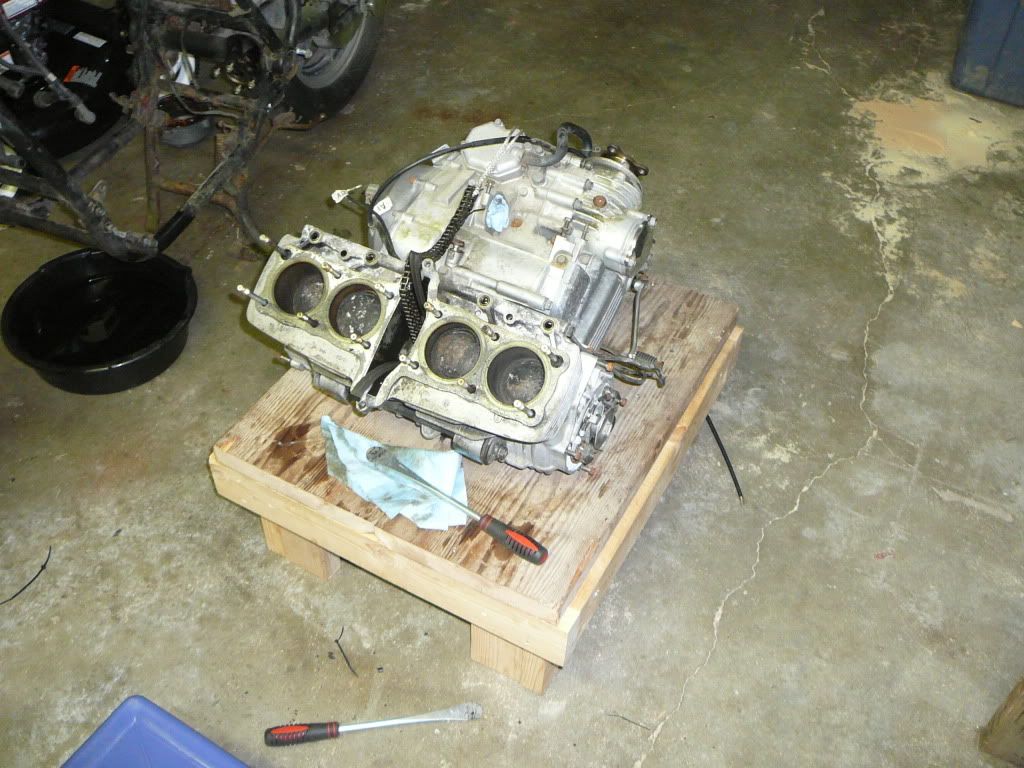
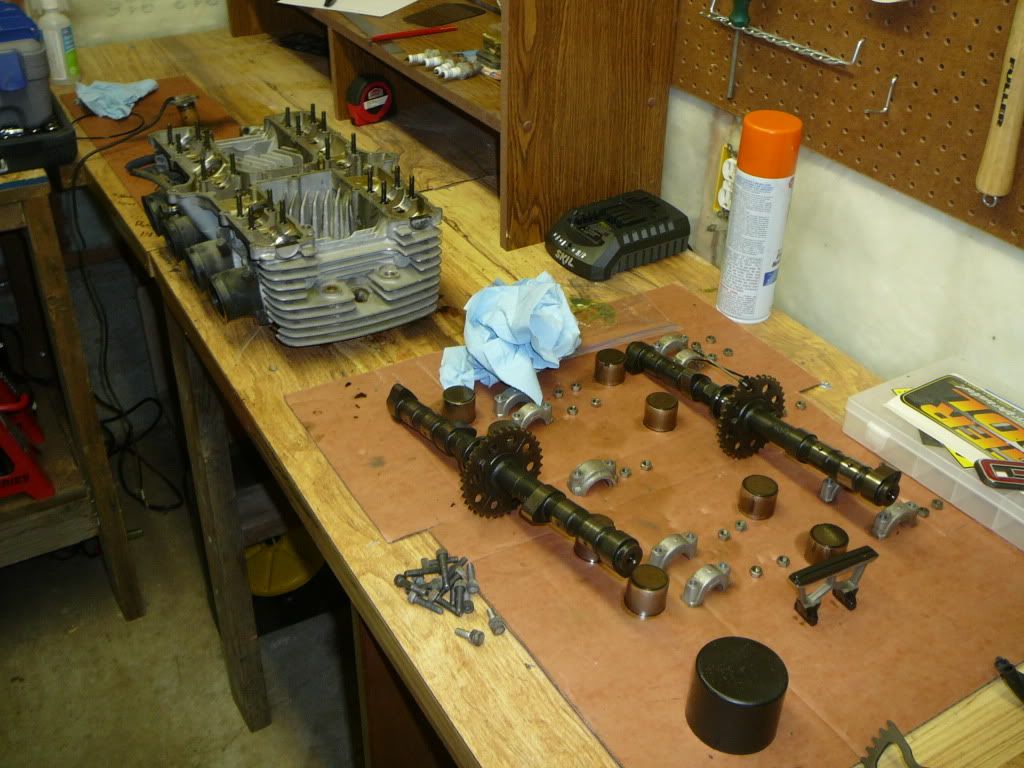
        Here are a few more pictures of the tear down. I am a lot farther along than this but my computer is slow and up loading can be time consuming. There will be more soon.


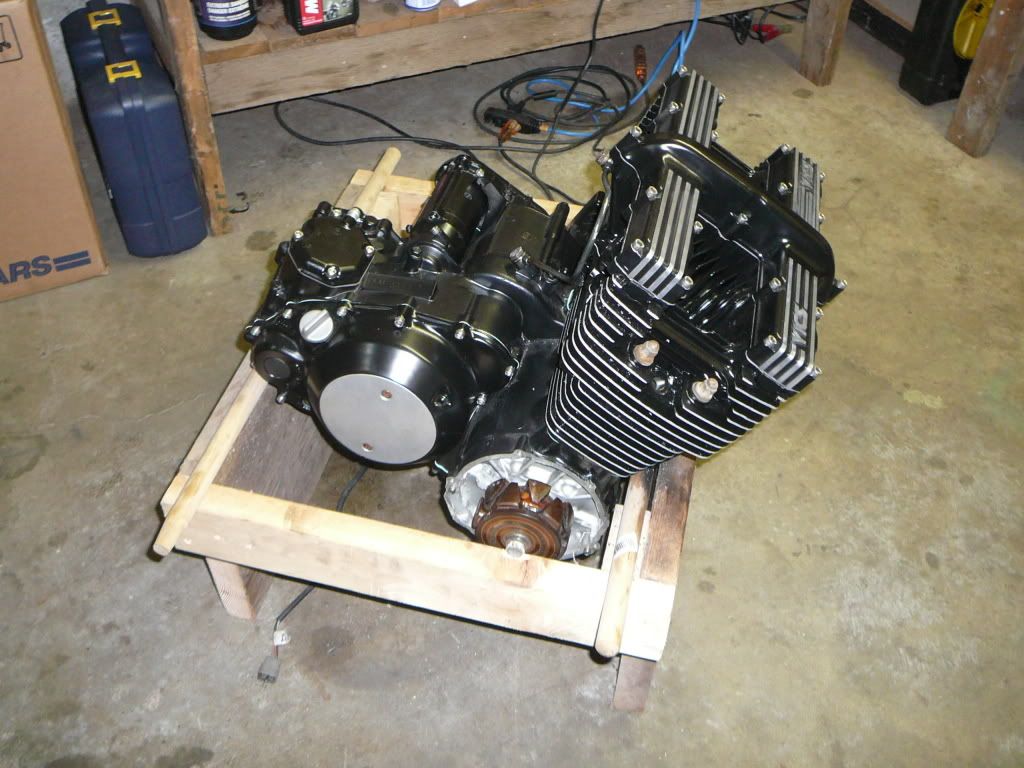
        I took everything down until the cases would have to come apart but didn't see the point in doing that as everything looked good, including the apperently troublesome 2nd gear dogs. Everything was glass beaded, with the exception of the crankcase (it recieved the wire wheel), and painted with a high heat engine enamel.


        The cylinders were honed, it got new piston rings and a whole lot of cleaning!


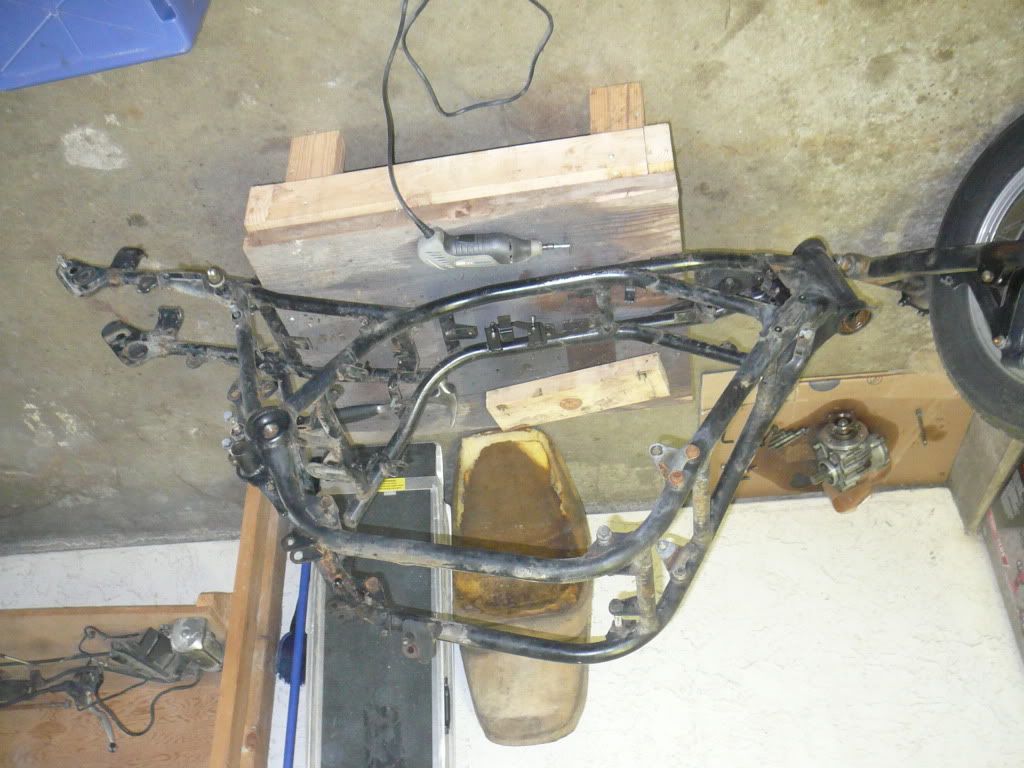
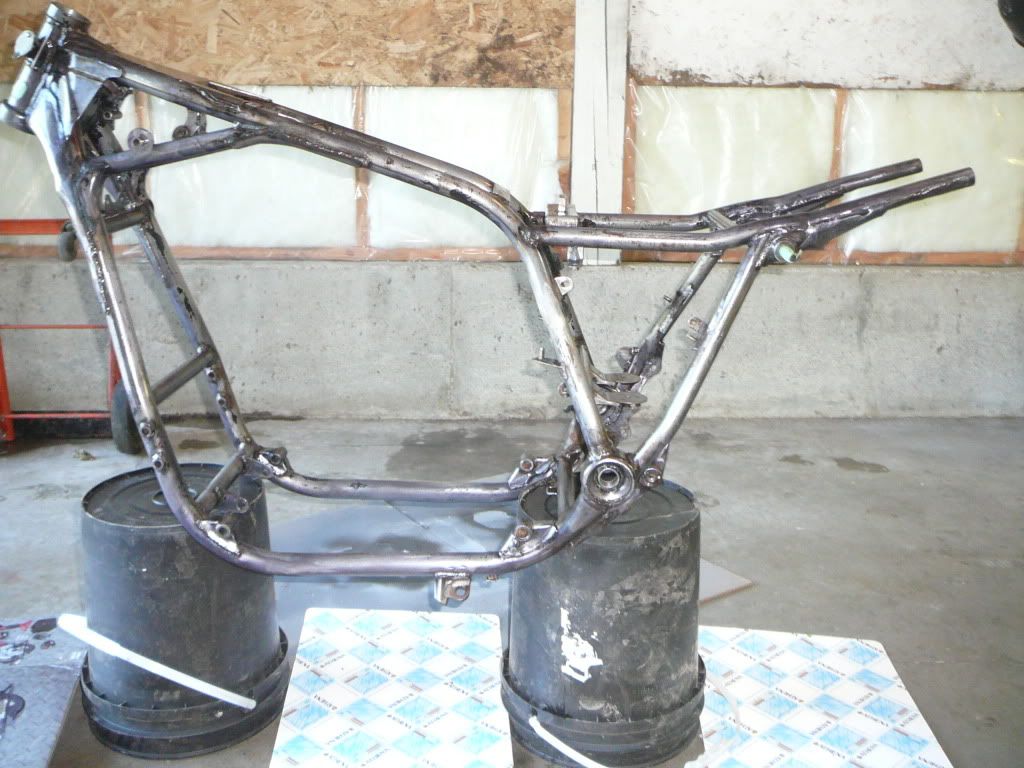
        The rusty hardware has since been replaced with stainless. These next two are pictures of the frame before and after doing a little cutting and welding on it.


        More to come later.

        Comment


        • #5
          Hmm. You might want to do a search for the "rust removal" tech tips!
          Ken Talbot

          Comment


          • #6
            Definitely a rusty crusty one. But that engine looks REALLY nice!! Sounds like your going all out on her. Have fun and enjoy!!
            Life is what happens while your planning everything else!

            When your work speaks for itself, don't interrupt.

            81 XS1100 Special - Humpty Dumpty
            80 XS1100 Special - Project Resurrection


            Previously owned
            93 GSX600F
            80 XS1100 Special - Ruby
            81 XS1100 Special
            81 CB750 C
            80 CB750 C
            78 XS750

            Comment


            • #7
              Your project

              That engine looks AWESOME!!! I'm very jealous.
              1980 CB750K

              Comment


              • #8
                nice work,
                yep that engine has come up real sweet.
                keep posting pics
                looking 4ward to seeing how it all turns out.
                pete


                new owner of
                08 gen2 hayabusa


                former owner
                1981 xs1100 RH (aus) (5N5)
                zrx carbs
                18mm float height
                145 main jets
                38 pilots
                slide needle shimmed .5mm washer
                fitted with v/stax and uni pod filters

                [url]http://www.youtube.com/watch?v=3pA8dwxmAVA&feature=mfu_in_order&list=UL[/url]

                Comment


                • #9
                  Thanks for the comments! Just working on posting up the next batch.

                  By the way if anyone reading this has access to a spare XJ gas cap, xs1100 clutch cable and throttle cable, or a shift lever; I am in need of all in good condition.

                  I have a posting in the wanted section. I can't pay much (wife is starting to give me that 'look' when boxes show up on the front step from the auto recyclers), but at least you will be able to see what your parts look like on my bike!

                  Comment


                  • #10
                    More pictures

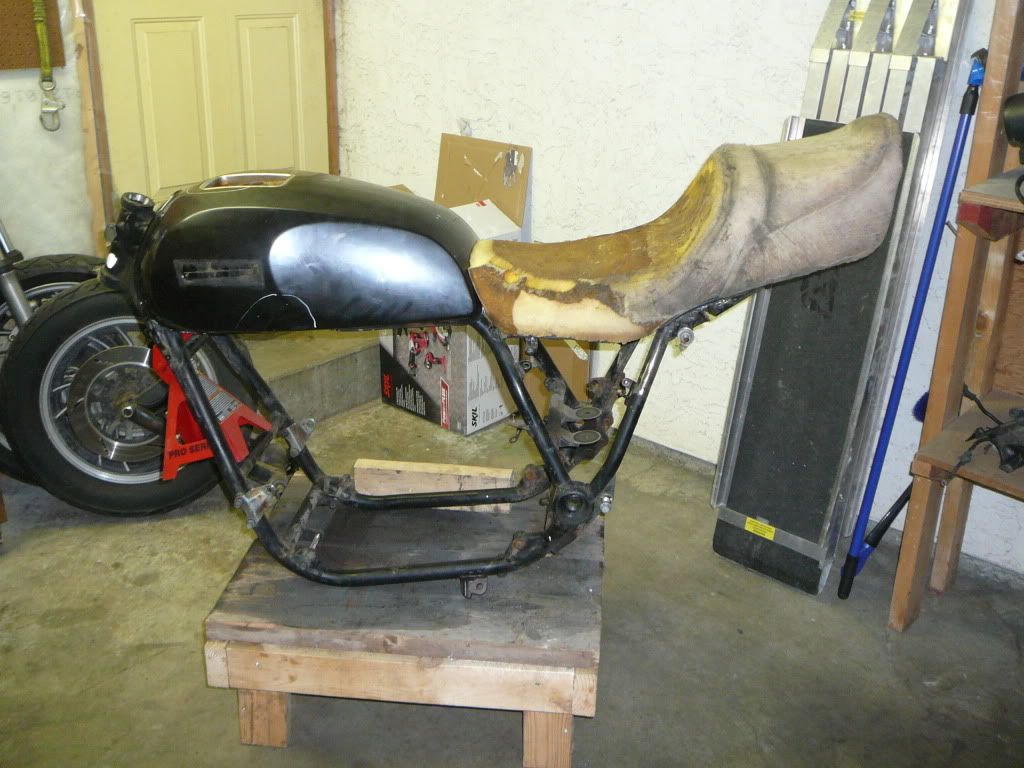
                    Alright, I bought a xs1100 standard tank for cheap ( you will see why it was cheap soon) and changed the shape of the stock seat a little. This gives you a bit of insight into the look i am going for.


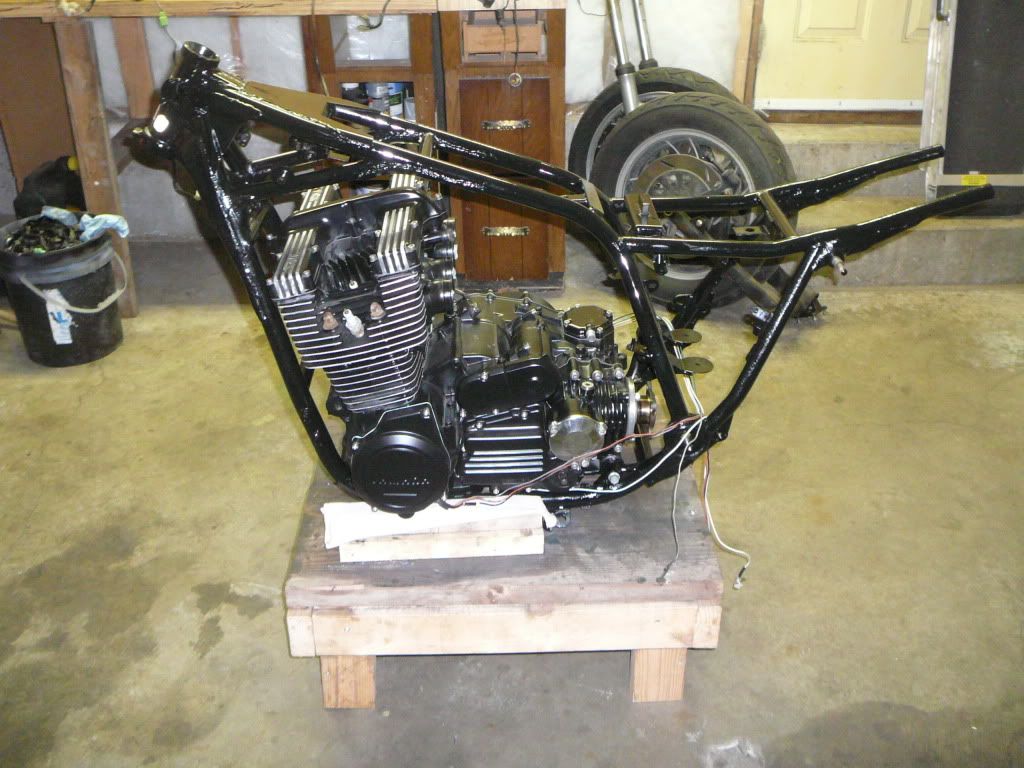
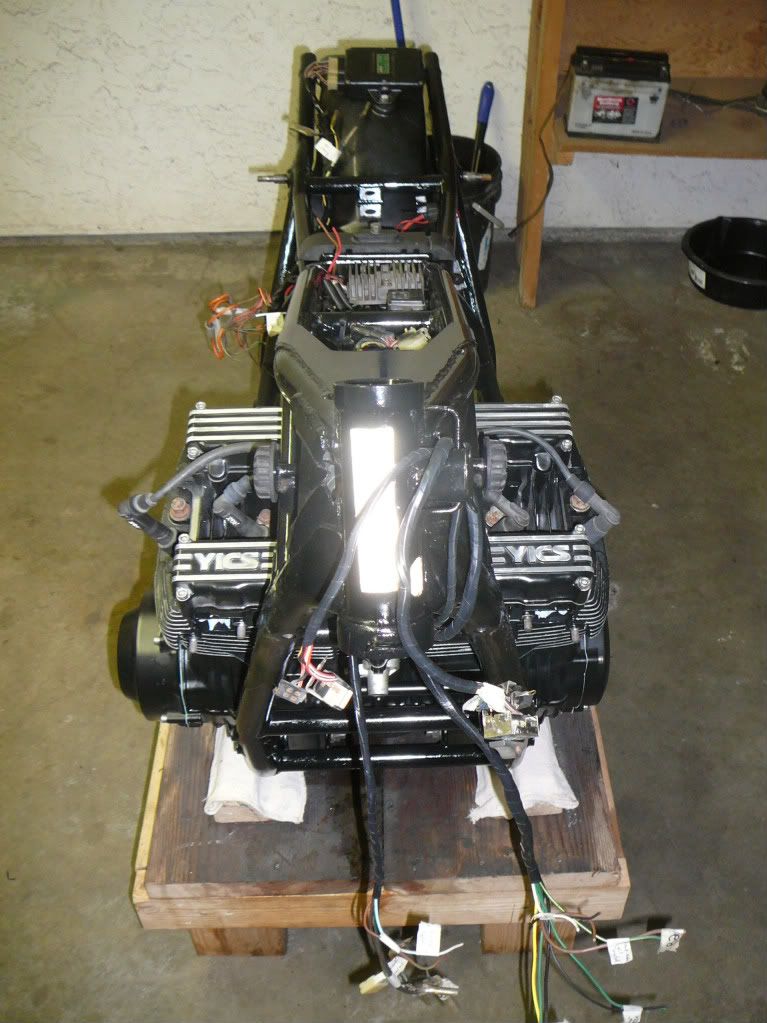
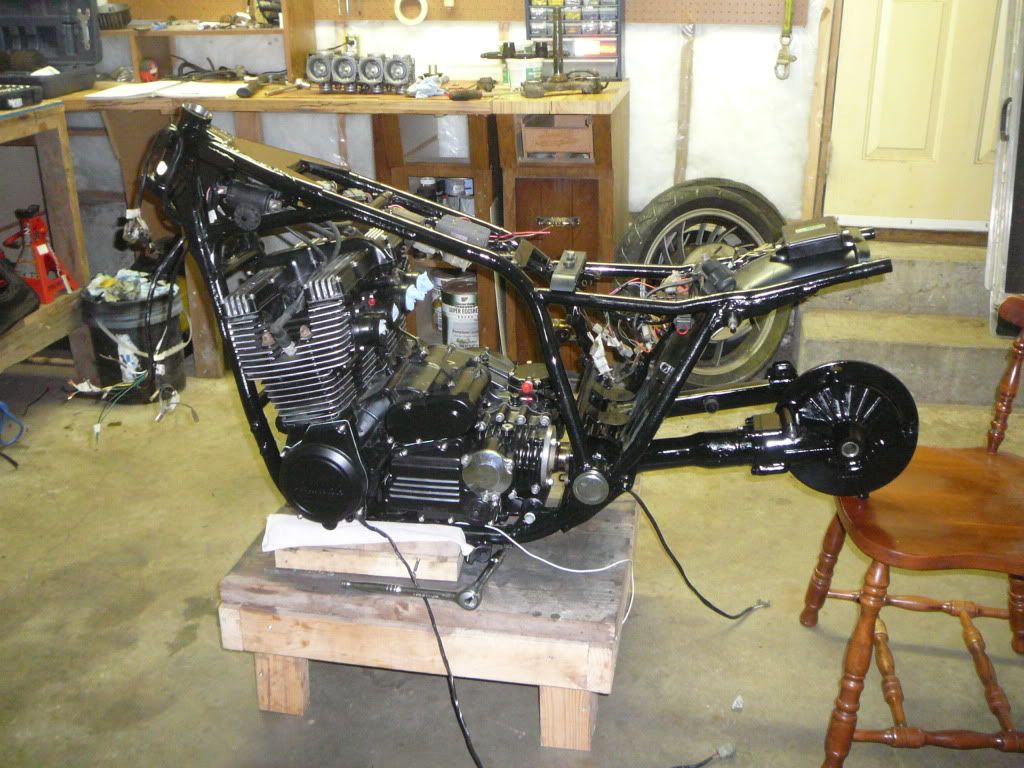
                    Here is the engine put back into the frame.


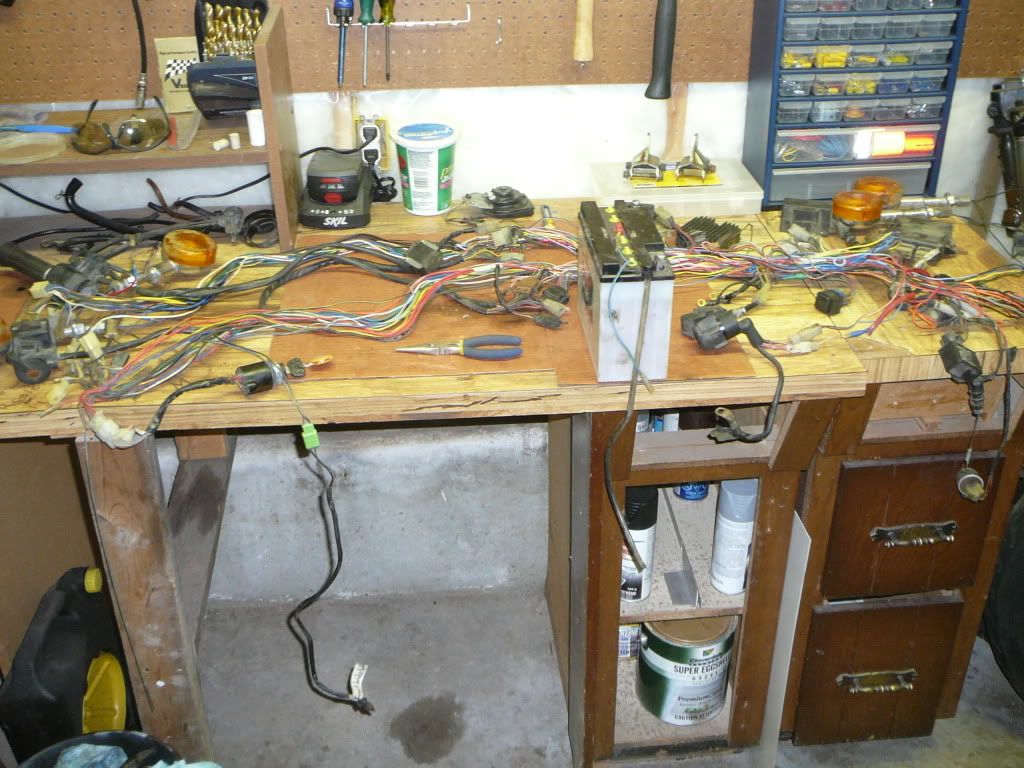
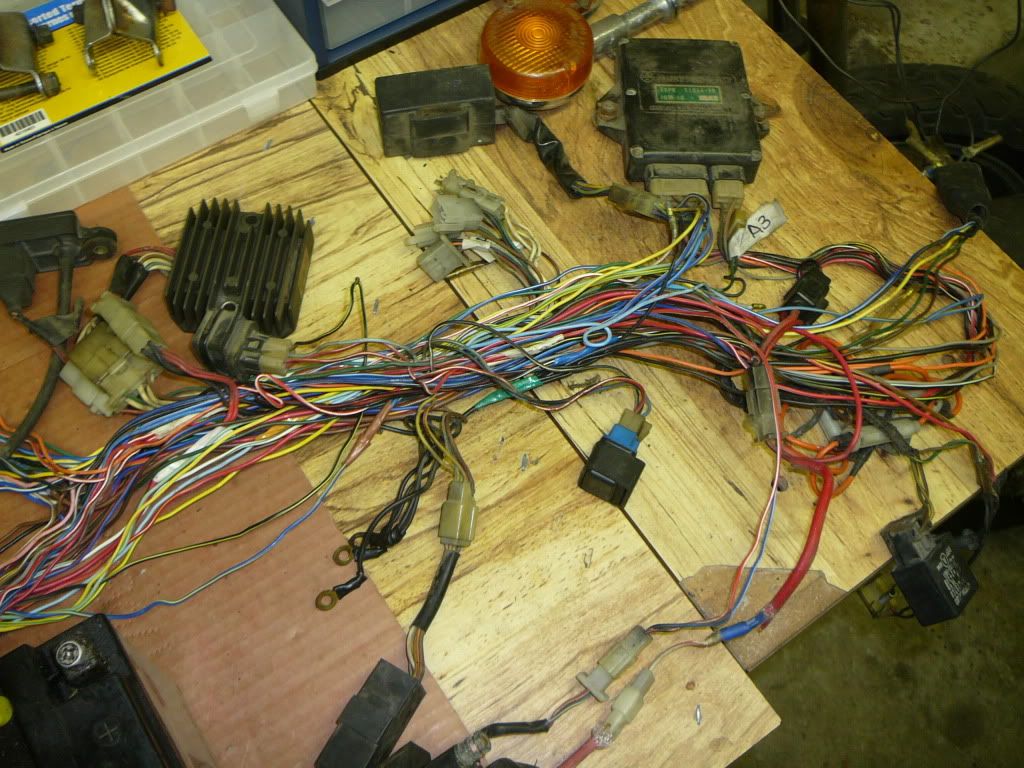
                    Now onto the electronics. I cut a lot of stuff off this bikes wiring harness, almost all of it was safety related. No flaming me - I know I am making it less safe. I just wanted a simpler wiring harness. This was very tedious work since I have never tackled a wiring harness before. Lots of trial, not too much error.
                    Sorry no pics of the harness after I was done but I can post a pic of all the crap that came off it!


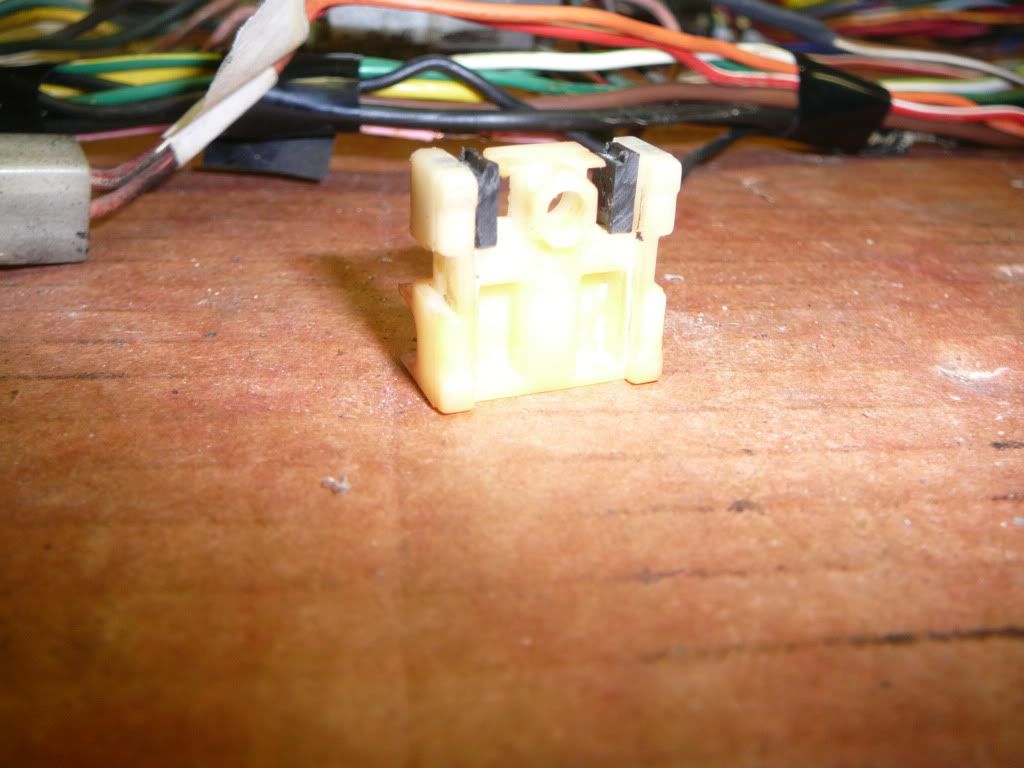
                    Since I removed the self-cancelling flasher unit I had to modify the turn signal switch so that it would work manually. I had to glue the center contact so that it is stationary and then I put a couple of plastic shims on either side to make sure that it wouldn't move.


                    Here is the bike from a couple of different angles with the wiring harness back on and a few more pieces added.


                    \
                    Carbs are next!

                    Comment


                    • #11
                      Yeah I see the carbs on the table in the back there.

                      What did you use on your engine, prep, color, and all?
                      Nathan
                      KD9ARL

                      μολὼν λαβέ

                      1978 XS1100E
                      K&N Filter
                      #45 pilot Jet, #137.5 Main Jet
                      OEM Exhaust
                      ATK Fork Brace
                      LED Dash lights
                      Ammeter, Oil Pressure, Oil Temp, and Volt Meters

                      Green Monster Coils
                      SS Brake Lines
                      Vision 550 Auto Tensioner

                      In any moment of decision the best thing you can do is the right thing, the next best thing is the wrong thing, and the worst thing you can do is nothing.

                      Theodore Roosevelt

                      Comment


                      • #12
                        Your bike

                        Did you solder and heatshrink your connections if any wire splicing was performed?
                        1980 CB750K

                        Comment


                        • #13
                          I will only say one thing about the safety stuff. The kickstand switch is a very very good safety feature to have. Leaving one down and finding out when it hits and then you have to try to lean the bike and swing your leg to put it up is a REALLY bad experience. OK preaching over.

                          The bike looks really nice, lots of progress being made!!
                          Life is what happens while your planning everything else!

                          When your work speaks for itself, don't interrupt.

                          81 XS1100 Special - Humpty Dumpty
                          80 XS1100 Special - Project Resurrection


                          Previously owned
                          93 GSX600F
                          80 XS1100 Special - Ruby
                          81 XS1100 Special
                          81 CB750 C
                          80 CB750 C
                          78 XS750

                          Comment


                          • #14
                            Originally posted by natemoen View Post
                            Yeah I see the carbs on the table in the back there.

                            What did you use on your engine, prep, color, and all?
                            I used a wire wheel on the crankcase and used the glassbeader on everything else to clean up the parts. Used engine enamel primer followed by a low gloss black paint. It looks pretty good in the early pictures but as I get further along it gets more and more dusty and full of finger prints.

                            The enamel paint seems to be holding up well so far. I had an issue with a sticking float and dumped gas on the engine more than once already, no paint came off and there was no discoloration.

                            Comment


                            • #15
                              Originally posted by Electronhammer View Post
                              Did you solder and heatshrink your connections if any wire splicing was performed?
                              Been kind of a mix I realized that I am quite horrible at soldering (I blame my iron). If I didn't like the way the solder looked after a few attempts I cut it off and crimped instead. Soldered some and crimped others, everything has heat shrink on it.

                              Comment

                              Working...
                              X