Announcement

Collapse
No announcement yet.

2009 winter repairs.....

Collapse
X
 
  • Filter
  • Time
  • Show
Clear All
new posts

  • #31
    update from the front....

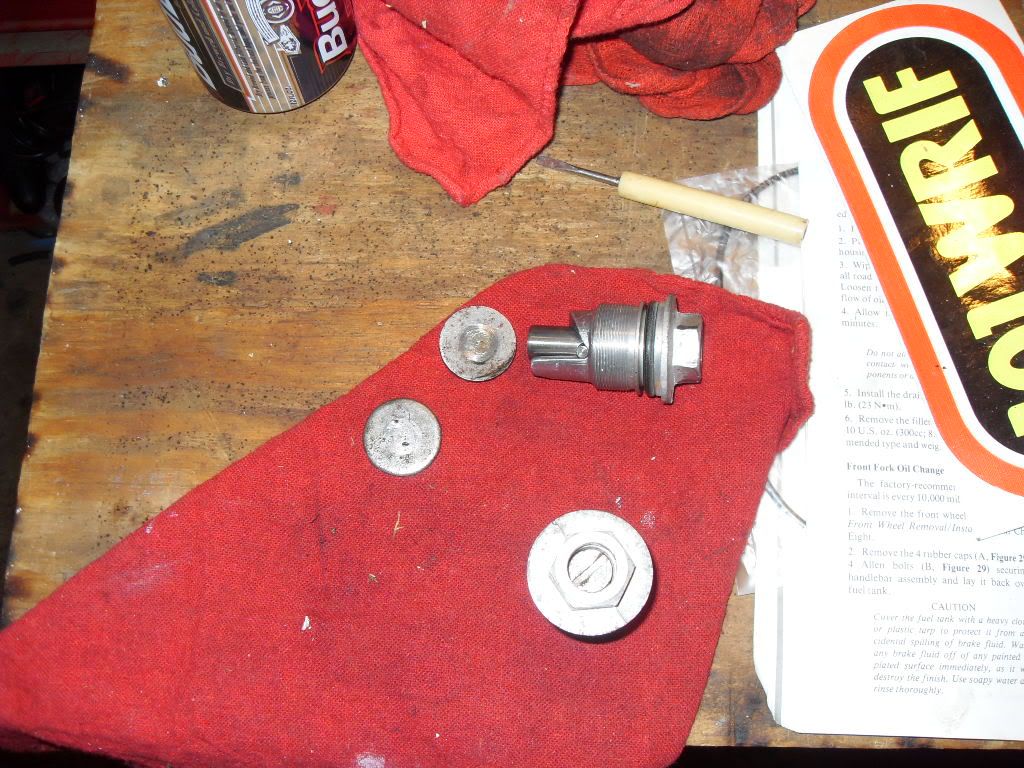
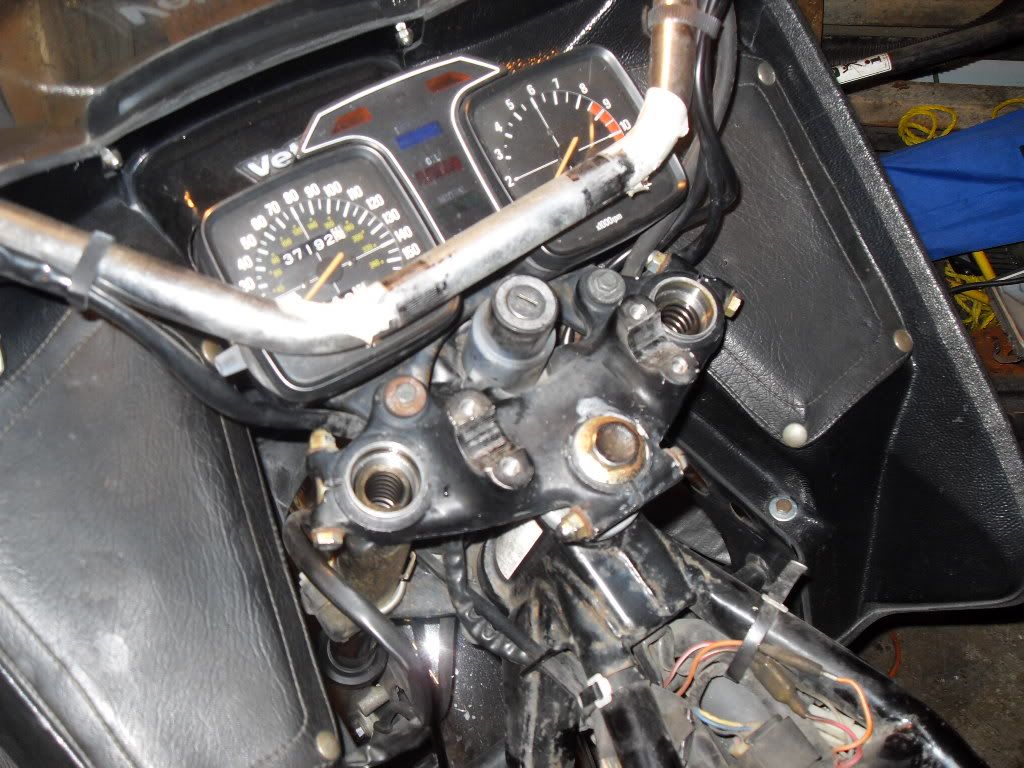
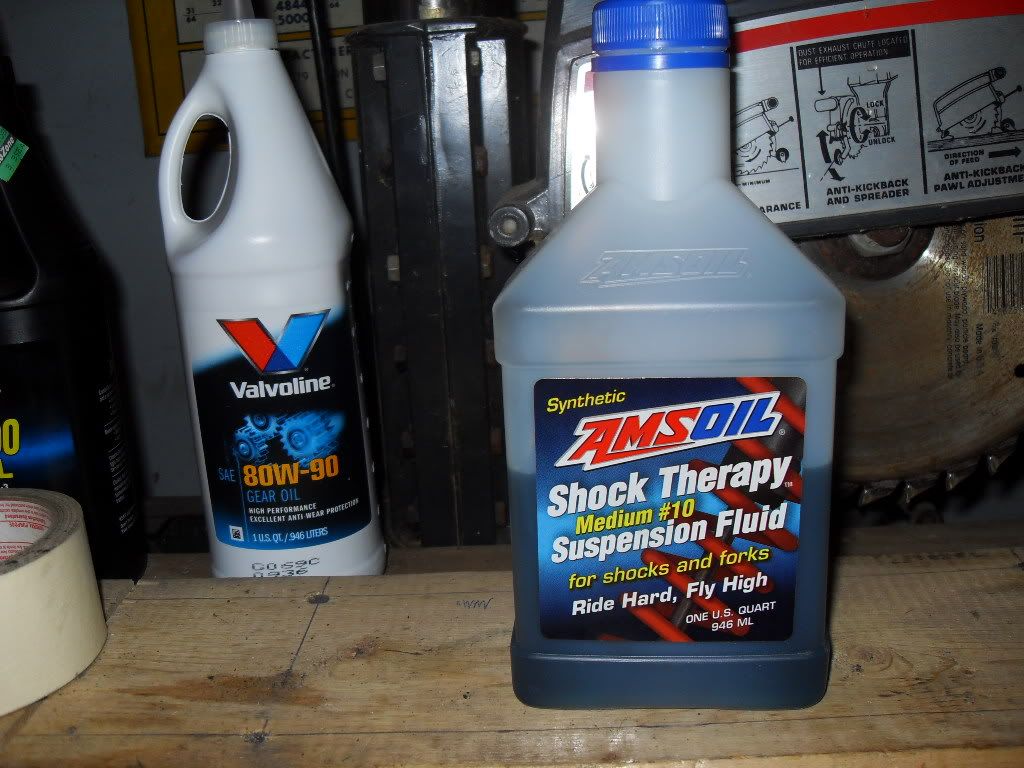
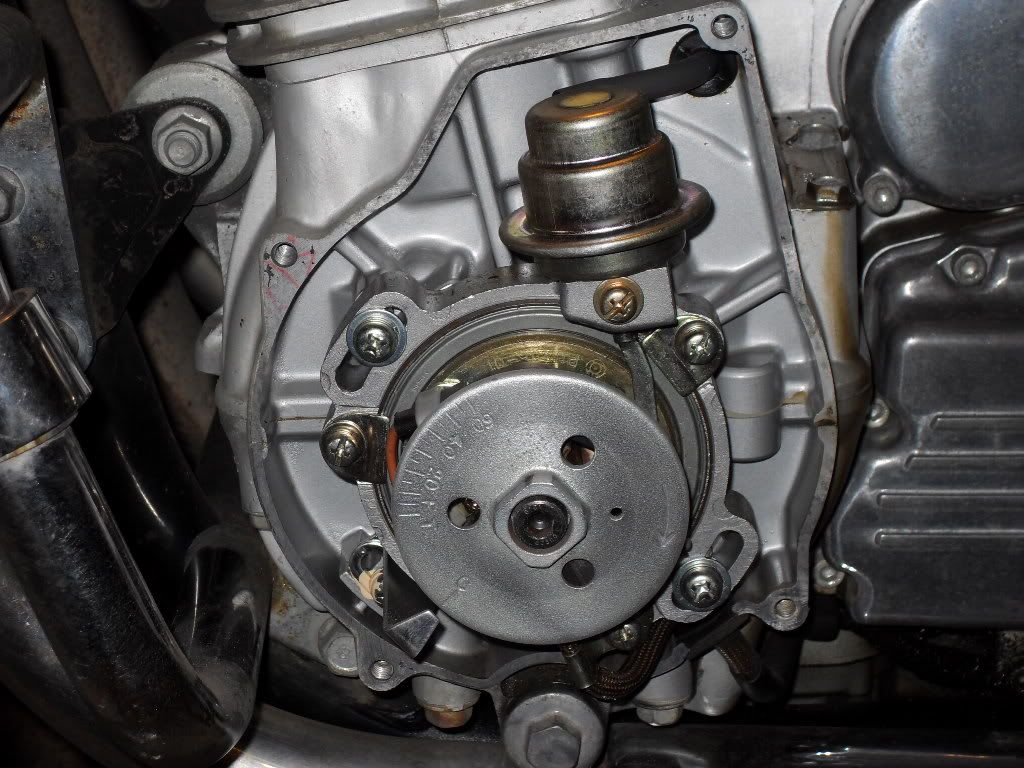
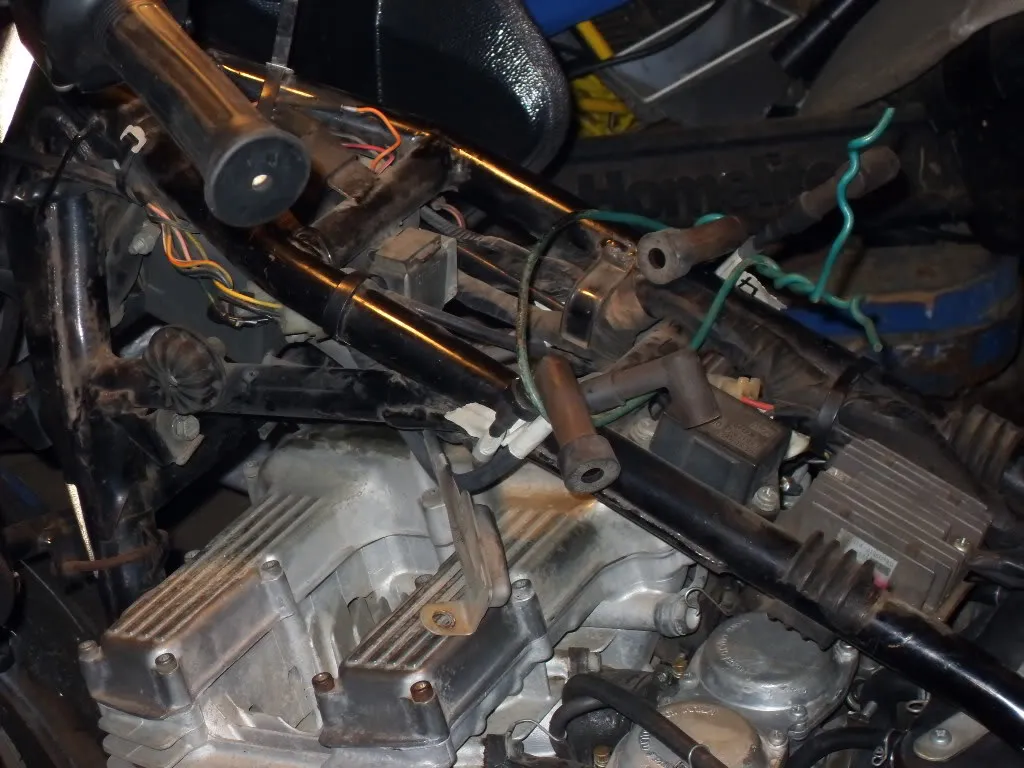
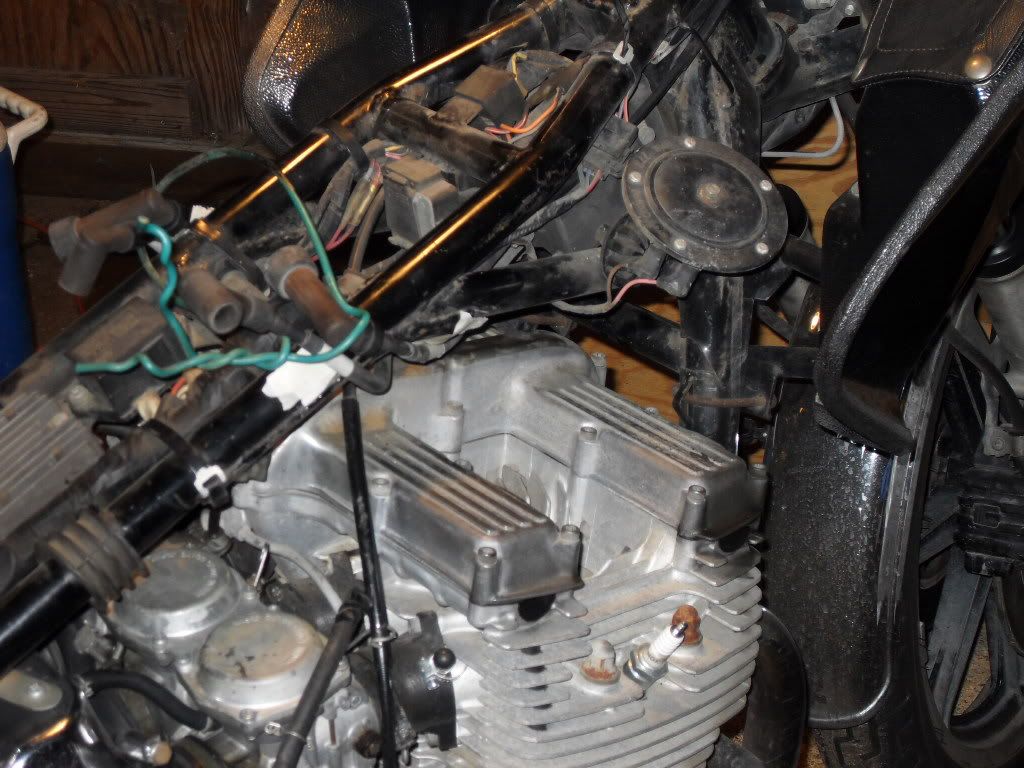
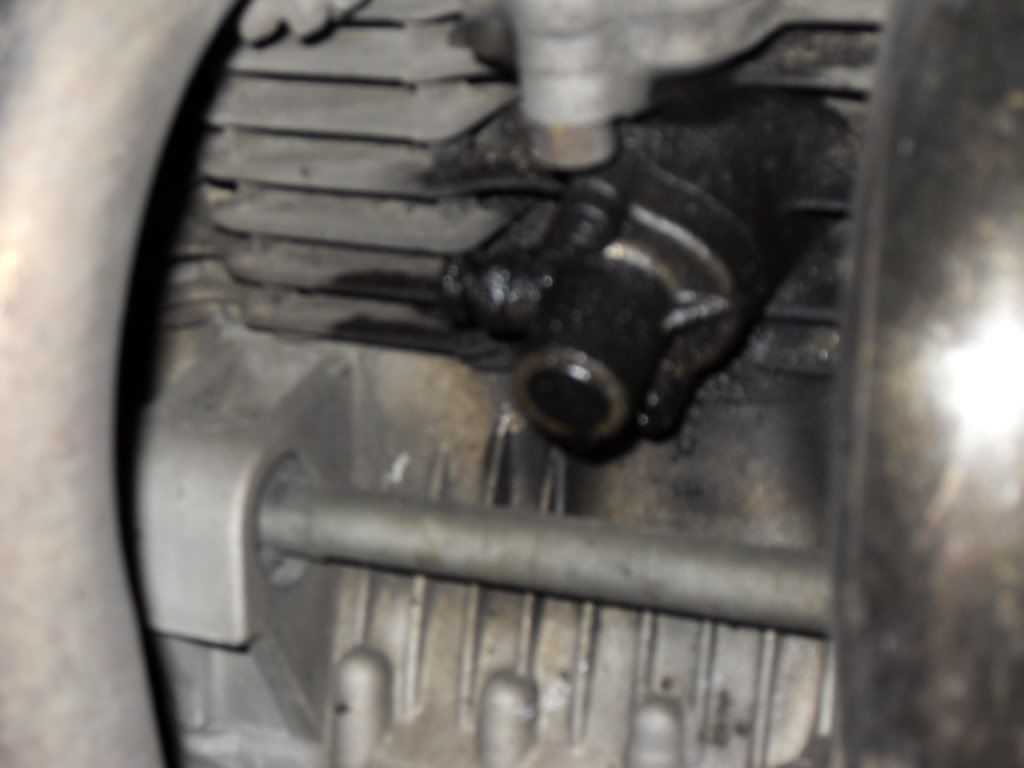
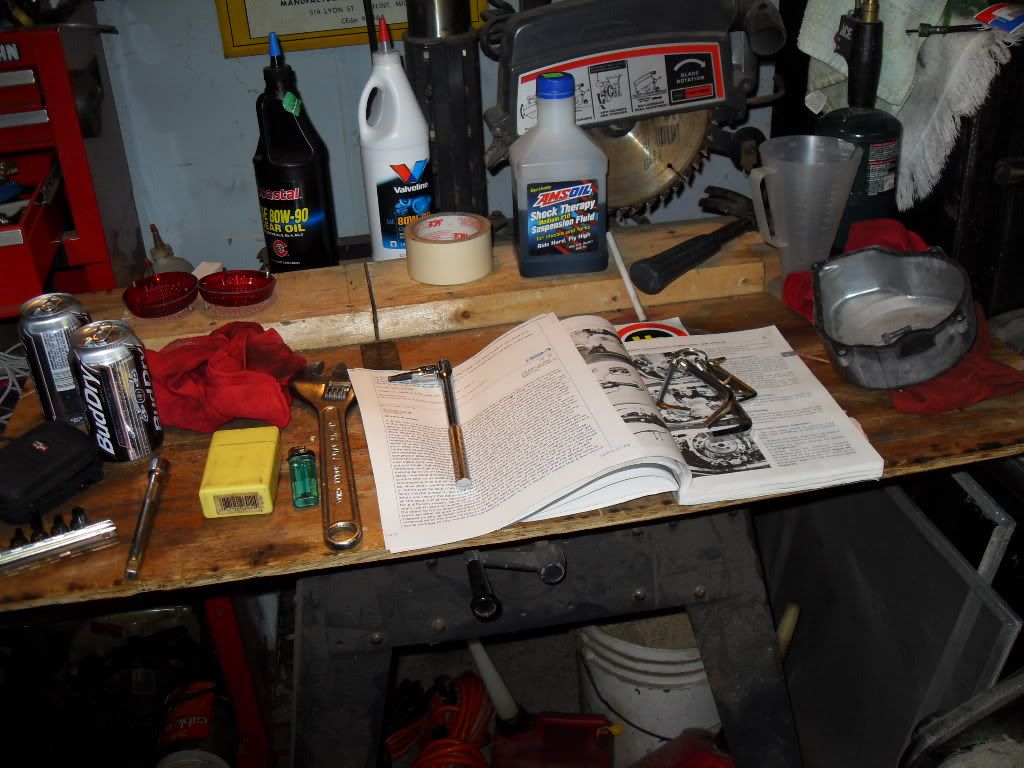
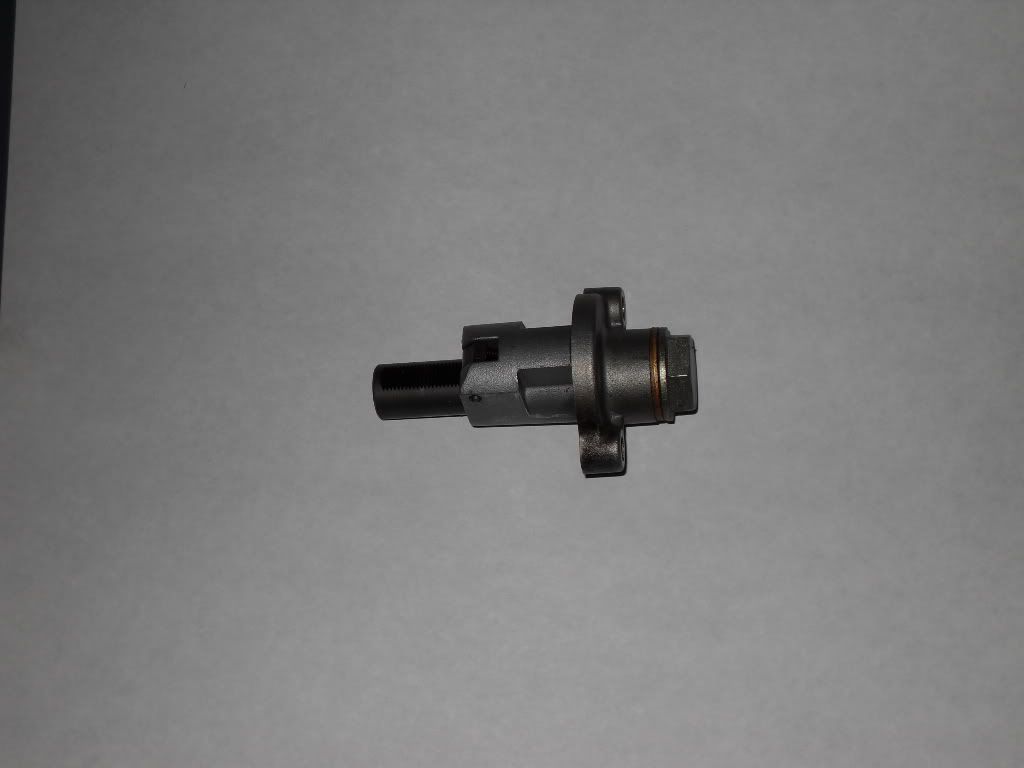
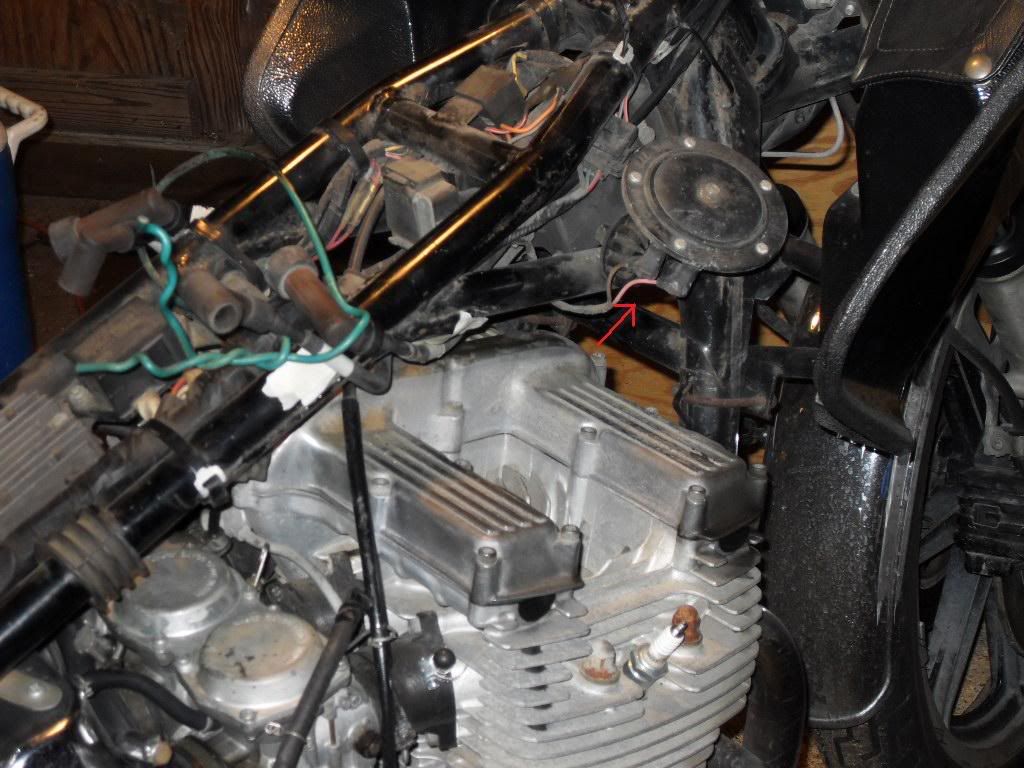
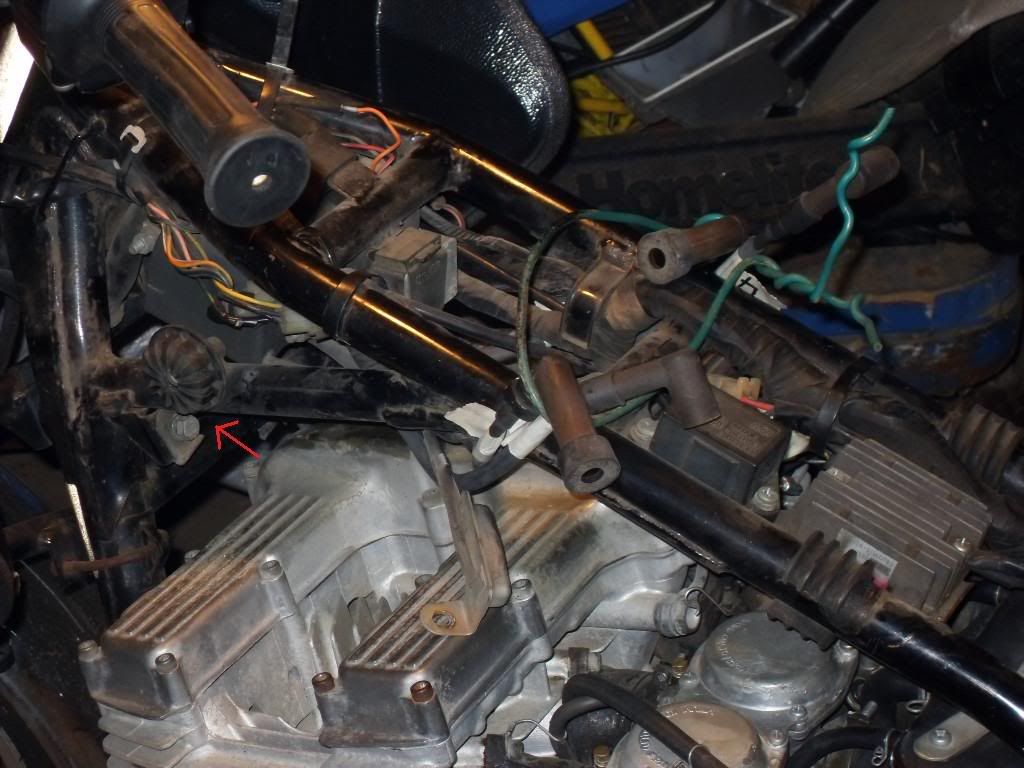
    hey there folks....have researched and re-thought the idea and the venture adjuster (26h1221003) seems to be the bolt on solution.....also who has the best price on the cam chain cover gasket (partsandmore, bikebandit, etc?)...and on that note does xs650 cam chain gaskets fit the rebel devil?....just thought about throwing that out there...working on getting fork oil (autozone does not carry here)....gonna have 2 hit the dealership 2morrow and get some, also realized that you do not have to pull the front tire to change the oil in the shocks.....there is no advantage in doing so......unless you also remove the fender and that is 2 much work just 2 change the oil...not that i mind work, but it gets in the way of my beer drinking.....hahaha...ride hard, ride safe.....ross
    rebel devil
    1979 xs 1100f standard
    authenic historical vehicle
    42°36'23.52"N, 82°52'44.78"W
    "I'M IN MY HAPPY PLACE"
    "i got 14 jobs mon....you only got 1 job....you lazy bones mon"
    "if you don't wrench on it, get behind me satan!"
    '96 venture cct.....installed!
    stainless, braided, pvc coated brake lines
    i can translate...deustch, nederlands, 汉语, 漢語, français, ελληνικά, italiano, 한국어, português, русско, español and most importantly, 日本語....

    Comment


    • #32
      from the man cave....

      hey there folks....i boo-boo-ed and posted some of this post in the other thread i got going...very sorry.....so i am using this post to bring the update over to the right thread.....here goes...

      yea, cabin fever has gotten the best of me....tired of watchin' the boob tube with SWMBO....snow is melting (not counting the 7 inches we got coming 2nite and 2morrow).(we got 6 and it still is snowing!)...(should make the drive home quite the delightful trip!)..(the drive was "delightful"...it got better when i got home and broke the snowblower!)...finally went to the man cave and did some wrenchin'....learned a few things 2day....the forkin' fork oil i drained out must of been the original stuff they put in her over in japan....let it drain extra long just 2 make sure i got all that crap out....turned the wheel to each side i was draining to keep it off the wheel and brake parts (covered with shop rags!)...used a floor jack with a wood block to lift it up off the front wheel....then after i drained it, lowered the floor jack about 2" and pumped the front forkin' forks to make sure i drained all the oil out....during the tear-down i noticed loosened handlebar bolts (it might have something 2 do with the steering!?)....overtightened cap nuts on the forks (can't be good for those fine threads!)....btw, the clymer manual tells you to put SAE 10 "motor" oil in my forks....yea, don't think so.....used SAE 10 "forkin' fork oil!"...also they don't mention that when you remove the cap nut, there is "still" some tension on that nut....first one flew outta my hand and hit the floor...luckly i watched both pieces (nut and plate that sits on top of the spring) hit the floor and didn't have to go hunting....also only remove with a 22mm socket....notice the right one was tighter and almost f*cked it up.....paid the $$$, got the socket.....worth the price....also picked up a set of metric allen bolt sockets.....2 sockets for 12 bucks or the set of 8 for $15....(no brainer even for me!)....gonna need the other one for the cam chain tensioner job coming up next.....finally, during the job, i noticed that the cap nuts have the screws in the center that turn in and down...3 settings....


      ...do these tighten up the front end even more....also would not the front end tighten up by adding more fork oil?......(not sure and just thought i would ask!)....also glad i had the floor jack under the front frame rail, because without the caps on, the front end dives and right down and those springs come out the tops of the forks.....(impending death by forkin' fork spring!)....


      sorry about the mis-placement of the above post, but it needs to stay with this thread.....ride hard, ride safe....ross
      rebel devil
      1979 xs 1100f standard
      authenic historical vehicle
      42°36'23.52"N, 82°52'44.78"W
      "I'M IN MY HAPPY PLACE"
      "i got 14 jobs mon....you only got 1 job....you lazy bones mon"
      "if you don't wrench on it, get behind me satan!"
      '96 venture cct.....installed!
      stainless, braided, pvc coated brake lines
      i can translate...deustch, nederlands, 汉语, 漢語, français, ελληνικά, italiano, 한국어, português, русско, español and most importantly, 日本語....

      Comment


      • #33
        The adjustments on the fork cap are for the spring preload. Raising the fork oil level will help keep the forks from diving, as a tighter spring preload will also. Don't overfill the forks, just a small amount will stiffen them up. Moving up to 15W or 20W will stiffen them up too. If the bike still dives, spacers can be added to further increase the spring preload, or Progressive springs can be installed for a much improved ride. IIRC, the factory oil quantity is 212cc.
        Last edited by bikerphil; 02-23-2010, 07:29 PM.
        2H7 (79) owned since '89
        3H3 owned since '06

        "If it ain't broke, modify it"

        Comment


        • #34
          and on that note does xs650 cam chain gaskets fit the rebel devil?
          No. You can get a roll of gasket material at any autoparts store and cut your own. Probably cost you $7 or so for a roll, but you can get many gaskets out of one roll. It's handy stuff to have in your toolbox. JAT
          I think I have a loose screw behind the handlebars.

          '79 XS11 Standard, Jardine 4/1, Dyna DC1-1 Coils, 145 mains, 45 pilots, plastic floats - 25.7mm, XV920 fuel valves, inline fuel filters, speed bleeders, Mikes XS pods, spade-type fuse block, fork brace, progressive fork springs/shocks, manual petcocks, 750 FD, Venture cam chain tensioner, SS brake lines

          Comment


          • #35
            thanx 4 da advice.....

            hey there folks....read the advice and thanx once again...i thought that was what the screws in the fork caps were for....not experiencing diving (unless ya count muff!)....but it sounds like a thing to look into once the weather breaks....btw...has been snowing on and off all day around here..(maybe an inch!)....got home after riding the cage, turned on the news and they went to a live traffic report and showed a dude riding his bike with a side-car....(i raised my beer and saluted him!)....back to the subject....yea, i measured out the oil very carefully.....used 10w as that is what is recommended...(that sh*t ain't cheap...$12 a qt!)...will look into it later this year and see if i wanna change up to 15w......as far as cutting my own cam chain cover gasket....yea, i'm a cheap b*stard, but i just don't feel like doing that much work just for a gasket....i've cut my own b4 and looking at this one, i don't think so!......PNM has 'em for $10.....sounds like my price!....need other parts anyway so meeting the $35 minimum won't be a problem....also, probably will be looking at polishing the cam chain cover while i have it off....will have to look into how i want to do it.....i do have access to an ice blaster....hmmmmm.....(gonna have to talk to the boss at work 2morrow!)...when i do, will post pictures (before and after)....lastly here is the forkin' oil i used....


            (also notice the gear oil in the background for the middle and final drive change!).....ride hard, ride safe...ross
            rebel devil
            1979 xs 1100f standard
            authenic historical vehicle
            42°36'23.52"N, 82°52'44.78"W
            "I'M IN MY HAPPY PLACE"
            "i got 14 jobs mon....you only got 1 job....you lazy bones mon"
            "if you don't wrench on it, get behind me satan!"
            '96 venture cct.....installed!
            stainless, braided, pvc coated brake lines
            i can translate...deustch, nederlands, 汉语, 漢語, français, ελληνικά, italiano, 한국어, português, русско, español and most importantly, 日本語....

            Comment


            • #36
              and so it begins....

              hey there folks...finally got out 2 the man-cave and did some "wrenchin'"......cleaned off the top of the motor of road gunk....pulled the plugs and rotated the crank 7 full revolutions before setting it to the "c" mark.....


              pulled the plugs, numbered the wires, tied them up outta da way.....

              btw...what is that doohickey with 2 wires connected to it that i removed from the frame (so i could remove the horn!)....bottom center on the picture over the rear of the cam chain cover.....


              (yea, had to remove the horn 2 get 2 the front screw on the cam chain cover!)

              here's the problem at hand....drippin' on the man-cave floor!!!

              (parts are on the way....gaskets to buy yet, but got all the cam chain cover bolts loose 2nite!)

              finally, yea, i listen to you guys.......i may be a bit insane, but not crazy enough to not listen to "my elders".....

              (and the scene fades to black and then to the "man-cave")

              (notice both the clymer manual and the printed posting about removing the cam chain tensioner and how not to do it.....printed and entered into the "master manual")

              ....and that is the news tonight.....ride hard, ride safe...ross
              rebel devil
              1979 xs 1100f standard
              authenic historical vehicle
              42°36'23.52"N, 82°52'44.78"W
              "I'M IN MY HAPPY PLACE"
              "i got 14 jobs mon....you only got 1 job....you lazy bones mon"
              "if you don't wrench on it, get behind me satan!"
              '96 venture cct.....installed!
              stainless, braided, pvc coated brake lines
              i can translate...deustch, nederlands, 汉语, 漢語, français, ελληνικά, italiano, 한국어, português, русско, español and most importantly, 日本語....

              Comment


              • #37
                That doo-hickey is the ballast resistor.
                2H7 (79) owned since '89
                3H3 owned since '06

                "If it ain't broke, modify it"

                Comment


                • #38
                  thanx for the info...

                  hey there bikerphil...thanx for the info....i didn't know the "rebel devil" was submerisble, but next time i get out 2 lake st. clair, i'll launch her off the boat ramp and see if that ballast resistor really works!!....it has to be amazing to use that small device to make her raise or drop in the water!.....just like ballast in a sub.....have to get a photo of that when it happens!.....thanx again.....more to come soon......ride hard, ride safe......ross
                  rebel devil
                  1979 xs 1100f standard
                  authenic historical vehicle
                  42°36'23.52"N, 82°52'44.78"W
                  "I'M IN MY HAPPY PLACE"
                  "i got 14 jobs mon....you only got 1 job....you lazy bones mon"
                  "if you don't wrench on it, get behind me satan!"
                  '96 venture cct.....installed!
                  stainless, braided, pvc coated brake lines
                  i can translate...deustch, nederlands, 汉语, 漢語, français, ελληνικά, italiano, 한국어, português, русско, español and most importantly, 日本語....

                  Comment


                  • #39
                    the h*ll of e*ay....

                    hey there folks.....been having trouble securing a cam chain tensioner....it will work out in the end......anywho caught this on fleabay and thought i would ask a guru to guide the caveman thru the forest.......understand the tensioner, but what about the extra parts......please advise....thanx in advance......ride hard, ride safe.....ross


                    http://www.thecyclebarn.com/Motorcyc...0/SAM_8021.JPG
                    rebel devil
                    1979 xs 1100f standard
                    authenic historical vehicle
                    42°36'23.52"N, 82°52'44.78"W
                    "I'M IN MY HAPPY PLACE"
                    "i got 14 jobs mon....you only got 1 job....you lazy bones mon"
                    "if you don't wrench on it, get behind me satan!"
                    '96 venture cct.....installed!
                    stainless, braided, pvc coated brake lines
                    i can translate...deustch, nederlands, 汉语, 漢語, français, ελληνικά, italiano, 한국어, português, русско, español and most importantly, 日本語....

                    Comment


                    • #40
                      The big piece is the cam chain guide that's down in the cam chain tunnel, the other sits up on top between the 2 cam gears. You shouldn't need them unless yours are broken. I thought you were looking to purchase a self-adjusting tensioner. The one pictured is the manual type. What's the matter with your tensioner? If it leaks, a new O ring and some RTV will fix that.
                      Last edited by bikerphil; 03-08-2010, 09:42 PM.
                      2H7 (79) owned since '89
                      3H3 owned since '06

                      "If it ain't broke, modify it"

                      Comment


                      • #41
                        not purhcasing....

                        hey there folks...just never looked at the assembly....will be going with the venture adjuster as soon as i get it....bike is down and awaiting the part...also got the cam chain cover gasket and clutch plates on order.....another order being place 2morrow with PNM......good juju happening in camp "rebel devil"...ride hard, ride safe...ross
                        rebel devil
                        1979 xs 1100f standard
                        authenic historical vehicle
                        42°36'23.52"N, 82°52'44.78"W
                        "I'M IN MY HAPPY PLACE"
                        "i got 14 jobs mon....you only got 1 job....you lazy bones mon"
                        "if you don't wrench on it, get behind me satan!"
                        '96 venture cct.....installed!
                        stainless, braided, pvc coated brake lines
                        i can translate...deustch, nederlands, 汉语, 漢語, français, ελληνικά, italiano, 한국어, português, русско, español and most importantly, 日本語....

                        Comment


                        • #42
                          santa's bringin' da gifts....

                          hey there folks....just wanted to update the thread and also ask a couple questions....did get the cam chain tensioner...(thanx very much yamahansolo!)...and man, is she a beauty!....


                          i already see the difference and improvement over design....will be making my own gasket and hopefully installing this week/weekend....photos of said task shall follow.....

                          now for the questions....

                          .....is there a way to adjust the plunger back further into the housing...(i don't feel that i should stuff it in the motor in its current position)....

                          .....what is the correct way to adjust it after i install it....(i think i know the answer, but just want to check to make sure)....

                          .....using the pictures below, when i go to replace the cam chain tensioner, after i remove the cam chain cover....when i go to remove the old tensioner i should hold tension on the cam chain in the direction of the red arrows....making sure the chain stays tesioned on the bottom sprocket and also making sure it stays tensioned on the back of the top sprocket...then as i put the new tensioner in carefully release tension on the chain until it seats in....


                          .....doing my homework now rather than being in the middle of the project and not be sure about what to do......(hard to hold tension on the cam chain, and type with oily fingers!)....any other advice i have not thought of on this project, let me know....ride hard, ride safe.....ross
                          rebel devil
                          1979 xs 1100f standard
                          authenic historical vehicle
                          42°36'23.52"N, 82°52'44.78"W
                          "I'M IN MY HAPPY PLACE"
                          "i got 14 jobs mon....you only got 1 job....you lazy bones mon"
                          "if you don't wrench on it, get behind me satan!"
                          '96 venture cct.....installed!
                          stainless, braided, pvc coated brake lines
                          i can translate...deustch, nederlands, 汉语, 漢語, français, ελληνικά, italiano, 한국어, português, русско, español and most importantly, 日本語....

                          Comment


                          • #43
                            Originally posted by ross View Post
                            .....is there a way to adjust the plunger back further into the housing...(i don't feel that i should stuff it in the motor in its current position)....

                            .....what is the correct way to adjust it after i install it....(i think i know the answer, but just want to check to make sure)....
                            When I installed mine, I took the large bolt out of the end first, then the spring. You can then move the ratchet tab so the plunger can go back in further. Then I mounted the tensioner on the engine and pushed in thru the front bolt hole with a screwdriver to move the plunger out tight against the chain. Put the spring and bolt back in. Slowly rotate the engine with a 3/4 wrench clockwise once or twice with the spark plugs out, it should rotate smoothly. When the crank is rotated clockwise to the "C" mark, there should be tension on the back side of the chain, and slack on the front side at the tensioner. Caution: any time a tensioner is removed, have the bike on the centerstand to avoid the risk of the chain falling off the left side of the crank sprocket.
                            Last edited by bikerphil; 03-14-2010, 06:14 PM.
                            2H7 (79) owned since '89
                            3H3 owned since '06

                            "If it ain't broke, modify it"

                            Comment


                            • #44
                              thanx for the advice...

                              hey there bikerphil...thanx for the advice...it sounds like the easy thing to do....i was wondering if i should start with the plunger pushed in more to the housing.....will be using your advice...that way when i push the plunger in with the screwdriver, it should take up the slack i am holding a the top of the chain....correct....then install the spring and bolt....also what would be the correct procedure to make sure all is true and good other than rotating the engine and listening for "bad ju-ju" noises....as far as positioning, she's been on the center stand and off the floor since i started this post....she no movey until she fixey!!!......ride hard, ride safe...ross
                              rebel devil
                              1979 xs 1100f standard
                              authenic historical vehicle
                              42°36'23.52"N, 82°52'44.78"W
                              "I'M IN MY HAPPY PLACE"
                              "i got 14 jobs mon....you only got 1 job....you lazy bones mon"
                              "if you don't wrench on it, get behind me satan!"
                              '96 venture cct.....installed!
                              stainless, braided, pvc coated brake lines
                              i can translate...deustch, nederlands, 汉语, 漢語, français, ελληνικά, italiano, 한국어, português, русско, español and most importantly, 日本語....

                              Comment


                              • #45
                                There won't be any slack in the chain anywhere except in the front where the adjuster is if you rotate the engine by hand to the "C" mark before removing your old tensioner. The correct way to check everything is to have the valve cover off to keep an eye on things when first rotating after the installation of the new tensioner. You can also check the cam dots that way also. If you don't want to take off the valve cover, just make sure the crank doesn't move ANY while switching tensioners and you should be OK. Start with the plunger pushed all or almost all the way in before installing the new tensioner, then push with screwdriver to rachet it in tight. If I forgot anything to mention, hopefully someone will chime in. Good luck!
                                2H7 (79) owned since '89
                                3H3 owned since '06

                                "If it ain't broke, modify it"

                                Comment

                                Working...
                                X