Announcement

Collapse
No announcement yet.

2009 winter repairs.....

Collapse
X
 
  • Filter
  • Time
  • Show
Clear All
new posts

  • #16
    I got the frictions and springs which are Vesrah heavy duty from PNM Partsnmore.com
    You don't have to drain the oil to do the clutch if you put the bike on the side stand.
    Note: the magnetic drain plug PNM shows is for the middle and final drive, NOT the engine oil.

    https://www.partsnmore.com/cat_index...ategory=engine
    79 F full cruiser, stainless brake lines, spade fuses, Accel coils, modded air box w/larger velocity stacks, 750 FD.
    79 SF parts bike.

    Comment


    • #17
      Just a note

      NEVER remove the cam chain tensioner with the bike on the side stand. The chain can fall off the crankshaft sprocket off to the left! Then when it is reinstalled, it being off the sprocket, you will crash your valves. Always service the chain tensioner with the bike ON THE CENTERSTAND. Don't make this mistake, as I once did.
      2H7 (79) owned since '89
      3H3 owned since '06

      "If it ain't broke, modify it"

      Comment


      • #18
        XS11 Hinkiness

        Hi Ross, This is a quote from WA407mpp that's from the link i posted earlier. IMHO his procedure is the right way to ensure no catastrophic damage to the valve train HTH "Sorry to be so late getting back on here with my reply, but a busy work schedule and slow Internet seem to have conspired against me. The main difference between adjusting the cam chain and installing the cam chain adjuster is that when adjusting the cam chain, the chain is held captive by the adjuster, and all you are doing is allowing the adjuster to move enough to take up the extra slack in the chain. However installing the adjuster is a lot more involved, because when you remove the adjuster you release the pressure on the cam chain and the slack is free to slip to the lowest point in it's loop, which is under the crank sprocket, where it hangs in a loop until you reinstall the adjuster. When you install the adjuster you have to recapture that whole loop or it will travel around it's normal route and cause engine damage as it equalizes it's self, That's why it is important to not mix the two procedures and the main difference is that when adjusting the cam chain the engine is completely assembled except for the ignition cover and when you install the adjuster you need to have the cam cover removed so you can not only see the chain and check the timing marks, but also make sure you remove all the slack. You do this by pre adjusting the adjuster about half way out and finger tightening the adjusting bolt, then grasping the chain between you thumb and forefinger and gently pull the chain up until the slack is at the top next to the front cam sprocket, making sure it's on the crank sprocket, then while holding it there, you slide the adjuster into place, releasing enough chain as necessary to allow the adjuster to be bolted in place and in contact with or at least aligned with the chain, then slowly release the pressure on the adjuster bolt allowing it to adjust the chain the rest of the way, keeping your fingers out of the way as you do. Now when reading trbig's first post there was no mention of bohn removing the cam cover and in John's post he said trbig removed the cover to check the timing, maybe it was removed by bohn, maybe it wasn't, but until corrected I'm going on the assumption that it was not removed. When you install the adjuster without removing the cam cover there is no guarantee you will get all the slack out of the chain or the chain on the bottom sprocket and here I agree with trbig ,but for a different reason, because of the small size of the crank sprocket and the chain is a short link chain, which tend to bunch, if you let the adjuster snap into position from full out you could cause the chain to try to snap into position so fast as to allow the loose chain loop hanging under the crank sprocket to grab a sprocket tooth on the on it's way up and leave the some of the slack trapped on the sprocket until it is turned and also giving the impression that the adjuster has removed all of the slack. It says in my book,that it only takes an 1/8th of a turn on the cams,to cause damage to the valves from contacting the pistons, so it stands to reason that a few links of slack suddenly appearing in the cam chain could cause this to happen. As I previously stated, right or wrong I came to this conclusion from the experience and training I have gathered over the years and from the information in this post, and in no way am I judging any one's mechanical ability or expertize. From reading the post on this site it appears adjusting the cam chain is causing a lot of problems and I think mostly it is because the repair manuals leave a lot of general information out, because they assume if you are doing you own maintenance you know it already. One very important bit they skipped over is when you adjust the cam chain you need to rotate the crank enough times,"at least 2 to 4 complete revolutions", to move all the slack to the front part of the chain, I know that I already said the slack travels around the chain, but not at the slow speed of hand turning the crank, only at running speed, if you want to test this theory pedal a single speed bicycle both fast and slow with the rear wheel off the ground and the chain a little slack. I know it seems like extra work, but it's also important to remove the spark plugs, it not only makes it easier to turn the crank, it also makes it possible, after making the adjustment, to feel, if the pistons contact the valves which could be mistaken for compression resistance with the plugs in place. This is my theory of what happened and how to prevent it. If you don't agree feel free to attack it, but don't attack me personally."
        1980 XS1100G "Dolly G" Full Dresser (with a coat of many colors )
        1979 XS1100SF (stock-euro mods planned)
        1984 XV700L Virago (to be hot-modded)
        1983 XJ750MK Midnight Maxim (semi-restored DD)
        1977 XS650D ( patiently awaiting resto)

        Sometimes it takes a whole tank of gas before you can think straight.

        Comment


        • #19
          sorry kids.....dad was sleeping...drunk again!!

          hey there folks....sorry for so long to reply, but much has happened since we last chatted.....DA' SAINTS WON THE SUPER BOWL!......wtf.......next thing we know, global warming will be a lie also & prom will be shaving his b*lls and howling at the moon!!....d*mn.....anywho, i did go on a xs11 voodoo expedition and have come to the following conclusions....

          1. gonna follow WA407mpp's instructions on replacing the cam chain tensioner.....rather be safe than sorry!!......

          2. gonna look for the fzr1000 cam chain tensioner.....sounds like the plan and worth the labor to re-do.....

          3. bailing on the extra plate...new hd springs and frictions........

          4. (not advertising).....but superbrightleds.com is the place.....got 2 so far and perform better then the 1157 bulbs at minimal voltage....

          5. snow sux!!


          6. rebel devil ready for the fix!!


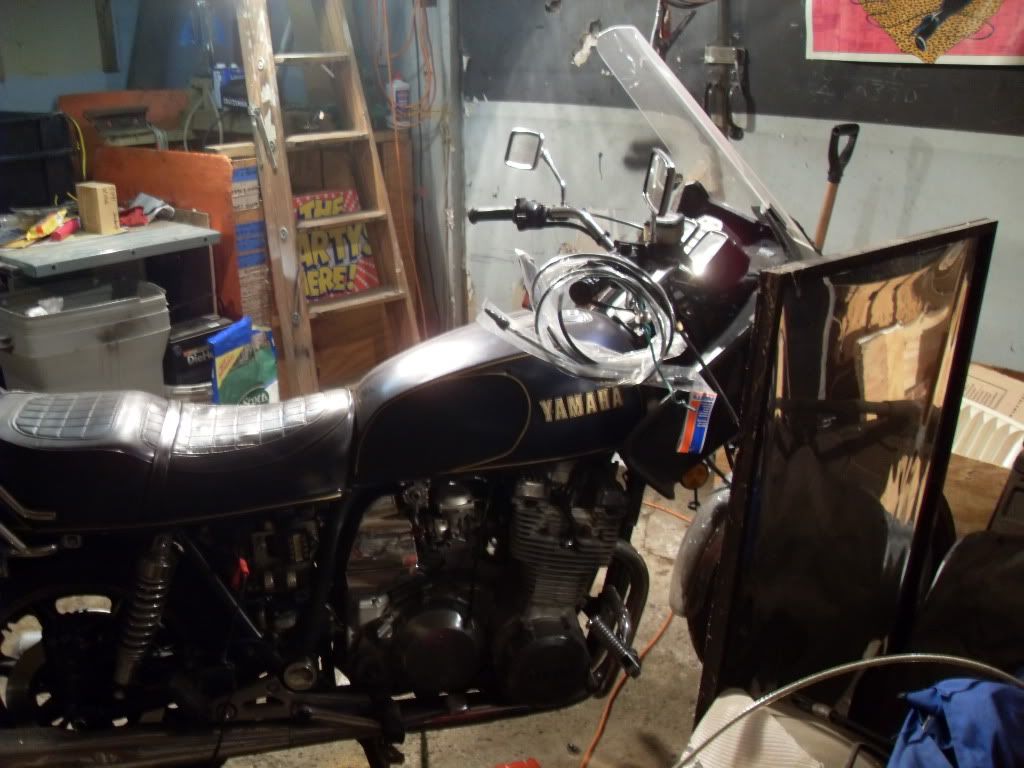
          new throttle & speedo cable!!


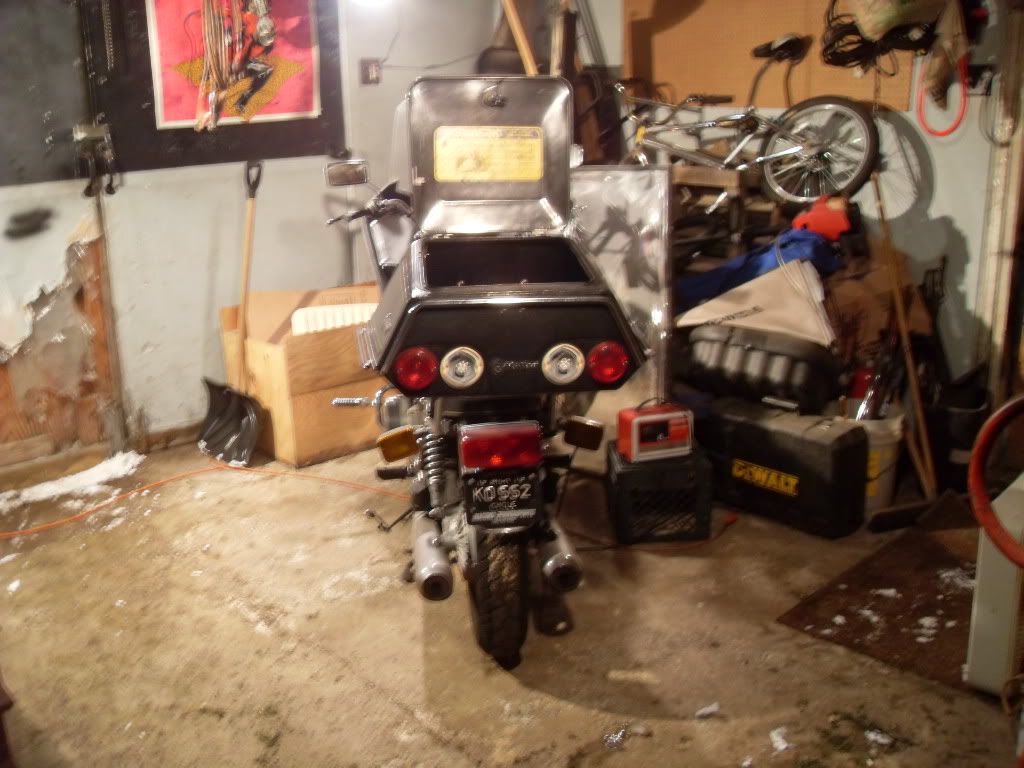
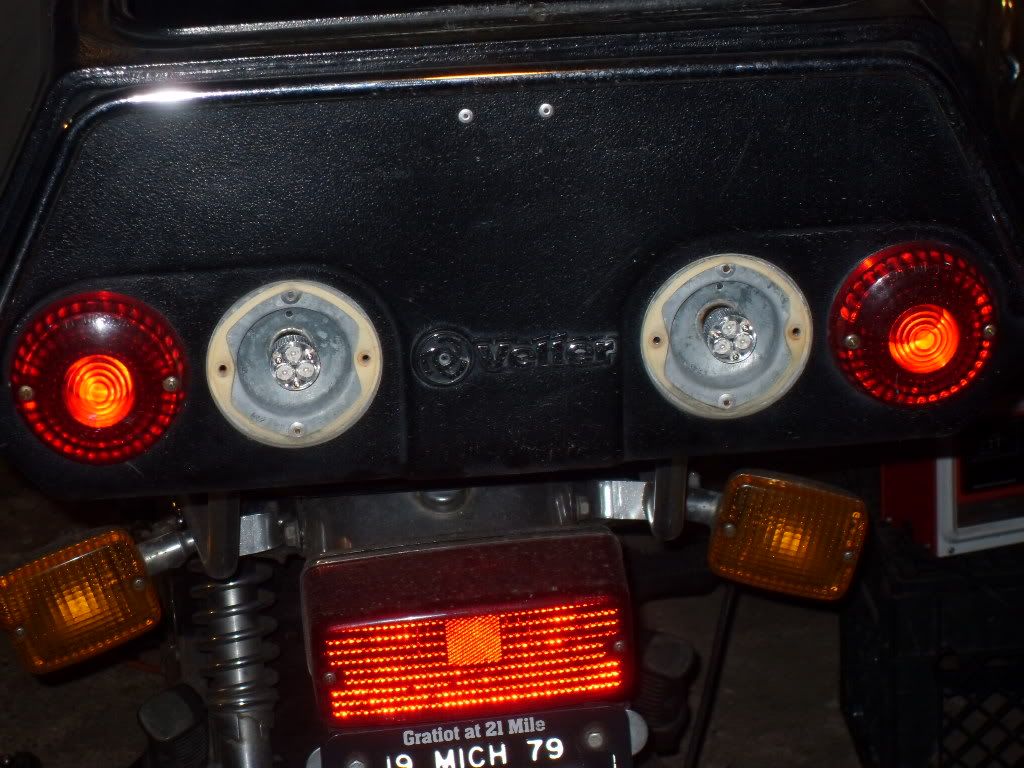
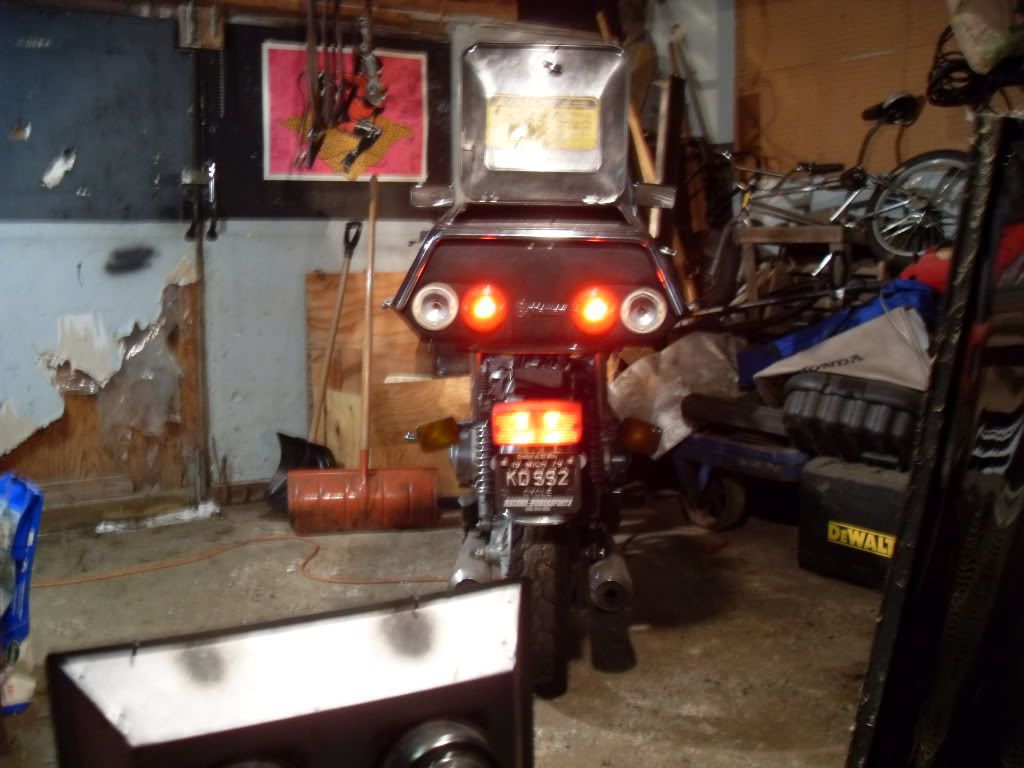
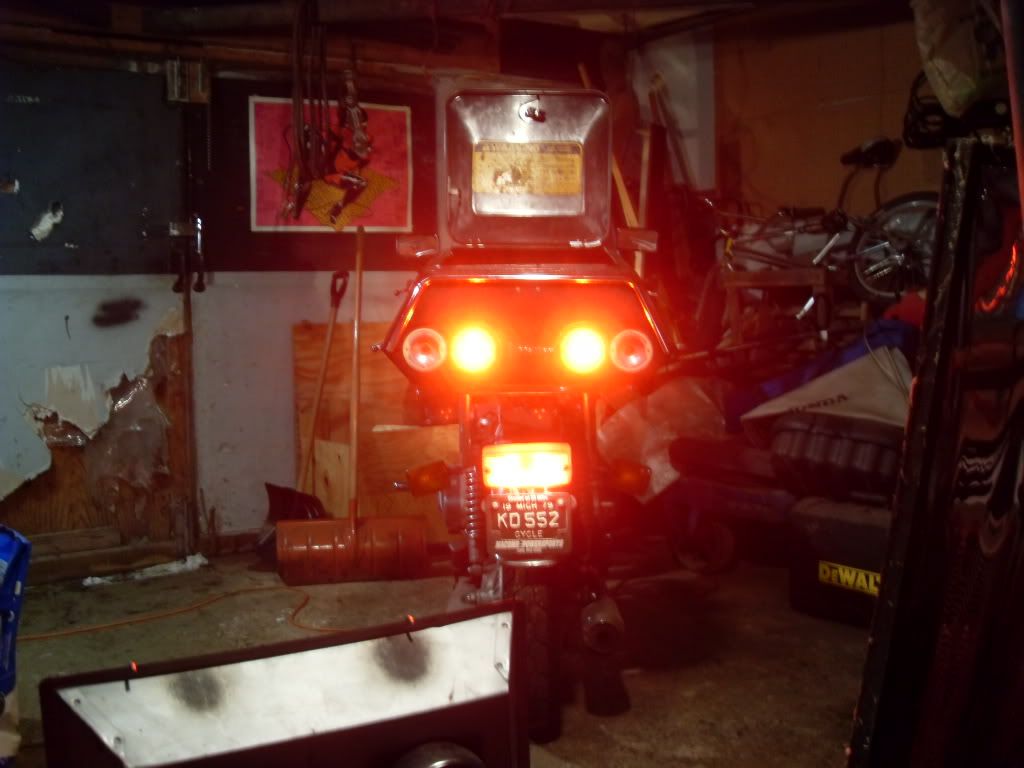
          4 volt led's brighter than the orginal 1157's! (not lit yet, but will demonstrate!)


          was wondering what years fzr1100's are good to use the adjuster.....will be looking asap as that is the most important part (along with the gasket for the cam chain cover) to get this project going....also what kind of gaget, voodoo, or make-shift, back-yard doo-hickey do i need to keep proper tension on the cam chain while i change the adjuster?...i do have access to a 350 ton press that i can use to do the job, but not sure....hahahahaha...

          motoman......hear ya about smokin' some clutch plates moto-x-ing......rode hard in the stupid years and finally got smoked by a pickup riding on the pavement.....ouch!!....anywho, please explain "adjust down at pivot on motor, then cable in that order"

          dbeardslee....r u sure....it sounds like when i release the tension on the cam chain, gravity would take hold and create bad juju upon the rebel devil....it makes sense that if you relieve the tension on the chain (even if it is on the centerstand!).....i think it would be worth the $30 for the gasket for the cam chain cover to make sure that the cam chain does not fall off the bottom sprocket!!!.....don't mean to offend, but would rather be safe than sorry.....

          any other members that would like to chirp in about some advice in this matter are VERY welcome!!....i know there is more XS11 voodoo out there and i want to make this a how-to thread if i can......thanx in advance.....ride hard and ride safe.....ross
          rebel devil
          1979 xs 1100f standard
          authenic historical vehicle
          42°36'23.52"N, 82°52'44.78"W
          "I'M IN MY HAPPY PLACE"
          "i got 14 jobs mon....you only got 1 job....you lazy bones mon"
          "if you don't wrench on it, get behind me satan!"
          '96 venture cct.....installed!
          stainless, braided, pvc coated brake lines
          i can translate...deustch, nederlands, 汉语, 漢語, français, ελληνικά, italiano, 한국어, português, русско, español and most importantly, 日本語....

          Comment


          • #20
            Those LEDs from Superbrightleds are fine, but Autozone sells them too, if you have one of them nearby. Saves on shipping, and especially waiting. I hate waiting for stuff in the mail! Also, be sure you change out the bulbs in the tail light housing too. Otherwise, the 1157 LEDs in the trunk won't change brightness with the brakes.
            1980 XS850SG - Sold
            1981 XS1100LH Midnight Special (Sold) - purchased 9/29/08
            Fully Vetterized and Dynojet Kit added, Heated Grips, Truck-Lite LED headlight, Accel Coils, Irridium plugs, TKAT Fork Brace, XS850LH Final Drive & Black SS Brake lines from Chacal.
            Here's my web page devoted to my bike! XS/XJ User's Manuals there, and the XJ1100 Service Manual and both XS1100 Service manuals (free download!).

            Whether you think you can, or you think you cannot - You're right.
            -H. Ford

            Comment


            • #21
              I've only seen the Red 1157 LED's at Autozone and Advance auto...
              Richard

              Comment


              • #22
                Originally posted by rpgoerlich View Post
                I've only seen the Red 1157 LED's at Autozone and Advance auto...
                Yep. That's all you need for the tail/brake lights in the trunk and the stock fixture. The only time you need anything else is if you're changing out the turn signals, but that's a completely different circuit, and requires a few other changes (new flasher, and loss of the RLU). Also, since the rear turn signals are not running lights, you would use 1156's there anyway.
                1980 XS850SG - Sold
                1981 XS1100LH Midnight Special (Sold) - purchased 9/29/08
                Fully Vetterized and Dynojet Kit added, Heated Grips, Truck-Lite LED headlight, Accel Coils, Irridium plugs, TKAT Fork Brace, XS850LH Final Drive & Black SS Brake lines from Chacal.
                Here's my web page devoted to my bike! XS/XJ User's Manuals there, and the XJ1100 Service Manual and both XS1100 Service manuals (free download!).

                Whether you think you can, or you think you cannot - You're right.
                -H. Ford

                Comment


                • #23
                  led's in the trunk....

                  hey there folks, so far testing has proven that these suckers are bright as f*ck.....only have 2 so far in the trunk and they are brighter than 4 1157 bulbs by far.....figure with 4 of the led's, i should be able to light up the block behind me like daylight!......i will check into the ones at autozone and report back but i am not bothered by the wait or shipping charges for good stuff......anywho, all these repairs are my x-mas present from SWMBO!!!....thinking of getting her a valve shim tool for her birthday!!.....will be looking into getting the FZR1000 adjuster 2nite.....looking at craigslist and ebay.....any other suggestions will be considered for 24 hours only as i want 2 get this project going......riding weather is coming like the proverbal freight train from h*ll.....which is where i will be going on 08/10/10 for my birthday celebration (hell, mi)....anyone that wants a post card from hell, mi, let me know!!!........talk 2 ya later....ride hard, ride safe....ross
                  rebel devil
                  1979 xs 1100f standard
                  authenic historical vehicle
                  42°36'23.52"N, 82°52'44.78"W
                  "I'M IN MY HAPPY PLACE"
                  "i got 14 jobs mon....you only got 1 job....you lazy bones mon"
                  "if you don't wrench on it, get behind me satan!"
                  '96 venture cct.....installed!
                  stainless, braided, pvc coated brake lines
                  i can translate...deustch, nederlands, 汉语, 漢語, français, ελληνικά, italiano, 한국어, português, русско, español and most importantly, 日本語....

                  Comment


                  • #24
                    I was thinking about that pesky plate lens I guess.
                    Richard

                    Comment


                    • #25
                      fzr 1000 cam chain tensioner

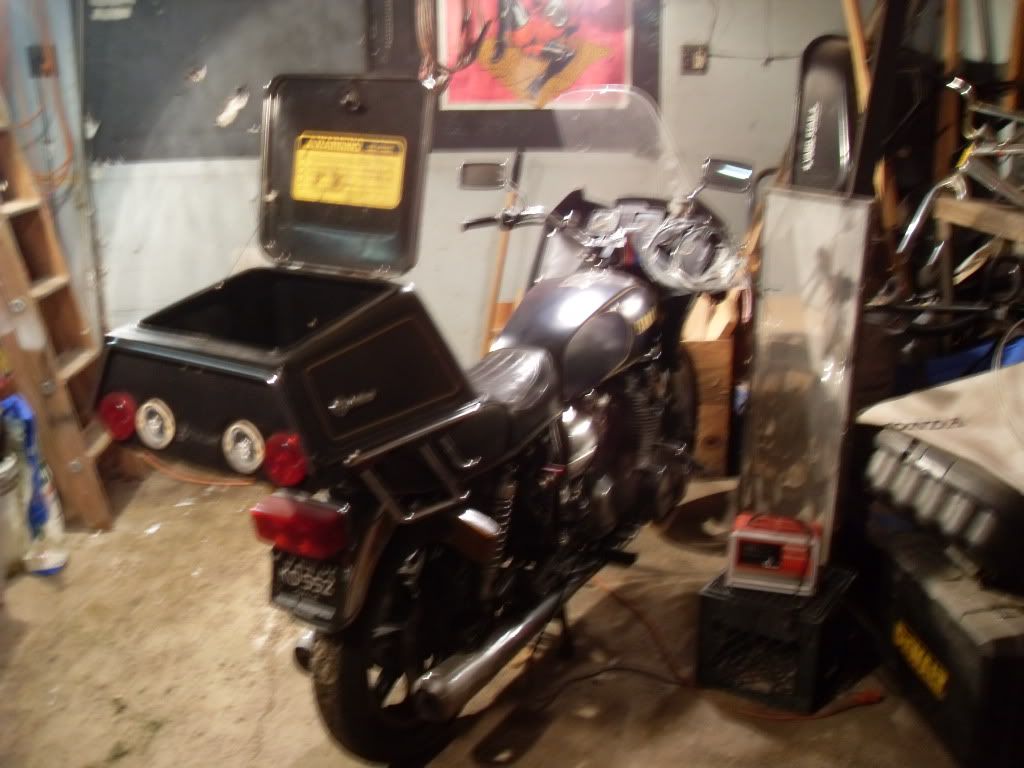
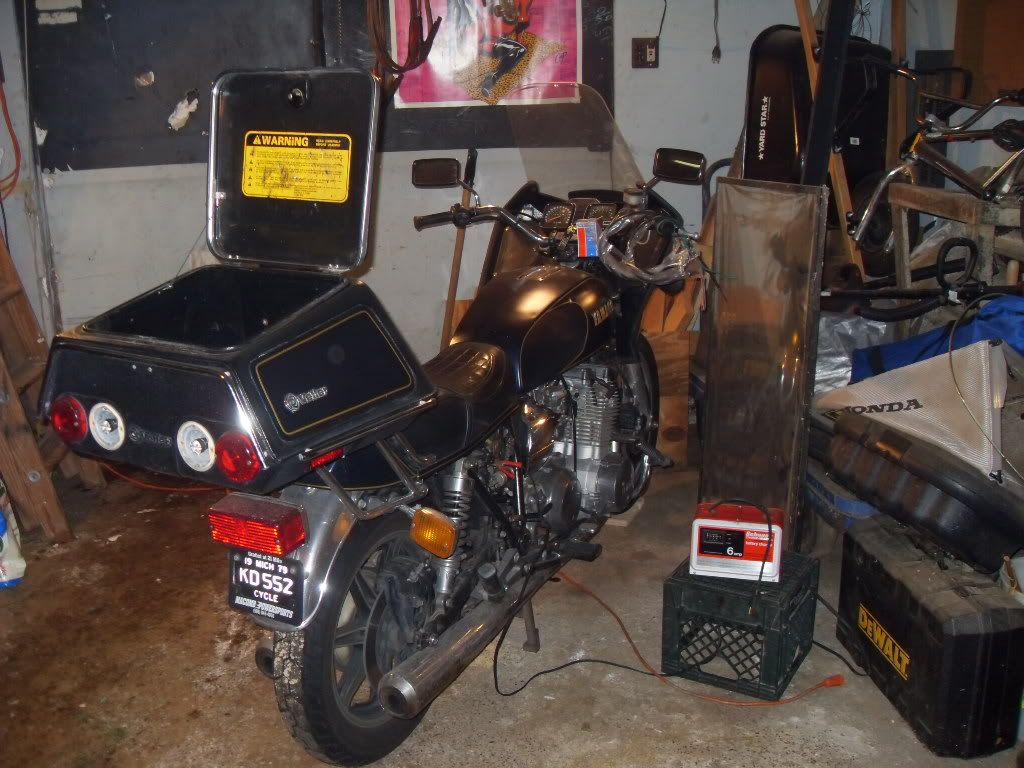
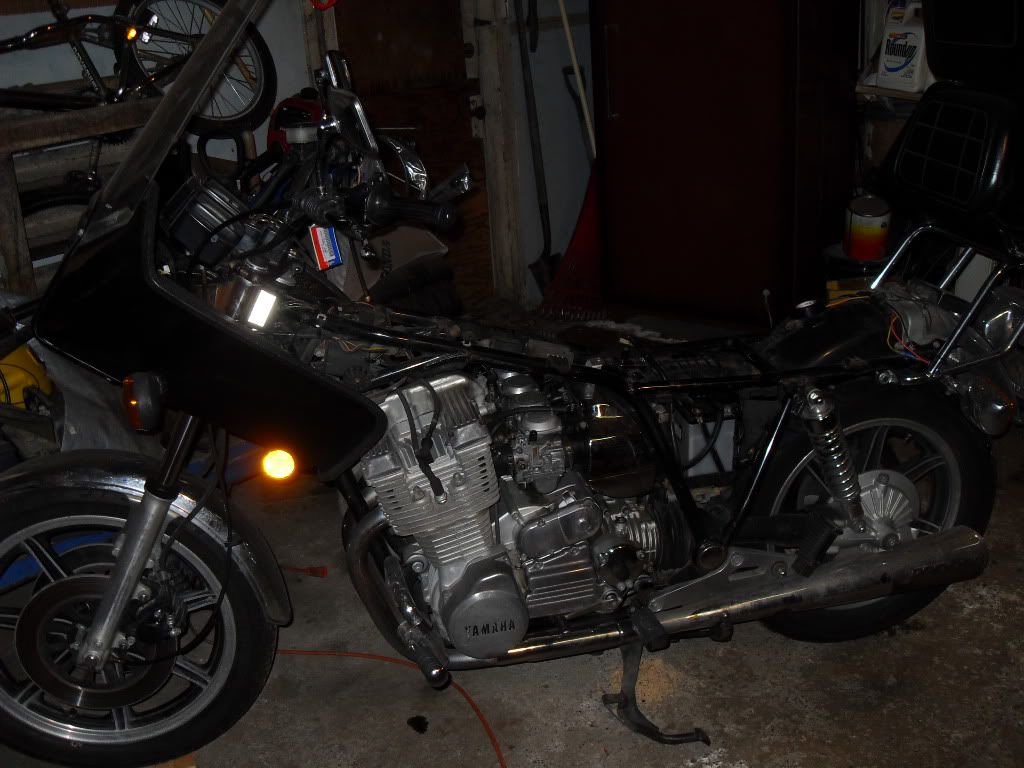
                      hey there folks.....have found a fzr1000 cam chain tensioner.....reasonable price...part # is 3GM-12210-00.....was wondering if anyone can confirm that this is the right part for the job......btw, did ya'll notice the voodoo hinkiness that was applied in the above photos.....its sorta like "where's waldo"!....first one to find it, gets a six pack of your favorite beverage delivered by a stripper riding a xs11 with less then 10 miles on the odometer.....ride hard, ride safe....ross
                      rebel devil
                      1979 xs 1100f standard
                      authenic historical vehicle
                      42°36'23.52"N, 82°52'44.78"W
                      "I'M IN MY HAPPY PLACE"
                      "i got 14 jobs mon....you only got 1 job....you lazy bones mon"
                      "if you don't wrench on it, get behind me satan!"
                      '96 venture cct.....installed!
                      stainless, braided, pvc coated brake lines
                      i can translate...deustch, nederlands, 汉语, 漢語, français, ελληνικά, italiano, 한국어, português, русско, español and most importantly, 日本語....

                      Comment


                      • #26
                        Originally posted by CatatonicBug View Post
                        Those LEDs from Superbrightleds are fine, but Autozone sells them too, if you have one of them nearby. Saves on shipping, and especially waiting. I hate waiting for stuff in the mail! Also, be sure you change out the bulbs in the tail light housing too. Otherwise, the 1157 LEDs in the trunk won't change brightness with the brakes.
                        Sure they will. They have two solder nubs on the bottom of the bulb/led assembly, one is for the running light and doesn't make it as bright, and the other is for brake light and lights them up brighter. I have run incandescents in both the taillight and the trunk, LEDs in the taillight and incandescents in the trunk, LEDs in both and LEDs in the trunk and incandescents in the taillight and the bright and dim on both worked properly with all those combinations. That will be true in all cases unless you have it wired incorrectly.

                        Now if I could just find a connector for my harness to the trunk that didn't keep coming unplugged. It's really getting annoying, and likely dangerous as well.
                        Cy

                        1980 XS1100G (Brutus) w/81H Engine
                        Duplicolor Mirage Paint Job (Purple/Green)
                        Vetter Windjammer IV
                        Vetter hard bags & Trunk
                        OEM Luggage Rack
                        Jardine Spaghetti 4-2 exhaust system
                        Spade Fuse Box
                        Turn Signal Auto Cancel Mod
                        750 FD Mod
                        TC Spin on Oil Filter Adapter (temp removed)
                        XJ1100 Front Footpegs
                        XJ1100 Shocks

                        I was always taught to respect my elders, but it keeps getting harder to find one.

                        Comment


                        • #27
                          Originally posted by cywelchjr View Post
                          Sure they will. They have two solder nubs on the bottom of the bulb/led assembly, one is for the running light and doesn't make it as bright, and the other is for brake light and lights them up brighter. I have run incandescents in both the taillight and the trunk, LEDs in the taillight and incandescents in the trunk, LEDs in both and LEDs in the trunk and incandescents in the taillight and the bright and dim on both worked properly with all those combinations. That will be true in all cases unless you have it wired incorrectly.

                          Now if I could just find a connector for my harness to the trunk that didn't keep coming unplugged. It's really getting annoying, and likely dangerous as well.
                          Ahh, but it's not true all the time. There are some LED lights that light up half the bulbs with one nub, and all of them with the other. That kind might work with incandescents in the circuit. However, the ones I got (from Autozone) use all the bulbs al the time, and simply dim them for running, and go 100% for brake. In that case, the fact that the regular bulbs were in the circuit made it so the regular bulbs drew too much of the current to light up the LEDs to 100%. I even called the manufacturer on it, and they said you have to install a load equalizer to allow you to use incandescents in the same circuit.

                          As for the plug, I used a Molex, 4-pin connector with wings, and it snapped right into the existing power slot, with only a tiny adjustment to the slot to allow it to fit. It has never disconnected itself. They have a small detent bump in them to prevent that from happening. I added in-line connectors to the existing wiring, and connected a molex 4-pin under the seat. Then, I created a pigtail with a molex 4-pin on each end, and that connects to the molex connector snapped into the trunk itself.

                          I completely disassembled all 4 of my lamps in the trunk, and rewired them with new wire all the way to the bulb nubs. I used those same in-line connectors to tap into the wire loom that ran all the way from the right-most lamp to the left, then forward to the power plug. In the process, I shrink-wrapped all the wires to make it a nice, tidy bundle.
                          1980 XS850SG - Sold
                          1981 XS1100LH Midnight Special (Sold) - purchased 9/29/08
                          Fully Vetterized and Dynojet Kit added, Heated Grips, Truck-Lite LED headlight, Accel Coils, Irridium plugs, TKAT Fork Brace, XS850LH Final Drive & Black SS Brake lines from Chacal.
                          Here's my web page devoted to my bike! XS/XJ User's Manuals there, and the XJ1100 Service Manual and both XS1100 Service manuals (free download!).

                          Whether you think you can, or you think you cannot - You're right.
                          -H. Ford

                          Comment


                          • #28
                            Originally posted by CatatonicBug View Post
                            Ahh, but it's not true all the time. There are some LED lights that light up half the bulbs with one nub, and all of them with the other. That kind might work with incandescents in the circuit. However, the ones I got (from Autozone) use all the bulbs al the time, and simply dim them for running, and go 100% for brake. In that case, the fact that the regular bulbs were in the circuit made it so the regular bulbs drew too much of the current to light up the LEDs to 100%. I even called the manufacturer on it, and they said you have to install a load equalizer to allow you to use incandescents in the same circuit.

                            As for the plug, I used a Molex, 4-pin connector with wings, and it snapped right into the existing power slot, with only a tiny adjustment to the slot to allow it to fit. It has never disconnected itself. They have a small detent bump in them to prevent that from happening. I added in-line connectors to the existing wiring, and connected a molex 4-pin under the seat. Then, I created a pigtail with a molex 4-pin on each end, and that connects to the molex connector snapped into the trunk itself.

                            I completely disassembled all 4 of my lamps in the trunk, and rewired them with new wire all the way to the bulb nubs. I used those same in-line connectors to tap into the wire loom that ran all the way from the right-most lamp to the left, then forward to the power plug. In the process, I shrink-wrapped all the wires to make it a nice, tidy bundle.
                            Strange, that's the ones I have and they have worked fine with a mix. That is indeed puzzling. That said I'm running all LEDs now because of the much lower draw. I'm looking for amber 1157 replacements for the fairing to replace the running and turn lights (already have replaced the flasher so that's not a worry) since those are on all the time. I'm not worried about the rear flashers, they only come on when flashing, no big deal.

                            I guess maybe my harness is just a little short and too tight, I'll just have to fix that this weekend.
                            Cy

                            1980 XS1100G (Brutus) w/81H Engine
                            Duplicolor Mirage Paint Job (Purple/Green)
                            Vetter Windjammer IV
                            Vetter hard bags & Trunk
                            OEM Luggage Rack
                            Jardine Spaghetti 4-2 exhaust system
                            Spade Fuse Box
                            Turn Signal Auto Cancel Mod
                            750 FD Mod
                            TC Spin on Oil Filter Adapter (temp removed)
                            XJ1100 Front Footpegs
                            XJ1100 Shocks

                            I was always taught to respect my elders, but it keeps getting harder to find one.

                            Comment


                            • #29
                              Superbrightleds is probably the place to go for the amber ones. I haven't seen them in any local store. They have 90º bulbs that would be great for the rears, but regular 1157 LEDs would be fine for the fairing.
                              1980 XS850SG - Sold
                              1981 XS1100LH Midnight Special (Sold) - purchased 9/29/08
                              Fully Vetterized and Dynojet Kit added, Heated Grips, Truck-Lite LED headlight, Accel Coils, Irridium plugs, TKAT Fork Brace, XS850LH Final Drive & Black SS Brake lines from Chacal.
                              Here's my web page devoted to my bike! XS/XJ User's Manuals there, and the XJ1100 Service Manual and both XS1100 Service manuals (free download!).

                              Whether you think you can, or you think you cannot - You're right.
                              -H. Ford

                              Comment


                              • #30
                                baby steps at first....

                                hey there folks...starting slow and building up speed....tail lights are a go....bright running lights and blinding brake lights...went with the 1157-R3X1W.....mind you this is only 3 led's...

                                running lights


                                brake lights


                                http://www.superbrightleds.com/cgi-b...115x-x3X1W.htm

                                also will be looking at the 1157-R19W6 for the main tail light....

                                http://www.superbrightleds.com/cgi-b...cycle_bulb.htm

                                also started the project by pulling the gas tank.....drain, pull, set it on da milk crate and refilled it....no rust juju happening here...been there, done that....


                                anywho, gotta fly 4 now....will be updating as i proceed.....ride hard, ride safe....ross
                                rebel devil
                                1979 xs 1100f standard
                                authenic historical vehicle
                                42°36'23.52"N, 82°52'44.78"W
                                "I'M IN MY HAPPY PLACE"
                                "i got 14 jobs mon....you only got 1 job....you lazy bones mon"
                                "if you don't wrench on it, get behind me satan!"
                                '96 venture cct.....installed!
                                stainless, braided, pvc coated brake lines
                                i can translate...deustch, nederlands, 汉语, 漢語, français, ελληνικά, italiano, 한국어, português, русско, español and most importantly, 日本語....

                                Comment

                                Working...
                                X