If this is your first visit, be sure to
check out the FAQ by clicking the
link above. You may have to register
before you can post: click the register link above to proceed. To start viewing messages,
select the forum that you want to visit from the selection below.
I have access to some larger tools, my neighbor seems to have everything and doesn't mind me borrowing things. That screw was all the way in, I had no idea that I had to remove it first. Just glad it didn't break, should be reusable...
"What they do have is an implacable, unrelenting presence and movement that bespeaks massive power lurking behind paint and chrome. They don't wail like a screeching ninja, the don't rumble like a harley. They just growl like a spactic, stressed out badger waiting to rip your face off and eat your soul." Trainzz~RIP~
Well, things have been going slow but I did manage to buy a second lower TT. I still haven't disassembled the forks but I have made some friends that machine tools. Im hoping to get access to a VM to do some machining. On another note, Im getting ready to go pick up a complete '92 JF1200. It has no title so I wont be putting it on the road and he hit a deer with it so the fairings are wasted. Im not sure if the forks are any good but that doesnt matter. I'm more interested in getting it for the new rotors he just put on it before the wreck. I want to see if I can get them to work on the XS wheel, I might have to machine new hubs... Im getting the entire bike for what it would cost to buy the rotors new on ebay!
"What they do have is an implacable, unrelenting presence and movement that bespeaks massive power lurking behind paint and chrome. They don't wail like a screeching ninja, the don't rumble like a harley. They just growl like a spactic, stressed out badger waiting to rip your face off and eat your soul." Trainzz~RIP~
i'm totally blown away by all your awesome work, when i first posted this i pick
the fj fork because it was cheap ,not because it was great.my choice would be a gixxer if money no object just think of the brakes
anyway you all have amazed me with your great work
i'm totally blown away by all your awesome work, when i first posted this i pick
the fj fork because it was cheap ,not because it was great.my choice would be a gixxer if money no object just think of the brakes
anyway you all have amazed me with your great work
Anything can be made to work it all depends on your budget and how much custom modification you want to take on... As you can see, he spent some additional money besides just the forks to enhance the ride quality but there isn't exactly instructions for getting the best from the doner forks, I imagine tuning a newer set of forks would be a little more costly. In addition, length of the forks are important to not give up too much ride height.
"What they do have is an implacable, unrelenting presence and movement that bespeaks massive power lurking behind paint and chrome. They don't wail like a screeching ninja, the don't rumble like a harley. They just growl like a spactic, stressed out badger waiting to rip your face off and eat your soul." Trainzz~RIP~
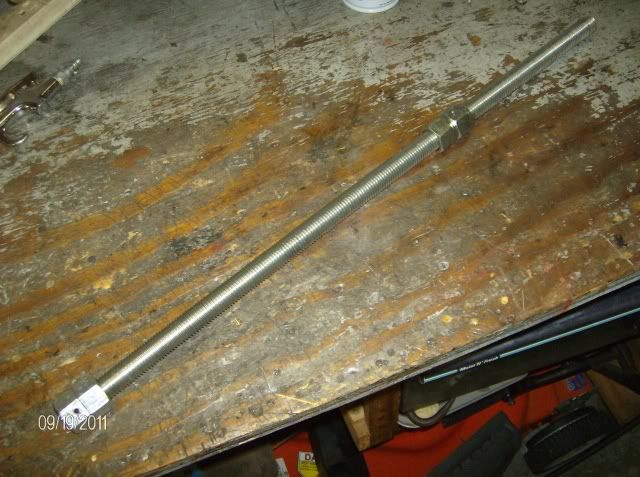
No really, I picked up some funky nuts at tractor supply that seem to be an odd ball (hehe) size. IDK if the grade 8 nuts have better quality control but these cheap zinc coated 3/4-10 nuts measure 1.105 across the flats which makes them more like 28 mm rather than 1-1/8 or 1-1/16...
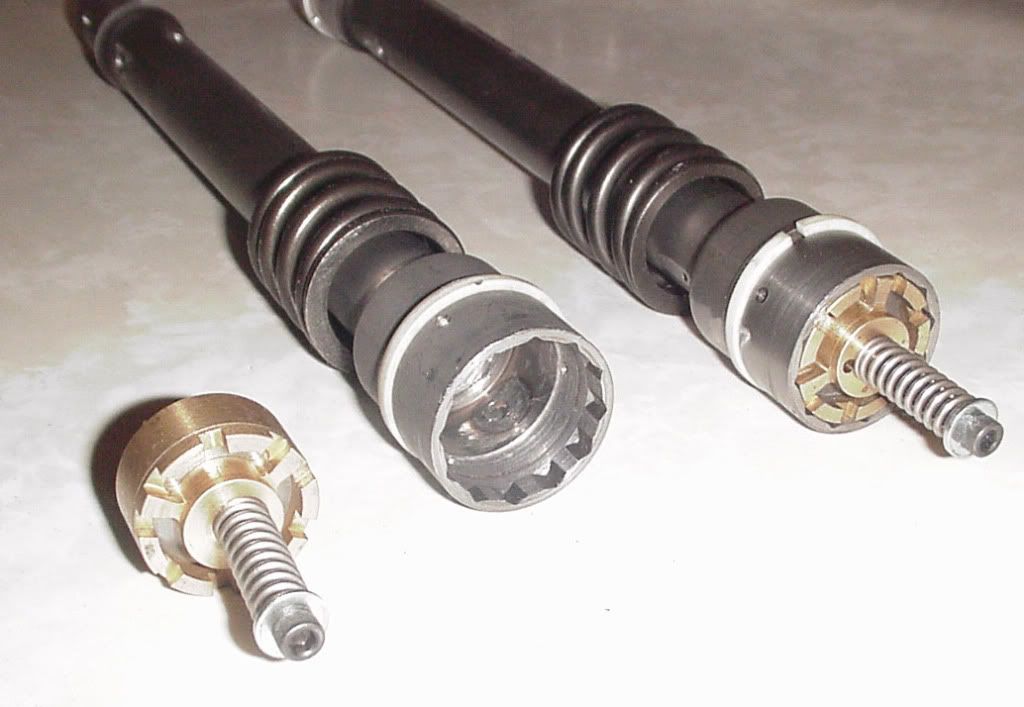
I carefully took some material off the flats with the flat face on my hand grinder so I could get the nut to engage deep enough to remove the tube cap on the fork. Now I have a skinny nut and measures 1.080 right now. I'm at the point where I need to remove the damper rod but I think even my skinny nut isn't skinny enough!
Any chance you can throw a pair of calipers across you nuts and tell me what size they are? (I feel obliged to say "no homo" right now). But seriously, a quick check would be appreciated. I didn't want to try to I torque the 10mm cap screw because it didn't feel like my nut engaged the damper rod very much and I don't want to damage anything...
"What they do have is an implacable, unrelenting presence and movement that bespeaks massive power lurking behind paint and chrome. They don't wail like a screeching ninja, the don't rumble like a harley. They just growl like a spactic, stressed out badger waiting to rip your face off and eat your soul." Trainzz~RIP~
I'm using this link from the FJ owners site for disassembly instructions. They are for the later forks though. Must be the later forks use a different size hex because they keep saying it 22mm... None the less, it's helped me with instructions. Once I get my nut sized down I'll remove the damper rod. Thanks for your help.
"What they do have is an implacable, unrelenting presence and movement that bespeaks massive power lurking behind paint and chrome. They don't wail like a screeching ninja, the don't rumble like a harley. They just growl like a spactic, stressed out badger waiting to rip your face off and eat your soul." Trainzz~RIP~
It's always funny how "life happens" and your priorities readjust but I digress. I'm working on my FJ Forks again as you probably guessed from my posts in your thread. I have a few questions for you and Steve but not sure where he has been, hope he can chime in... Steve’s comment “there’s a lot going on here” is an understatement. Re-reading the thread a few times has provided me with some insights and where I think I want to take my project but and several unanswered questions as I try to understand how these forks work to begin with.
My goal is to get the best bang for the buck but keep it cheap. Steve really seemed to modify way more but I’m wondering if there are advantages to certain things he did vs you and what would be worth my time to incorporate but I know you both had different objectives when putting these together. I ride aggressive and so I’m hoping these forks will perform better to suit my riding style.
Strictly talking about fork internals right now here is my plan. I'm going to use the Mike's XS emulators but I’m not sure if I should keep the springs that came in my forks or buy the progressive springs… I will stick with stock spring for the time being. Staying with the springs that came with them would help me achieve “cheapskate status”. On the other hand, they might already have progressive springs, how can I determine what I have, spring length? That aside here are some questions I hope I can get answered.
Springs and Spacers:
Mine did not have a spacer installed when I took it apart. Should I use a spacer, what length? I surmise the spring I use will determine if the spacer is needs to be longer or shorter or if it’s even required…?
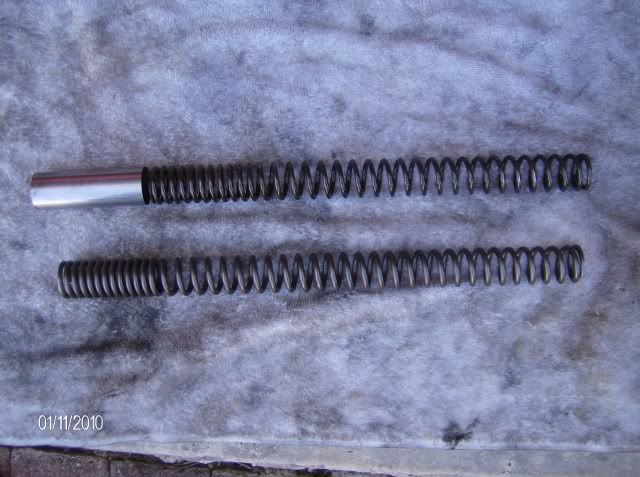
Your progressive spring looks a little longer than the stock springs but it’s hard to tell from the picture if that is the only difference. Do you have any measurements of your old vs new springs?
Damper Rod & Rebound settings: Post #47
This rebound setting is controlled by the long D shaped rod and turns the “ported piston” down in the top of the damper which has 3 settings (not telling you anything new). Stock form has: no-hole, small-hole, and large-hole. Your post said you drilled a #33 hole in the ported piston but it was a little unclear to me, I assume you drilled the “no-hole” position correct? Is drilling that hole necessary if you install the emulators?
The reason I ask is because you drilled this hole before going with the Mike’s XS emulators. The FJ owners site has a cartridge emulator installation guide that directs you to put the “ported piston” in the no-hole position when installing the emulator… so, should I or shouldn’t I drill the #33 hole?
Setting the ported piston to the no-hole setting is per the Racetech valves used in the instructions but because the Mike’s XS ones are smaller and more restrictive maybe the bypass through that hole is warranted? As an alternative, I suppose I could put it on the stock small-hole setting when I install the emulator if you think it’s not too large, it would only save me having to drill the hole so no big deal if you think I should... To complicate matters Steve took the ported piston completely out of his damper rod and replaced it with the emulator (post #134).
Anti-Dive & the collared sleeve (stops):
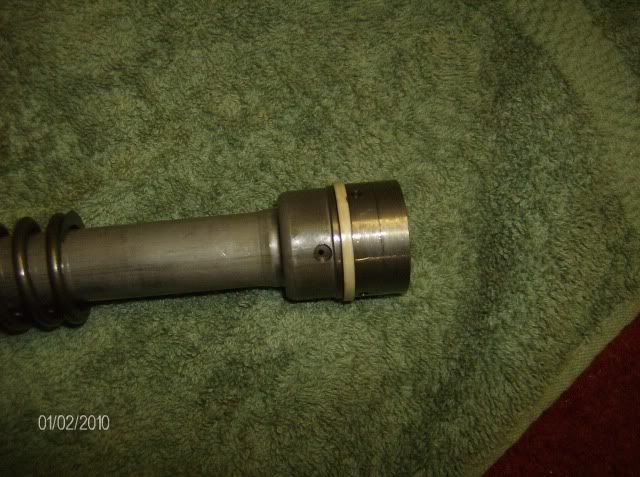
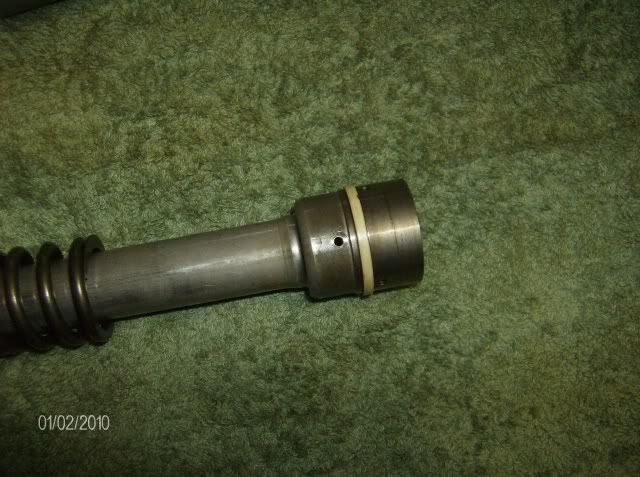
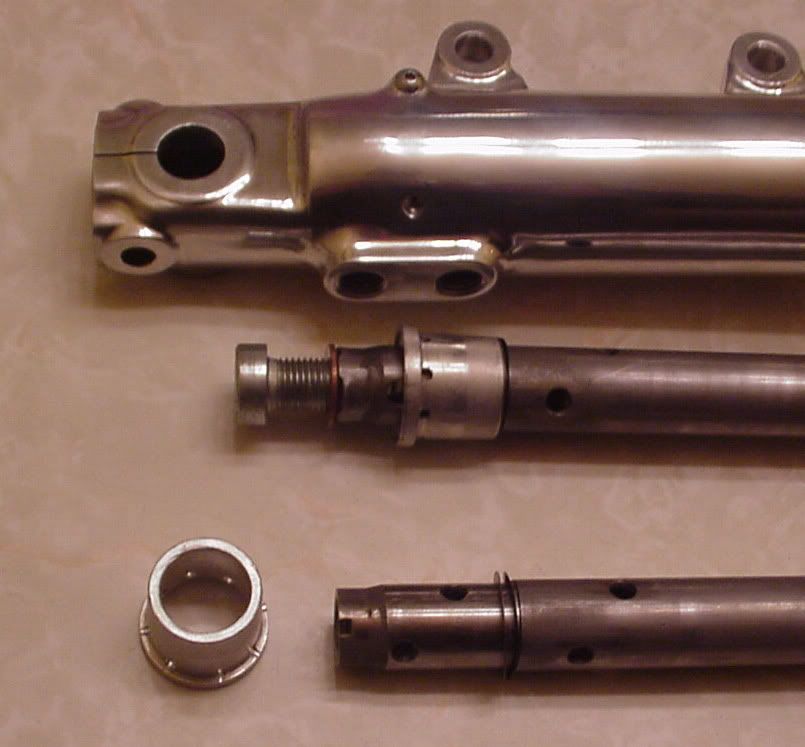
In post #57 you removed the aluminum collared sleeve that blocks the damper rod holes in the end whereas Steve drilled 8 holes into his collar and kept it installed (Post #134) to retain the stops. He also added 4 holes in the damper tube above the aluminum collared sleeve... This seems to have been done for flow reasons. The fluid has to have the ability to travel down the inside of the damper tube and out the holes at the end and back up the outside of the damper tube. The stock flow path would drive all the fluid out the bottom holes and up through the crappy anti dive valve system before it started all over.
Just my thinking but the 4 larger holes Steve made above the collared sleeve would seem to “short-circuit” the flow path and the majority of the flow would not pass through the bottom of the damper tube; at least under shallow bumps where displacement is low, higher displacement might actually use that flow path but I’m not sure… In that case, what advantage would there be leaving the collar in place with the path short-circuited?
I guess what I’m trying to do is understand how the stops function normally and if I should retain them. This might be important if I stay with stock springs as I might risk bottoming out more. Although I’m thinking I can bolt on a bypass in place of the anti-dive valve (or maybe just remove its guts). Any thoughts on this? All I know is it’s harder to undrill holes.
I know there's more than one way to skin a cat but there's a difference between making things work and making them work well, I appreciate your input. Thanks.
"What they do have is an implacable, unrelenting presence and movement that bespeaks massive power lurking behind paint and chrome. They don't wail like a screeching ninja, the don't rumble like a harley. They just growl like a spactic, stressed out badger waiting to rip your face off and eat your soul." Trainzz~RIP~
WMarshy, Do not use progressive wound springs with emulators. No, it's not dangerous, but you're mixing technologies and you're not going to achieve desired results. A friend of mine went through this on an XS650. He upgraded forks from 34 to 35 mm, then installed emulators and Progressive front springs. It misses the mark. Straight rate is what you need. The rate will be determined by the load on the bike and riding style.
Marty (in Mississippi)
XS1100SG
XS650SK
XS650SH
XS650G
XS6502F
XS650E
Comment