
So after much work I have ruled this down to be a sticky valve. I have ordered replacement valve seals and I'm not looking at the online cylinder head gasket but I'm not sure if this is the right one or not
http://www.ebay.com/itm/171289202919....N36.S1.R1.TR3
I'm not sure if this will work on the XS1100F 79...and would like to only buy it once...Can someone take a gander and tell me before I buy?
-
Well i didn't find the issue that is plaguing the bike yet...but I did get the center stand on and fix the horn it would seem that when a cable is pinched in half it stops working
  but of course it had never worked to begin with so this is a plus lol!

Leave a comment:
-
Well I found a parts bike for $100, all that's missing is the carb bank. So I should be able to pull the parts I need to get this beast running. Its a 79 special so I'm hoping the coils will slide right over...and I'm tempted to use the tank off of it on my bike. I will also be pulling all the shims so I can go through my bike again and re-shim it. Then lots of parts for the shelf
Otherwise I finally took the center stand off of my current parts bike, cleaned all the rust and paint yesterday and primed then painted it black. Then got it on the bike before the heat hit 100+.
Once I get her running again I have some green led running lights to go under the tank and fenders. Plus I picked up an LED strip for on the license plate to add additional brightness for braking and the turn signals. If this doesn't work I will have to look hard and long for a single replacement...last thing I need is getting rear ended because some jackass behind me didn't see me...and FYI I had that happen on the last bike and its tail light was bright as all hell (2002 yzf600r yamaha)!Leave a comment:
-
Looks 100% better, yep sometimes those dents don't bang out so easy, especially on the crease. I've put bondo in a dent as large as yours was a few years back and it is still holding. If you put some 2 part clear coat on there it will shine and you won't have to worry about accidental gas spillage. If you do this, don't forget to wet sand the base coat super smooth.Last edited by bikerphil; 07-04-2015, 06:56 AM.Leave a comment:
-
well the attempt to bang out the bulge was fruitless...so I spent yesterday evening applying layers of bondo. And spent this morning put on coats of paint. And the tint is slightly different from the original color I had on it...still not sure about it lol...needs a coat of wax or something to make it shine...The rest of it just needs a good wash and buff...
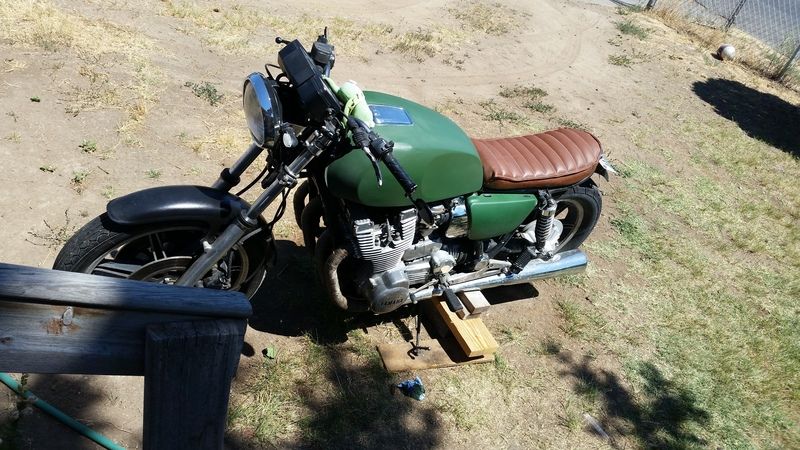
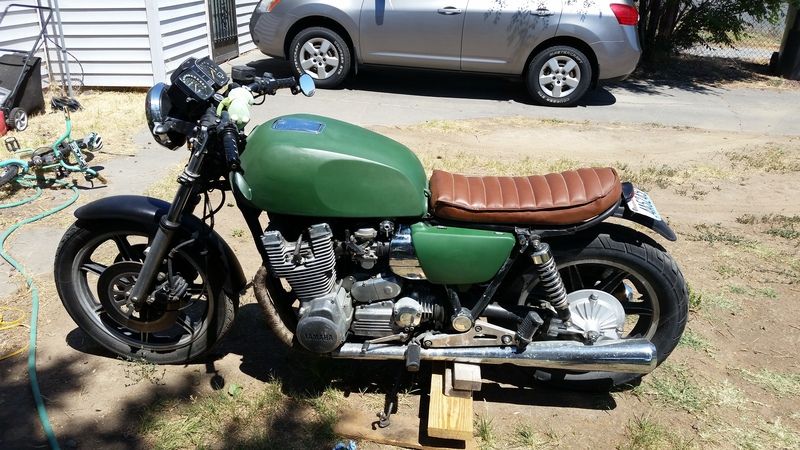
The wood under it was just to center it better...still need to take the center stand off the parts bike and move it over.Leave a comment:
-
I'd try taking the tank off, get all the gas and fumes out. Take the fuel sending unit out on the inner left side and you may be able to rap the dent out some to make it a bit smaller, then fill it with bondo and repaint.Leave a comment:
-
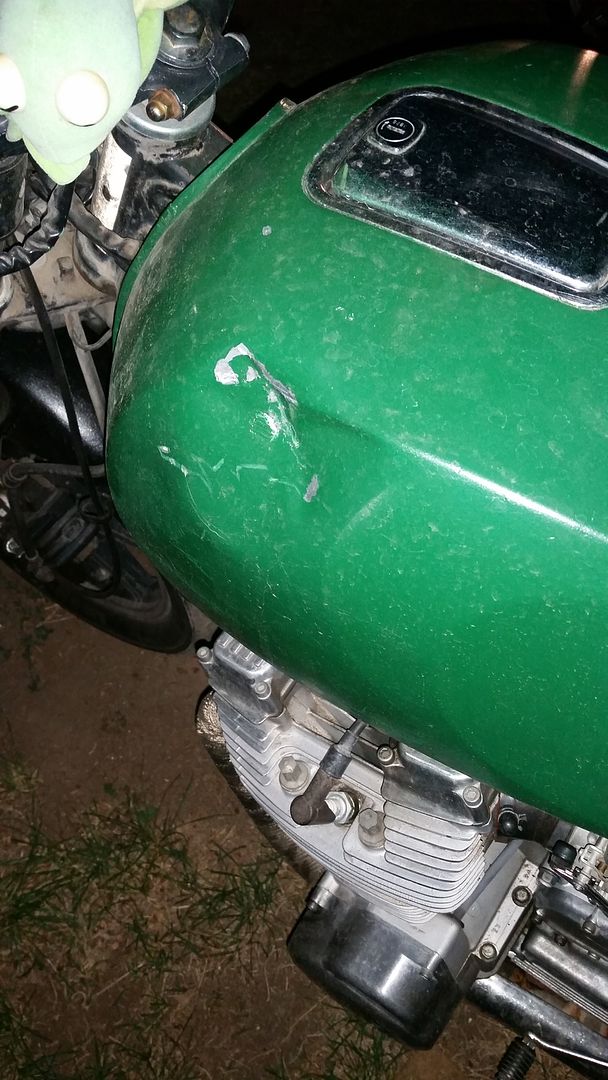
Never mind the dirt splatters from last nights rain storm.....
Does anyone have any suggestions for removing the ding in the tank? I laid her down a couple weeks ago when the kickstand wasn't as out as I thought it was and I was monkeying with the brakes...
Leave a comment:
-
I think he sealed/covered up a few pleats on the pod filters to restrict the air flow to try to richen it up some.it is running way to lean. It pops a lot under 2K so I am trying something a little different. I broke out the wife's nail polish and filled up 2 of the fins. From there I tested it and it was a little betterLeave a comment:
-
Holy moly Batman we have brand new terminology for something, Just not sure what?
Leave a comment:
-
Re-adjusted the clutch lever for a bit more comfort.
I couldn't get the blinkers on the left to work so I took apart the switch assembly and found that the solder had failed. So I went through it and cleaned all the points and re-soldered her up. Now they work very nicely
I am also attempting to fine tune the bike a little better. I tried to color tune it but the color never changed from blue I have the carbs perfectly synced...but as you can imagine... it is running way to lean. It pops a lot under 2K so I am trying something a little different. I broke out the wife's nail polish and filled up 2 of the fins. From there I tested it and it was a little better. So I filled in two more fins, but it started to rain so I covered up for the day. I will see how it is tomorrow. Really hoping I can find a balance that will un-lean it. Not sure how many of these fins will need to be filled to bring it to normal.
Leave a comment:
-
Well in the end it appears to be that I am just hit the dang thing to hard and jammed shift lever #2. after pulling the circlip I was able to put it back where it should have gone and everything appears to be back to normal. The new gasket is curing right now, and I will tighten it down when I get home today. I figure while I have it low on gas, I will drain it all the way and put in the petcock repair kits.
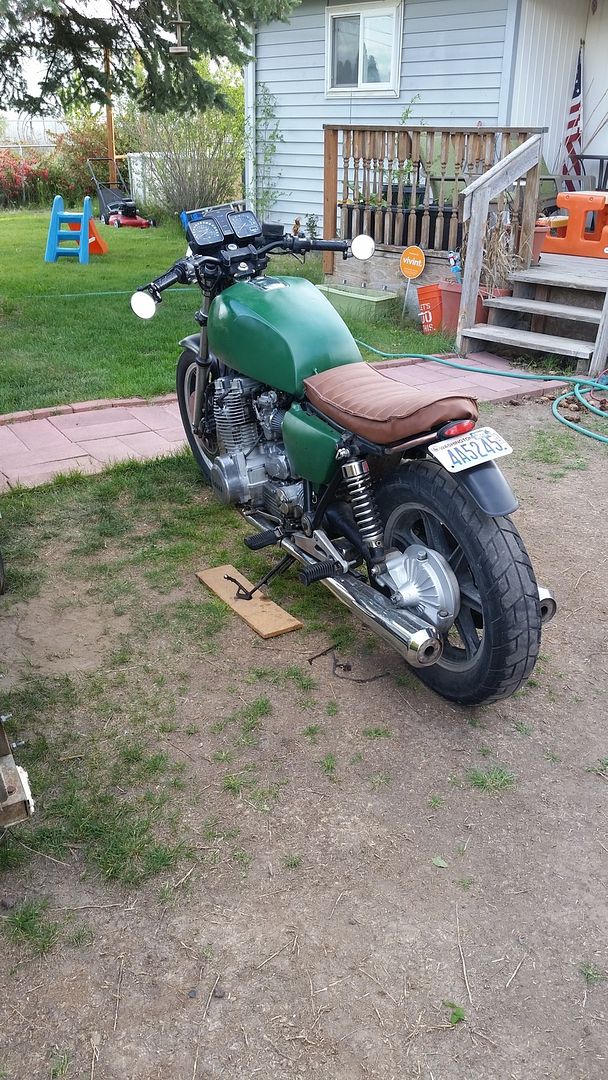
While changing over the handle bars I stressed the metal on the clutch a little to much while being lazy :S When I put the handle bars on I was already frustrated with the bike and didn't want to spend more time on it then absolutely necessary...lesson learned...Lucky me I have a spare still on the parts bike so I will take my time and do this one right.
Otherwise I'm now considering doing the custom battery/electrical cage again. That however will be another week or two off, as I need to work on some other projects to keep the wife happy.
[IMG]http://i301.photobucket.com/albums/nn61/nzemke/20150424_182719_zp
s1z8ou26g.jpg[/IMG]
Leave a comment:
-
-
I use a rubber mallet to tap on the cover all the way around. If you have never had the cover off you have no idea what the previous person sealed it with. You may try putting a screwdriver in the hole the clutch cable goes threw and apply a little tension while taping. Do not pull real hard or you will snap the aluminum cover. If that does not do it I have used a sharp putty knife and at a strong part at the bottom of the cover tap the putty knife in-between the cover and motor. It will damage the gasket but will break the seal. You may need to break the seal in a few places before it lets go. Be patient doing this you do not want to crack the cover.Leave a comment:


Leave a comment: