 Tweet
Tweet
This is a copy of the whole tech tip, posted here for any other discussions you guys might want to make!?
**************************************************
Okay folks, here's an attempt at a new tech tip! I had the indicator needle break off on my tach, and also due to severe exposure, the face on my tach had gotten quite faded and aged!
So I decided to try to take it apart and see if I could fix it! With much help from other Xsives, found out how to pry up the lip on the back of the bezel to get the front off! This would be helpful in getting spiderwebs out, fixing a cracked/broken glass, etc.!
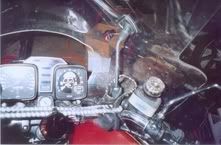
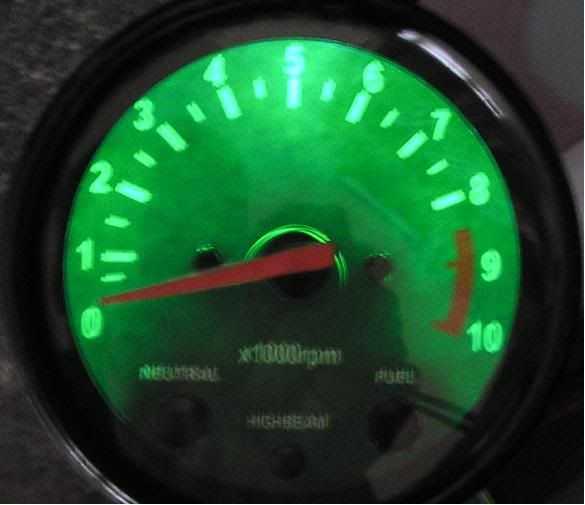
Here's the original gauge, note the broken needle and faded dial!

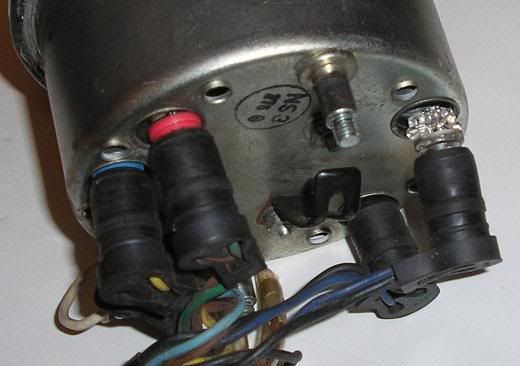
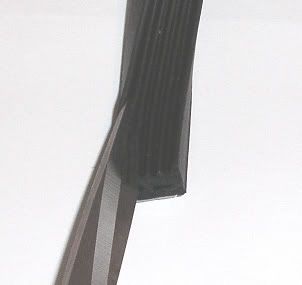
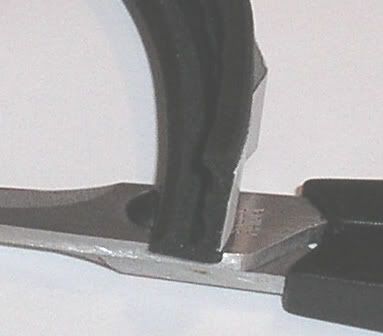
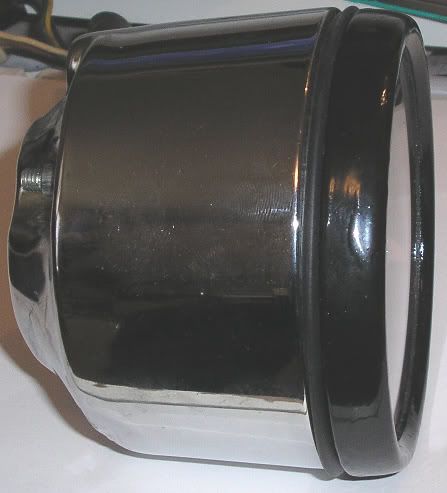
Here's the back showing the small lip, and then prying it up with a narrow flatblade screwdriver and finally apart!


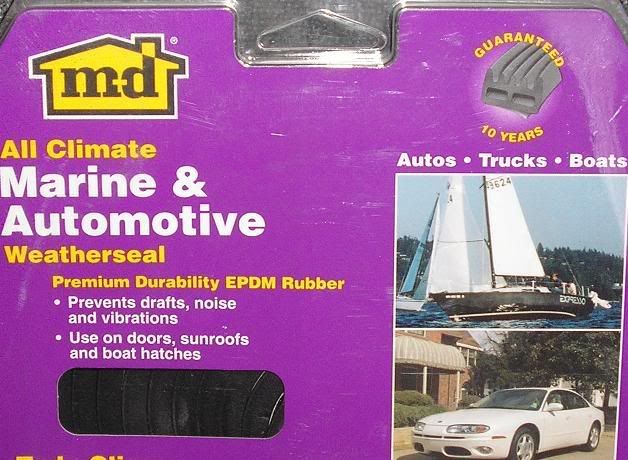
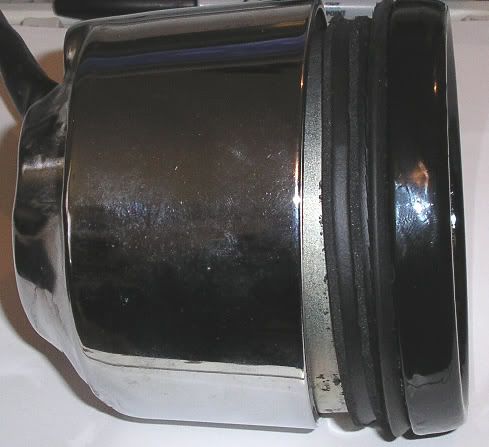
There is a base rubber gasket against the shell, then a plastic spacer, then the rubber mounted glass plate and the bezel.

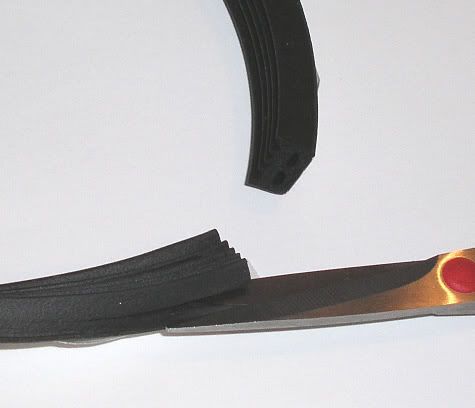
Thankfully the neede and spindle STOP internally, there is no surface pin that the needle rests against. To get the needle base off, I used a fork to evenly pry up from beneath it!

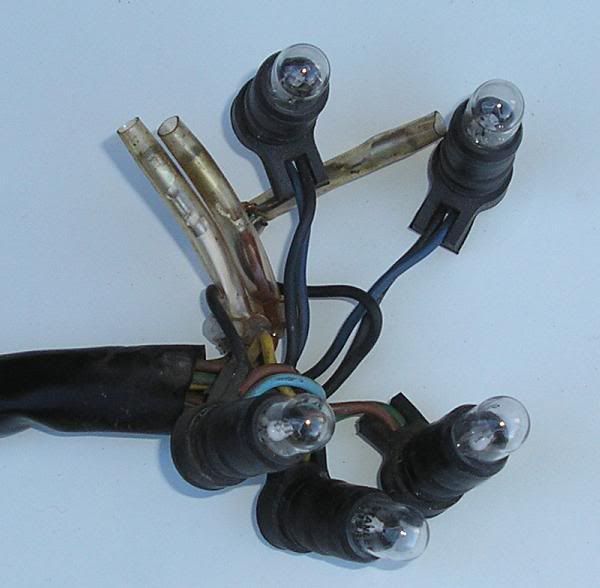
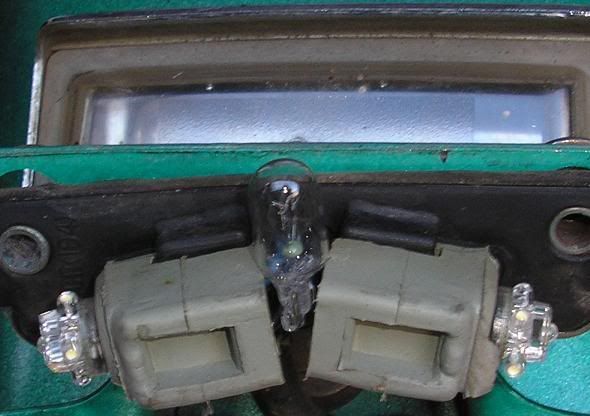
Here are the insides of the gauge after the face plate was removed, note the rotten foam rubber used to separate the light from the fuel/highbeams/neutral indicator lights!

Next, I took the faceplate and scanned it at 600dpi into my computer, and then used paint to edit it...took quite a while!! This photo shows that the plastic faceplate is transluscent, and the printing easily comes off with alcohol!

Here's the plate with a new piece of foam rubber attached, and the needle..bottom side showing the little metal counter weight!
I cut off the old plastic needle, and then fashioned a new one out of clear model car parts plastic, shaped it with my grinding wheel, and had to thin it out a fair amount. The first one I made was too thick...and hit the glass!! I used clear plastic cause light comes out from around the faceplate up thru the needle base to illuminate the needle at night.

Again, here's the old face plate after it was scanned.

And here's the new face plate already printed on Full Coverage styled CD sticky labels, then I used a single hole punch to punch out the openings for the lights and center hole! I made both a black version and the dark green!

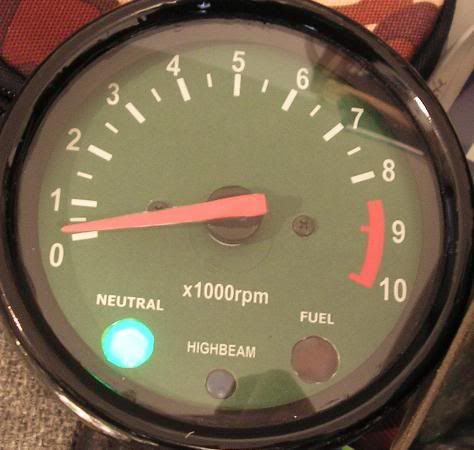
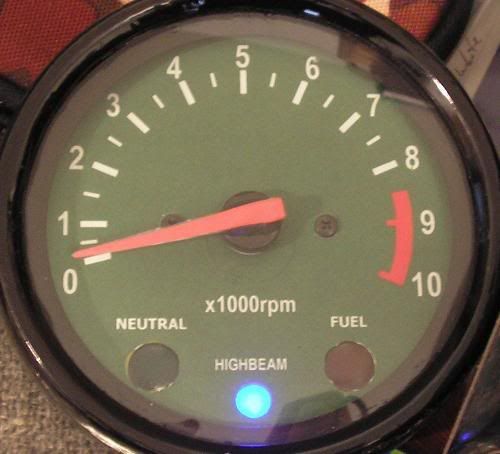
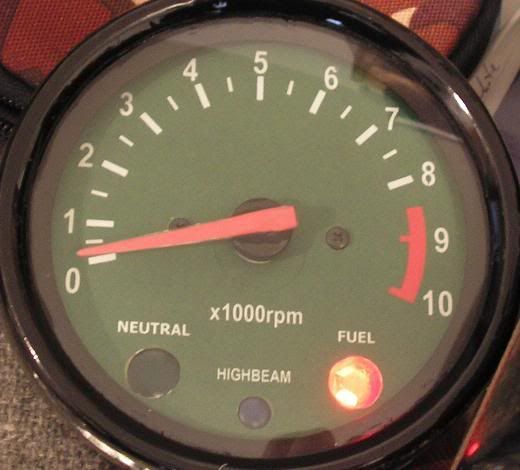
And here's the gauge finally assembled and put back together with bezel reinstalled. I used a pair of pliers with lots of duct tape wrapped around one of the jaws to prevent dent marks on the face of the bezel as I was recrimping it back down around the lip/base of the gauge body! I'll clean up the over paint on the gauge glass, but wanted to get it documented quickly! I printed a red strip of sticky label to attach to the top of the indicator needle. I used a dark green color for MY GAUGE since my color scheme is green, and I have a matching green faced 650 140 Speedo. I'll add another few shots of it installed on the bike next to the speedo soon! Hope this helps someone to save some $$ in fixing their own gauge!

**************************************************
Okay folks, here's an attempt at a new tech tip! I had the indicator needle break off on my tach, and also due to severe exposure, the face on my tach had gotten quite faded and aged!
So I decided to try to take it apart and see if I could fix it! With much help from other Xsives, found out how to pry up the lip on the back of the bezel to get the front off! This would be helpful in getting spiderwebs out, fixing a cracked/broken glass, etc.!
Here's the original gauge, note the broken needle and faded dial!
Here's the back showing the small lip, and then prying it up with a narrow flatblade screwdriver and finally apart!
There is a base rubber gasket against the shell, then a plastic spacer, then the rubber mounted glass plate and the bezel.
Thankfully the neede and spindle STOP internally, there is no surface pin that the needle rests against. To get the needle base off, I used a fork to evenly pry up from beneath it!
Here are the insides of the gauge after the face plate was removed, note the rotten foam rubber used to separate the light from the fuel/highbeams/neutral indicator lights!
Next, I took the faceplate and scanned it at 600dpi into my computer, and then used paint to edit it...took quite a while!! This photo shows that the plastic faceplate is transluscent, and the printing easily comes off with alcohol!
Here's the plate with a new piece of foam rubber attached, and the needle..bottom side showing the little metal counter weight!
I cut off the old plastic needle, and then fashioned a new one out of clear model car parts plastic, shaped it with my grinding wheel, and had to thin it out a fair amount. The first one I made was too thick...and hit the glass!!
I used clear plastic cause light comes out from around the faceplate up thru the needle base to illuminate the needle at night. Again, here's the old face plate after it was scanned.
And here's the new face plate already printed on Full Coverage styled CD sticky labels, then I used a single hole punch to punch out the openings for the lights and center hole! I made both a black version and the dark green!
And here's the gauge finally assembled and put back together with bezel reinstalled. I used a pair of pliers with lots of duct tape wrapped around one of the jaws to prevent dent marks on the face of the bezel as I was recrimping it back down around the lip/base of the gauge body! I'll clean up the over paint on the gauge glass, but wanted to get it documented quickly! I printed a red strip of sticky label to attach to the top of the indicator needle. I used a dark green color for MY GAUGE since my color scheme is green, and I have a matching green faced 650 140 Speedo. I'll add another few shots of it installed on the bike next to the speedo soon! Hope this helps someone to save some $$ in fixing their own gauge!

 It's nice to see that you were able to repair and reuse a gauge that most other riders would have given up on and started a search on E-bay or this list for a replacement. Technology is our friend and ally in helping us preserve our antique motorcycles. As a fellow VA native, you know that the 1981 XS-11 qualifies for an antique plate this year, and I will be getting one for my full-dresser as soon as I get the carbs back on. Also, thanks for sharing your solution.
")

 [/IMG]


 It was the 4 wire style they say will fit the 81SH! The wires were of a much smaller gauge for the 2 MAIN wires, like 16-18ga vs. the 10-12 of the OEM!
 Pulled the seat, found a 4 wire relay, 2 red and white wires, 1 light blue...figured it was from the neutral light, and a black/white wire! I reviewed 2 different wiring diagrams, and could not find this relay anywhere, but it is the neutral light engine NO Start IF clutch not pulled relay! I was able to pull the gauge, reverse the bulbs, and then they both worked as they should! PHEW!!
Comment