I suggest removing the round ignition cover on left side, then using two hands try to pull apart every inch of each of those pick-up coil wires. If insulation stretches on a wire doing that, internal wires are broken. Cut wire, slip a small piece of shrink tubing up on either cut wire. Use a really short(1/4") naked butt connector to re-attach wires and slip shrink tubing over it(soldering wire together is ill-advised). My bet is white wire would be the one with the broken internal wires. Tis a common issue since the centrifical advance and vacuum advance assembly constantly rotate that assembly back and forth causing wires to constantly be in motion.
Announcement
Collapse
No announcement yet.
New to the Forum
Collapse
X
-
-
T.C. Great idea. I'll take my DMM along on the test run. If the bike quits on me I'll check out the BR. I have checked it cold and it does has continuity then.
Motoman, great suggestion. This afternoon, I pulled really hard on all the pickup coil wires and could not get the insulation to hour-glass on me. I was afraid I would pull them in two. I didn't use both hands though. As you can see from my resistance readings this afternoon, I got 761 Ω and 743 Ω readings from the TCI 4 pin connector. I wiggled the pickup coil wires while I took the readings and got steady readings. With only 10,600 miles on the bike I am sure I will have to address this issue at some point in the future. I know that it is a weak point on this bike along with the fuse box.
Thanks again to all for your suggestions and support. I will get this bike running like I remember it did.
Linwood1979 XS1100SF
Original Owner-purchased January 1980
Comment
-
Yep
I did the scotch bright pad thing too. Also reamed the hole a bit to make it slightly larger. Your numbers at the TCI are good, if the cover is still off have someone rotate the p/u coil plate and watch the numbers, if any variance then go back and recheck the wires, if not, they are all good.Last edited by mack; 07-17-2016, 04:43 AM.mack
79 XS 1100 SF Special
HERMES
original owner
http://i946.photobucket.com/albums/a...ps6932d5df.jpg
81 XS 1100 LH MNS
SPICA
http://i946.photobucket.com/albums/ad305/mack-055/2.jpg
78 XS 11E
IOTA
https://youtu.be/wB5Jfbp6SUc
https://youtu.be/RaI3WYHSuWA
Have recovery trailer and shop if you breakdown in my area.
Frankford, Ont, Canada
613-398-6186
Comment
-
Gas Cap Reassembled
As Marty and Mack suggested, I replaced the gas cap filter with a small cutout of Scotch Brite and reassembled the cap. The vent is now CLEAR.
I have not been able to go for the test ride yet and won't be able to do so until Friday or Saturday. I am hoping the stopped-up vent caused the problem. Will advise.
Also want to recheck the spark plugs after the ride. Concerned that #1 is too rich and the other three are too lean. When checking '79SF carbs with the clear tube method where should the fuel level be in reference to the float bowl joint?
Thanks,
Linwood1979 XS1100SF
Original Owner-purchased January 1980
Comment
-
Levels
3mm down from the lowest edge of the carb body flange (side) plus or minus 1mm so the good zone is a 2-4mm range. Myself and several others like to set all four at the same level, but it can be a bit frustrating at times with K&L seats and needles. So if you have K&L junk, get them in range so they won't leak and don't fuss too much over getting them all the same, just get them in the green zone and pray they don't leak. If you have the brass floats, 25.7 is the starting point w/o the bowl gasket in place. But again if your stuff is K&L you might leak until you hit 28mm or never stop leaking at all.mack
79 XS 1100 SF Special
HERMES
original owner
http://i946.photobucket.com/albums/a...ps6932d5df.jpg
81 XS 1100 LH MNS
SPICA
http://i946.photobucket.com/albums/ad305/mack-055/2.jpg
78 XS 11E
IOTA
https://youtu.be/wB5Jfbp6SUc
https://youtu.be/RaI3WYHSuWA
Have recovery trailer and shop if you breakdown in my area.
Frankford, Ont, Canada
613-398-6186
Comment
-
Fuel Level
Originally posted by mack View Post3mm down from the lowest edge of the carb body flange (side) plus or minus 1mm so the good zone is a 2-4mm range. Myself and several others like to set all four at the same level, but it can be a bit frustrating at times with K&L seats and needles. So if you have K&L junk, get them in range so they won't leak and don't fuss too much over getting them all the same, just get them in the green zone and pray they don't leak. If you have the brass floats, 25.7 is the starting point w/o the bowl gasket in place. But again if your stuff is K&L you might leak until you hit 28mm or never stop leaking at all.
Thanks again,
Linwood1979 XS1100SF
Original Owner-purchased January 1980
Comment
-
unreliable
Originally posted by Loch View Postyou may have a slight kink in the fuel line when reinstalling the tank. make sure the line runs clear of the air cleaner obstruction
Linwood1979 XS1100SF
Original Owner-purchased January 1980
Comment
-
Nice job on the resurrection, SouthernGrey!
No one has mentioned it yet but you're working with fuel so you really should try to do the work outdoors if you can and have a fire extinguisher handy either way. An assistant can be helpful too or at least let someone know where you are and what you're doing.
Four Ford brake bleeder screws -- 8mm x 1.0mm -- will fit the float bowls with a little PTFE tape to temporarily replace the stock drain screws for the fuel level checks and the clear hoses will slip right on the bleeder barbs with no drama.
You can do a static/bench check to get the fuel levels really close but the fuel level check is a dynamic check that has to be done with the engine running so you have accurate, repeatable, results. When you blip the throttle and watch all four fuel levels in the float bowls drop, refill, then stabilize, you'll see that the dynamic check also gives you a rough idea of how much fuel each cylinder is drawing from its carburetor.
All four cylinders should draw and refill the same amount of fuel at the same rate and the same time so you can use the dynamic check to spot egregious fuel consumption, flow and refill problems too.
Here's a 2014 thread with the Mikuni needle jets/emulsion tubes and Mack's fuel level checks on the '78/'79 carburetors set to 25.7mm. I don't see the 23mm fuel level results from his '80 LG and '81 LH carbs with the plastic floats but he may have started a new thread:-
Are these right? (scroll down to Post#16)
.-- Scott
_____
♬
2004 ST1300A: No name... yet
1982 XJ1100J: "Baby" SS Brakes, '850 FD, ACCT
1980 XS1100G: "Columbo" SS Brakes, '850 FD, ACCT
1979 XS1100SF: "Bush" W.I.P.
1979 XS1100F: parts
2018 Heritage Softail Classic 117 FLHCS SE: "Nanuk" It's DEAD, it's not just resting. It is an EX cycle.
♬
Comment
-
Sorry
I never finished that thread. Mu computer crashed and I lost all of the photo's and testing data. Then switched to windows 10 on the new computer(hate it) and promptly forgot all about it. But to make a long story short I use the same static level shown in the FSM at 3mm for all year carbs and floats. They don't leak and performance is spot on.mack
79 XS 1100 SF Special
HERMES
original owner
http://i946.photobucket.com/albums/a...ps6932d5df.jpg
81 XS 1100 LH MNS
SPICA
http://i946.photobucket.com/albums/ad305/mack-055/2.jpg
78 XS 11E
IOTA
https://youtu.be/wB5Jfbp6SUc
https://youtu.be/RaI3WYHSuWA
Have recovery trailer and shop if you breakdown in my area.
Frankford, Ont, Canada
613-398-6186
Comment
-
Right on! Thanks, Mack!
.-- Scott
_____
♬
2004 ST1300A: No name... yet
1982 XJ1100J: "Baby" SS Brakes, '850 FD, ACCT
1980 XS1100G: "Columbo" SS Brakes, '850 FD, ACCT
1979 XS1100SF: "Bush" W.I.P.
1979 XS1100F: parts
2018 Heritage Softail Classic 117 FLHCS SE: "Nanuk" It's DEAD, it's not just resting. It is an EX cycle.
♬
Comment
-
My father in law lives on the other side of Lost Mountain, very nice area. I am glad you are restoring your bike. I expect you are close and it will then be reliable.
I would check the pick up wires with the bike running. Kills it quickly if is the problem. I would hope with that low mileage that would not be the problem.
If you have the carbs off and held in a clamp with clear tubes checking fuel level on all four. Let them sit for a few hours and see if the needles are really sealing off. I found that mine wouldn't. Not really a running problem, but good to know to prevent dumbing gas into the air box or oil.
I believe that the one black spark plug is talking to you too. I would paint the tops of the adjustment screws and write down ever 1/8 turn as you dial it in. Keep checking spark plugs.79 XS11
Comment
-
3Phase, I have been keeping a fire extinguisher close at hand every time I mess with the carburetors when gas can come in contact with heat, spark or flame. Thanks for reminding me. Safety is important and can never be over emphasized.
Also, thanks for putting me on to Mack's clear tube float level post and your post about checking the float levels dynamically. I thought that I had search the site thoroughly but somehow I missed that thread. Looks like my float levels at the bowl washer, checked statically, are on the lean side. I'll check them tomorrow dynamically.
For the modified drain plugs, I got 4 bolts of the correct metric thread and drilled a hole through the length of each one. Then, inserted a 1/4" diameter brass model airplane tube into hole, leaving a 1/2" or so of the brass tube extending from the bolt head to connect the clear tubing to. I soldered the brass tube to the bolt to seal it. So far they have worked great with 1/4" clear tubing without leaking.
Mack, thanks for doing the '78/'79 float level research and posting it. This will help me greatly!
Bartman, Lost Mountain is not too far from where I live.
You are correct, the black plug in #1 is bugging me. Also, I think the other three are too lean. I am going on a test ride in the AM to see if the gas cap vent cleaning worked. When I get back, I am going to do a dynamic fuel level check. Also, if it turns out that I need to take the carbs off again to reset the floats, I will leave the fuel on for a while to check the float needles and seats.
Thanks again to all for sharing your knowledge and for your encouragement!
Linwood1979 XS1100SF
Original Owner-purchased January 1980
Comment
-
Finally got a test ride in
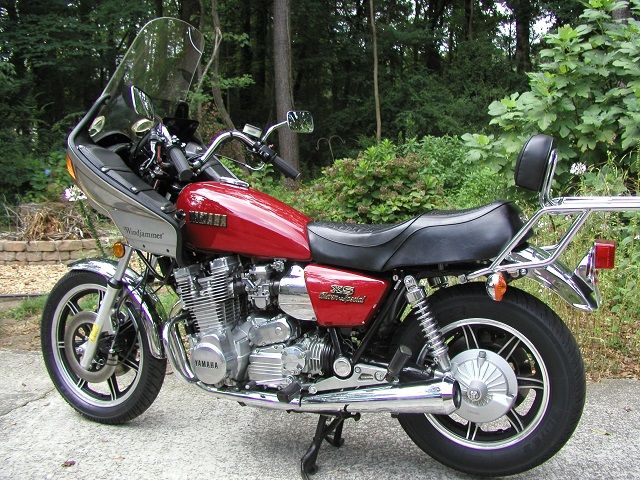
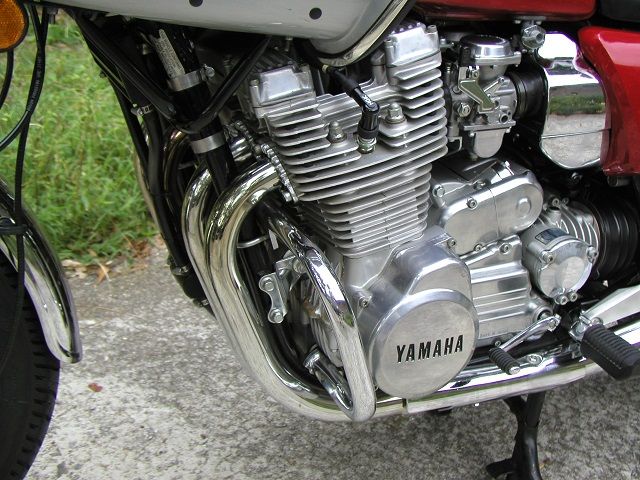
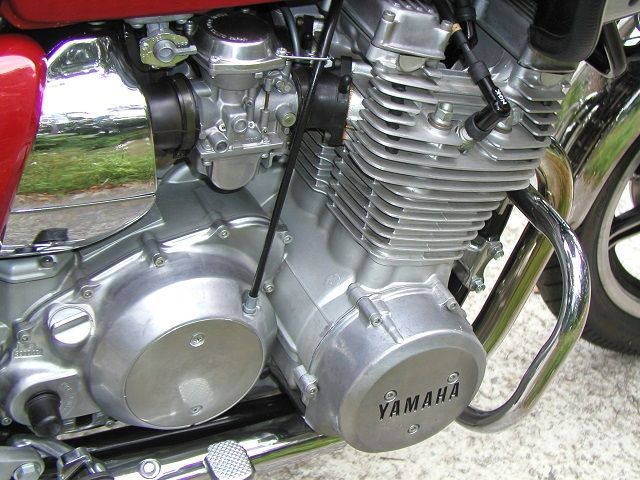
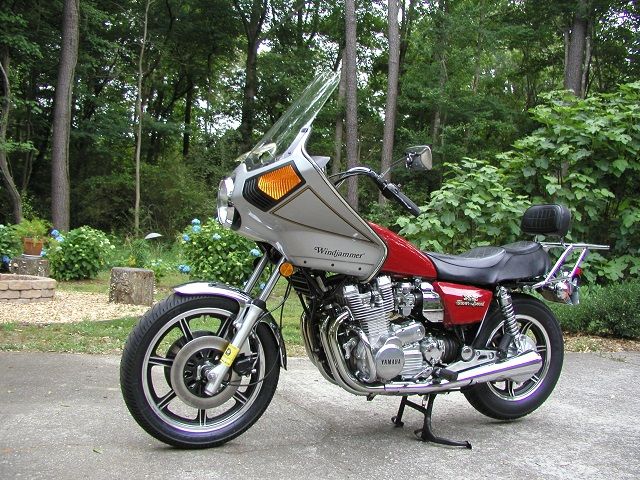
I have finally found some time to work on the bike. Thought I was going to be able to work on it last week but other “diversions” got in the way. Here are some pictures of the bike. Thought I would share them with y’all as everyone seems to like pictures.
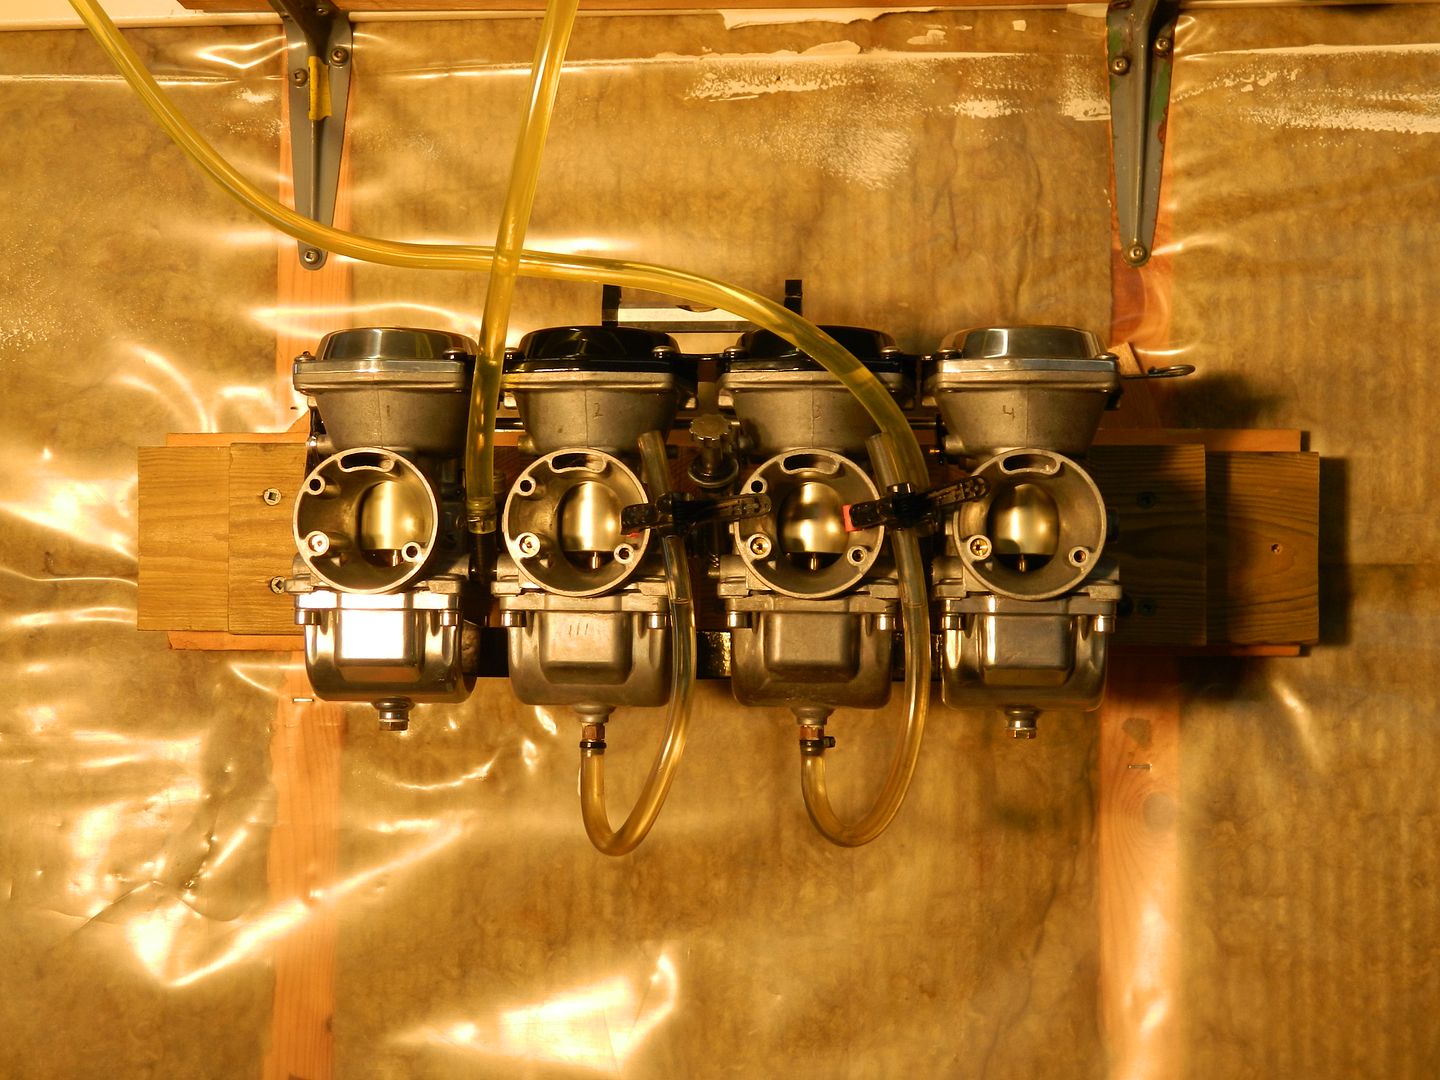
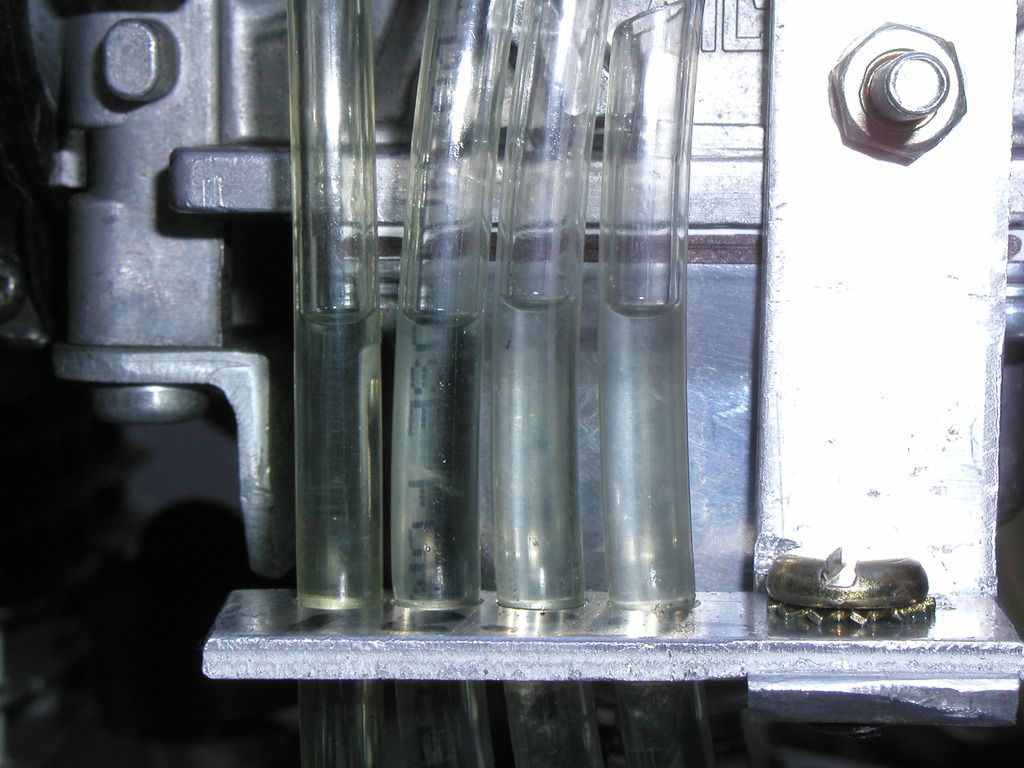
After cleaning out the tank vent and making a new filter for it, I did a dynamic float level check. Here is a picture showing the levels.
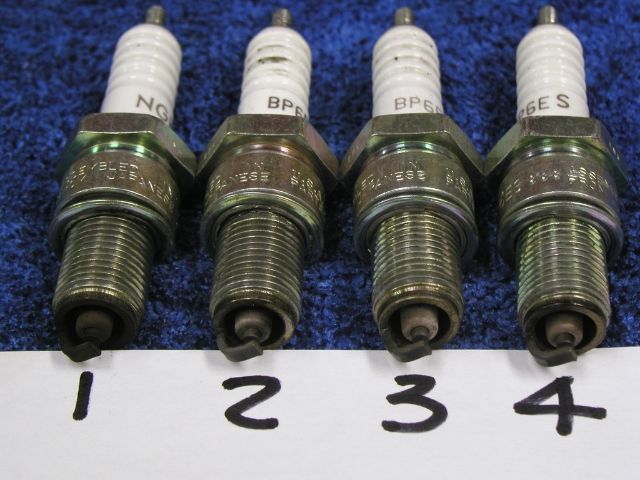
I finally went on a 30 mile ride yesterday and everything went OK. Cut out on me once but must have been running out of gas. Thought I was having the same problem. But, when I turned the petcock to reserve, the bike took off again. Here is a picture of the plugs after I returned from the test ride.
Do the plugs seem to be good enough where the chance of engine damage would be minimized? I really don’t want to take the carbs off again unless I need to. I want to ride!!
Thanks again to all,
Linwood1979 XS1100SF
Original Owner-purchased January 1980
Comment
Comment