 Tweet
Tweet
TheRev used a two-part epoxy in his build made by 3M: Rigid Parts Repair. Amazing stuff! My broken side cover looks brand new after using it.
-
1979 XS1100F
2H9 Mod, Truck-Lite LED Headlight, TECHNA-FIT S/S Brake Lines, Rear Air Shocks, TKAT Fork Brace, Dyna DC-I Coils, TC Fuse Block, Barnett HD Clutch Springs, Superbike Handlebars, V-Star 650 ACCT, NGK Irridium Plugs, OEM Exhaust. CNC-Cut 2nd Gear Dogs; Ported/Milled Head; Modded Airbox: 8x8 Wix Panel Filter; #137.5 Main Jet, Viper Yellow Paint, Michelin Pilot Activ F/R, Interstate AGM Battery, 14MM MC, Maier Fairing, Cree LED Fog Lights. -
I'm going to use some glass cloth to reinforce around the headlight and turn signals on the fairing. There isn't much room around the mount holes, and that is where it's cracking. This fairing WAS in a minor accident, as the nose was repaired BEFORE I got it. I think that started some of the other problems I've had with it. It now has two aluminum plates on the bottom mounts. That has kept it together for the 50K miles I put on it.
Today is prepping the fuel tank and rear box.Ray Matteis
KE6NHG
XS1100 E '78 (winter project)
XS1100 SF Bob Jones worked on it!Comment
-
Nice light shot
That fairing looks awseome so far and I like the light shining through the fiberglass picture too.
Yeah, Pinesol works fine, so doa bunch of other cleaners but I was fantasizing over one of the cheap, heated, ultrasonic cleaners that'd fit not just a set of carburetors but a complete XS11 cylinder head; maybe a set of jugs. If it only worked one time, I'd be time, money, and skin ahead in the game!")
.-- Scott
_____
♬
2004 ST1300A: No name... yet
1982 XJ1100J: "Baby" SS Brakes, '850 FD, ACCT
1980 XS1100G: "Columbo" SS Brakes, '850 FD, ACCT
1979 XS1100SF: "Bush" W.I.P.
1979 XS1100F: parts
2018 Heritage Softail Classic 117 FLHCS SE: "Nanuk" It's DEAD, it's not just resting. It is an EX cycle.
♬Comment
-
Yeah, the only problem is the fairings are vacuum formed PLASTIC, and NOT reinforced with glass cloth. That is why I am going to put some cloth in an epoxy to reinforce the area around the mount holes.That fairing looks awseome so far and I like the light shining through the fiberglass picture too.Ray Matteis
KE6NHG
XS1100 E '78 (winter project)
XS1100 SF Bob Jones worked on it!Comment
-
Derrr... I knew that. <looks around fast>
I have one out in the side yard and it's plastic too but covered with fiberglass globs/matting where it used hook up to the mount. Useless. The mount's good and the windshield's brandy-new if you need one or I ever find another Pacifico that's not broken and won't rip apart at the patches and fly in my face.
.-- Scott
_____
♬
2004 ST1300A: No name... yet
1982 XJ1100J: "Baby" SS Brakes, '850 FD, ACCT
1980 XS1100G: "Columbo" SS Brakes, '850 FD, ACCT
1979 XS1100SF: "Bush" W.I.P.
1979 XS1100F: parts
2018 Heritage Softail Classic 117 FLHCS SE: "Nanuk" It's DEAD, it's not just resting. It is an EX cycle.
♬Comment
-
Mine WAS almost like that. I have the technology to repair these. It just takes a while, and shipping yours up here.....
I use the 2 part epoxy for plastics, and I've put a sheet of aluminum on the underside of the mount. Holds the thing together pretty well. The black plastic is ABS, like the black waste pipe. You can use the glue for that, mix in some plastic shreds, and put down some thin fiberglass cloth soaked in the glue. It will melt it all together and it holds up VERY WELL after that.Ray Matteis
KE6NHG
XS1100 E '78 (winter project)
XS1100 SF Bob Jones worked on it!Comment
-
Well, after a LOT of work the tank is almost ready for paint! It had a few small dings, so I used the "old skool" way to fill, lead. Well, actually it was silver solder, but same idea and it worked well!
[IMG] [/IMG]You can see the difference in color between the steel and the solder. Overall, the tank is in good shape!
[IMG]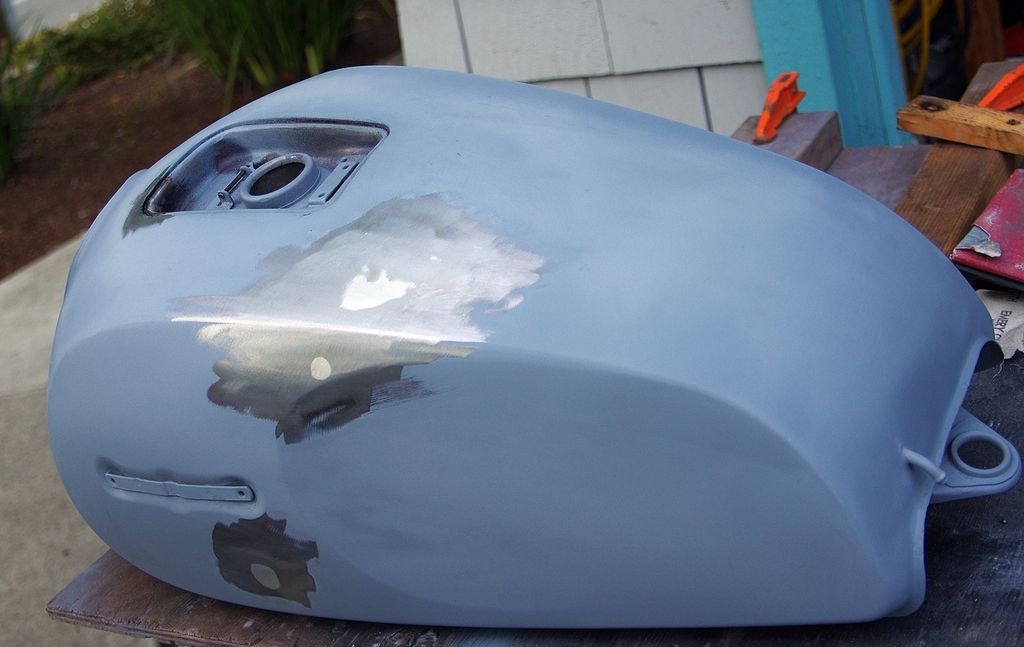 [/IMG]
It rained last night, but is supposed to warm up and be clear the rest of the weekend. I'm going to try and get ALL the paint on by Sunday evening, so wish me luck!
Oh, I did put in LED bulbs for the dash lights. WOW are they BRIGHT! Nice, white color to the gauges now. Picture later when it's running again so you can see them.Ray Matteis
KE6NHG
XS1100 E '78 (winter project)
XS1100 SF Bob Jones worked on it!Comment
-
Hope you made sure that the solder you used was lead free! Nasty stuff to breath in when sanding!
Yeah, the led dash light make a huge difference. I used red leds in the gauges so that it wouldn't be too overpowering in the dark. I think it is perfect.
Regular bulbs

All LED bulbs

I actually had to cover up almost all of the high beam indicator because it is too bright.Nathan
KD9ARL
μολὼν λαβέ
1978 XS1100E
K&N Filter
#45 pilot Jet, #137.5 Main Jet
OEM Exhaust
ATK Fork Brace
LED Dash lights
Ammeter, Oil Pressure, Oil Temp, and Volt Meters
Green Monster Coils
SS Brake Lines
Vision 550 Auto Tensioner
In any moment of decision the best thing you can do is the right thing, the next best thing is the wrong thing, and the worst thing you can do is nothing.
Theodore RooseveltComment
-
"I cleaned up the air box, put some "secret sauce" on the rubber to soften it,"
OK, just what is this secret sauce???Skids (Sid Hansen)
Down to one 1978 E. Stock air box with K&N filter, 81H pipes and carbs, 8500 feet elevation.Comment
-
Gold Eagle Company 303 Aerospace Protectant. Not cheap, but it seems to work well. Web site http://www.goldeagle.com/brands/303-productsOK, just what is this secret sauce???
As always, YMMV....Ray Matteis
KE6NHG
XS1100 E '78 (winter project)
XS1100 SF Bob Jones worked on it!Comment
-
A little more progress today. Only took 10 hours! But, I think I can work with it. Just need to wet sand and then clear coat everything. The wet sanding will get rid of the black on the silver stripe.
Oh, Yeah, PHOTO'S!!
[IMG] [/IMG]
taped and ready for the first color
[IMG]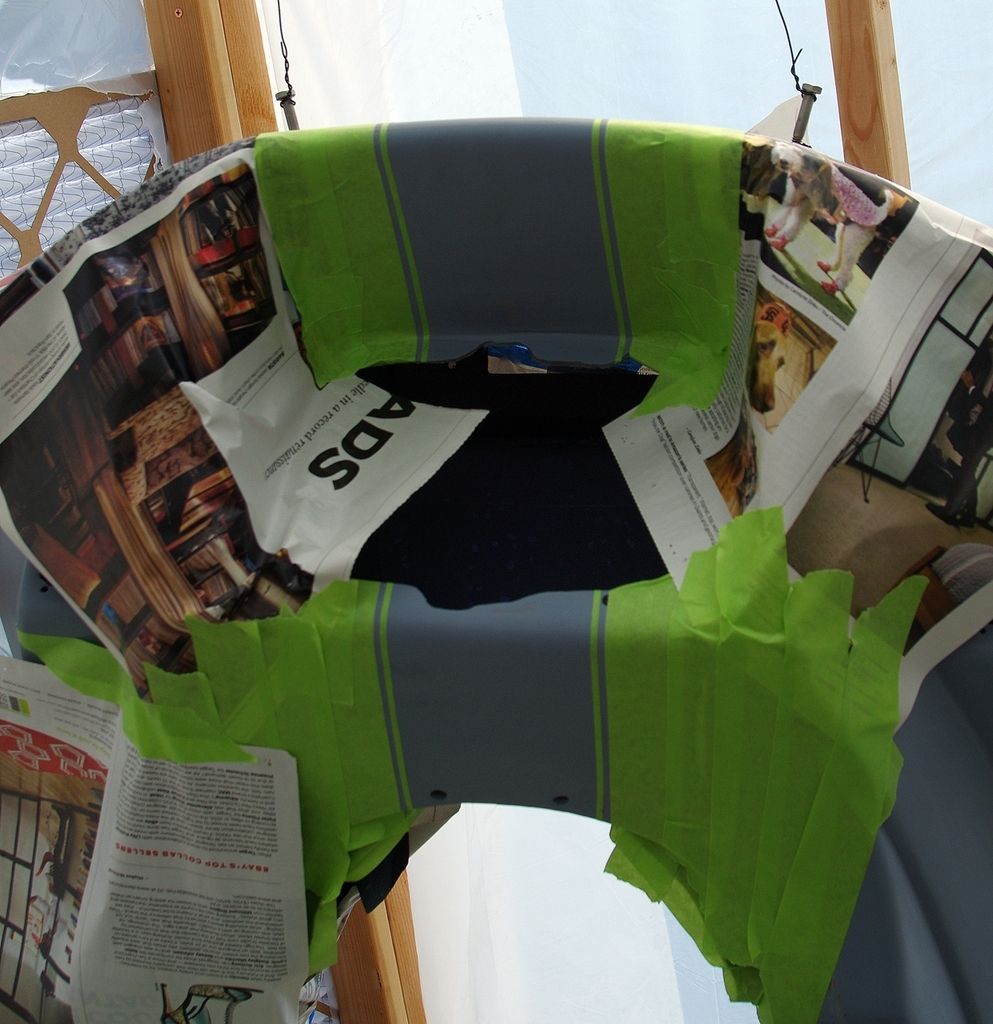 [/IMG]
Same...
[IMG]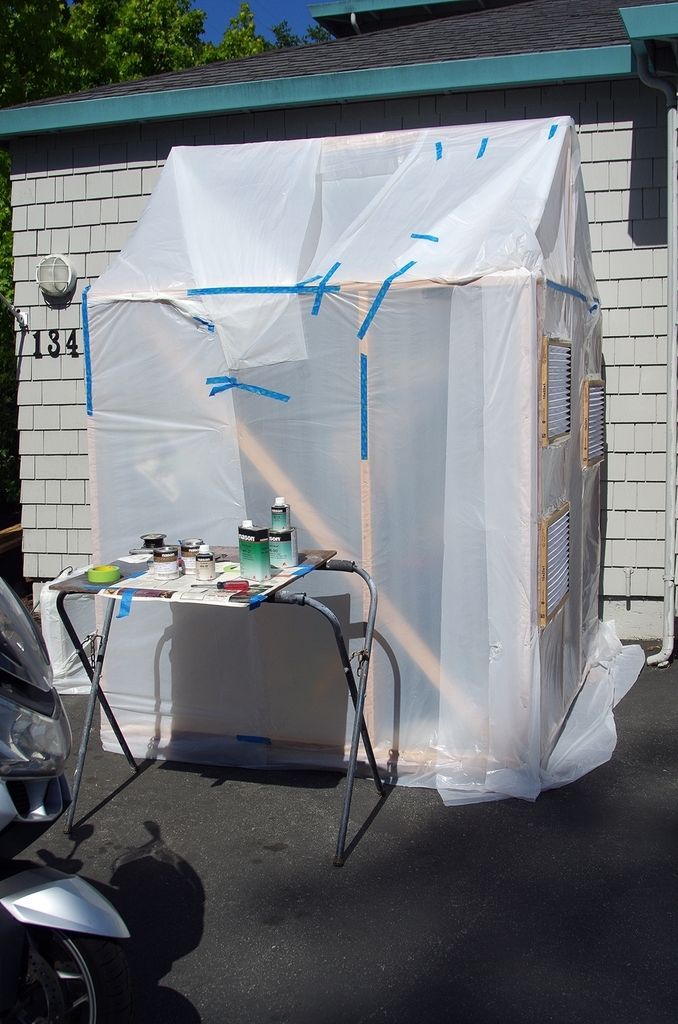 [/IMG]
Outside view of my "paint booth" Notice the three filter on the wall.
[IMG]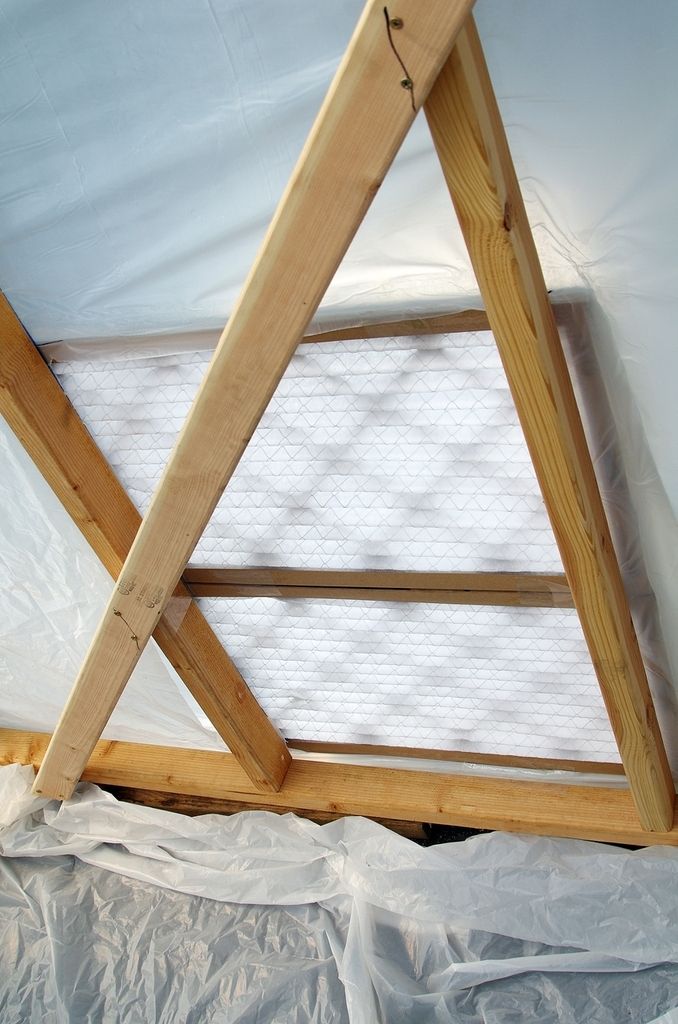 [/IMG]
This is the filter for the exhaust air from the booth. I'm trying to be a good person.
[IMG] [/IMG]
This is the first color, silver for the stripe that runs the length of the bike.
[IMG]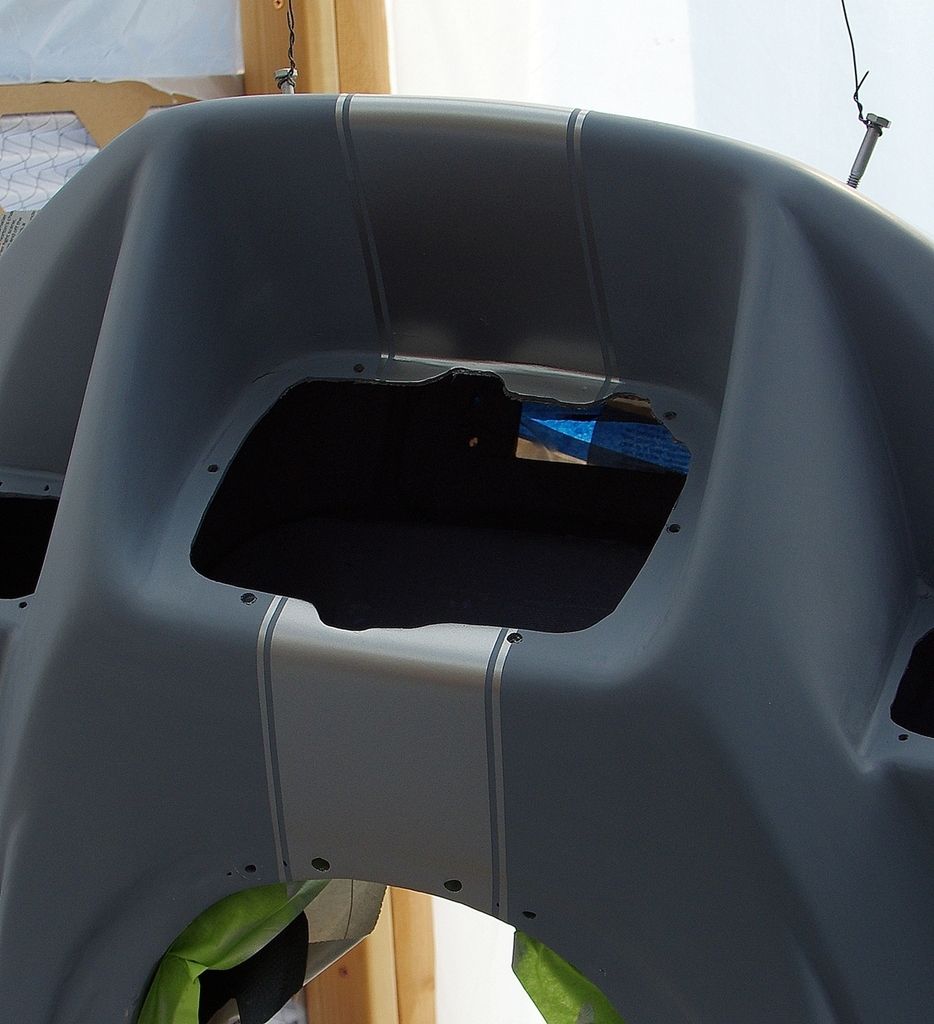 [/IMG]
Stripe on the fairing.
[IMG]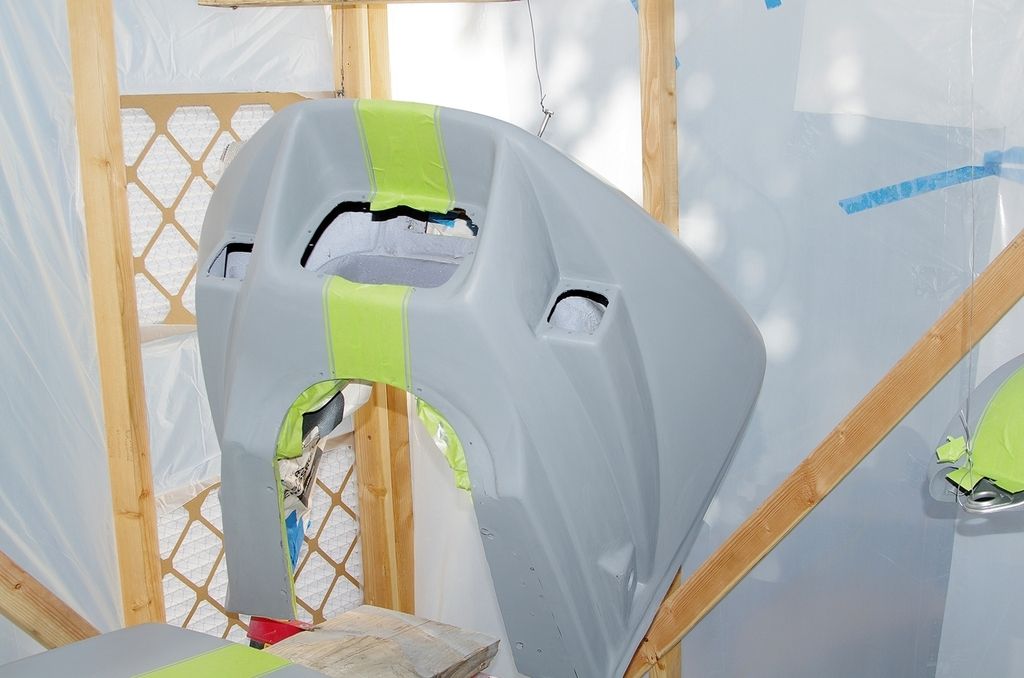 [/IMG]
Now the stripe is taped up so I can shoot the second color.
[IMG] [/IMG]
Here is the box, ready for wet sand and final clear coat. That will be Sunday, as it's dark, foggy, and cold here now!
[IMG]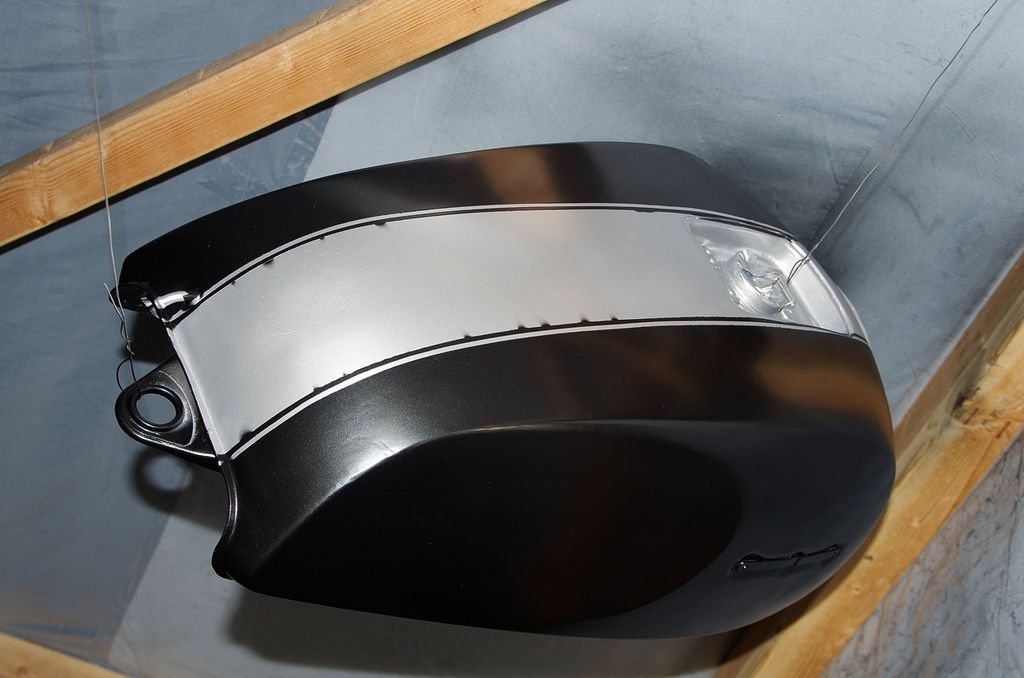 [/IMG]
The tank. The black on the silver will "go away" when I wet sand.
[IMG]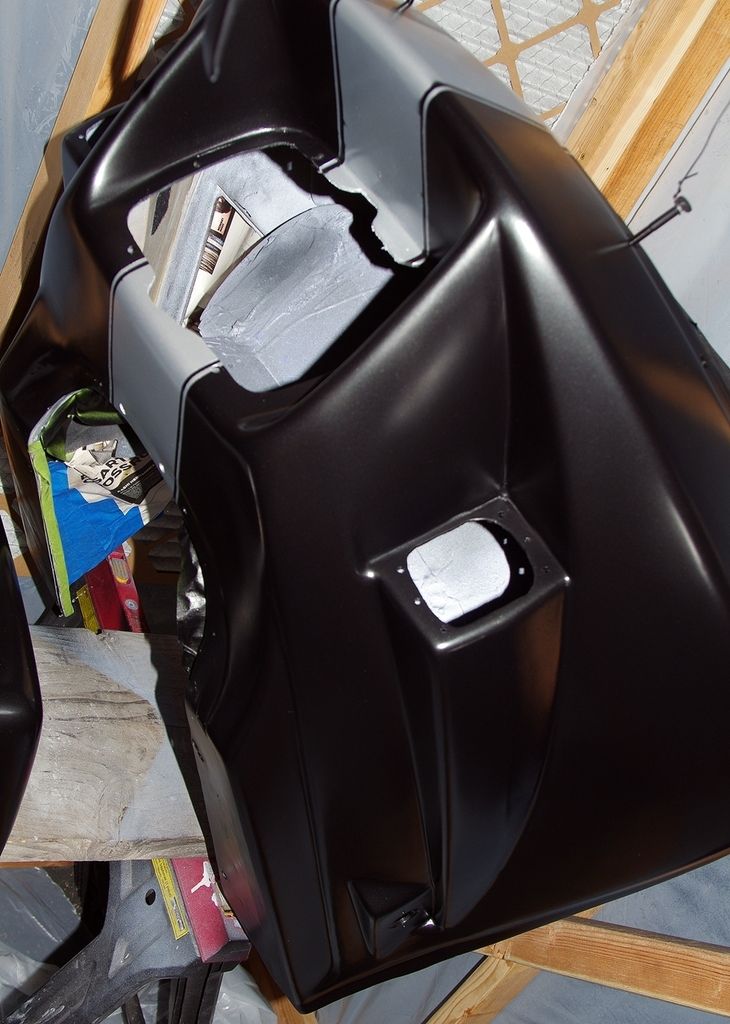 [/IMG]
And the fairing, the front of the bike....Last edited by DiverRay; 05-02-2015, 11:01 PM.Ray Matteis
KE6NHG
XS1100 E '78 (winter project)
XS1100 SF Bob Jones worked on it!Comment
-
Ray, is there a reason why you didn't just paint the area silver, then mask off your stripes for the black, rather than masking twice?"Time is the greatest teacher; unfortunately, it kills all of its students."Comment
-
Black & silver is lookin' REAL GOOD!!!! We need a "bike with stripes" club
1979 XS1100F
2H9 Mod, Truck-Lite LED Headlight, TECHNA-FIT S/S Brake Lines, Rear Air Shocks, TKAT Fork Brace, Dyna DC-I Coils, TC Fuse Block, Barnett HD Clutch Springs, Superbike Handlebars, V-Star 650 ACCT, NGK Irridium Plugs, OEM Exhaust. CNC-Cut 2nd Gear Dogs; Ported/Milled Head; Modded Airbox: 8x8 Wix Panel Filter; #137.5 Main Jet, Viper Yellow Paint, Michelin Pilot Activ F/R, Interstate AGM Battery, 14MM MC, Maier Fairing, Cree LED Fog Lights.Comment
-
LoHo, If you paint it that way, there is a ridge in the paint. This way, once I wet sand and paint the clear, it's all flat and smooth. I HAVE done it with just painting color, that's why I chose the harder way to do it.Ray Matteis
KE6NHG
XS1100 E '78 (winter project)
XS1100 SF Bob Jones worked on it!Comment


 .
.


Comment