

-
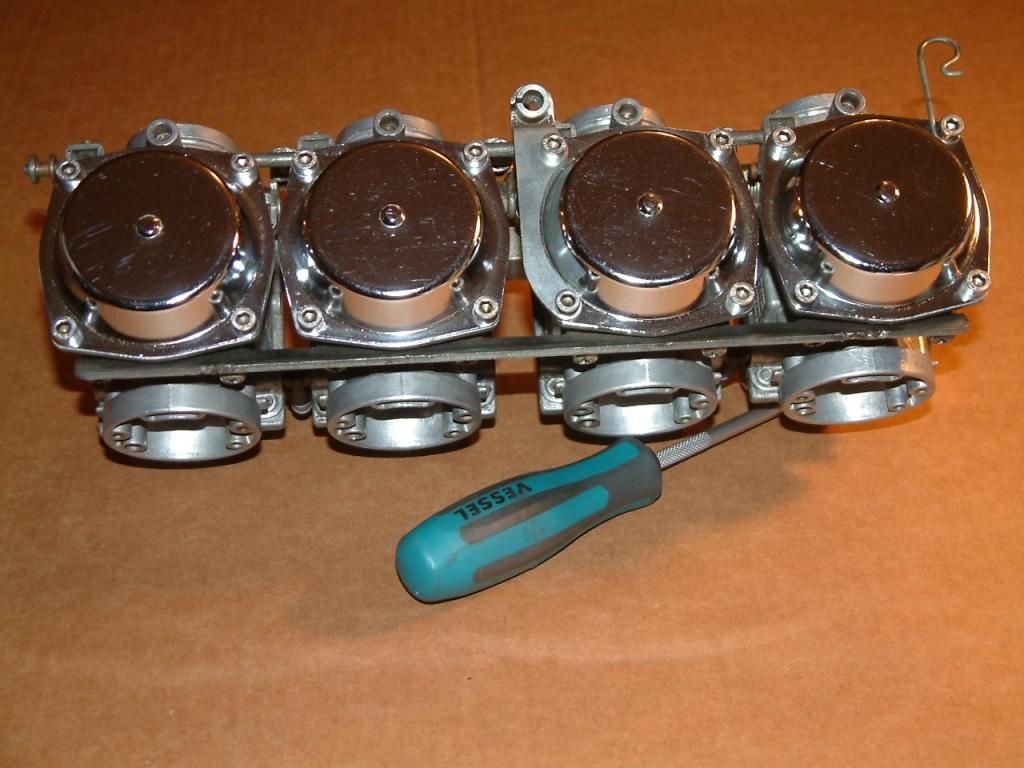
Did I get the throttle stop thing on #3, and that stand-off loop on #4, on correctly? Forgot to make a note of how they were positioned.
-
-
-
Dats' purdy!.........Jokin' aside, if bike is on centerstand, I'd put a small 2"X4" or similar under front wheel before installing carb bank. This will throw mounted carb level off ju-u-u-st enough that if a float were to 'hang' when initially filling bowls, fuel would run rearward out of venturi of suspect carb/s and not into head intake side, diluting/contaminating oil.
At this point, before start-up, leaving airbox off makes it easy to see which carb, if any may be overfilling.
Installing airbox BEFORE start-up will limit any unwanted ignition somewhere other than inside the cyls. due to an un-expected backfire thru a carb venturi
 .
.
Leave a comment:
-
Figured I'd get yelled at for not doing a complete job. Here's the reasoning. Maybe it makes sense, maybe not.
Found the source of my #2 cylinder problem as I was removing the carbs. That was the sole reason for this work. As long as I was that far along, decided to take em all the way off even though the bike runs fine. Though I've successfully muddled my way through most everything on my bikes, I don't know a thing about carbs. So, because it runs well, I didn't want to mess with the floats and the needle valve things beneath. Or the mixture screws. I do have those air jets out and have cleaned out all the other open passages (though they didn't need it). Main jets, pilot jets, needle jets all done. Figure I can just put everything back in place, reinstall the carbs and be good to go. Hope so anyway.
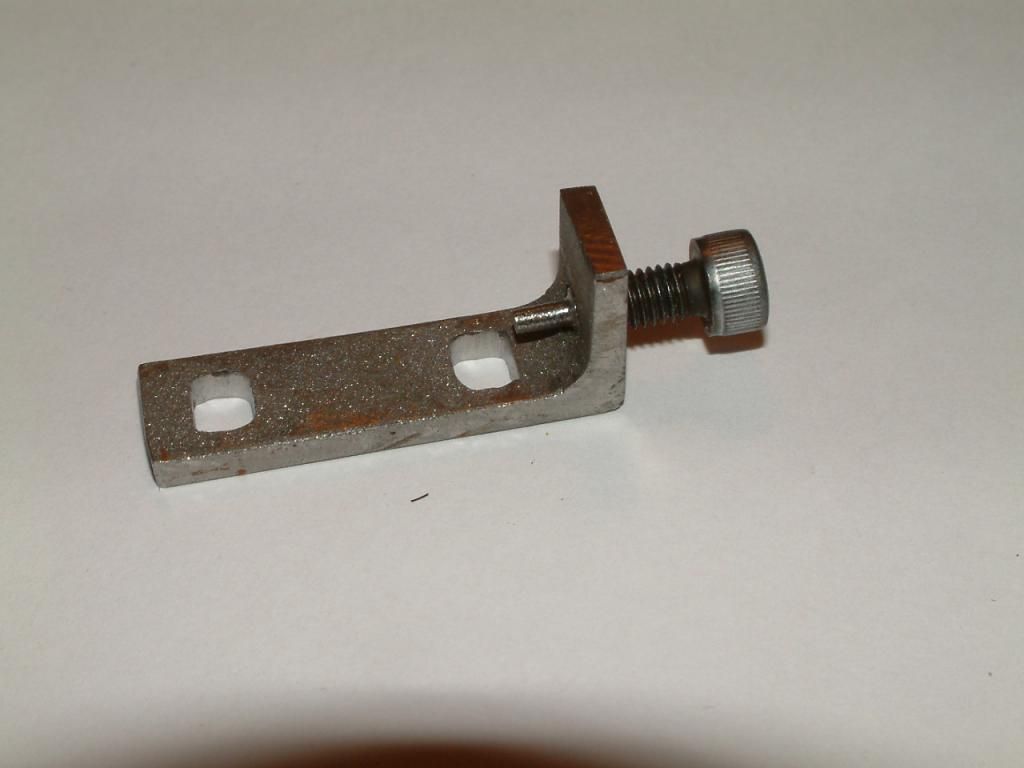
I will say that I do have one of these Ken Talbot creations...
Leave a comment:
-
Randakk's Cycle Shakk has a float pin removal tool. It's expensive unless you break a float post. In that case, it's very cheap.
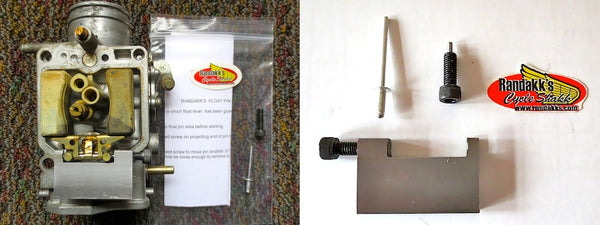
FWIW, I use the spring loaded punch, more commonly known as an automatic center punch.
Leave a comment:
-
Lol.......your 'short changing' yourself Dean. Gonna have to pull those mix. screws(counts turns IN,lightly seating before removal), bowls, air jets out of back of carb bells. Blow carb cleaner through bottom bowl passage(watch the eyes, as it comes out top-side gasket surface), same for enricher circuit(with enricher on/open).
BTW, if you didn't remove the floats, you didn't remove all the jets .
.
Keep ALL pieces removed with that respective carb.
Careful removing float pins! So as not to break a post, there's usually enough gap between head of pin and post to LIGHTLY wiggle in side-cutters as a 'lever', pulling pin as cutters are closed. Others have good success with a spring loaded center punch to pop the pin loose. Do NOT drive out from other end of float pin using anything else! After removal, chuck the pins up in your drill and with side of a file, remove that short raised shoulder on the 'stop' side of pin...just enough that they still 'drag' going in that final eighth inch. They can't come loose once bowls on, and it'll save your carbs from a broken post in the future.
Last edited by motoman; 12-30-2014, 06:38 PM.Leave a comment:
-
-
Better quality of spray carb cleaner out there, but your location I'm sure limits getting the 'good stuff' like I can still get here.
Just rinse any foreign matter off diaphrams.
A pointy tapered toothpic is your friend for reamming clean the sideholes of the emulsion tubes and pilot jets. Pay particular attention that the teeny atomizing hole in end of pilot jets is open. Use a magnifying glass to inspect for any foreign 'science projet' that may be trapped down inside those pilot jets. It gets in there and gets trapped with no way out cept for a tiny wire to fish the foreign matter out....BTDT.
If it was running fine prior to being ignored(STeeds will do that ), I'd leave float levels where there at unless you replaced the float needle.
Leave a comment:
-
Well,carbs are cleaning up nicely. Even hit the bowls with some Mothers Aluminum Polish I had. Nice and shiny now! Also am using the outboard chrome covers from both sets, so now all 4 are chrome.
I've been using a couple cans of carb cleaner and Simple Green and lots of Q tips. Walmart carb cleaner is so much cheaper than others. I have heard that it is much harsher? Any opinions about using it. Can't see spending any more than necessary just for cleaner.
I did take the carbs outside (minus jets and diaphragms) and emptied a can on them. Would that have reached anything that it shouldn't?
Regarding diaphragms, any cleaning or carefully wiping them down with something prior to installing recommended? Man they cost a fortune to buy!!Leave a comment:
-
-
Not remove, the airbox and the bracket are flexible enough to pry it over the tab and then back into place on reinstall.
Done it a hunnert times.
Leave a comment:


Leave a comment: