For those of you interested in coils with replaceable plug wires, good performance, and an easy fit on the XS1100, here is a brief how to for installing the Honda VF1000R coils. I want to give credit to the UK forum for documenting this mod years ago.
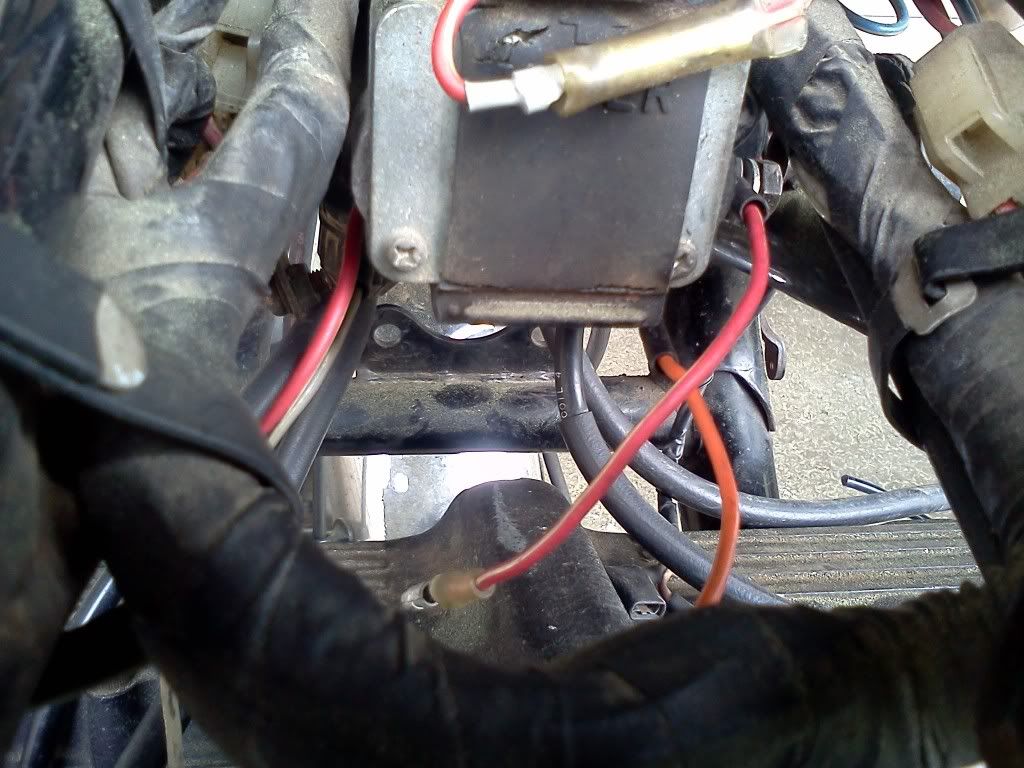
First, these are 3 ohm coils, so if you have the 78-80 model bikes, you will need to remove the ballast resistor. Just pull the connectors out and plug the two connectors from the harness together.
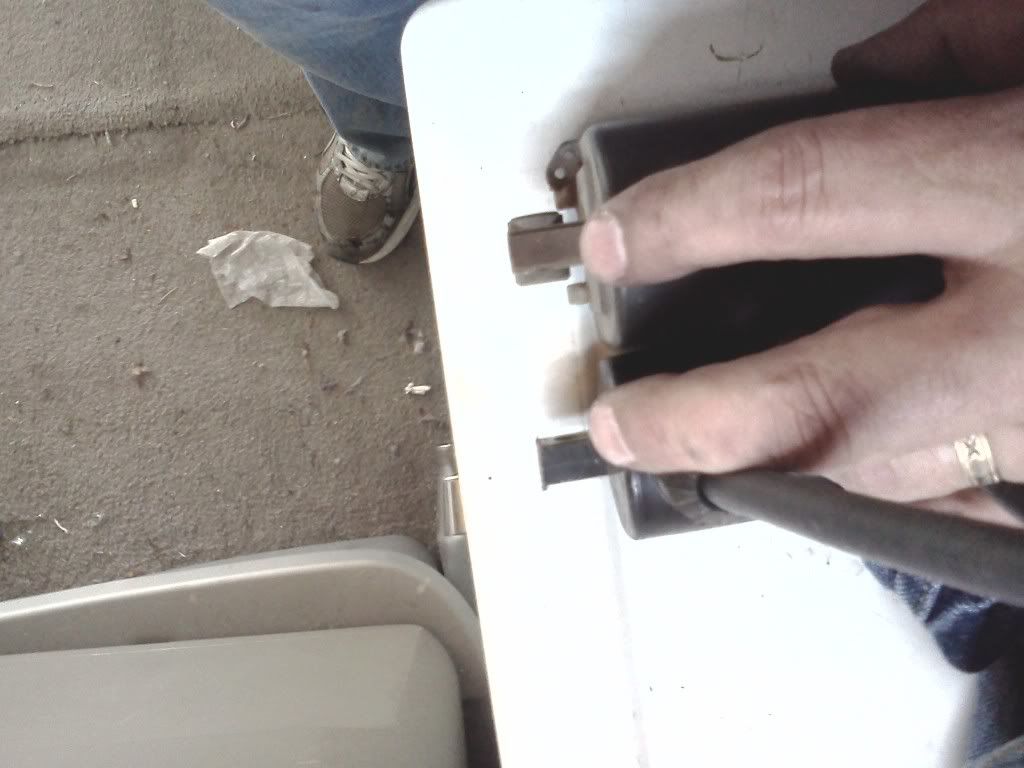
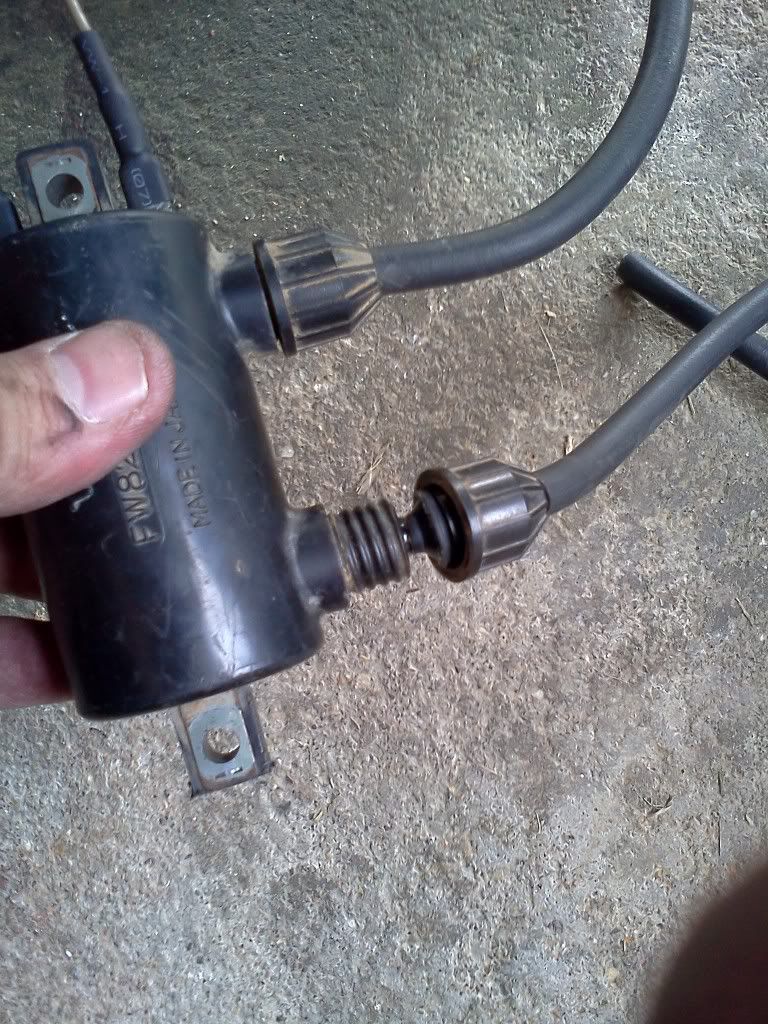
Here is a close up of the coil with the part number stamped in it.
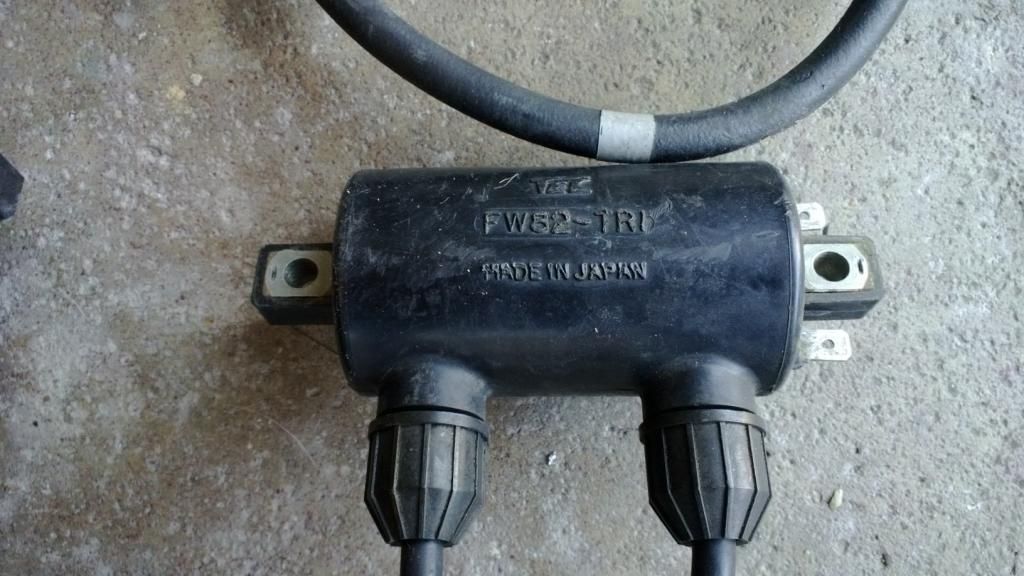
Next, remove the plug wires that came with the coils. Just unscrew the four caps.
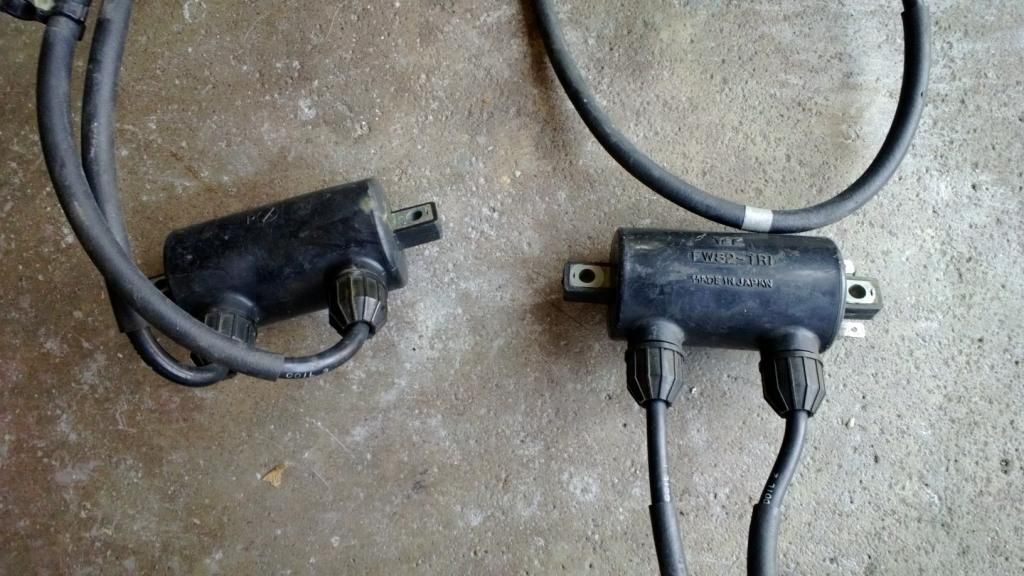
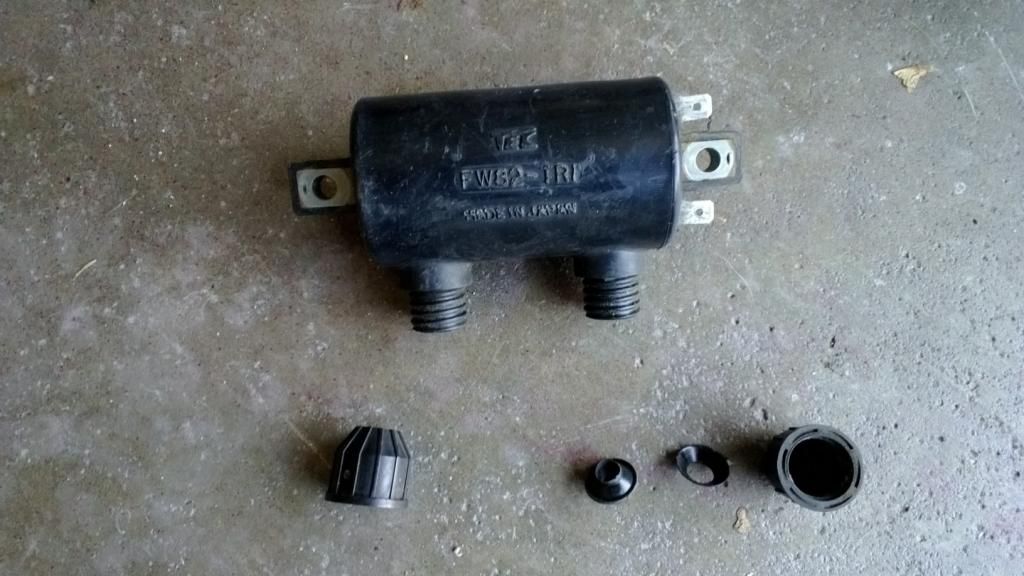
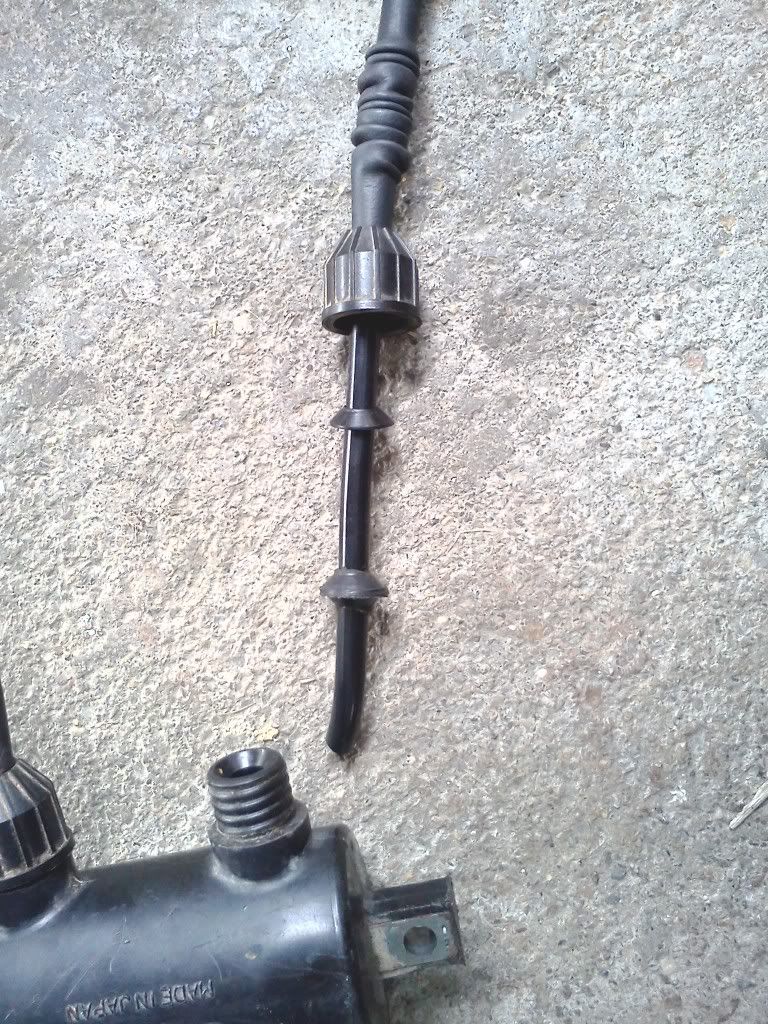
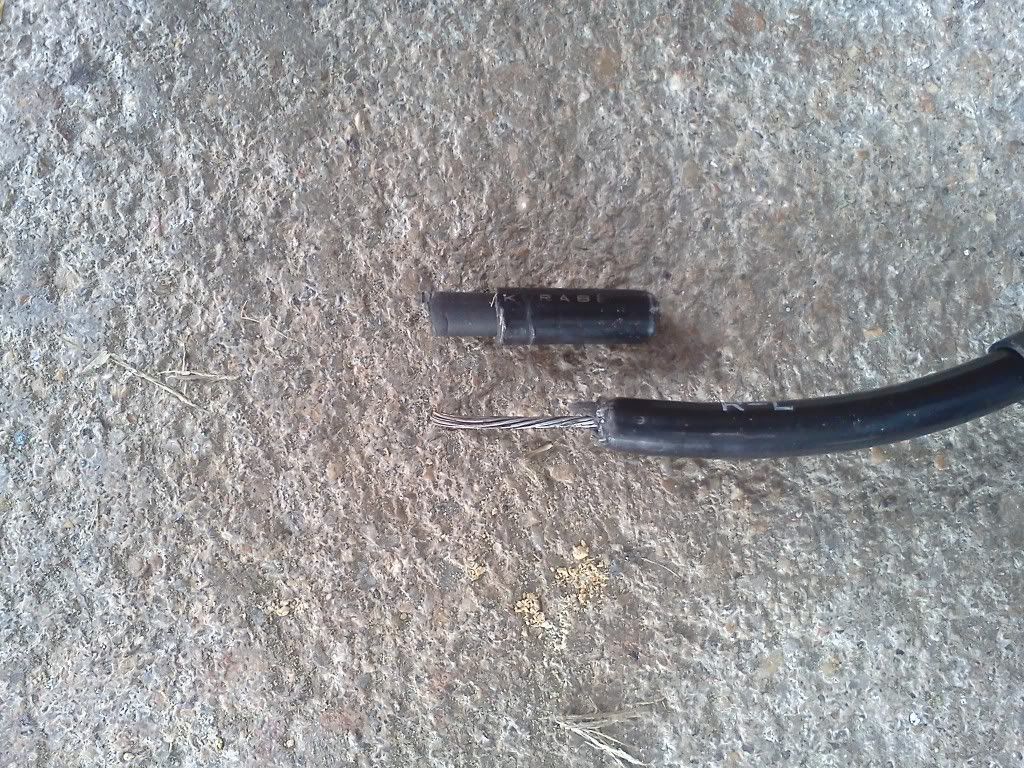
You will need to pull pretty hard to get the caps off the old wires. When you do, you will see the seals inside the cap. The cap on the right in this photo shows the three components to the cap and its seal.
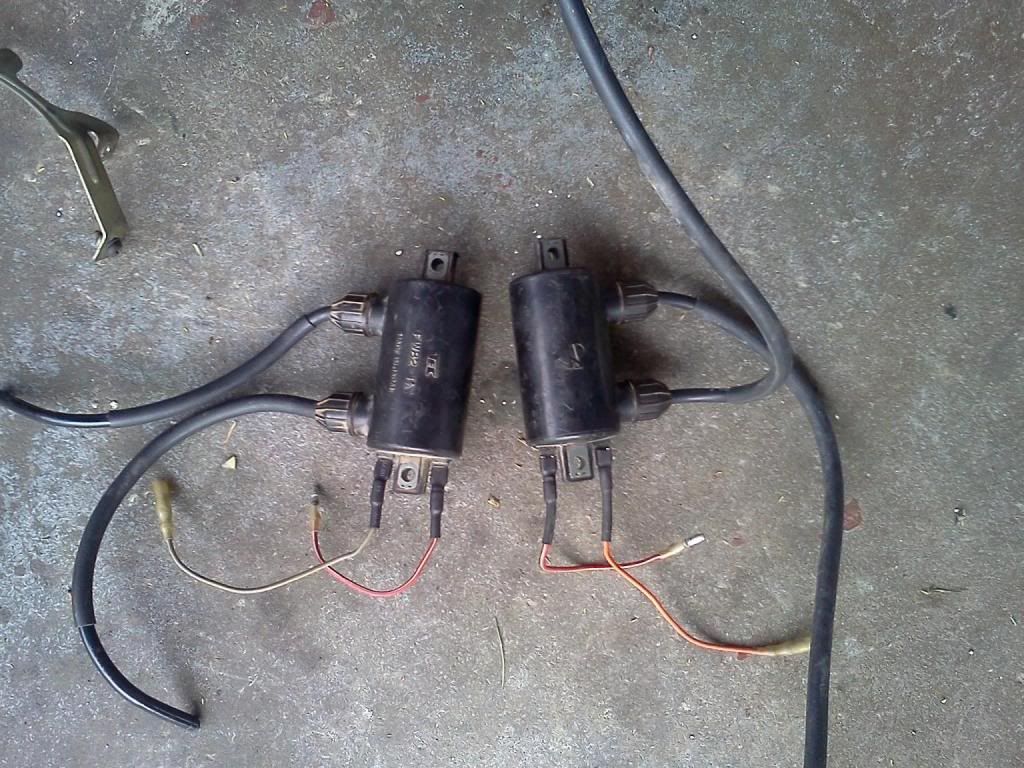
Let me make a clear notice here, before you go pulling wires from your existing coils, pay attention to which side coil feeds plugs 1 and 4, and which feeds plugs 2 and 3. Also note which coil is connected to the orange wire and which is connected to the grey wire. This will insure you get the right coil feeding the right cylinders when you reconnect the new coils.
Next is to make up some wires to connect the Honda coils to the factory harness. The connector I used at the coils is a ¼” female spade for 22-16 ga wire. I found a pack of about 25 at the local hardware store for $12.
Now, the 78-80 models used bullet style connectors for all four wires. A double connector for both red/white wires, and one for the grey and another for the orange wire. The 81 models used a two wire plug connector. One connector has a red/white wire and a grey wire, the other has the red/white and the orange wire. Since this is an 80 model, you can see in this picture the bullet connector for the red/white connector and the installed ¼" spade connector. For the 81 model, I choose to cur the connector wires from the existing coils as I do not sell them or re-use them since they are questionable if I am replacing them.
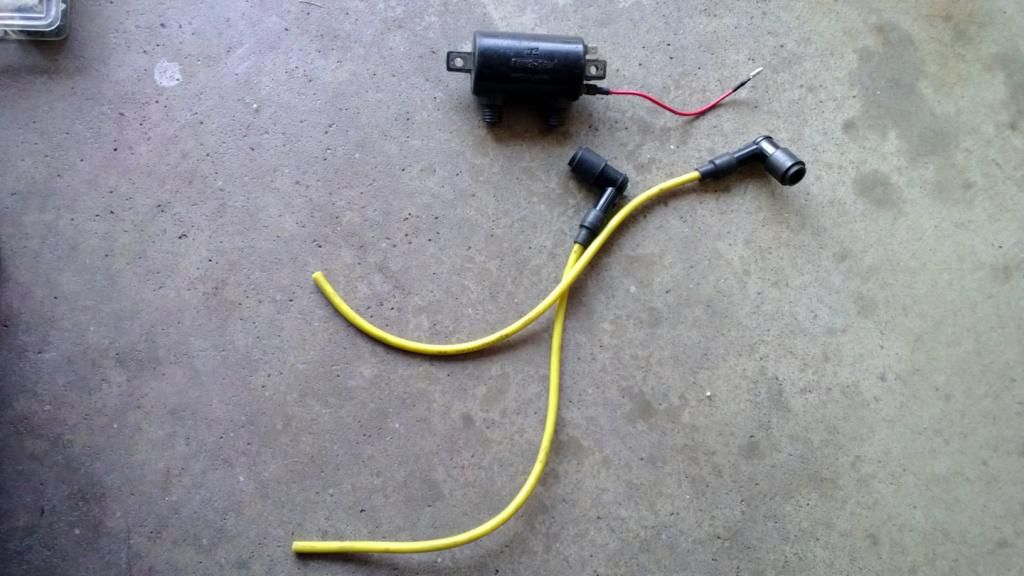
You can also see in that picture the plug wires ready for installation in the coil. These in particular were already on the bike as it had been upgraded to the Mikes green coils before. I measure the length of wire needed to go form the number four plug to the left side coil front wire. This gives me the longest length required, and I cut all four wires that long. These had newer plug connectors, so I am reusing those.
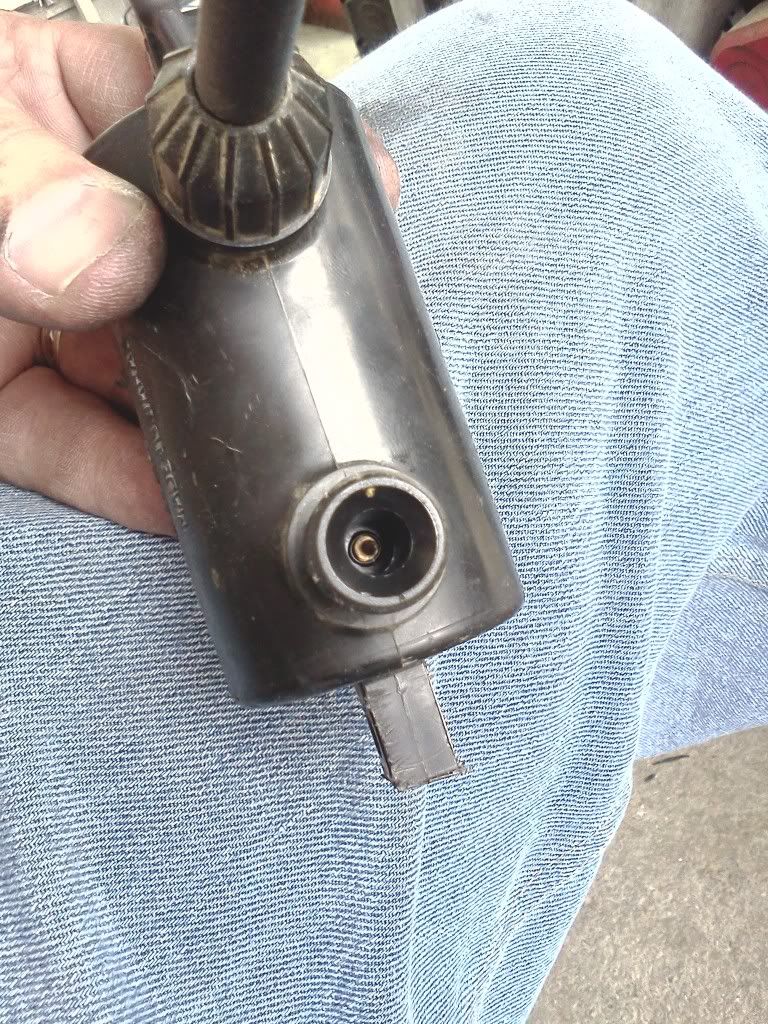
When I install the caps and seals on the “new” plug wires, I make sure there is plenty of exposed wire to push into the socket of the coil. These coils use a spike in the middle to poke into the wires core for the connection.
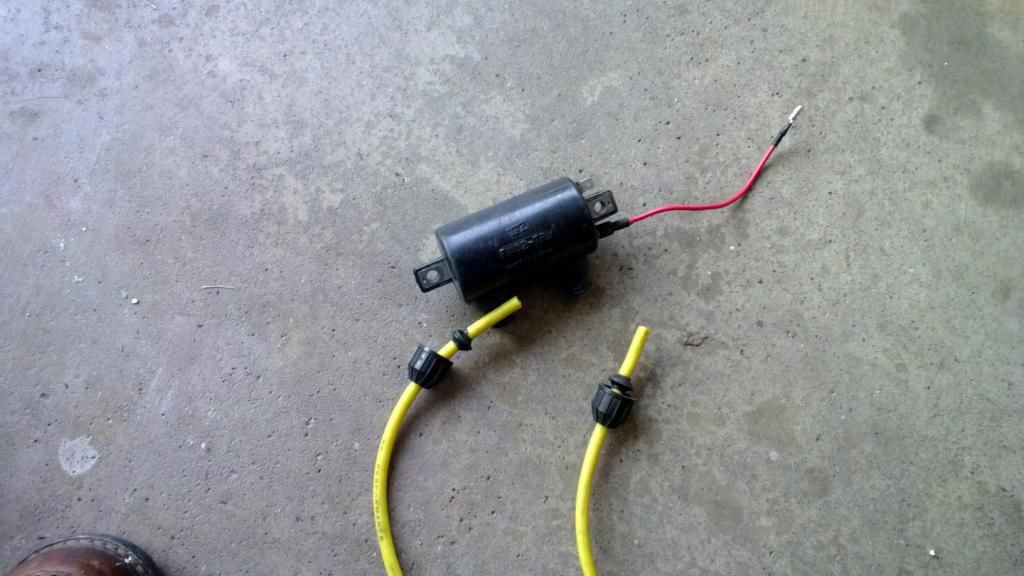
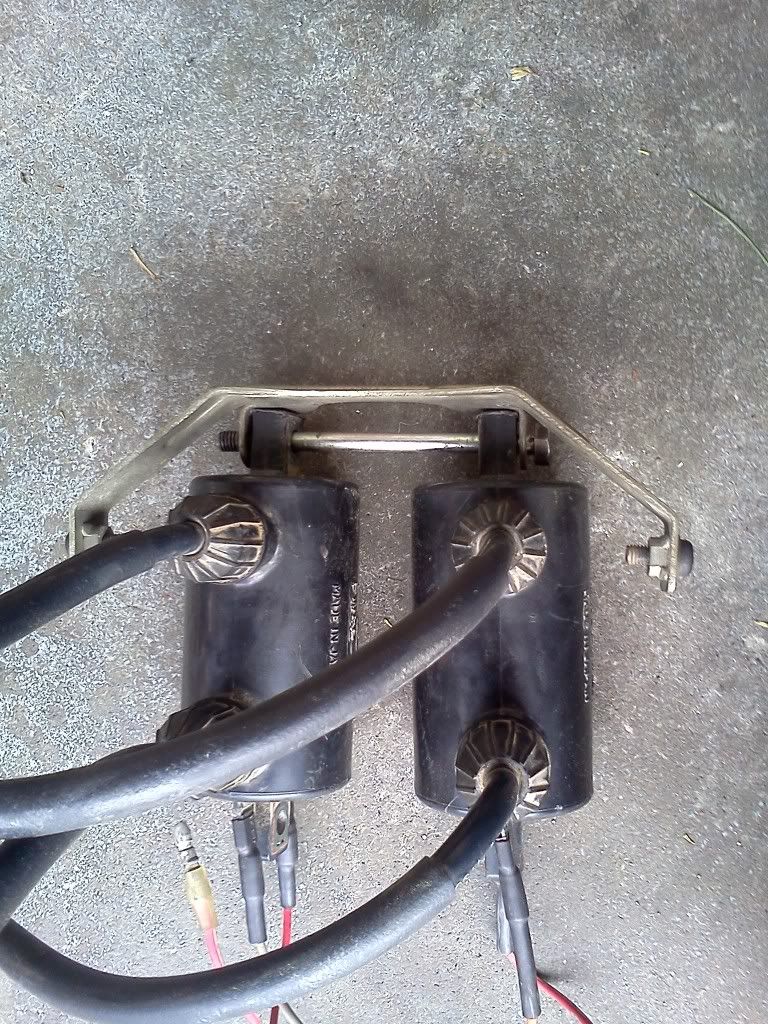
Just push the wire into the coil making sure you push it all the way onto the spike. Now push the seal down and tighten the cap onto the coil. Here is the coil ready to be installed.
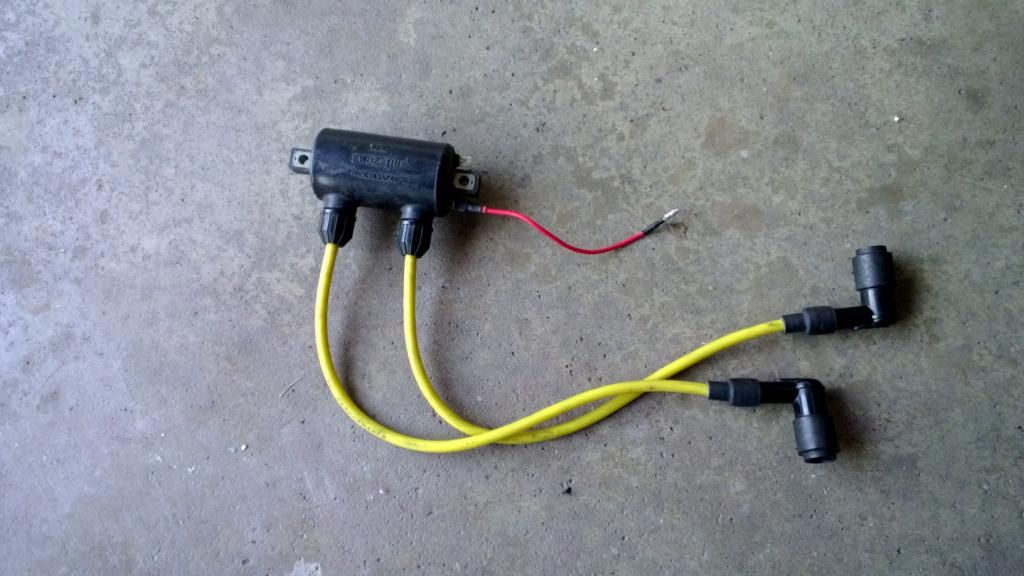
On this bike, when the Mikes coils were installed the wires connecting to the orange and grey wires was put together using spade connectors, and the connectors were soldered together. So I had to add the ¼” female spade connector with it on the bike.
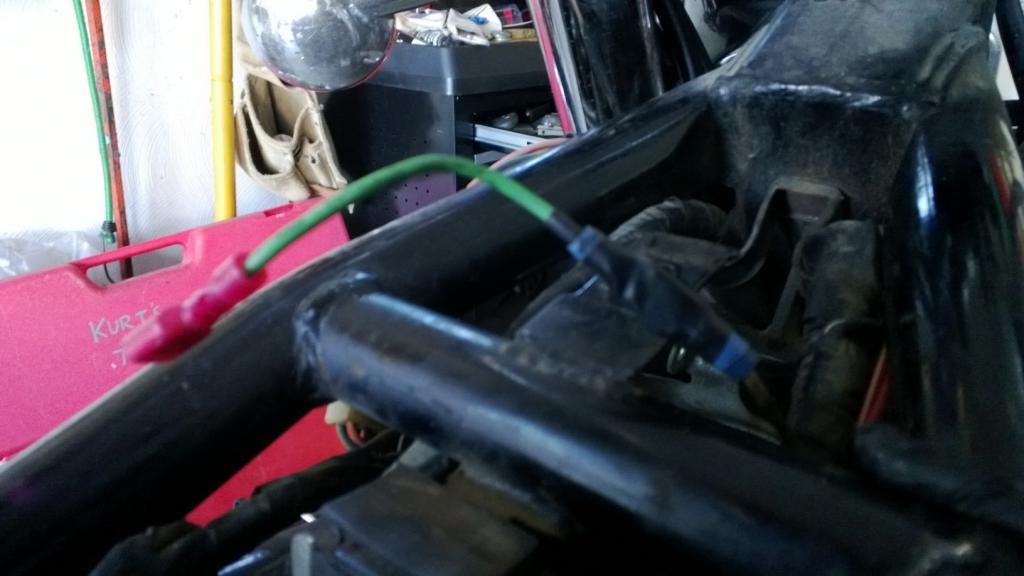
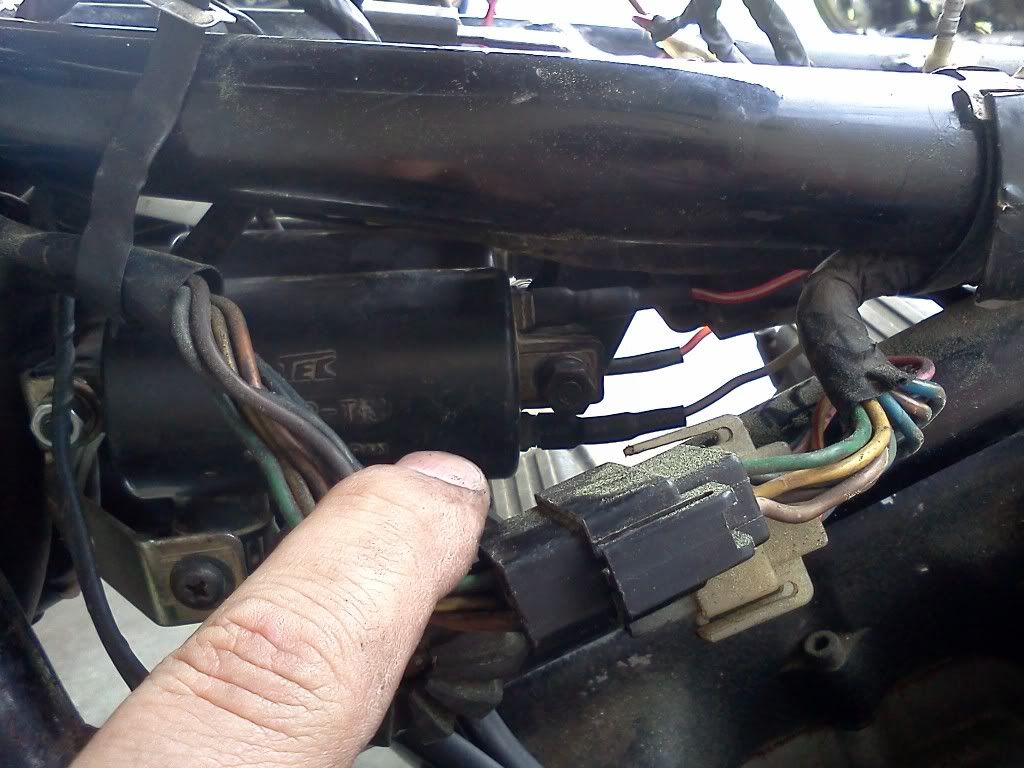
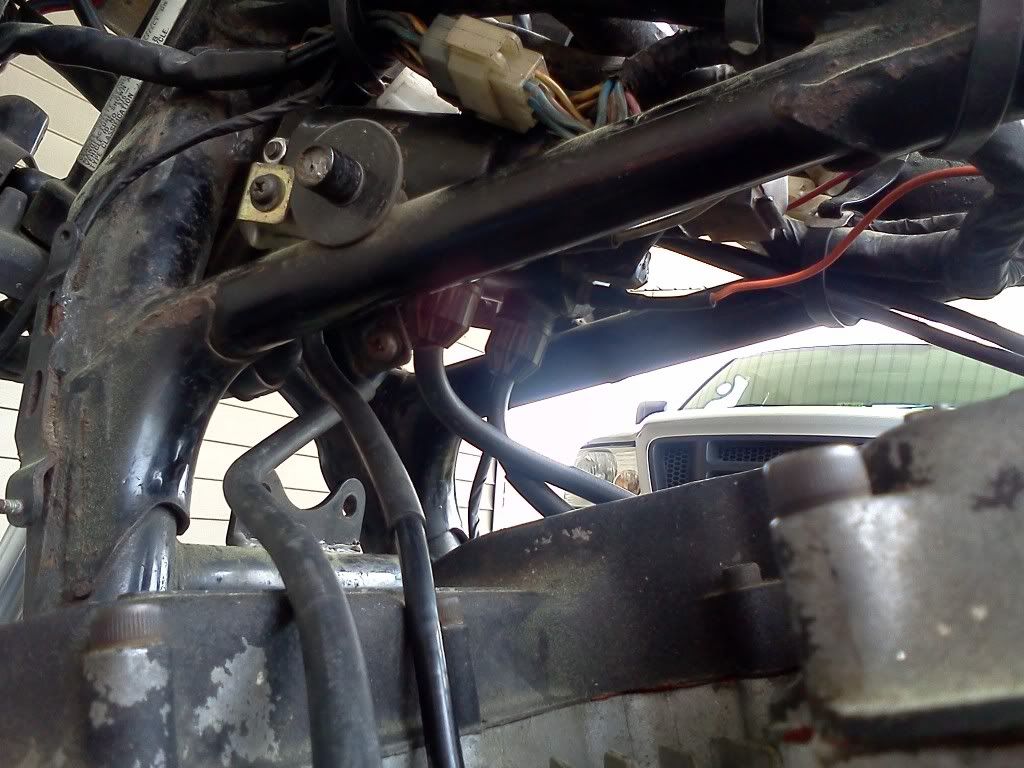
The mounting holes on the coils line up perfectly with the brackets on the XS11. You may find the bracket for the gas tank cover is a little wide. I just tightened the bolt to pull the tabs into the coils and then bent the bracket where the cover mounts out to compensate.
It is a pretty simple modification. The coils are relatively easy to find for now and not very expensive, for now. I know the VF1000R used these coils, I believe some of the Magna line used them as well. I have not developed a full list of the Honda bikes that used the same coils.
First, these are 3 ohm coils, so if you have the 78-80 model bikes, you will need to remove the ballast resistor. Just pull the connectors out and plug the two connectors from the harness together.
Here is a close up of the coil with the part number stamped in it.

Next, remove the plug wires that came with the coils. Just unscrew the four caps.

You will need to pull pretty hard to get the caps off the old wires. When you do, you will see the seals inside the cap. The cap on the right in this photo shows the three components to the cap and its seal.

Let me make a clear notice here, before you go pulling wires from your existing coils, pay attention to which side coil feeds plugs 1 and 4, and which feeds plugs 2 and 3. Also note which coil is connected to the orange wire and which is connected to the grey wire. This will insure you get the right coil feeding the right cylinders when you reconnect the new coils.
Next is to make up some wires to connect the Honda coils to the factory harness. The connector I used at the coils is a ¼” female spade for 22-16 ga wire. I found a pack of about 25 at the local hardware store for $12.
Now, the 78-80 models used bullet style connectors for all four wires. A double connector for both red/white wires, and one for the grey and another for the orange wire. The 81 models used a two wire plug connector. One connector has a red/white wire and a grey wire, the other has the red/white and the orange wire. Since this is an 80 model, you can see in this picture the bullet connector for the red/white connector and the installed ¼" spade connector. For the 81 model, I choose to cur the connector wires from the existing coils as I do not sell them or re-use them since they are questionable if I am replacing them.

You can also see in that picture the plug wires ready for installation in the coil. These in particular were already on the bike as it had been upgraded to the Mikes green coils before. I measure the length of wire needed to go form the number four plug to the left side coil front wire. This gives me the longest length required, and I cut all four wires that long. These had newer plug connectors, so I am reusing those.
When I install the caps and seals on the “new” plug wires, I make sure there is plenty of exposed wire to push into the socket of the coil. These coils use a spike in the middle to poke into the wires core for the connection.

Just push the wire into the coil making sure you push it all the way onto the spike. Now push the seal down and tighten the cap onto the coil. Here is the coil ready to be installed.

On this bike, when the Mikes coils were installed the wires connecting to the orange and grey wires was put together using spade connectors, and the connectors were soldered together. So I had to add the ¼” female spade connector with it on the bike.

The mounting holes on the coils line up perfectly with the brackets on the XS11. You may find the bracket for the gas tank cover is a little wide. I just tightened the bolt to pull the tabs into the coils and then bent the bracket where the cover mounts out to compensate.
It is a pretty simple modification. The coils are relatively easy to find for now and not very expensive, for now. I know the VF1000R used these coils, I believe some of the Magna line used them as well. I have not developed a full list of the Honda bikes that used the same coils.


Comment