Announcement

Collapse
No announcement yet.

crankshaft oil seal replacement

Collapse
X
 
  • Filter
  • Time
  • Show
Clear All
new posts

  • crankshaft oil seal replacement

    Well, I'm ready to change out the left side crankshaft seal. Searched here for Portero's write-up from 2005 but I can't find it. I believe I need to pull the timing plate, the pickups, and anything else that's in the way. Then somehow poke a hole thru the wall of the old seal and pry it out with a screwdriver. Lube the inner ring of the seal with oil and the outside of the seal with yamalube then drive it in carefully and straight til it's just about flush. Give it time for the sealant to set up before running the engine.

    What I have no idea about is the re-installation of the timing plate and all. Should I need to re-time the engine?
    Any steps or techniques I should be mindful of?

    scoot
  • #2
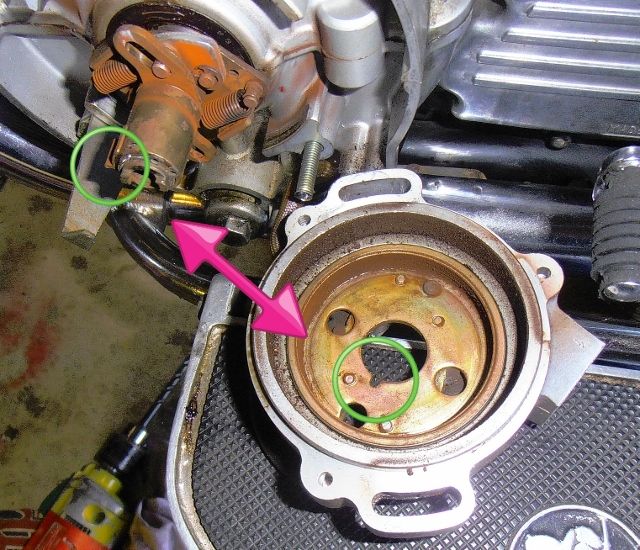
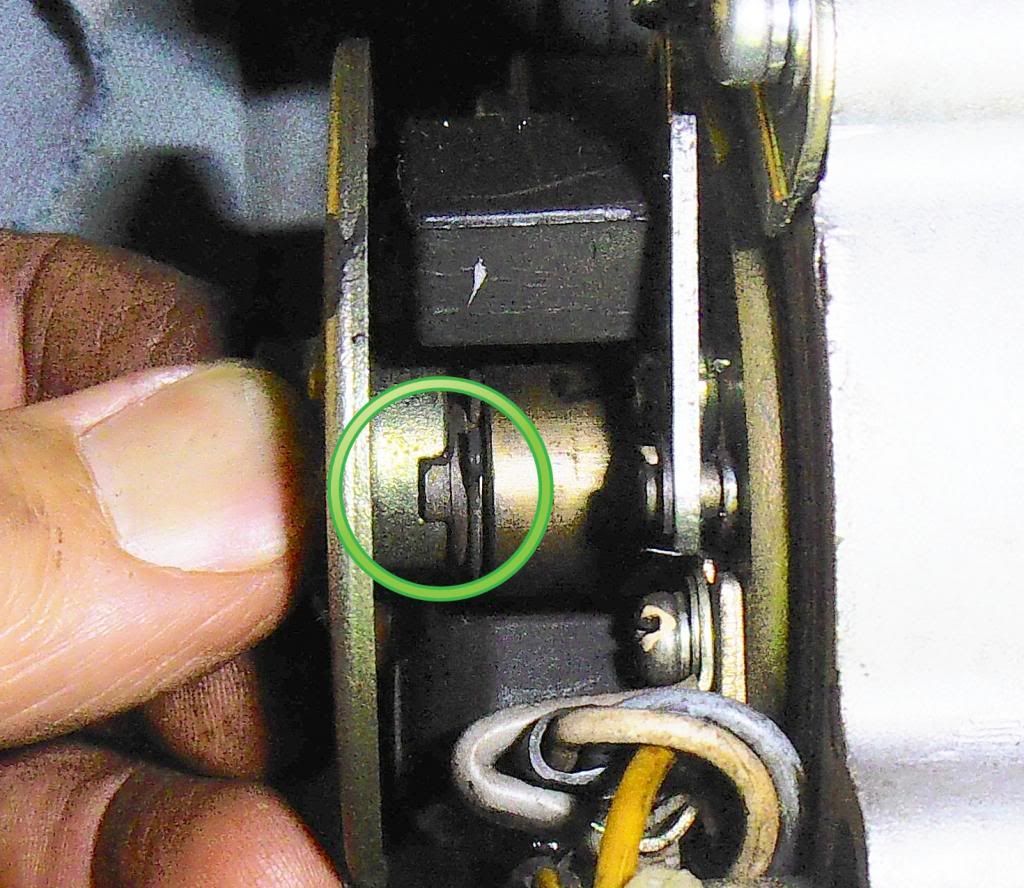
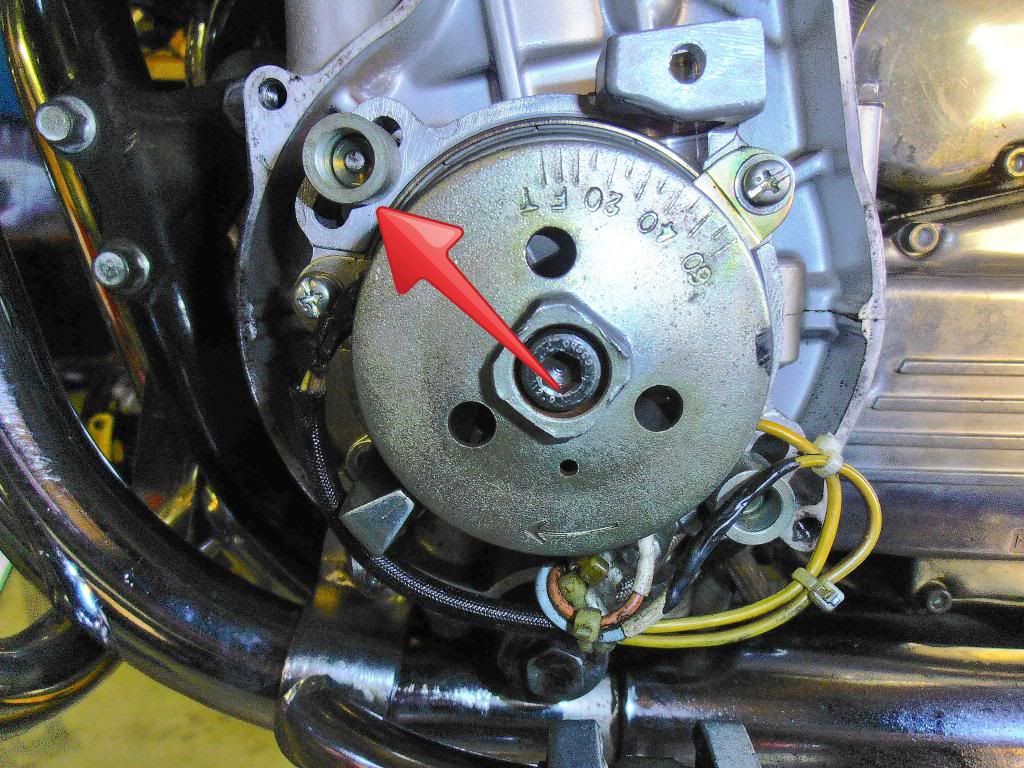
    An easy way to make sure everything goes back together correctly... find the slot in the center of the timing mechanism and turn the crankshaft so the reluctor tab aligns with it. Now remove everything (don't disturb the crankshaft) and replace your seal as you described correctly. When you put everything back together there will be no chance of assembling anything 180º out of time. Also, make a reference mark on the unit and on the engine case so the timing setting will be correct upon reassembly. Good luck!
    Last edited by bikerphil; 02-25-2013, 09:56 PM.
    2H7 (79) owned since '89
    3H3 owned since '06

    "If it ain't broke, modify it"

    Comment


    • #3
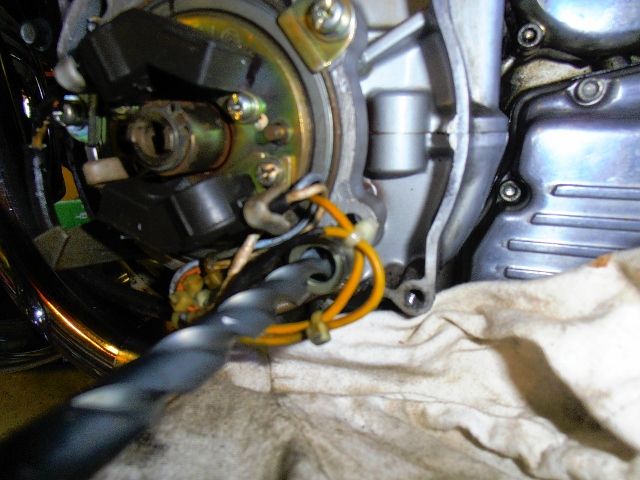
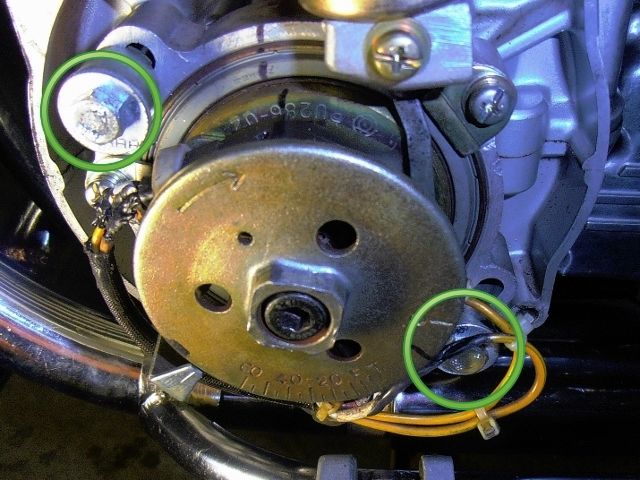
      Can anyone tell me how to remove the two fasteners holding the assembly? They look like rivets with washers.


      Thanks for your help.

      scoot
      Last edited by scoot; 02-26-2013, 07:42 PM. Reason: trying to post photo

      Comment


      • #4
        You have to drill those out and use 2 new metric bolts to replace them with upon reassembly. Those are Yamaha's tamper proof bolts for EPA restrictions starting with the 1980 models. The best way is to get a large bit that fits inside that collar, that will make fast work of removing them. Go slow so the plate does not get damaged.
        Last edited by bikerphil; 02-26-2013, 07:50 PM.
        2H7 (79) owned since '89
        3H3 owned since '06

        "If it ain't broke, modify it"

        Comment


        • #5
          Excellent, Phil. Thank you.

          Comment


          • #6
            I don't know about your bike, but on my XJ11 those crank seals will not come out without splitting the cases. They actually fit into a groove in the cases. Hopefully you have a work around for that in the thread you were talking about.
            "The Hooligan" XJ1100, Virago Gauge Pods, Screaming Eagle Mufflers, K&N Filter, hand made rear fender, side covers, and solo seat, round bar conversion, small headlight, tail light, and cat eye turn signals, chip fuses, rewired the right way.

            Pics: http://s1236.photobucket.com/user/ya...?sort=6&page=1

            Comment


            • #7
              Originally posted by Yard Dogg View Post
              I don't know about your bike, but on my XJ11 those crank seals will not come out without splitting the cases. They actually fit into a groove in the cases.
              True, they do fit into a groove, even on the XS's, but all you have to do is get your screwdriver into the seal and lever a bit out, then if it won't come out all the way, grab the edge tight in some vise grips and pull the thing. It soon come's out then.

              Comment


              • #8
                So do you just trim up the edges to get the new one in?
                "The Hooligan" XJ1100, Virago Gauge Pods, Screaming Eagle Mufflers, K&N Filter, hand made rear fender, side covers, and solo seat, round bar conversion, small headlight, tail light, and cat eye turn signals, chip fuses, rewired the right way.

                Pics: http://s1236.photobucket.com/user/ya...?sort=6&page=1

                Comment


                • #9
                  The replacement seal has no outer lip, it just slides straight in. It is a common standard seal...

                  32x48x8 Timkin/National 223215
                  2H7 (79) owned since '89
                  3H3 owned since '06

                  "If it ain't broke, modify it"

                  Comment


                  • #10
                    Nice, now I know this for the future since I didn't replace mine.
                    "The Hooligan" XJ1100, Virago Gauge Pods, Screaming Eagle Mufflers, K&N Filter, hand made rear fender, side covers, and solo seat, round bar conversion, small headlight, tail light, and cat eye turn signals, chip fuses, rewired the right way.

                    Pics: http://s1236.photobucket.com/user/ya...?sort=6&page=1

                    Comment


                    • #11
                      Success!

                      Thank you Phil for your input.

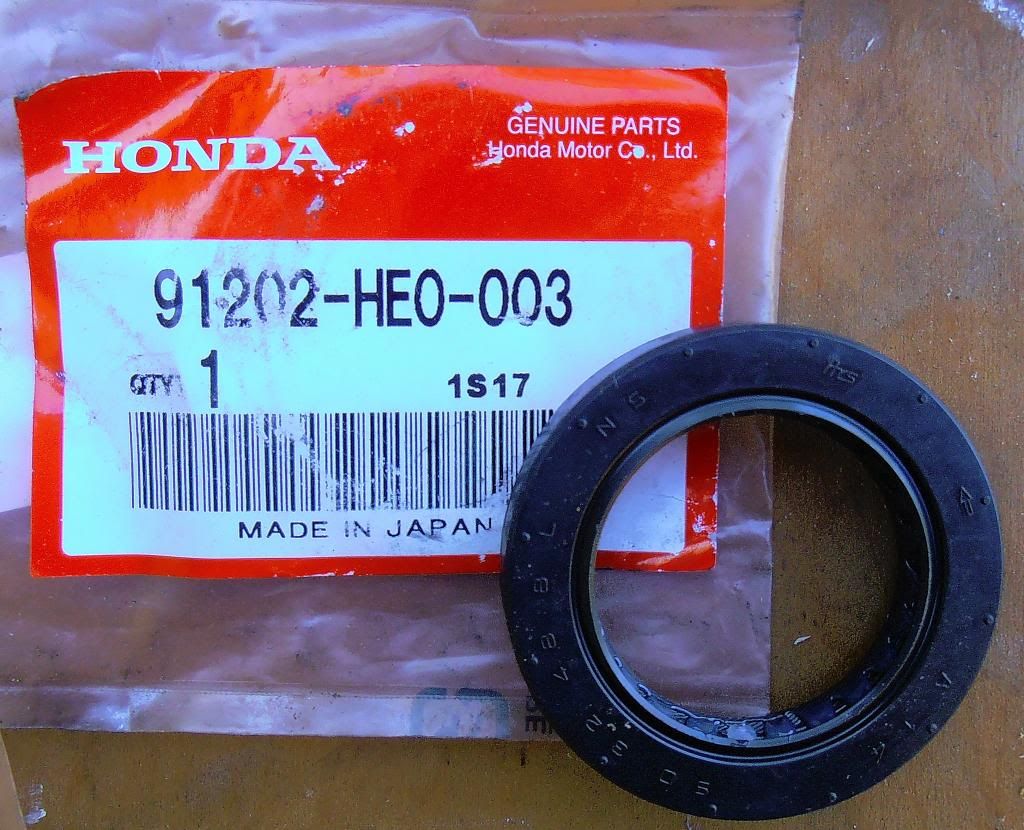
                      Yarddogg, the original seal does have a lip, it's metal, covered with rubber, it sits in a groove about 7mm in from the seal face. Destroying the seal lifts it from the groove, then the remnants can be pulled from it's bed with vicegrips. Here's how it worked for me:

                      I ordered the seal from a small local bike shop. They found the seal online from Honda. With shipping, about $12.


                      32x48x8
                      http://


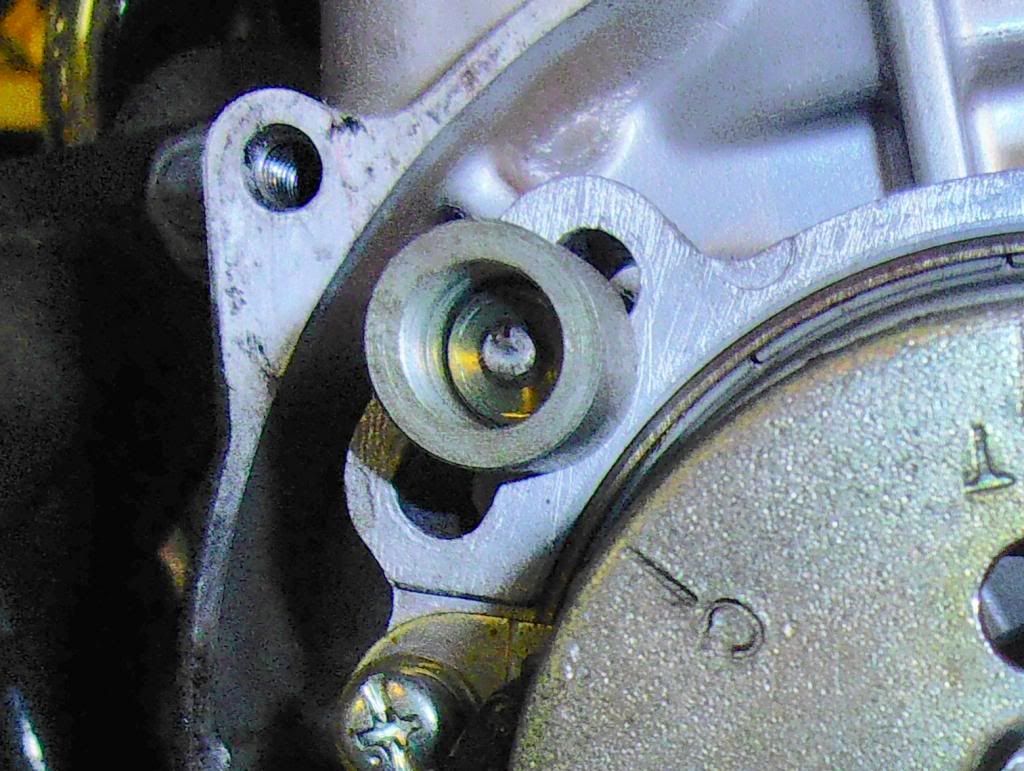
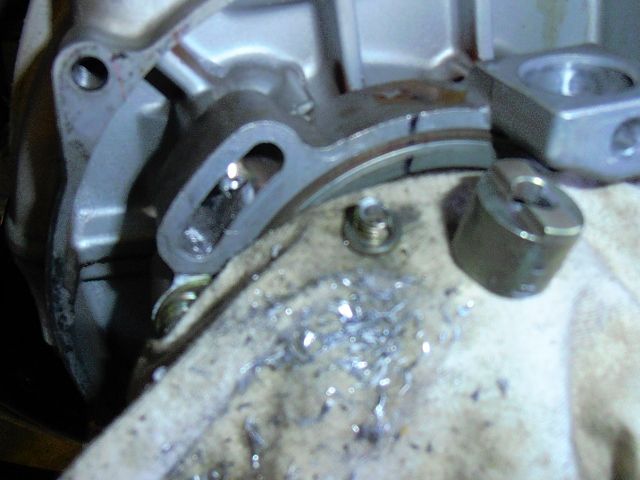
                      Bikerphil said to drill out the two fasteners with a big, slow drill bit. On the first one, I started with 3/8" but it seemed to be going to deep. Switched to a smaller bit that matched the 6mm diameter of the bolt I was drilling. Wandered off center, went back to the big bit, and that did it nicely. Drilled out the second bolt/ rivet head using only the big bit. BTW, that is not a washer, it's all part of the bolt.
                      http://


                      First bolt drilled.
                      http://


                      Drilling the second bolt.
                      http://

                      Various parts were magnetized and collected the steel turnings. Covering things with a rag put a stop to that.


                      Held the timing plate in place by hand and turned the crank with a 19mm wrench to align the pulse pickup with the slot in the backing plate. The backing plate slides right off, as does the pulse pickup thing.
                      http://


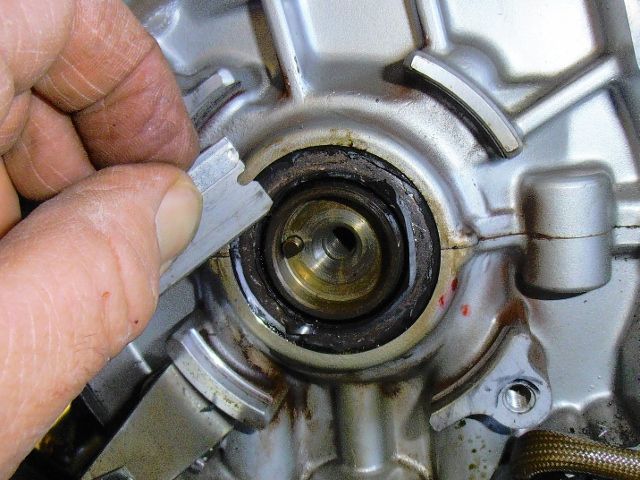
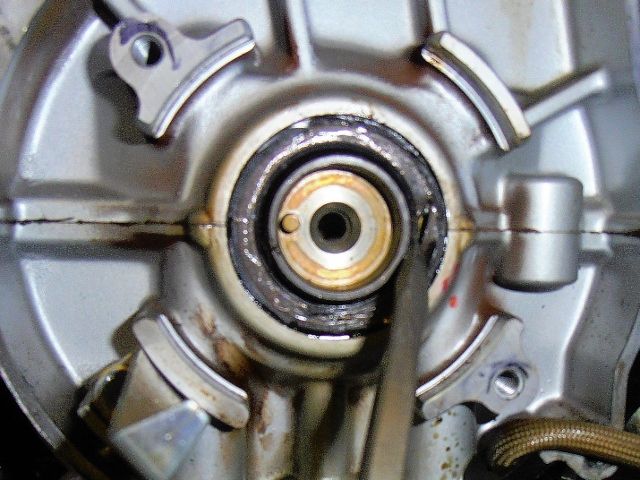
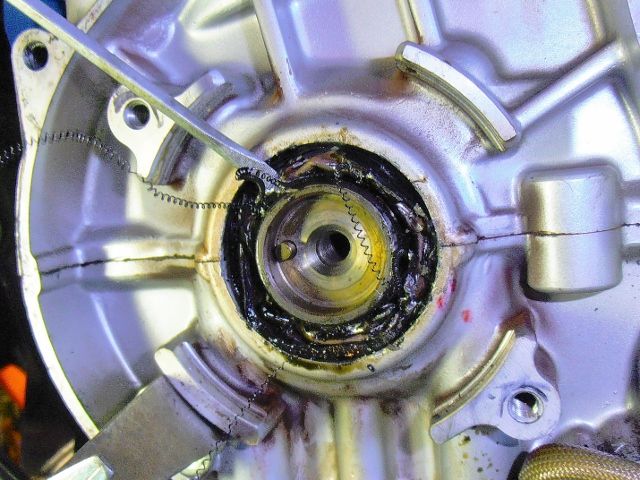
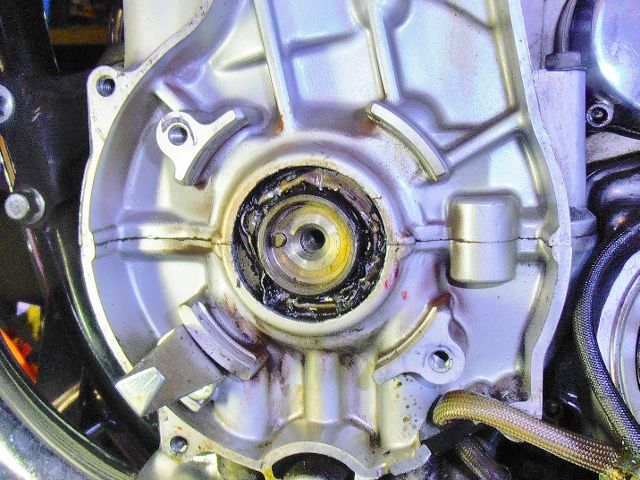
                      The fun starts here. I cut the rubber from the face of the seal with a razor blade. Used a small pick to remove the pieces. A constant focus was to avoid scratching the soft aluminum seal seat from this point forward.
                      http://


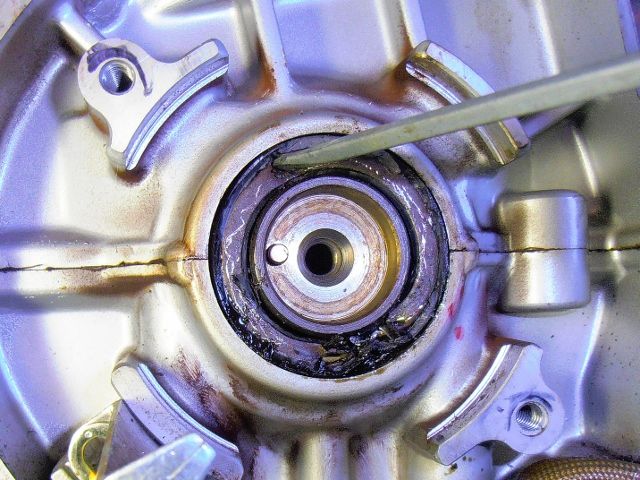
                      Now to make some holes in the metal.
                      http://


                      http:/


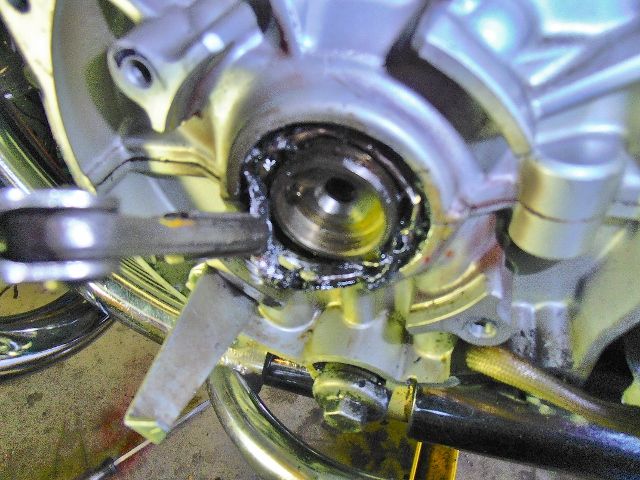
                      Prying against the outside edge only.
                      http://


                      You can see the inner metal lip being pried away at about the 8 o'clock position. From here on it was easy. Before this point, not so much. Breaking the ring of metal allowed me to lift an end away enough to grab with visegrips.
                      http://


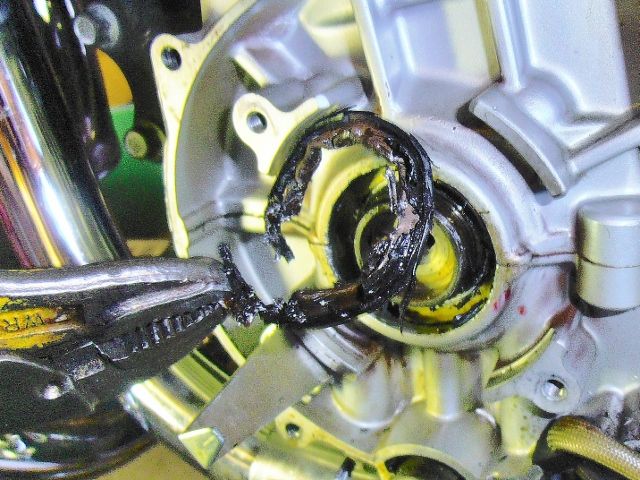
                      Finally got a good purchase with the visegrips. Can feel it's coming out. Oh yeah!
                      http://


                      Again prying on the outside with the visegrips, kind of rolled right out.
                      http://


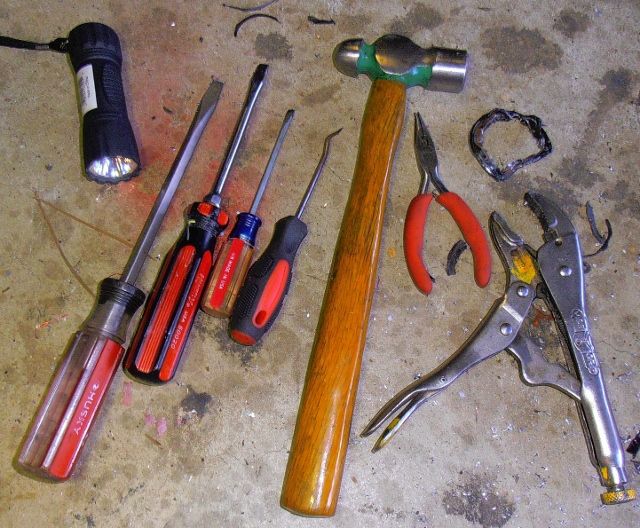
                      Besides the razor blade, all of these tools came into play. Could probably get by just fine with the smaller screwdrivers and hammer and vicegrips.
                      http://


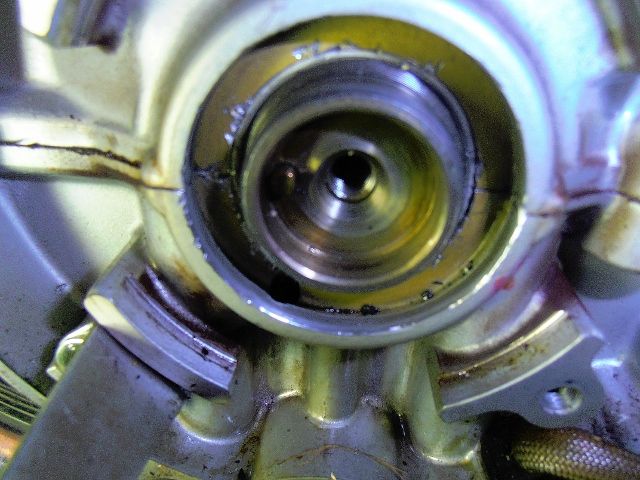
                      This is before I cleaned it up. You can see the nicks around the edge of the bottom half from prying against the case. I smoothed the nicks with 400 and 600 grit paper. Cleaned the inside face with a green nylon scrubby.
                      http://


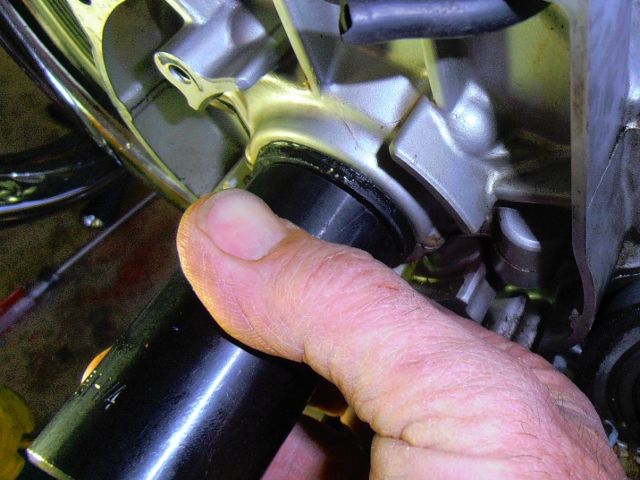
                      The new seal: coated the outside with Permatex type 2, and coated the inner rubber with oil. Then lightly tapped it into place using a 1 1/4" deep socket. Using great care and attention to alignment, checking all angles for consistent reveal, it went in easily. This picture shows the seal driven in about half way.
                      http://


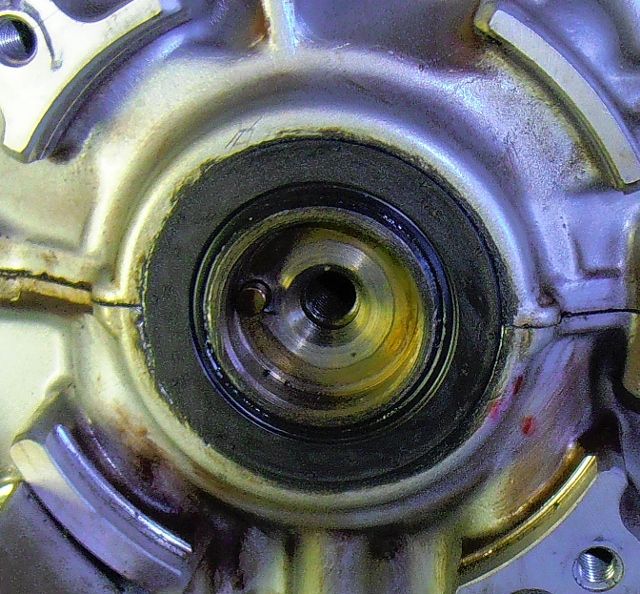
                      The seal installed flush. Guaranteed by me not to leak.
                      http://


                      The bolts that were drilled out earlier are replaced here with 6mm x 45mm bolts and washers. (40mm will work but with less purchase, and 50mm will bottom out before getting tight.)
                      http://


                      Attention to the orientation of the timing plate is recommended. The notch and key are just slightly offset from center, so it is possible to install the timing plate 180 degrees off, although it won't bolt up flat due to the pin. Just be clear that the pin is in it's slot, and the notch and key are correct.
                      http://


                      At this point I was curious, so I hit the starter, she fired right up, ran for 20 seconds, then I shut her down for the day.
                      This job is done. Total labor time was under two hours, easily half of that was destroying the old seal to remove it without scoring the aluminum case.
                      Hope this helps. And like Bikerphil said, Good luck!


                      scoot

                      Comment


                      • #12
                        Awesome write up Scoot!

                        Steve needs to make this into a tech tip.

                        I've been wondering how to get the timing plate off and I've read about the large drill bit and all, but seeing the pics makes me a believer.
                        Hi, my name is George & I'm a twisty addict!

                        80G (Green paint(PO idea))
                        The Green Monster
                        K&N A/F, TC's fuse block, '81 oil cooler, TC's homemade 4-2 w/Mac Mufflers, Raptor 660 ACCT
                        Got him in '04.
                        bald tire & borrowing parts

                        80SG (Black w/red emblems & calipers)
                        Scarlet
                        K&N A/F, TC's fuse block, WJ5, Shoei bags, Raptor 660 ACCT.
                        Got her in '11
                        Ready for the twisties!

                        81H (previously CPMaynard's)
                        Hugo
                        Full Venturer, Indigo Blue with B/W painted tank.
                        Cold weather ride

                        Comment


                        • #13
                          Nice job scoot, you made it look easy! Hopefully no more drips and oil blowing back on your left boot. I agree, should be a tech tip.
                          2H7 (79) owned since '89
                          3H3 owned since '06

                          "If it ain't broke, modify it"

                          Comment


                          • #14
                            Originally posted by bikerphil View Post
                            The replacement seal has no outer lip, it just slides straight in. It is a common standard seal...

                            32x48x8 Timkin/National 223215
                            I used a 32 x 48 x 7. And i used Yamabond on it instead of some oil.
                            Do you think it will be alright?

                            Comment


                            • #15
                              Hi Fj11100, I'll offer my opinion, which is not worth anything. From what I've read around here, the 32x48x7 will leak when used on the left side. My concern would be the Yamabond you used on the inner lips- that's a rotating shaft, not static like the outer seal surface. Yamabond on the outside= good, Yamabond inside= bad.

                              But I'm no mechanic, I'm a carpenter, so ...


                              scoot

                              Comment

                              Working...
                              X