 Tweet
Tweet
Ya'll are always saying you like pictures...

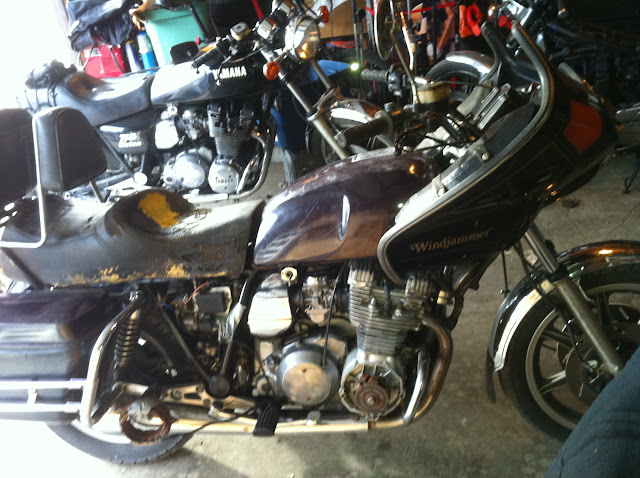
Now that I’m riding Bagapotomus, I must say that the 30 year old Vetter bags and trunk are very useful for the daily commute and bringing home the groceries. I did a refresh a few months ago and thought I’d share.

First the covers were removed and washed with dish soap and water.

I used scotch-brite pads and 320 grit on a DA sander to sand off the decals and prepare the original finish.

The locks, clips and acorn nuts are reused. The hinge bolts and locknuts were replaced with stainless. The broken spring clips that hold the side bags to the mounts are replaced with new from the Vetter web site:


Three coats of Nason Peterbuilt white acrylic enamel with a catalyst hardener reduced just enough to flow out and still flash dry quick enough to keep out bugs and nasty stuff outside. Really need a nice calm toasty Texas day to do this step..

The black plastic was sprayed inside and out with PJ1 engine case paint. Although a high heat engine paint, it binds well with plastic. It covered well and makes black plastic look like new. Learned about this stuff on XS11.com!

Back together and ready for the road. TC recommended swapping LED lights for the four tail/brake lights on the trunk to reduce power needs. It’s like Christmas when the brakes come on at night!. It sure is handy carrying a flashlight, extra oil, rags, rain gear, tools, and clothes… even extra shoes. Also, it’s a part of history. When our bikes were new you had to “build your own” touring bike before the manufacturers started making their own.


Now that I’m riding Bagapotomus, I must say that the 30 year old Vetter bags and trunk are very useful for the daily commute and bringing home the groceries. I did a refresh a few months ago and thought I’d share.
First the covers were removed and washed with dish soap and water.
I used scotch-brite pads and 320 grit on a DA sander to sand off the decals and prepare the original finish.
The locks, clips and acorn nuts are reused. The hinge bolts and locknuts were replaced with stainless. The broken spring clips that hold the side bags to the mounts are replaced with new from the Vetter web site:
Three coats of Nason Peterbuilt white acrylic enamel with a catalyst hardener reduced just enough to flow out and still flash dry quick enough to keep out bugs and nasty stuff outside. Really need a nice calm toasty Texas day to do this step..
The black plastic was sprayed inside and out with PJ1 engine case paint. Although a high heat engine paint, it binds well with plastic. It covered well and makes black plastic look like new. Learned about this stuff on XS11.com!
Back together and ready for the road. TC recommended swapping LED lights for the four tail/brake lights on the trunk to reduce power needs. It’s like Christmas when the brakes come on at night!. It sure is handy carrying a flashlight, extra oil, rags, rain gear, tools, and clothes… even extra shoes. Also, it’s a part of history. When our bikes were new you had to “build your own” touring bike before the manufacturers started making their own.


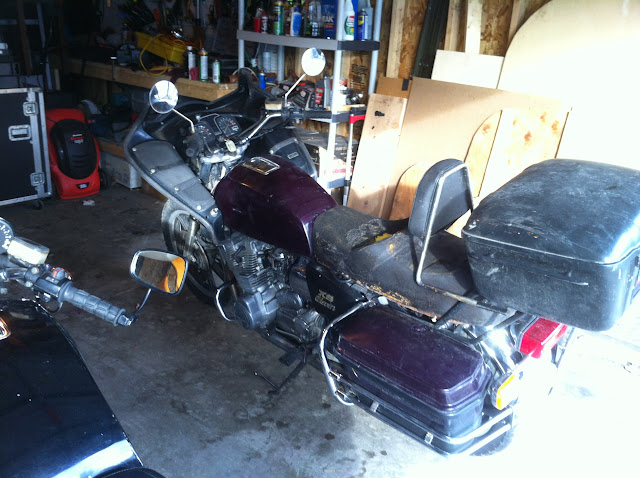
 Mine zip off and the homemade supports are held on by one bolt per side, so I can go from carry to scary in one min.
 .
.
Comment