 Tweet
Tweet
Looks like the only parts I am missing from this diagram are 11, 18, 19 and 20.
BTW: That is a much better diagram than what is in the manual.
BTW: That is a much better diagram than what is in the manual.


") but Is there any other way to keep the spring compressed while threading the aluminum cap on? I can only seem to hold down the pressure and get about a half turn on it before I loose my ability to hold it against the threaded fork tube and twist.
but Is there any other way to keep the spring compressed while threading the aluminum cap on? I can only seem to hold down the pressure and get about a half turn on it before I loose my ability to hold it against the threaded fork tube and twist.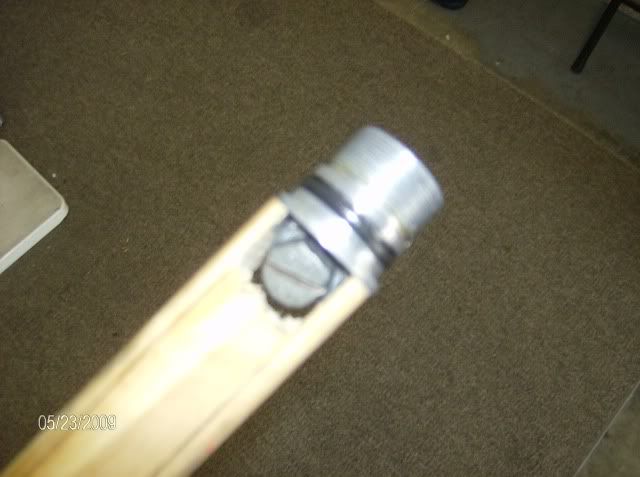


Comment