Try a standard tank
Hideki's Build Thread!
Collapse
X
-
Don't forget to send TKat an email and get the fork brace from him!! It will make a BIG difference in the feel as you go around corners! I run them on both the Standards and the MNS.
Ray Matteis
KE6NHG
XS1100 E '78 (winter project)
XS1100 SF Bob Jones worked on it!Comment
-
I agree! I love the look of bobbers though, except for the most part they aren't done very well. Yours is an exception, looks real nice. Good luck with the build, keep the pics coming!-Matt B.
"You live more in five minutes on a bike like this than some people live in a lifetime."
1980 XS1100 SpecialComment
-
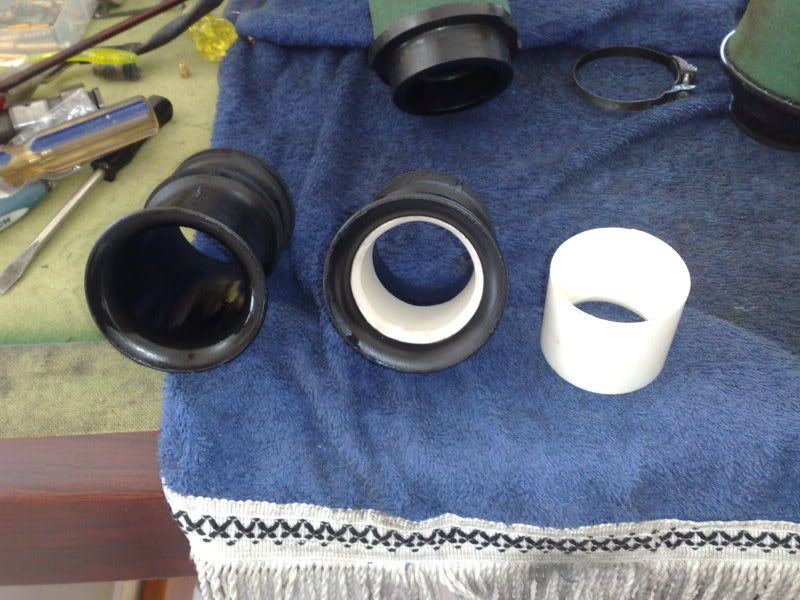
JAT, on the stock rubber velocity stacks,
if you do go that way, just be careful being
rubber they will collapse on themselves under acceleration, im
using the stock v stacks and inserted a bit of pvc piping.
heres a pic
 pete
pete
new owner of
08 gen2 hayabusa
former owner
1981 xs1100 RH (aus) (5N5)
zrx carbs
18mm float height
145 main jets
38 pilots
slide needle shimmed .5mm washer
fitted with v/stax and uni pod filters
[url]http://www.youtube.com/watch?v=3pA8dwxmAVA&feature=mfu_in_order&list=UL[/url]Comment
-
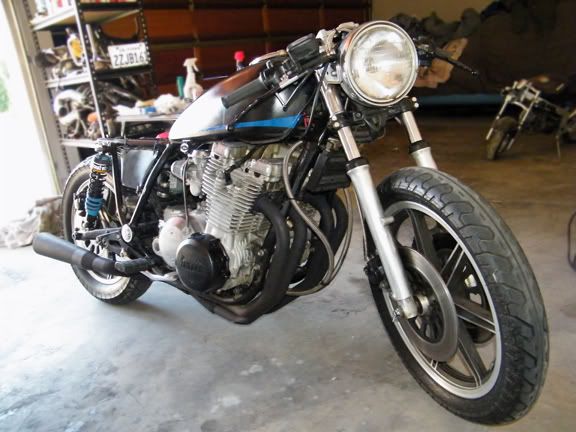
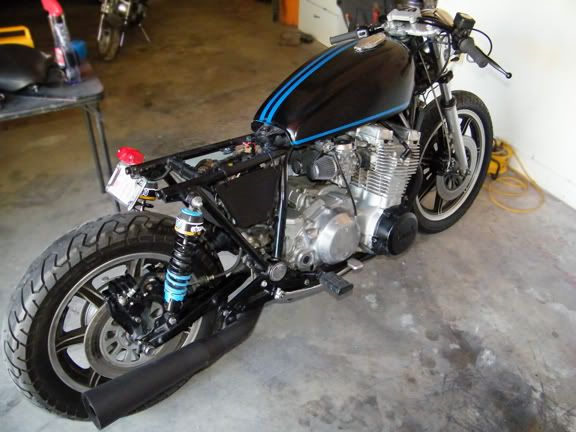
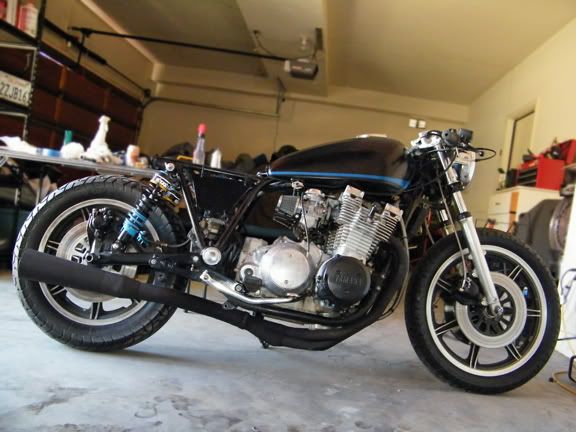
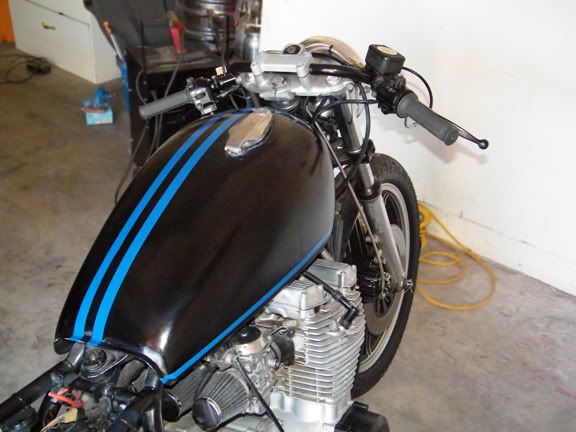
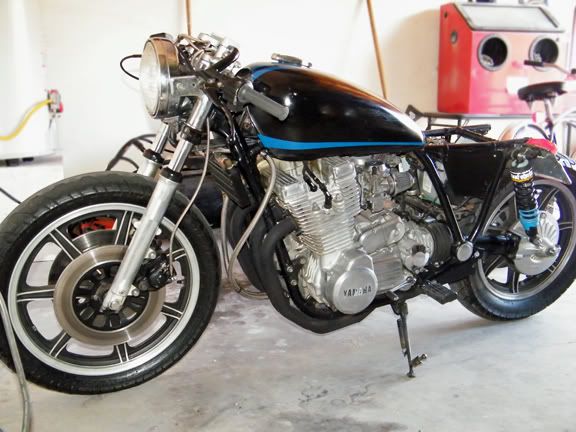
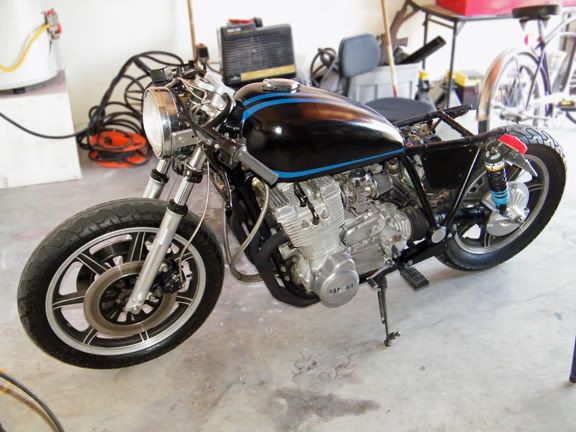
Got some time to work on the bike today, installed my clubman bars and Magura grips (what a difference!) it has the correct look and feel now. Also got bored and painted some blue stripes on the tank, because every cafe bike needs off center stripes
Comment
-
How about a tank from a XS1100 standard? It's not small, but may lend to the shape you want without a lot of modification work.Marty (in Mississippi)
XS1100SG
XS650SK
XS650SH
XS650G
XS6502F
XS650EComment
-
What a great project! Keep us updated as you build it!Joab
"If nothing else, it will be interesting..."
______________________________________________
1979 XS1100SF
1972 XS2 650
______________________________________________
Ozark, AlabamaComment
-
Not a bad looking bike!Nathan
KD9ARL
μολὼν λαβέ
1978 XS1100E
K&N Filter
#45 pilot Jet, #137.5 Main Jet
OEM Exhaust
ATK Fork Brace
LED Dash lights
Ammeter, Oil Pressure, Oil Temp, and Volt Meters
Green Monster Coils
SS Brake Lines
Vision 550 Auto Tensioner
In any moment of decision the best thing you can do is the right thing, the next best thing is the wrong thing, and the worst thing you can do is nothing.
Theodore RooseveltComment
-
I'm not one for bobbers but that one looks well done and rather clean. A good looking bike! Myself I did my 78 over as a modified bike with all parts and items on the bike in keeping with what was available when these bikes were in their glory.Well, I saw everyone else's build threads so I figured I'd start my own While I don't claim to wow anyone with any amazing fabrication skills, I hope you'll be interested or have any feedback during the process.
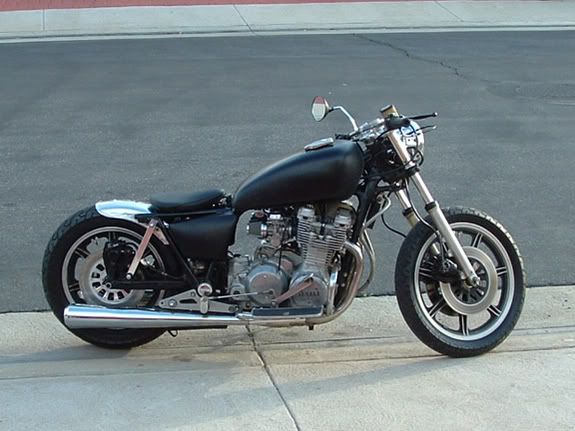
This is what the bike started off like, I thought a bobber was the way to go but it kinda does this big engine an injustice to go slow after reading that amazing endurance racer build thread I finally got enough ambition to start changing the bike.
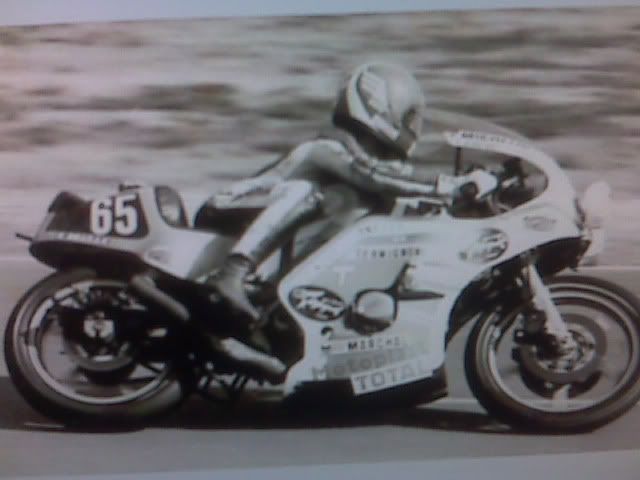
^This is my goal, something period correct and much more fun and interesting.
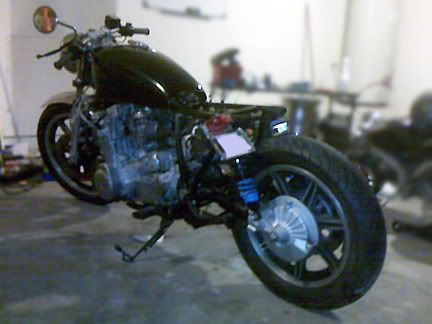
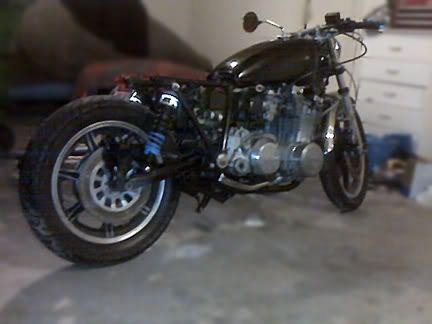
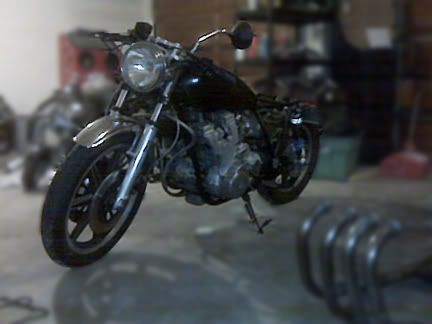
^How the bike sits currently, I know these pics suck but my camera is over 100 miles away so the cameraphone will have to do. But you get the idea. I had to work to get the tail of the bike up in the air more so when I get the correct rear seat it'll have the right stance.
What's been done so far,
Lowered the front end even more
Replaced the "solid struts" with a period correct SW rear suspension
Replaced the giant forward control setup with the oem pedals/pegs
Painted a ton of misc parts and brackets that I could remove
Purchased a 4-1 exhaust (thinking about making a Yoshi pipe with it)
What I need
Order my "Hammer II" endurance seat
Order front fairing
Order clip on bars
Velocity stacks
Painting wheels bronze (thinking about painting the frame silver and the bike white)
I'll update this thread as I go along, progress will probably be kinda slow as I never really have any time to devote to the bike.
RobKEEP THE RUBBER SIDE DOWN
1978 XS1100E Modified
1978 XS500E
1979 XS1100F Restored
1980 XS1100 SG
1981 Suzuki GS1100
1983 Suzuki GS750S Katana
1983 Honda CB900 CustomComment
-
Did some progress with the bike today. Got my Hammer Suzuki replica seat in the mail today. So off to making a custom seat bracket I went. Some 1" angle aluminum and straight aluminum, some weatherstripping and a voila! I raises the seat pan a 3" rake for a more sportbike style. The bracket is super strong. I had to lengthen the tail light wires to mount it on the back of the fairing. I know it's not everyone's cup of tea, but who cares. It finally gave the bike the vintage racing feel it deserved.
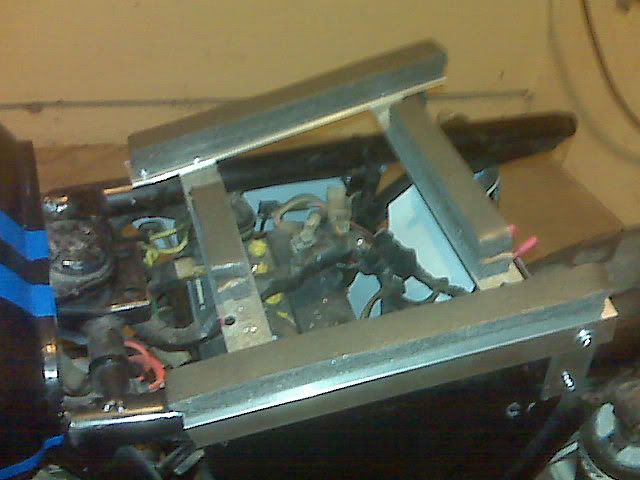
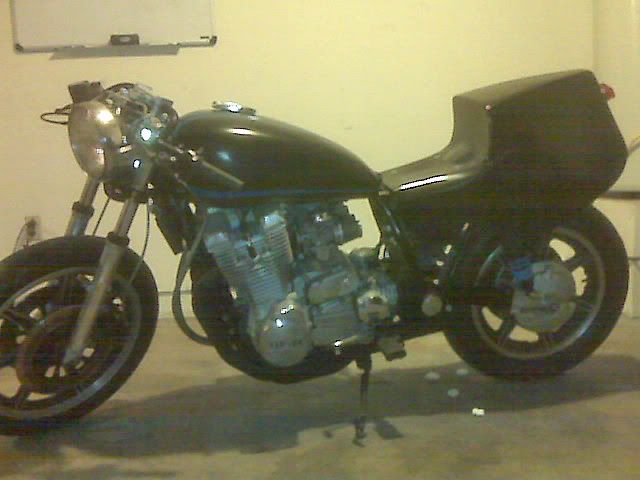
Pics are with my blackberry in the workshop at night, so forgive the horrible quality. When I get another free moment I'll take some real photos.Comment
-
Viola!! You have a rear section again! I like it. Keep up the good work.
'81 XS1100 SH
Melted to the ground during The Valley Fire
Sep. 12th 2015
RIPComment

Comment