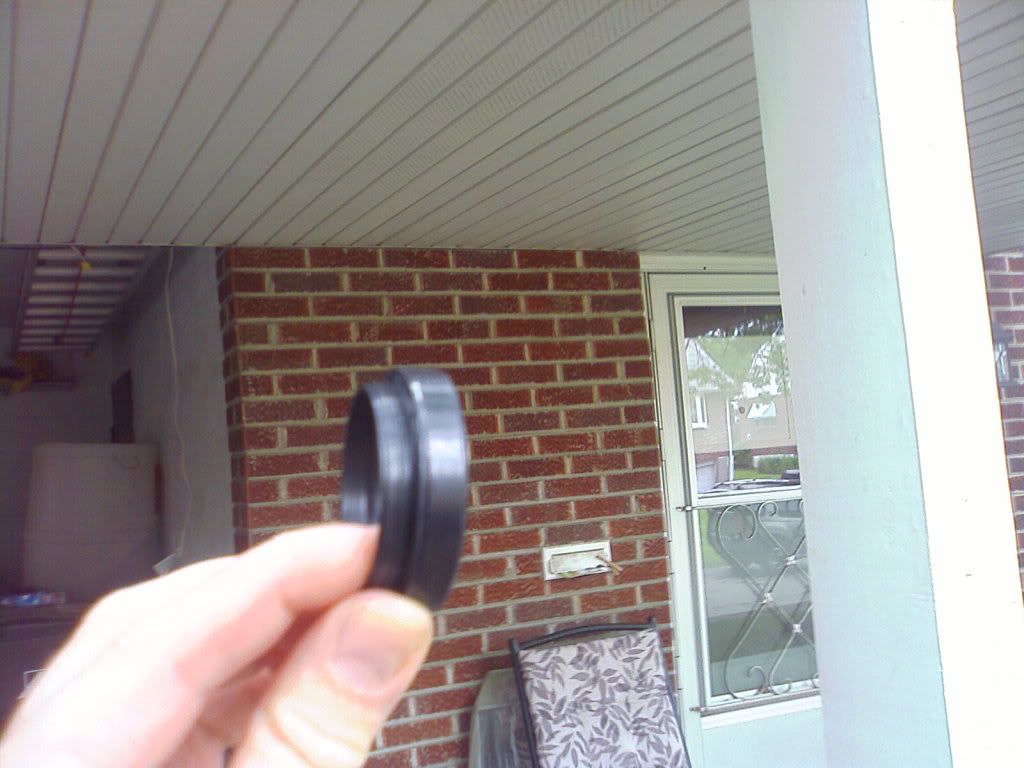
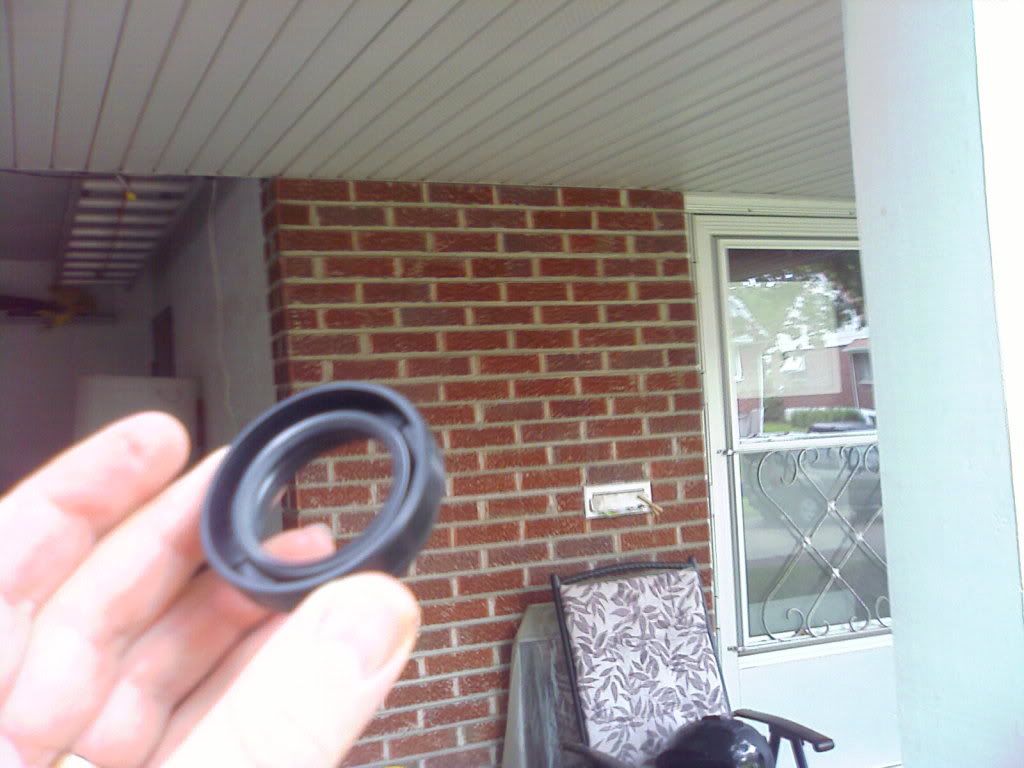
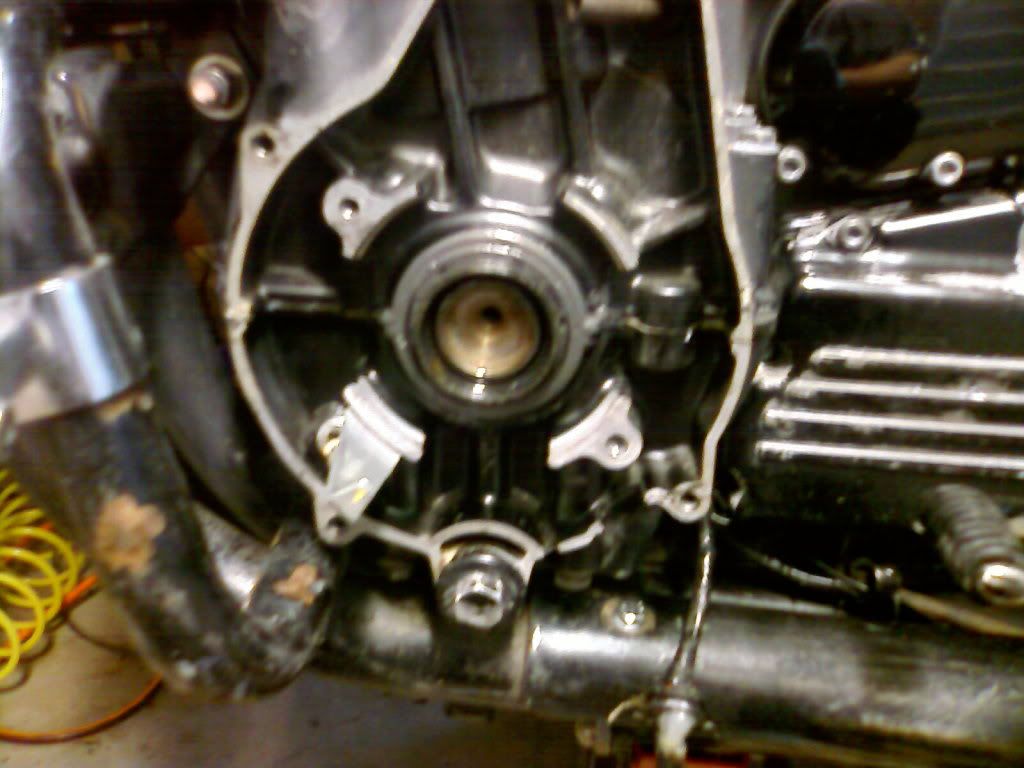
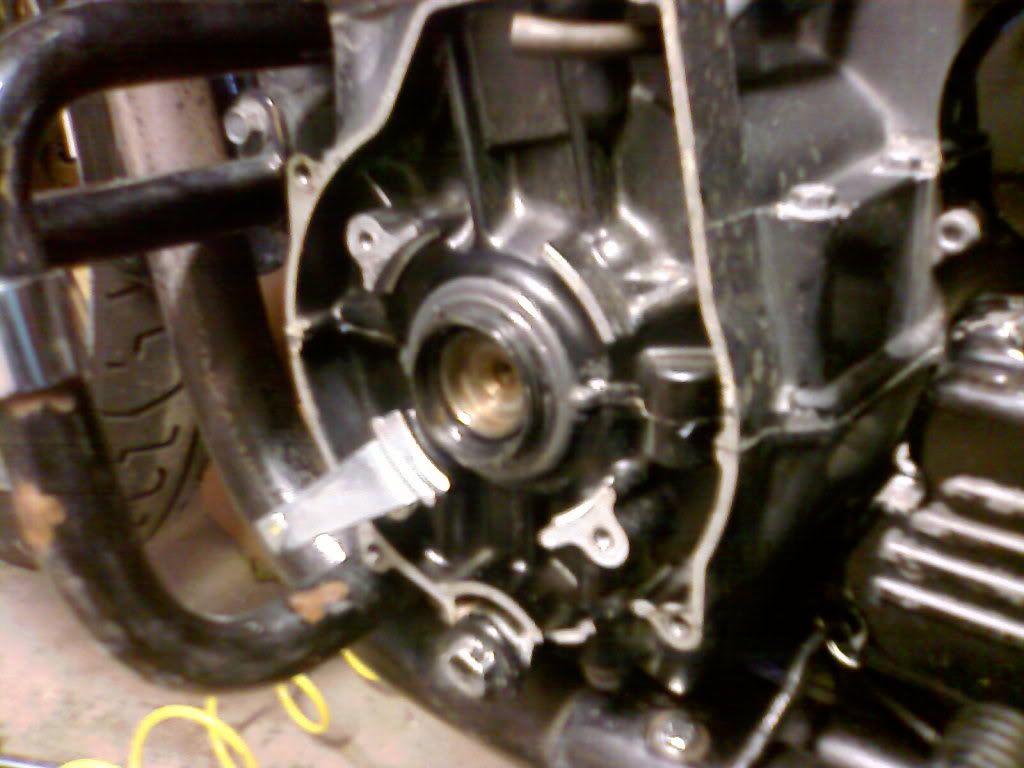
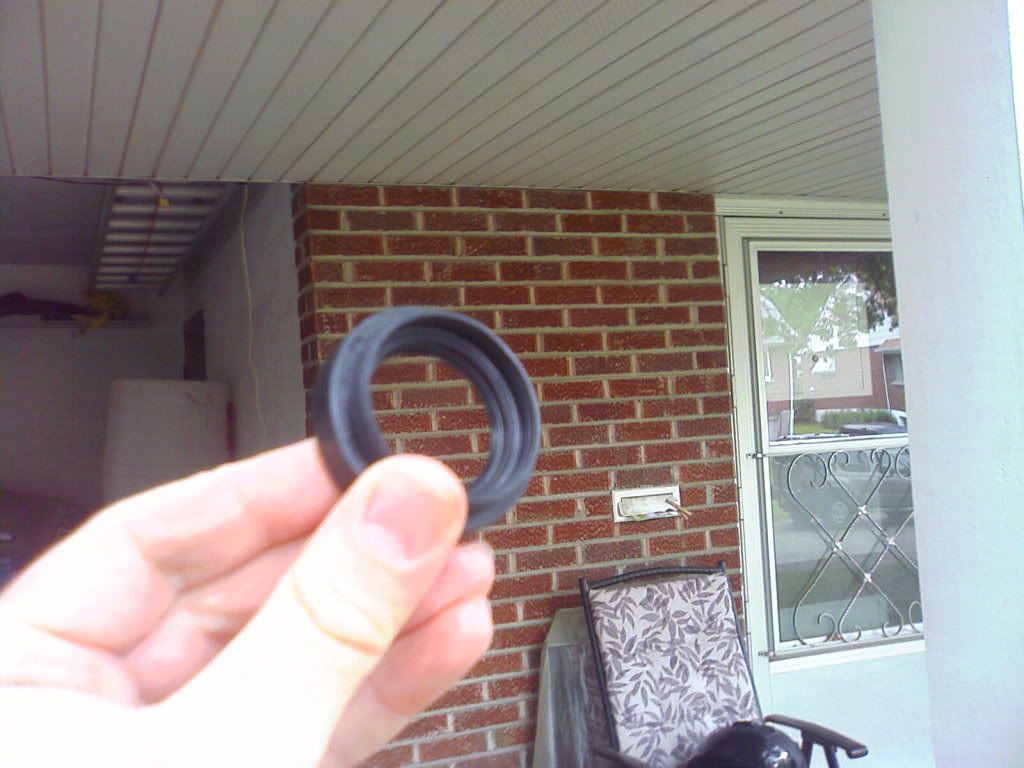
Well, I guess rather than asking others to take pictures of something they may NOT have, here are some pictures of what I DO have. This is the seal I got, marked as National 223240. Is this right?
Announcement
Collapse
No announcement yet.
Leaking crankshaft seal repair
Collapse
X
-
1980 XS850SG - Sold
1981 XS1100LH Midnight Special (Sold) - purchased 9/29/08
Fully Vetterized and Dynojet Kit added, Heated Grips, Truck-Lite LED headlight, Accel Coils, Irridium plugs, TKAT Fork Brace, XS850LH Final Drive & Black SS Brake lines from Chacal.
Here's my web page devoted to my bike! XS/XJ User's Manuals there, and the XJ1100 Service Manual and both XS1100 Service manuals (free download!).
Whether you think you can, or you think you cannot - You're right.
-H. Ford
-
Bug,
That is a seal that you would most likely find on the output shaft of a transmission. The protruding lip is there to act as a dust seal, against the yoke of the U Joint. I don't see any reason it wouldn't work, unless that protrusion interferes with the advance mechanism.
The term "lip" refers to the part of the seal that rides against the shaft to prevent the oil from escaping. Double lip seals have another smaller lip to keep dust and debris from getting into the fluid lip.Ich habe dich nicht gefragt.
Comment
-
CBug,
I read back a couple of posts and the seal # the other member listed ended in 30, not 40. That may be your difference.
I have now replaced both seals on mine.
I ordered both from Yamaha.
There was a difference between them, and 2 different part numbers.
The LH (timing cover) side had the lip, which is supposed to go in the groove between the cases when they're split.
But the RH (Alt.) side seal had no lip.
If you read back on the first page of my earlier post, I describe how I installed the LH side w/o splitting. John said you could merely turn the seal around.
Bob'82 XJ1100J Maxim (has been sold.)
'79 F "Time Machine"... oh yeah, Baby.... (Sold back to Maximan)
2011 Kaw Concours 14 ABS
In the warden's words from Cool Hand Luke;
"What we have here is a failure to communicate."
Comment
-
Originally posted by XJOK2PLAY View PostCBug,
I read back a couple of posts and the seal # the other member listed ended in 30, not 40. That may be your difference.
It's a rather well-known thing that you can replace the LEFT side without splitting the cases, but according to this picture, you can also replace the RIGHT side without splitting?? The problem I'm having at this point is that the seal I got is much thicker than the one in this drawing. I was expecting a flat, square-sided donut, but instead, I got a multi-layered ring with a section that sits on the outside of the case. I am looking for confirmation that someone else has used this same seal successfully before.
I now have my advance unit off, and someone had spread clear silicone all over the outside of the existing seal. The seal that's in there sits flush with the case. Will the "dust cover" on my new seal cause a problem under the advance unit??1980 XS850SG - Sold
1981 XS1100LH Midnight Special (Sold) - purchased 9/29/08
Fully Vetterized and Dynojet Kit added, Heated Grips, Truck-Lite LED headlight, Accel Coils, Irridium plugs, TKAT Fork Brace, XS850LH Final Drive & Black SS Brake lines from Chacal.
Here's my web page devoted to my bike! XS/XJ User's Manuals there, and the XJ1100 Service Manual and both XS1100 Service manuals (free download!).
Whether you think you can, or you think you cannot - You're right.
-H. Ford
Comment
-
Ok, it turns out that I was looking at the seal backward! What I thought was the "dust cover" was the surface that sealed against the case.
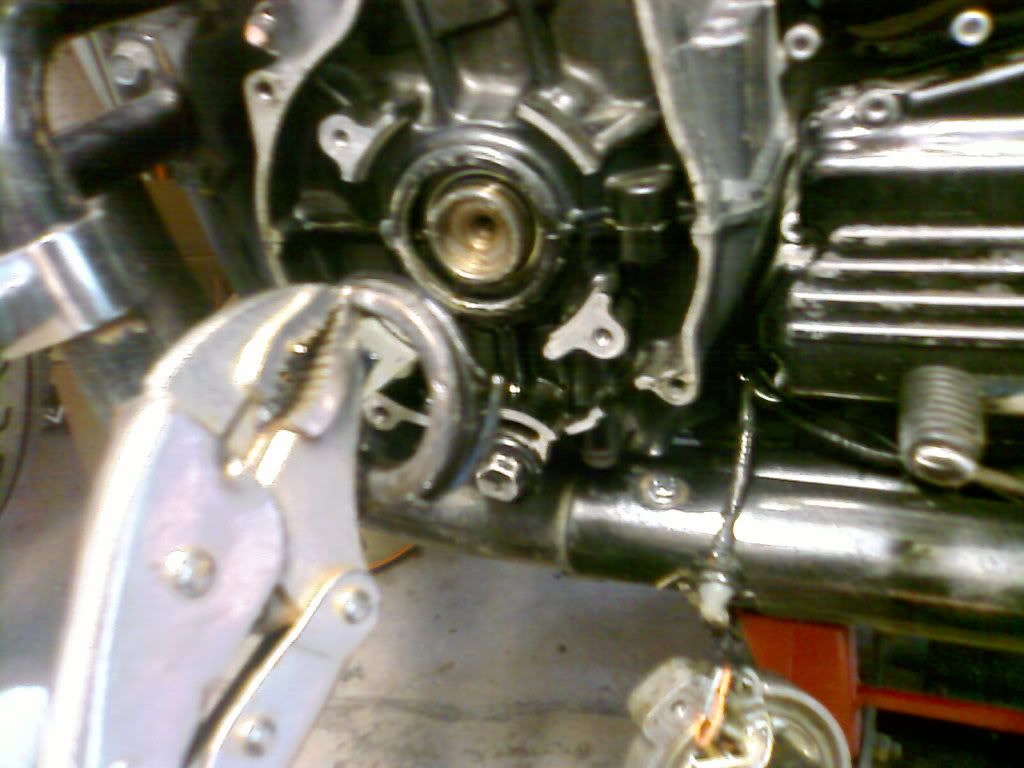
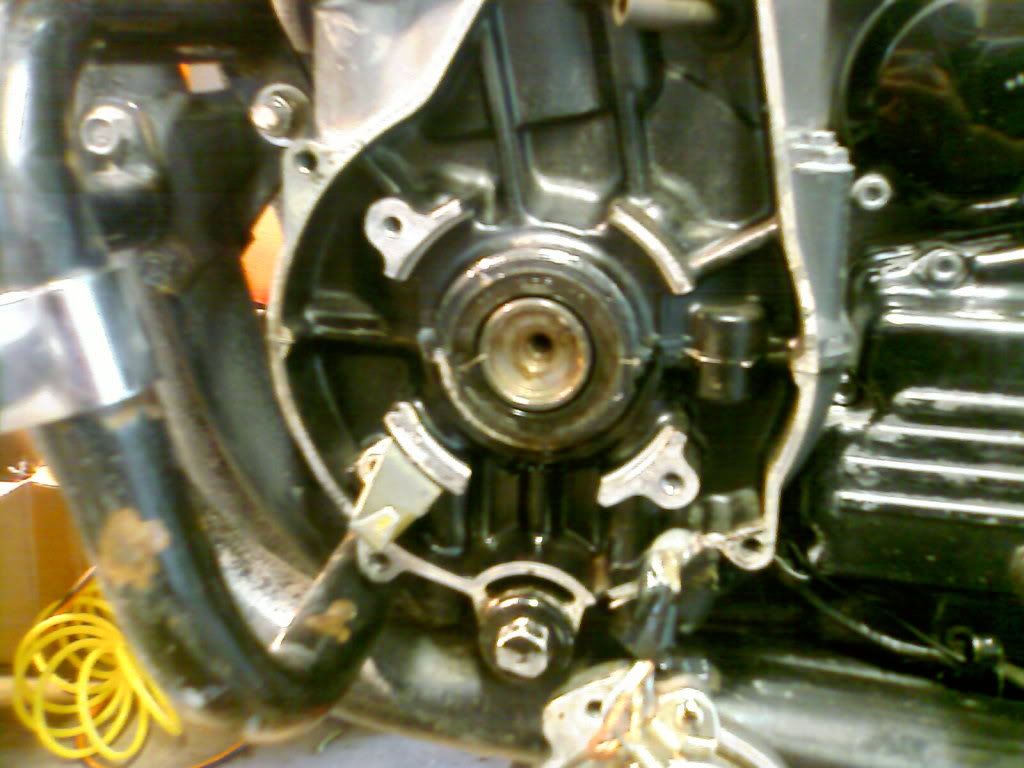
I finished the hole process, and it took about 45 minutes, start to finish. I took some pictures in case it might help someone later.
I started by jacking th bike up on a MC jack to make it easier to work on. Then, I removed the timing cover. While I was in there, I did my first cam chain tensioner adjustment! I aligned the C on the wheel with the timing mark, and released and tightened the cam chain tensioner. I didn't feel anything move, but I dunno if I am supposed to...
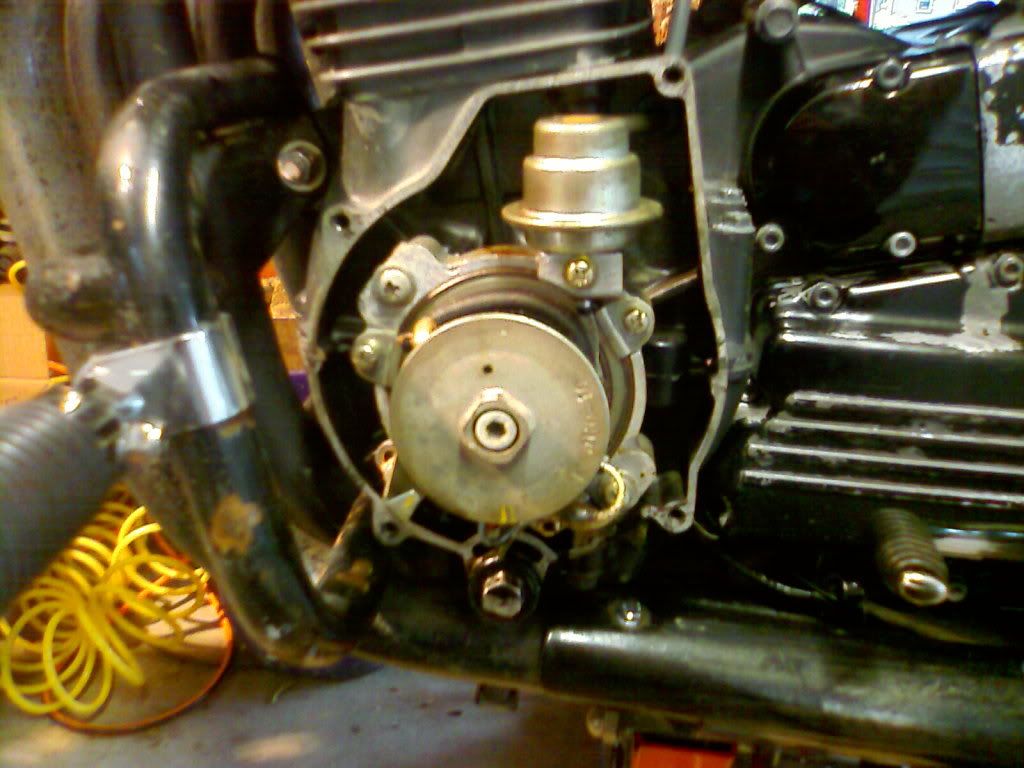
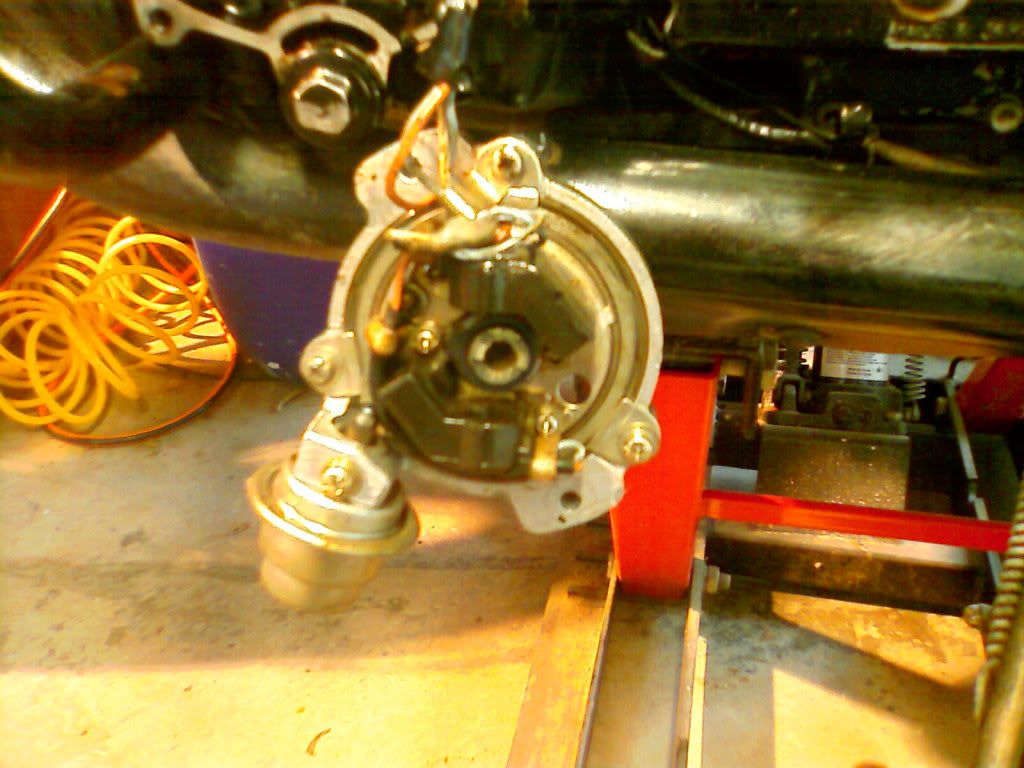
Then, I removed the 2 phillips screws that hold the advance unit on, and unscrewed the bolt in the cener of the timing wheel. The whole unit slid off nicely. I just let it hang there.
Then, I used an exacto knife to carve away as much of the rubber from the face of the old seal as I could. This took me about 10 minutes. Then, using a thin, flat-bladed screwdriver, I pried from the center and lifted the outer edge up so I could grab it with the vise-grips. Then I pried against the shaft, and removed the seal.
I used a wire toothbrush to remove the silicone that the PO had smeared all over everything, and use some brake parts cleaner to clean out the area around the shaft.
I applied some black RTV (that's what I had in my toolbag) to the outer edge of the new seal, and a dab of oil to the inner edge. Then, I used the back side of a tube of bathroom cauking as a pressing tool, and tapped the top of the tube with a hammer until it was seated all the way around. Then I tapped the seal itself (gently!) with the hammer until it was completely seated. I used my finger and smeared the RTV around the seam, and stood back in satisfaction!
Then I just re-installed the advance unit and the cover, and called it done. The soft flange that hangs out past the case is not high enough to touch the back of the advance unit, and even if it was, it's so soft, it would just mush out of the way.Last edited by CatatonicBug; 05-19-2010, 08:25 PM.1980 XS850SG - Sold
1981 XS1100LH Midnight Special (Sold) - purchased 9/29/08
Fully Vetterized and Dynojet Kit added, Heated Grips, Truck-Lite LED headlight, Accel Coils, Irridium plugs, TKAT Fork Brace, XS850LH Final Drive & Black SS Brake lines from Chacal.
Here's my web page devoted to my bike! XS/XJ User's Manuals there, and the XJ1100 Service Manual and both XS1100 Service manuals (free download!).
Whether you think you can, or you think you cannot - You're right.
-H. Ford
Comment
-
Looks good! Glad you got it done and it all worked out.
The seal I got for the alternator side didn't have a lip... no case splitting... the tough part about that side is removing the rotor... but the trick is finding a 2-3" long 16mm bolt. Took us a while to come up w/ one. Finally borrowed one from the local Kawasaki dealer in Stillwater... the guy that owns that shop's good friends w/ Cody...(Bobby... he's the guy that rebuilt Bohn's engine as well... and redid the valves too, when that happened to him w/ his timing chain incident, and his valves bent.)
Once we had that bolt, we removed the rotor bolt, screwed the 16mm bolt in place... it goes up in there so far, then the tighter it goes, it pushes against the crank... a little impact action... and pops right off. Then it's a quick deal to replace the seal.'82 XJ1100J Maxim (has been sold.)
'79 F "Time Machine"... oh yeah, Baby.... (Sold back to Maximan)
2011 Kaw Concours 14 ABS
In the warden's words from Cool Hand Luke;
"What we have here is a failure to communicate."
Comment
-
Way to go, Henry <g,d&r>, that's a good job!-- Scott
_____
♬
2004 ST1300A: No name... yet
1982 XJ1100J: "Baby" SS Brakes, '850 FD, ACCT
1980 XS1100G: "Columbo" SS Brakes, '850 FD, ACCT
1979 XS1100SF: "Bush" W.I.P.
1979 XS1100F: parts
2018 Heritage Softail Classic 117 FLHCS SE: "Nanuk" It's DEAD, it's not just resting. It is an EX cycle.
♬
Comment
-
Just wanted to post this, keeping part numbers for these seals in the same thread....
When I was looking it seemed like maybe napa has re-numbered things, the numbers listed further up didn't seem to correspond to the right size seals...
I found that NOS 12710, NOS 12711, and NOS 12709 seemed to be correct for the right (stator) side seal, 12711 is double lipped so I went with it.
I got my new seal from napa - Part number NOS-12711, cost 8 bucks, double lipped! It fits the right (stator) side perfectly. My napa had it in stock.
1979 xs1100 Special -
Stock air box/K&N Filter, MAC 4-2 exhaust, Bad-Boy Air horn, TC fuse box, Windshield, Soft bags, Vetter Fairing, Blinkers->Run/Turn/Brake Lights, Headlight Modulator, hard wire GPS power
Short Stack - 1981 xs1100 Standard - lowered for SWMBO.
Originally posted by fredintoonGoes like a train, corners like a cow, shifts like a Russian tractor, drinks like a fish, you are gonna love it.
[link is broken]
Comment
-
found a few NOS end seals
I ordered 2 of each so I will have an extra set if anybody ever gets stuck ill have them on the wall. when i ordered they had 8 of one side and 3 of other left.
The following place's web site says they have them
(yamaha part # 93101-32087-00 and 93101-32088-00)
Archway International Motorcycle Salvage
6300 Dr. Martin Luther King Dr.
St. Louis, Mo, 63133
United States of America
1-800-733-2467
Comment
Comment