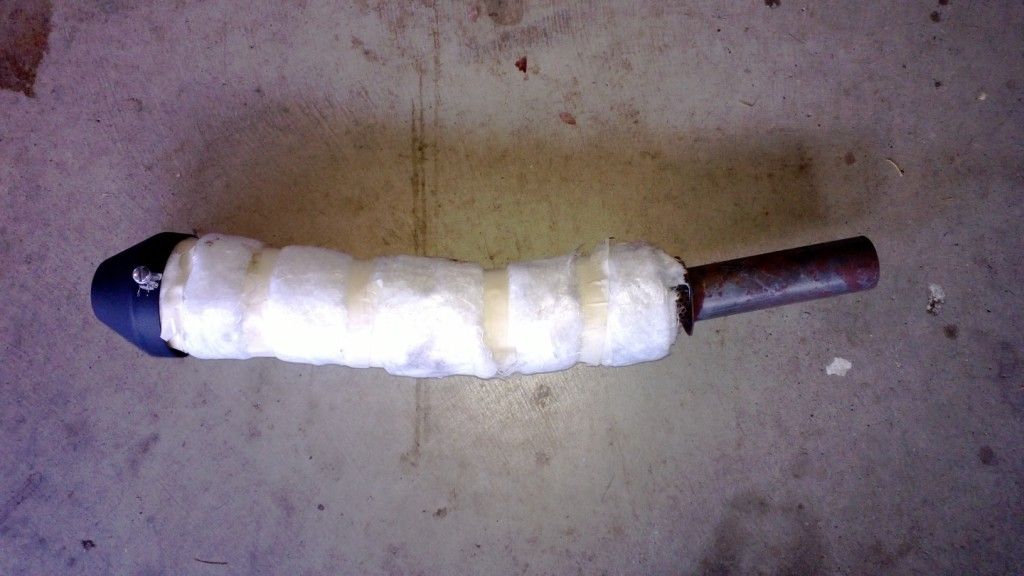
Carbs are cleaned and mounted. While I wait for the baffle to come in for the exhaust, I decided to move to the front end of the bike.
I knew the headlight was not a factory piece, and I knew the wiring was not in the headlight bucket. So I was not surprised that it needed a good thorough cleaning of the connectors. I was surprised to find the headlight was made by Vetter!

Is that out of a fairing? Or did Vetter make these separately? Interestingly enough, the lamp itself is marked to be a sealed beam, well, it is not sealed. The lens is completely loose of the housing.
Now, before I go any further, I want to state that I consider the Local XSive I bought the bike from a friend. He is one of the founding members of the SWOXS group. I know he took the best care of this bike that he knew how to. Which is why I bore some of you with the day to day details of my progress on this bike. To educate those who need it, or just to amuse those who have been through it themselves and enjoy a laugh at someone else enduring the same.
Next the wiring, I did find one connector broken. It is the one for the key switch, on the switch side. I have a spare key switch, but it is the three wire switch, so I can't use its connector. Will need to replace that connector.
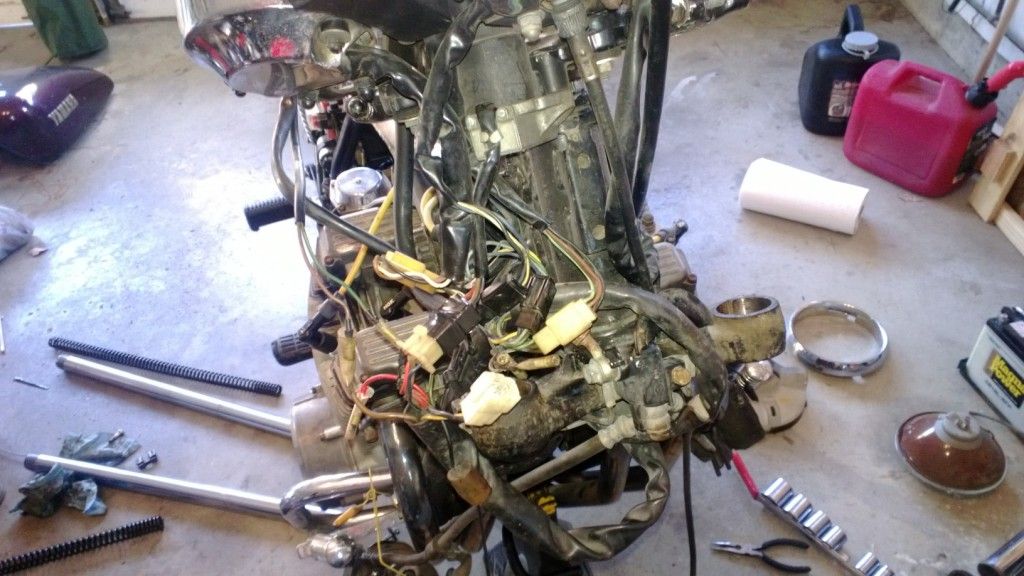
On to the steering head bearings. Now, for those of you who consider this work beyond your abilities, or just figure it can wait till you need a new tire, or for whatever reason have not checked or repacked the grease in your bearings, do it.....do it NOW!
I was so glad I checked this on this bike. I did not get pictures, well, because I was handling grease and crud and did not want that on my camera. First, getting the double locking nuts off was a complete PITA. Almost broke a plumbers drain wrench trying to move the thing. Ended up putting a screw driver to one of the slots and pounding it more than I ever thought it would take. Once I got the assembly apart, I found the bottom bearing looked like it could use some new grease, and the race cleaned up good. The top however...wow..I have never seen grease that looked like dried up baked on fruit before. The top bearing would barely move. The race I thought was pitted with rust from looking and feeling it. After alot of cleaning though the race was fine, it was all dired up grease on it. The bearing also freed up and felt good. So, new grease packed into the cleaned bearings, new grease on the races, and a good cleaning of the triple trees, not in that order. then reassembled.
Now to the forks. Again, change your fork oil PLEASE!! I suspected these forks had not been cleaned or the oil changed in quite some time, and I believe I was correct. The oil that came out looked like river mud. So, time to disassemble the forks for a good thorough cleaning.
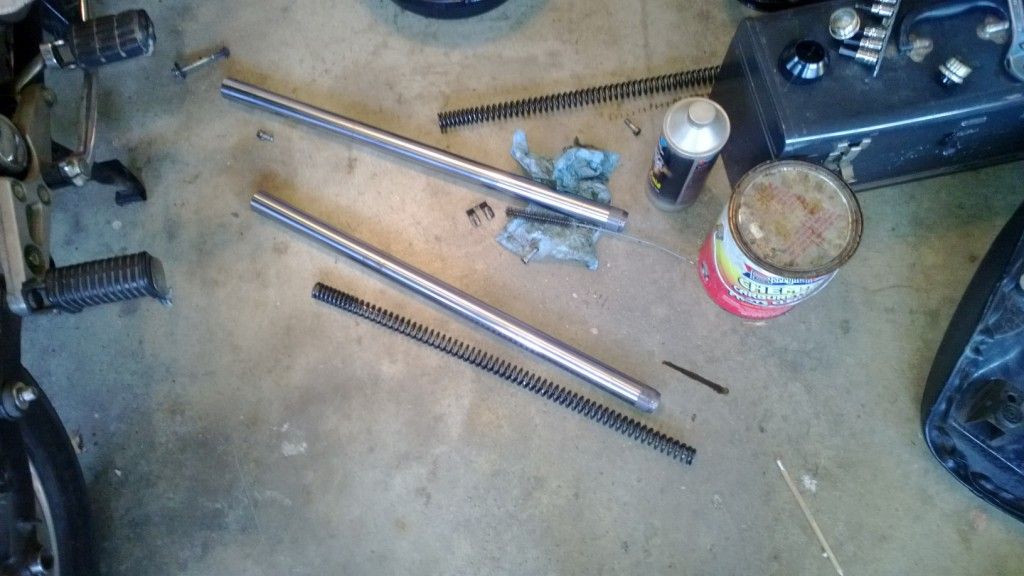
Yes, I did completely disassemble the forks, There is a tech-tip on replacing fork seals that gives a good description on how to do that if you need help. It is really pretty simple! As for the lowers...they are a work in progress..
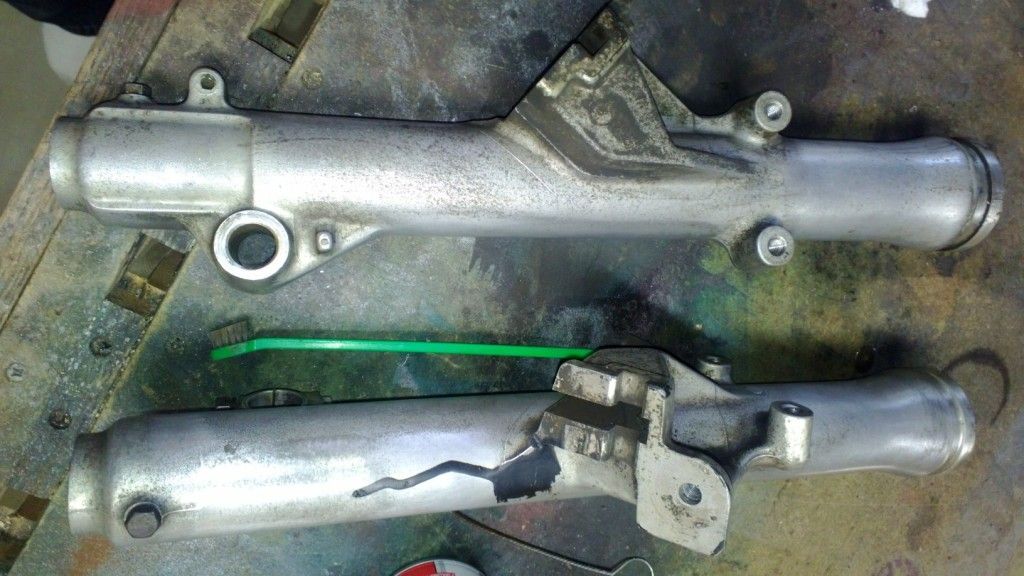
And yes, if you need to paint your calipers, please, remove them from the forks to do it. Even if you do not pull the brake line because you do not want to bleed the system, remove them from the forks! I will have more time in cleaning these fork lowers than in the rest of the front end work combined most likely.
Well, probably will not get much done today. Hope to get it fired up before the end of the weekend.
I knew the headlight was not a factory piece, and I knew the wiring was not in the headlight bucket. So I was not surprised that it needed a good thorough cleaning of the connectors. I was surprised to find the headlight was made by Vetter!

Is that out of a fairing? Or did Vetter make these separately? Interestingly enough, the lamp itself is marked to be a sealed beam, well, it is not sealed. The lens is completely loose of the housing.
Now, before I go any further, I want to state that I consider the Local XSive I bought the bike from a friend. He is one of the founding members of the SWOXS group. I know he took the best care of this bike that he knew how to. Which is why I bore some of you with the day to day details of my progress on this bike. To educate those who need it, or just to amuse those who have been through it themselves and enjoy a laugh at someone else enduring the same.
Next the wiring, I did find one connector broken. It is the one for the key switch, on the switch side. I have a spare key switch, but it is the three wire switch, so I can't use its connector. Will need to replace that connector.

On to the steering head bearings. Now, for those of you who consider this work beyond your abilities, or just figure it can wait till you need a new tire, or for whatever reason have not checked or repacked the grease in your bearings, do it.....do it NOW!
I was so glad I checked this on this bike. I did not get pictures, well, because I was handling grease and crud and did not want that on my camera.
 First, getting the double locking nuts off was a complete PITA. Almost broke a plumbers drain wrench trying to move the thing. Ended up putting a screw driver to one of the slots and pounding it more than I ever thought it would take. Once I got the assembly apart, I found the bottom bearing looked like it could use some new grease, and the race cleaned up good. The top however...wow..I have never seen grease that looked like dried up baked on fruit before. The top bearing would barely move. The race I thought was pitted with rust from looking and feeling it. After alot of cleaning though the race was fine, it was all dired up grease on it. The bearing also freed up and felt good. So, new grease packed into the cleaned bearings, new grease on the races, and a good cleaning of the triple trees, not in that order. then reassembled.
Now to the forks. Again, change your fork oil PLEASE!! I suspected these forks had not been cleaned or the oil changed in quite some time, and I believe I was correct. The oil that came out looked like river mud. So, time to disassemble the forks for a good thorough cleaning.

Yes, I did completely disassemble the forks, There is a tech-tip on replacing fork seals that gives a good description on how to do that if you need help. It is really pretty simple! As for the lowers...they are a work in progress..

And yes, if you need to paint your calipers, please, remove them from the forks to do it.
 Even if you do not pull the brake line because you do not want to bleed the system, remove them from the forks! I will have more time in cleaning these fork lowers than in the rest of the front end work combined most likely.
 Well, probably will not get much done today. Hope to get it fired up before the end of the weekend.
 . By the time you get done with this project it's going to be in better condition than the SH


 So I took the battery back, looked at the other N18LA3 batteries they had, and they had the same 1100cc acid with them.

Comment