A Project Begins....Again!!

Collapse
X
 
  • Time
  • Show
Clear All
new posts

  • ddragon63
    replied
    Yes, there is a grove or several really in the cam, the cap and the head bearing surface, about the width of the oil galley hole. Obviously not a factory groove, as it has several valleys to it.

    So, now I am faced with options. Clean up what I have and use it, had decent compression as is. Replace cam and cap, or replace the entire head. Really seems overkill to replace the head. I am leaning toward taking some 2000 grit sandpaper to it and cleaning it up as best I can and put it back together.[/QUOTE]

    Thats just extra oil provisions Don... the grove helps oil the surface better...

    Little scotch bright oughta clean that up a bit. Its not nearly as bad as finding a connecting rod end cap looking like that.

    Nice project... looks like you've about ran out of stuff to do and still have a month or so of winter left. Better than being behind the 8-ball. Keep it up, good to see another one rescued

    Leave a comment:


  • jetmechmarty
    replied
    Are you goong to leave the inside of the tank bare metal, or install a liner?

    Leave a comment:


  • DGXSER
    replied
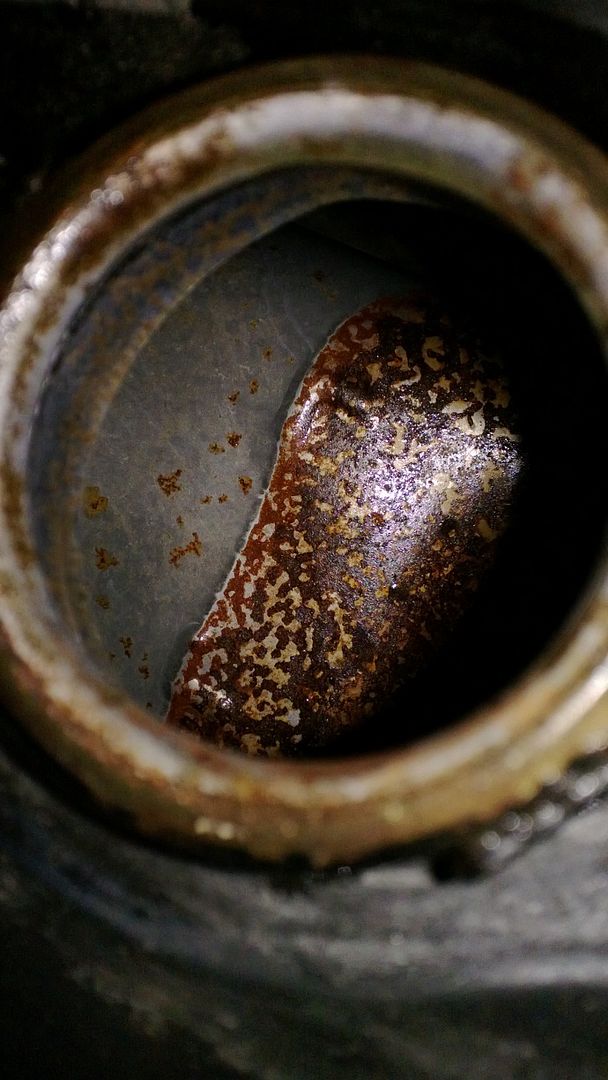
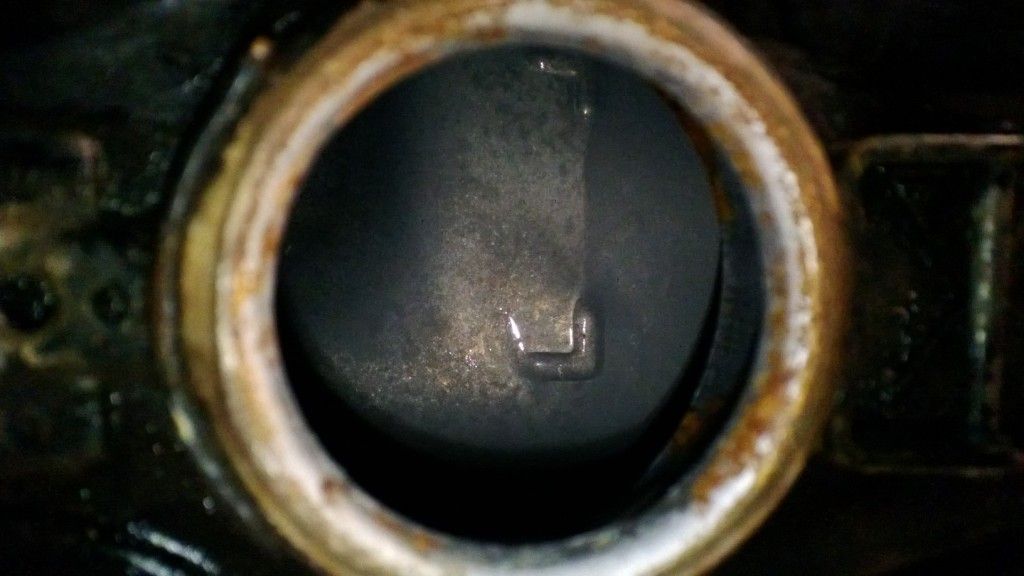
    For those of you who have considered the Metal Rescue product and wondered what it really can do, here is the photo evidence of my experience with it. I bought a tank off ebay, paint clear coat was gone in some areas, but no dents or even dings. The inside was a bit rusty, known at time of purchase. I put the Metal Rescue product in it, one gallon. It was not enough to get it to cover the frame tunnel, so I got some decent pictures of before and after. Then I added a second gallon to get it up over the tunnel, and have a picture of that.

    Half cleaned..a before and after...


    Fully cleaned, I had let the MR product sit in the tank 3 hours to get this result from the half cleaned picture...


    I am very happy with the results so far. Generally, I let it sit about four hours per side with the one gallon in it, rotating it to both sides and both ends. Since I could check on the progress with the two gallons over the tunnel I stopped at three hours there. Best part is, you can leave the petcocks and fuel sender in place when you use it. No issues with setting up a charger and rod in the tank, or any of that. The Metal Rescue does run $25 a gallon, but it is also reusable. I washed the tank with soap and water afterwards and then rinsed with denatured alcohol to dry it out. I will be putting some oil in the tank to coat it with to keep the corrosion from coming back. Now to get after the paint.
    Last edited by DGXSER; 01-19-2013, 07:11 AM.

    Leave a comment:


  • STEPPENWOLF
    replied
    Originally posted by Yard Dogg
    I have to get motivated now. I've been slacking lately. My small cave was heated then my little space heater blew up! So I've been sitting inside watching movies and polishing engine covers. Nice work your doing there as usual. Thanks for the kick off the couch.
    Trust me Don is no slacker...I can take my bike there and he tears into it like a pack of wolves going after a deer.

    Leave a comment:


  • Yard Dogg
    replied
    I have to get motivated now. I've been slacking lately. My small cave was heated then my little space heater blew up! So I've been sitting inside watching movies and polishing engine covers. Nice work your doing there as usual. Thanks for the kick off the couch.

    Leave a comment:


  • DGXSER
    replied
    Do you feel lucky punk.....

    Well yes, yes I do!!

    So today I got my new-to-me gas tank in for the bike. Got one off of Ebay. Needs paint and is a little rusty inside. I am right now trying out the Metal Rescue product on it. Giving it 4 hours per side and just turning the tank to try to get all areas. Still thinking how to get it to cover the top of the tunnel.

    Now for the lucky part. When I pulled the petcocks out of the old tank I noticed both were missing the cap that goes in the top of the filter sections. One came out of the old tank, but the other I think is still in there somewhere and would not come out. So, I have been lamenting having to buy a new cap or a new filter piece for the petcock. However, when the new tank came today, I noticed something inside bouncing around. I shook it out the filler hole, and as you might have guessed, it was a cap to the petcock filter!!! I am getting a lottery ticket or two tomorrow!!

    Leave a comment:


  • DGXSER
    replied
    Thanks for the kind words. A work in progress, with some slow progress.

    All this cold weather is cramping my man-cave time. The cave is unheated.

    Leave a comment:


  • bikerphil
    replied
    Looks great Don, another nice job!

    Leave a comment:


  • STEPPENWOLF
    replied
    Great job Don..
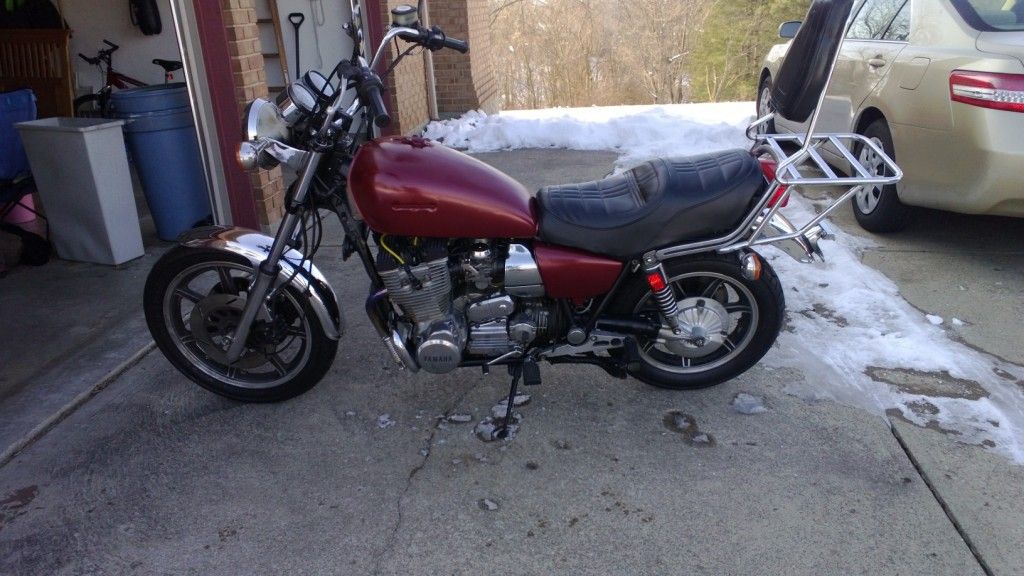
    This was the bike from a few years ago..

    Leave a comment:


  • jetmechmarty
    replied
    That's quite a sissy bar! It's like a time machine!

    Leave a comment:


  • DGXSER
    replied
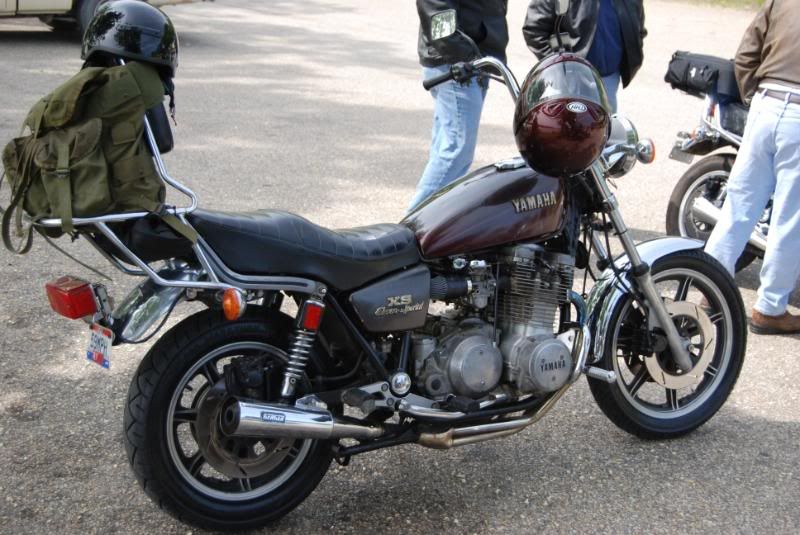
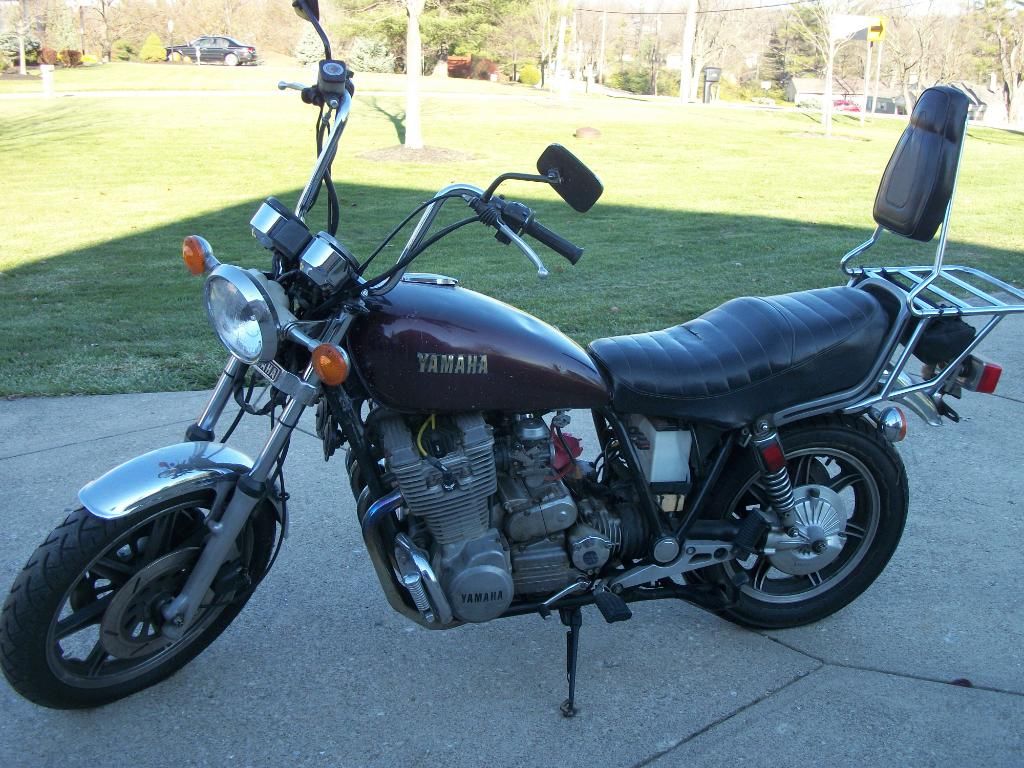
    Just as an update, here is the progress to date. A little before and after photo. Note, the tank is still scheduled for replacement. to many creases and dents, it would be half bondo time I was done filling and fixing.

    Before....


    After....


    Not as dramatic as with the Banshee project, only because this one was in far better starting condition.

    Still looking for a headlight assembly, tank, and some flasher lenses. I know I can get the lenses at Parts-n-more, with their shipping charges I want to make sure I have my complete list before I order from them if I end up there.

    Leave a comment:


  • MaximPhil
    replied
    Originally posted by fredintoon
    >
    Hi Don,
    super fine crocus cloth should clean up the bearing surfaces better than one might suppose.
    Test assemble with Plastigage to see if the salvaged bearing's clearance is about the same as the clearances on the undamaged bearings.
    Thanks Fred,
    had to look up crocus cloth Learned something to day...now I can go to bed
    Phil

    Leave a comment:


  • fredintoon
    replied
    Originally posted by DGXSER
    - - - I also noted I do NOT like ape hanger bars. Feels very uncontrolled for turns and cornering. - - -
    Now comes the misery, here is the pics of the 5th cam lobe of the exhaust cam and the shell and head "bearing". - - - I am leaning toward taking some 2000 grit sandpaper to it and cleaning it up as best I can and put it back together.
    >
    Hi Don,
    super fine crocus cloth should clean up the bearing surfaces better than one might suppose.
    Test assemble with Plastigage to see if the salvaged bearing's clearance is about the same as the clearances on the undamaged bearings.

    Leave a comment:


  • bikerphil
    replied
    It is not as serious as it looks, I've been running one that way for about 60K, still going, <knock>, IIRC, I did just a very light sanding of both the cam and the cap/head, very light.
    Last edited by bikerphil; 12-17-2012, 04:08 PM.

    Leave a comment:


  • DGXSER
    replied
    Well this was a day of joy and day of misery. Started off with the bike running but a bit like crap, on the 78-79 carbs. So I switched those out for the 80-81 carbs I just finished the float repair on. Joy of Joy, the float works great, the bike ran decent. Go it idling up, synched the carbs, vacuum tuned, then took it out for a 1 mile ride (it was raining).

    After the ride I noted no 1 was still skipping every so often, I also noted I do NOT like ape hanger bars. Feels very uncontrolled for turns and cornering.

    So I decided to verify the info that the valves had been recently shimmed. Well no 1 intake has a large gap. all the other intakes were in spec. All the exhaust were on the tight side of spec, but within spec. So I wanted to look at the shims on all of them to see what I might change.

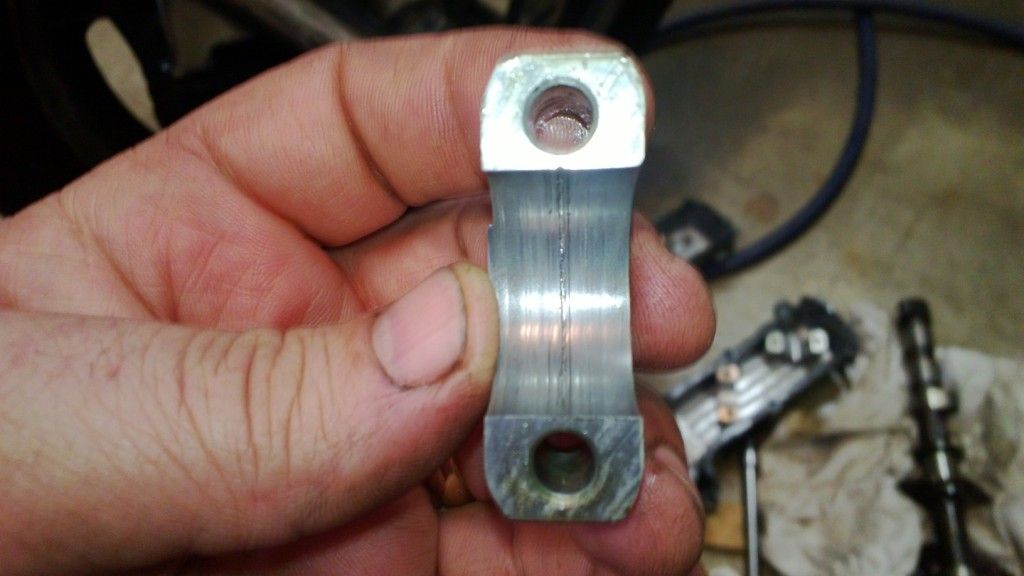
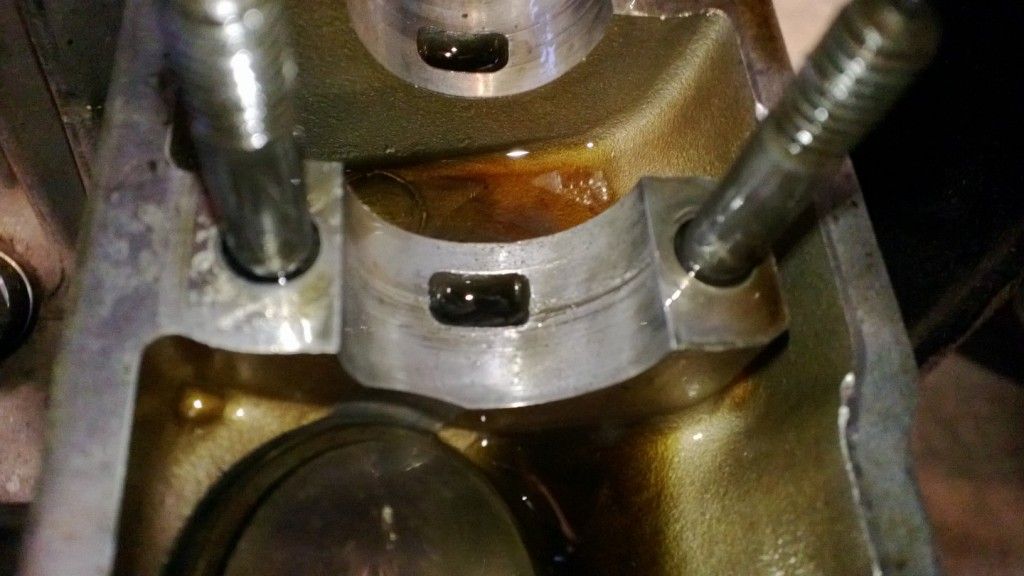
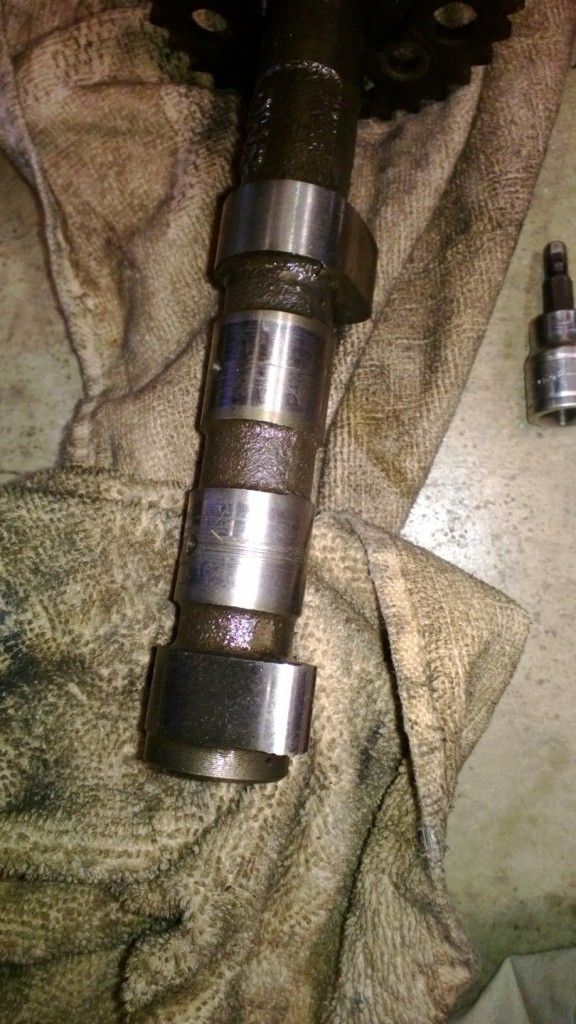
    Now comes the misery, here is the pics of the 5th cam lobe of the exhaust cam and the shell and head "bearing".
    Cam Cap


    Head Bearing surface


    Cam


    Yes, there is a grove or several really in the cam, the cap and the head bearing surface, about the width of the oil galley hole. Obviously not a factory groove, as it has several valleys to it.

    So, now I am faced with options. Clean up what I have and use it, had decent compression as is. Replace cam and cap, or replace the entire head. Really seems overkill to replace the head. I am leaning toward taking some 2000 grit sandpaper to it and cleaning it up as best I can and put it back together.

    Leave a comment:

Working...