A Project Begins....Again!!

Collapse
X
 
  • Time
  • Show
Clear All
new posts

  • DGXSER
    replied
    Thanks Ras! I will get my full list of such parts together and make an order.

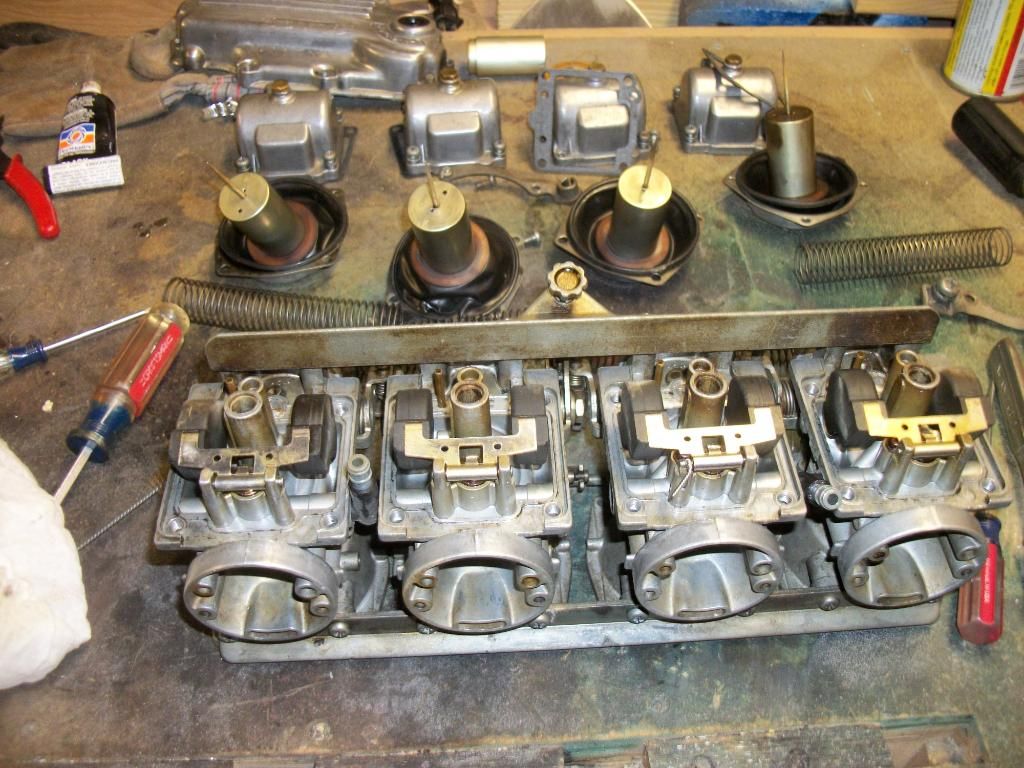
    I did get to cleaning carbs last night. 2 years of sitting with gas in the carbs can make for an interesting evening. I did notice that these carbs have definitely been running rich. Never seen the tips of the mix screws black with fuel before!
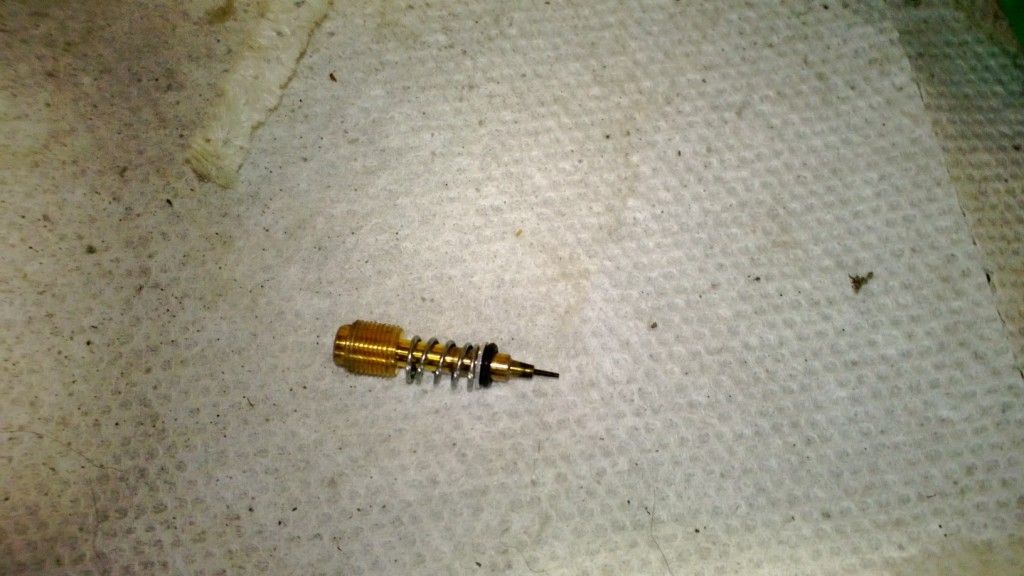


    I also found some 112.5 main jets in my stock pile, so I will try those first to see how it runs after I get the new baffle installed.

    Leave a comment:


  • Rasputin
    replied
    Yamaha part number 584-84345-60 readily available for the front ones of an LH and I do not remember the price, but I think I got them from either Yammy or Boatsnet site that has yammy parts. Worth looking for new.

    Leave a comment:


  • DGXSER
    replied
    Did I happen to mention that the previous owner and I rode out to Indianapolis together, him on this bike, a couple years ago. At that time, he had adjusted his plug gap to try to compensate for the tuning issues. We went 54 miles from a mutaul fillup by my house, and he ran out of gas. We also discovered he had no reserve fuel. Went empty in ON and was plum dry.

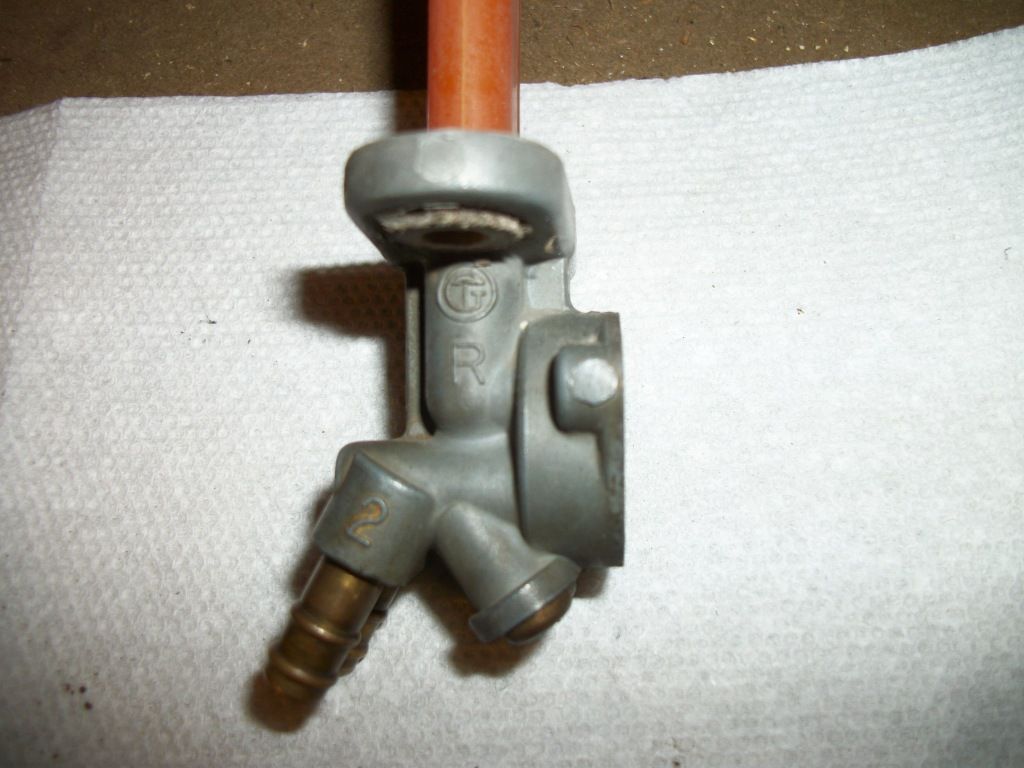
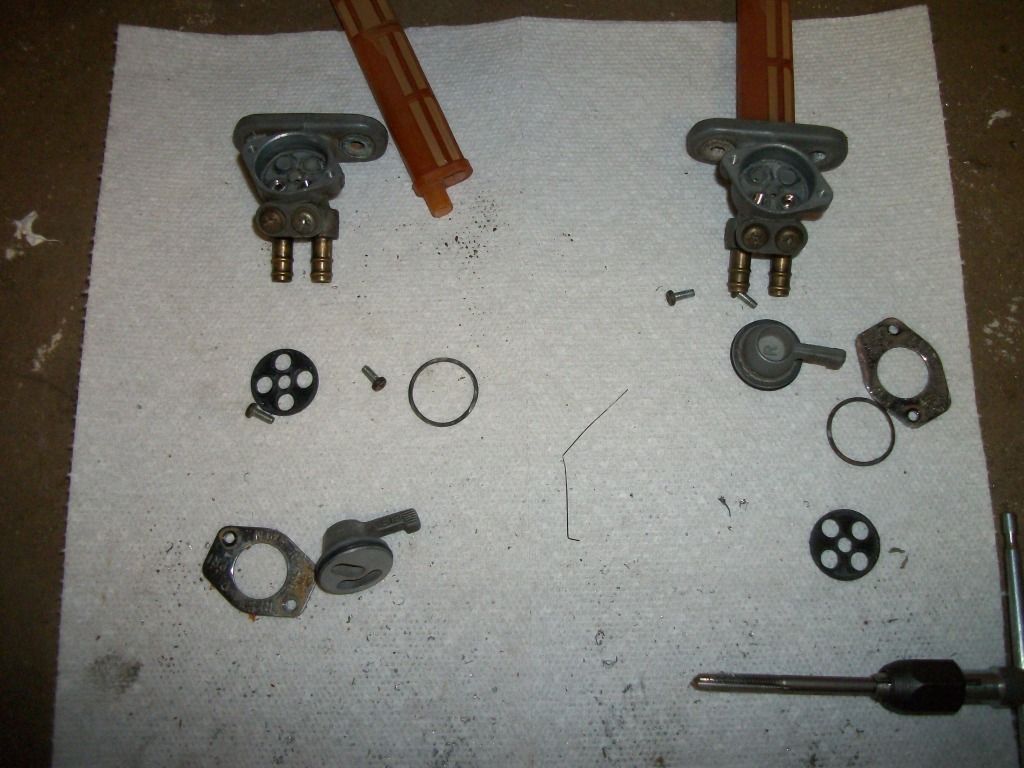
    Now, I always figured his towers had come off the petcocks in the tank, and that was the problem. Well, I took the petcocks apart to perform the blocking of the prime port mod. In the process I learned a little lesson.

    Here are the petcocks all apart and the port tapped out, screws in place.


    Then I saw the marking on the side of the petcock...


    Now, I have had a few petcocks apart before, but never really noticed the hole layout before. What I determined was that, all though I had kept everything sorted as it came off the bike, all of the cover plates, and handles were in the same position as the petcocks on the bike, Left on left, right on right, however, the bodies were not. So what REALLY happened that July day on I-74 was that when these petcocks were in the ON position by the handles and marking plates, they were feeding from the center port of the petcock to the ON nipple of the petcock. To the uninformed, the ON position is supposed to feed from the upper hole in the petcock to the On or rear nipple. the center hole feeds the Reserve and Prime ports.
    So after that discovery, and relooking over the petcock, I tapped the REAL Prime hole on each and moved the set screws over.

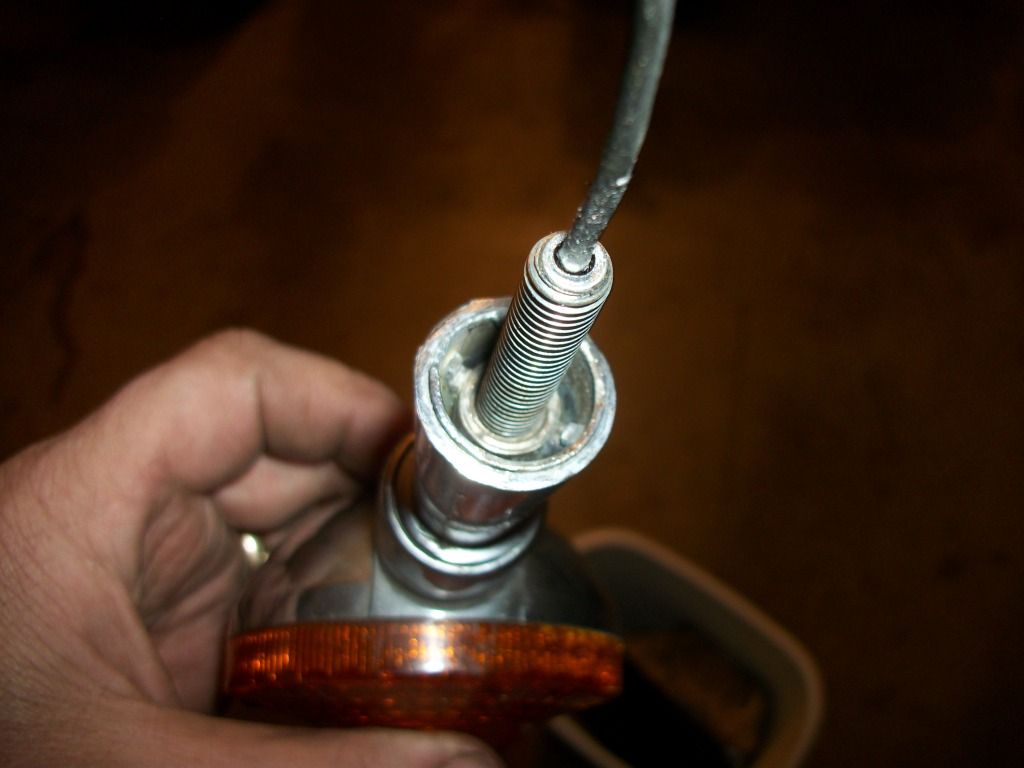
    Now for those of you who have had a mishap on your bike and bent the stud of the turn signal badly. Here is how I fixed that, second one I have had to do this to.


    What you see in the picture is not the stock stud, but a M8-1.25 bolt of the same length as the stud. It has had a 1/8" diameter hole drilled through the center, and then the head cutoff. I use the head of the bolt in my vise to hold the bolt still while I drill the hole.

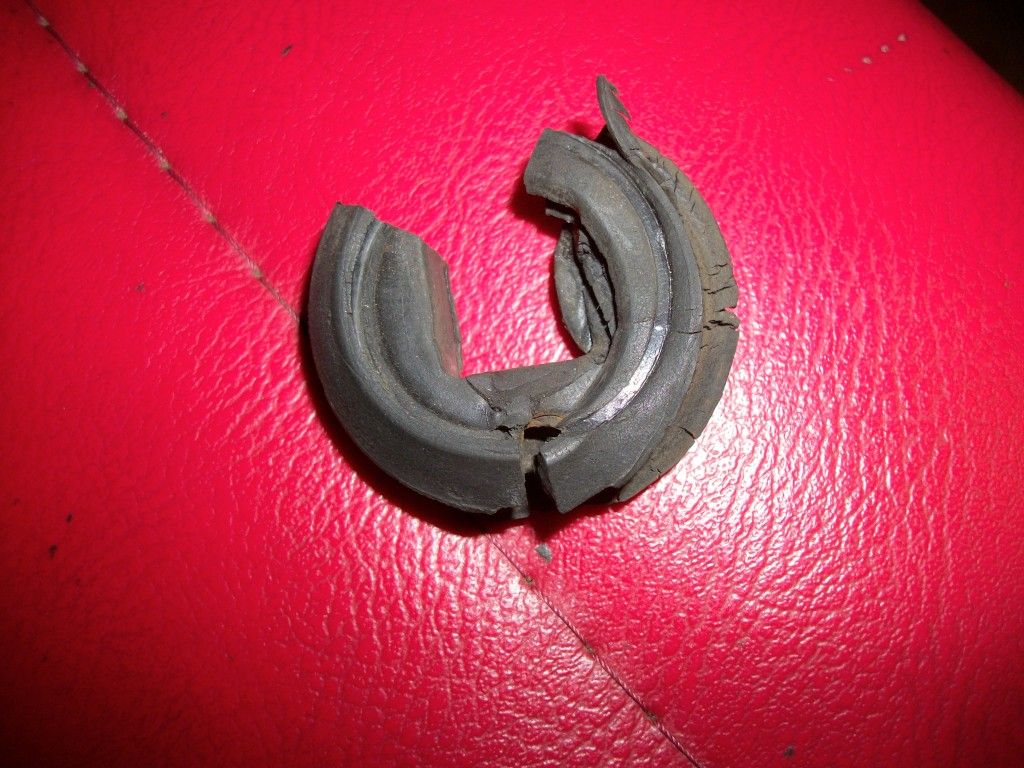
    Now I just need to find the rubber gromet as the one on it was chewed up in the carnage that bent the stud apparently.


    Turn signal will never sit correctly with that gromet.

    Leave a comment:


  • DGXSER
    replied
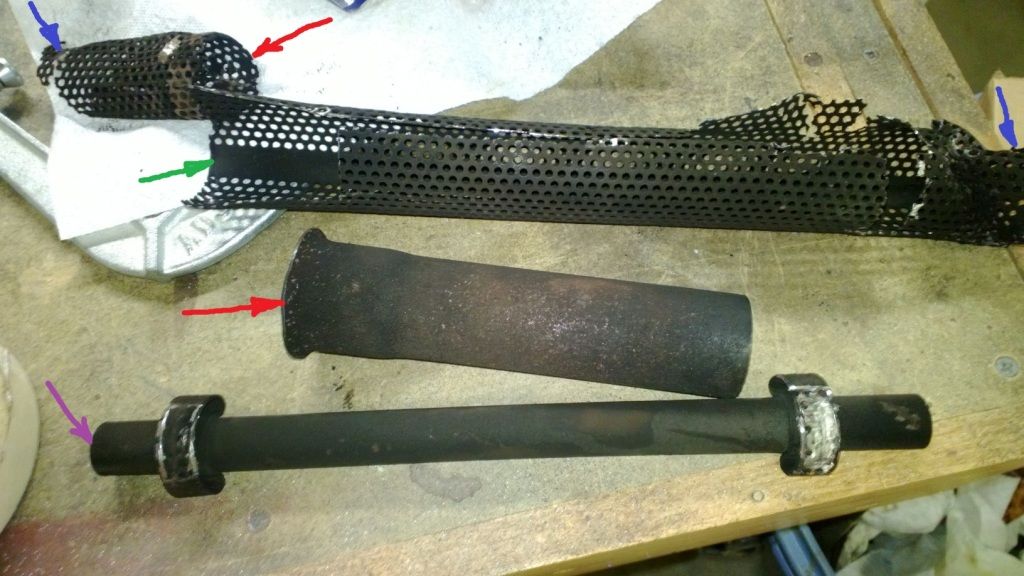
    Here are the pic of the kerker baffle dis-assembled.


    The small piece on top was inserted into the straight pipe shown, red arrows.

    The green arrow is where it pushes onto the cone.

    The blue arrows is where it broke apart, that is where the bend is.

    Purple arrow shows the inner pipe that is wrapped in the perf metal, you can see the two spacers where the perf gets welded on.

    As it turns out, I found a source for the complete baffle with packing material included. Otherwise, my plan was to buy perf metal and remake the baffle.

    Leave a comment:


  • DGXSER
    replied
    LMAO Jack, I had the same thought.

    Well no pics of todays efforts, but it was a long day.

    Got the kerker apart, the baffle was snapped off at the bend, which got really knarled up beating the pipe to get the cone out. As a last resort if I can not find a replacement baffle for it, I measured the baffle material so I can buy some similar perfed metal to form into a replacement baffle. All the other parts seem to be intact and not to rusted. So I cut all the welds to save the rest of the components.

    Got the rear brake cleaned up, it was pretty nasty. Even the banjo bolts were caked up, had to soak them in carb dip. Got it all back together, but saving the bleeding for another day.

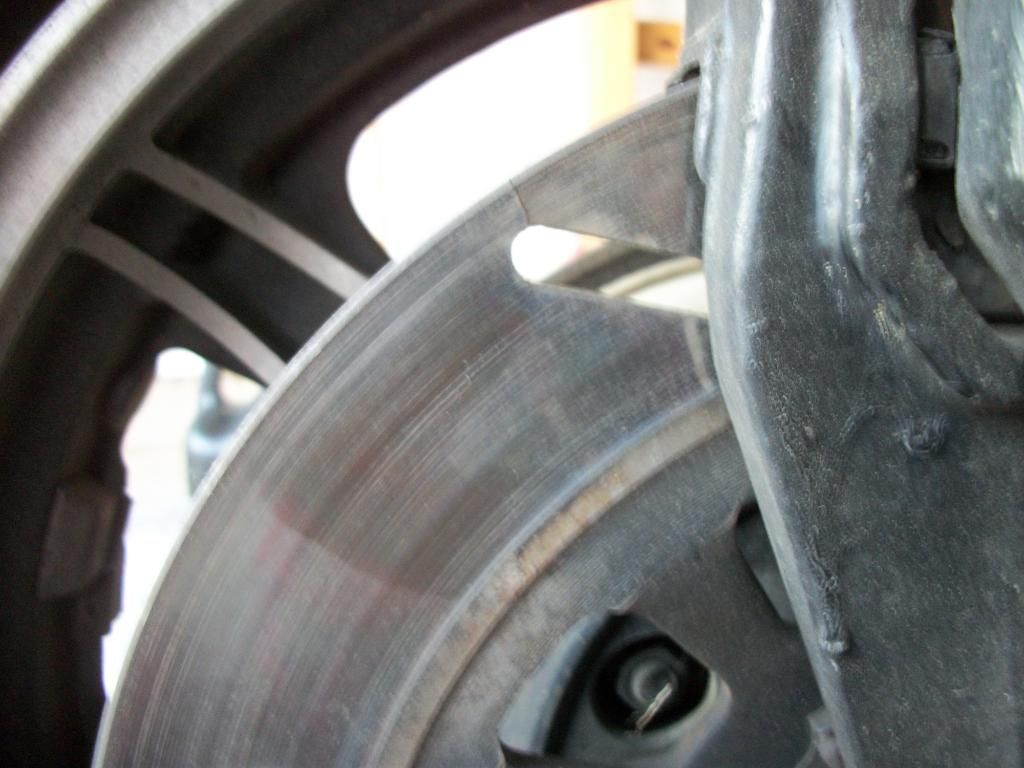
    Also replaced the cracked rotor. Found that the previous owner, had used regular wheel bearing grease to grease the wheel to final drive gears as well as the final drive to drive shaft connection. So I cleaned all that up and put Moly lithium grease on both for reassembly.

    When the rear brake light was relocated, the wires had been extended, so I wanted to remove the extensions so I did not have a loop of wire under the seat. Well, the extensions were twisted together and wrapped in shrink wrap. Then wrapped all of it in e-tape. Well, when I removed the e-tape wrap, the connections came apart with the tape. Seems the twisting did not hold up. Since he had been chasing an electrical gremlin, I think I foud at least part of it.

    Sorry the lack of pics, will try to get some of the exhaust components tomorrow. Next issue will be to finish painting the battery box parts, then clean up the carb bodies.

    Leave a comment:


  • xs11jack
    replied
    Crazy Steve, you worked your tank over with a crowbar and said that it was worse than DGXSER's when you started, so how was it after you were done??? Hey, just kidding!!
    Ole Jack

    Leave a comment:


  • DGXSER
    replied
    Thanks for the link on the seat cover Marty, got one on order.

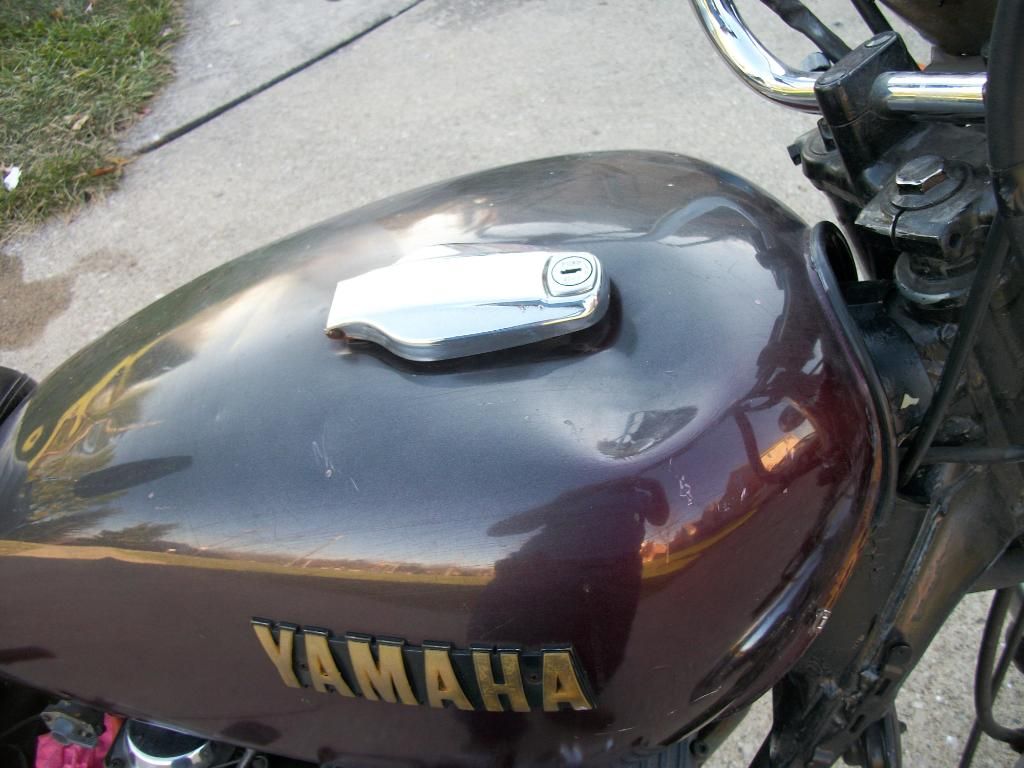
    As for the tank, the dent that has me concerned is the one by the filler area. Not sure if the pics show it well enough, but even the indent around the filler neck is bent in. I am not sure the metal that is formed around the filler will ever come back around. I have a crow bar, and a fellow local XSive has the glue on dent puller aparatus. I'll give it a shot, but just not holding out alot of hope on that area looking good enough to help the bike sell well.

    Fred,
    I was thinking these might be those early bastardized carbs, as the vin is a very low number, under 400 for the 3J6 series. But alas, they do not have the slanty hole to feed the pilot jets. And, as I learned through working on a set of those crazy early 80 carbs, the mains actually do not get upsized to the larger 78-79 size. Wierd I know, but true. Oh, and the floats were at 26.75 mm. So very lean setting.
    Last edited by DGXSER; 11-17-2012, 08:30 PM.

    Leave a comment:


  • fredintoon
    replied
    Originally posted by DGXSER
    Hi Don,
    from reading several posts over the years it seems that 1980 was a transition year for carbs.
    Early 1980 carbs had 135 main jets, rubber-plugged slow running jets and slanty drilled passages to feed the slow running jets from the main jets.
    Late 1980 carbs had 110 main jets, NO rubber plugs, NO slanty drilled passages and the slow running jets were fed from the carb bowls.
    Check your carb bodies for slanty passages and plug and jet accordingly.

    Leave a comment:


  • crazy steve
    replied
    Carpenters crowbar (one with a J-hook on the end) will get most of those dents out. The tank on the SG I re-did looked worse than yours did when I started....

    Leave a comment:


  • jetmechmarty
    replied
    Dent Wizard can fix that tank. If you make yourself a tool, you can push most of those dents yourself.

    Here's your seat cover for less than $50:
    Saddlemen Black Seat Cover For Yamaha XS1100S Special 1980 - Y674

    Leave a comment:


  • Rasputin
    replied
    Congrats on the new toy. Hope everything works out well. Looks good so far.

    Leave a comment:


  • DGXSER
    replied
    Mack, The bike has about 33,000 miles on it. It is a known runner, so I have not checked compression.

    The previous owner and I rode from Cincinnati to Indianapolis and back together back a couple years ago to help out a member having bad problems. It was shortly after that he put on new coils and new clutch components. He just never could get it to tune, but it had good compression, we checked it back then IIRC.

    Moto...Looking at the jetting and float positions it seems like that might be at least part of the problem. 137.5 mains in the late model carbs is a BIG step up, and then the floats are set way lean. Two of the idle screws were only 1/4 turn from seated, two were 1-1/4 turns out. So big jets to richen things up, but then floats set lean and mix screws lean.

    My plan is to clean the carbs up really good. Maybe rework a broken float post repair. Probably drop the mains down to 125s or so. Then try to get it to start. If nothing else I have some ether spray to use to get it to fire up. Just to know the coils are still good, they are the Mikes XS Green coils.
    Last edited by DGXSER; 11-17-2012, 07:03 PM.

    Leave a comment:


  • motoman
    replied
    One of the main reasons the bike sat was the owner could not get the carbs to tune correctly. The 4-1 with POD filters needed some alternative jetting. I also found the floats are set pretty high. Main jets are up to 137.5 on the 80 model carbs, with 45 pilots. Have not measured the floats height yet, but I have all the jets and brass parts soaking in carb dip for the evening.


    Imagine it was gasping for more air with all that fuel! 80-81Specials stock mains are 110's across all four and 42.5 pilots. Nice save of another one neglected!

    Leave a comment:


  • mack
    replied
    Nice project bike

    Looks like the motor is in a nice clean condition. Did you check The compression? How many miles?

    Leave a comment:


  • DGXSER
    started a topic A Project Begins....Again!!

    A Project Begins....Again!!

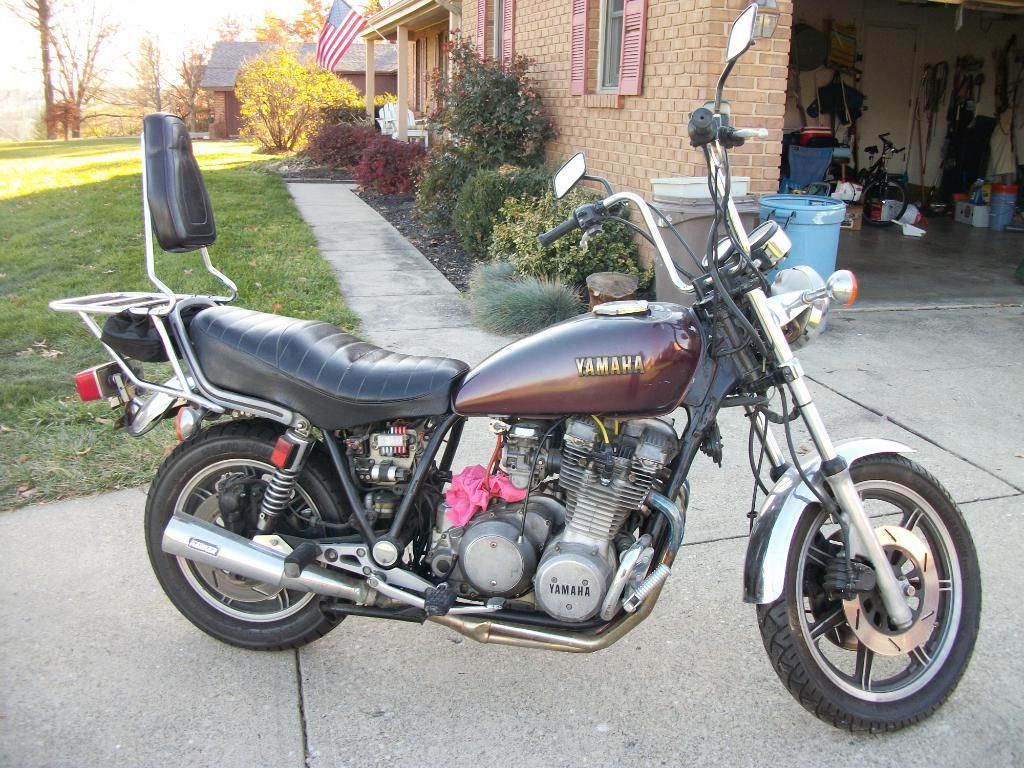
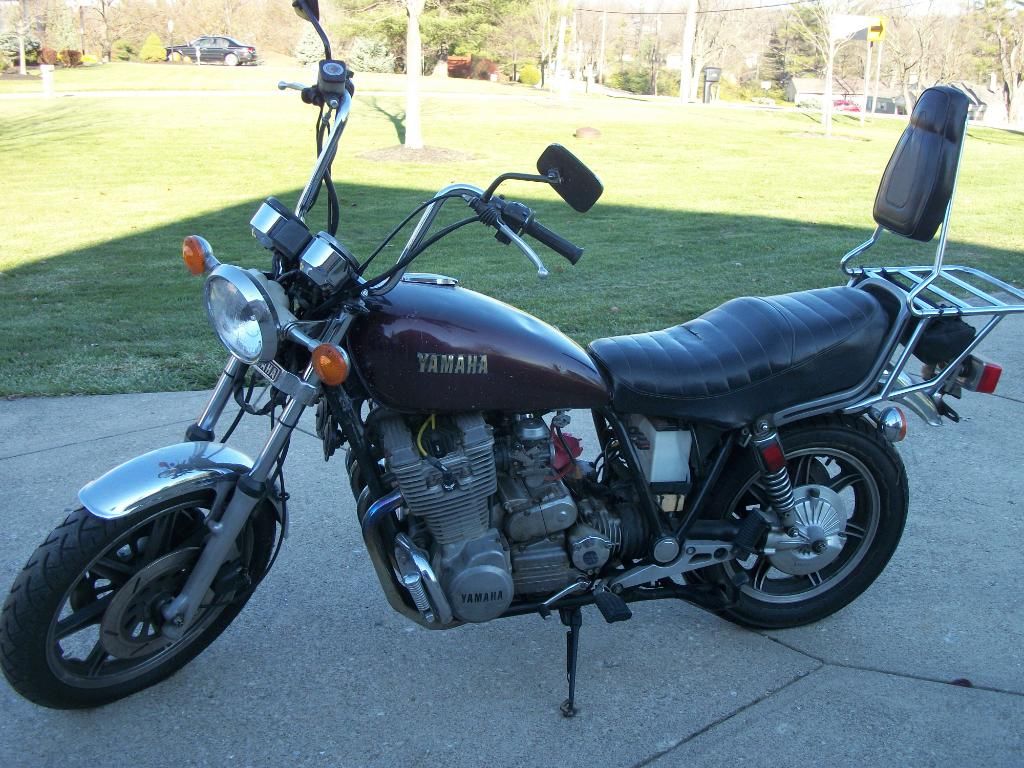
    Well, winter is soon upon us, and so the time has come to begin a new project. As luck would have it, a local XSive decided it was time to move on to an alternative mode of transportation and relive his garage of the XS11 it has been storing untouched for a couple of years now. I, of course, could not turn a blind eye to that type of neglect and torture of the sacred beast. And so we reached mutually agreeable terms for me to rescue the SG!
    Now, as the old saying goes, it did not happen unless there are pictures…..

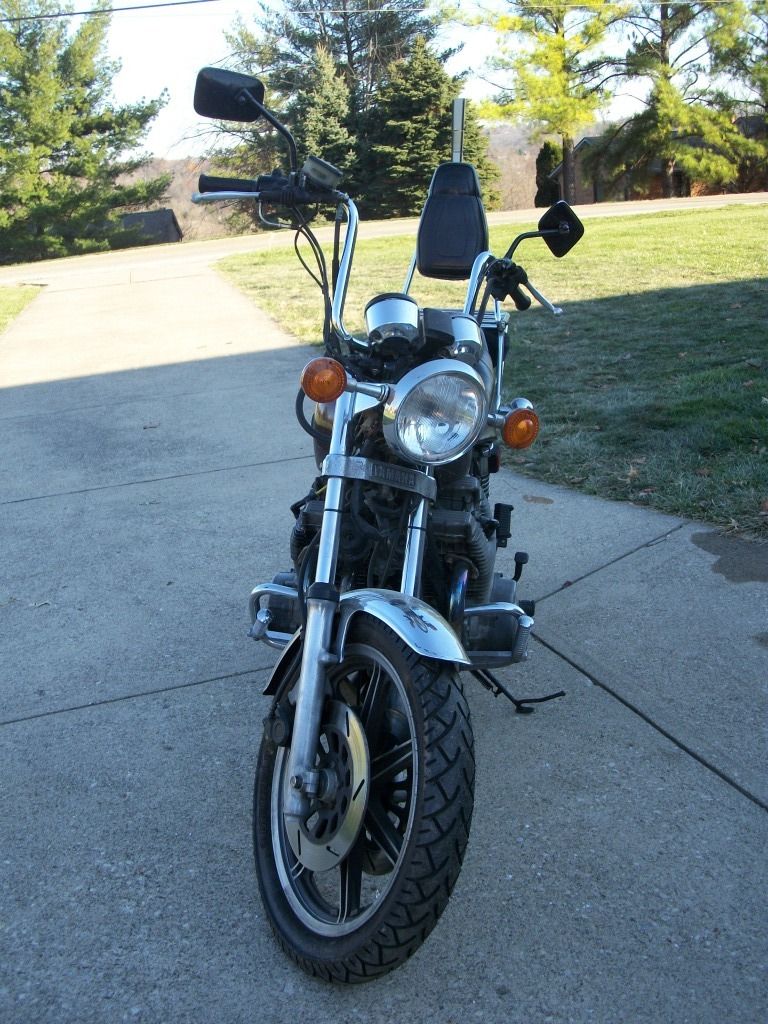
    Front view of the bike, fresh off the trailer..


    Right side view.. The side covers came with it, though they do need some paint.


    Left side, this side cover is missing the tab, but has a block of wood attached to screw it into..rather creative I thought…


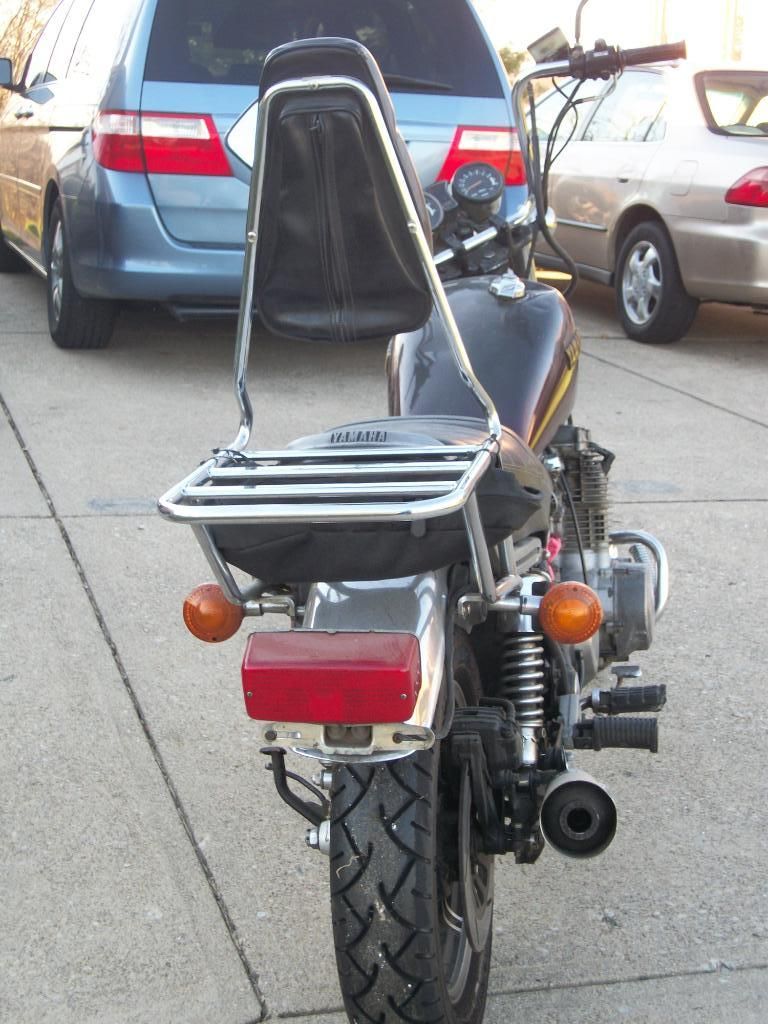
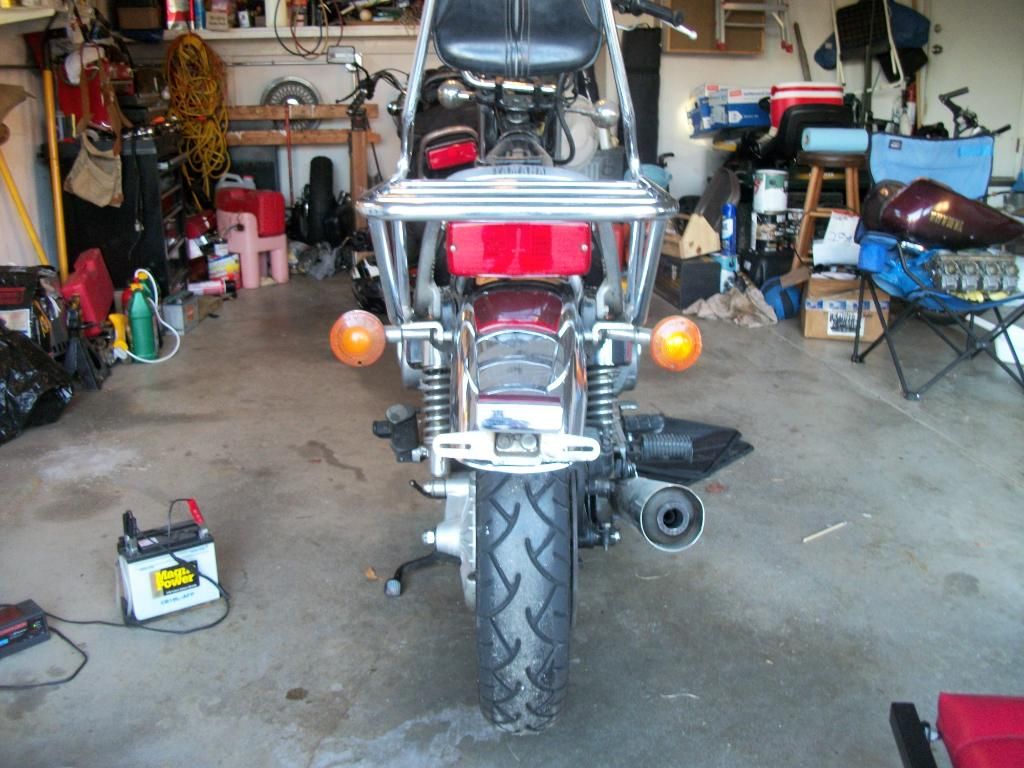
    And the rear view, Notice the black bag under the rack. Due to this bag, the tail light was moved in almost the same spot as the 78-79 models…


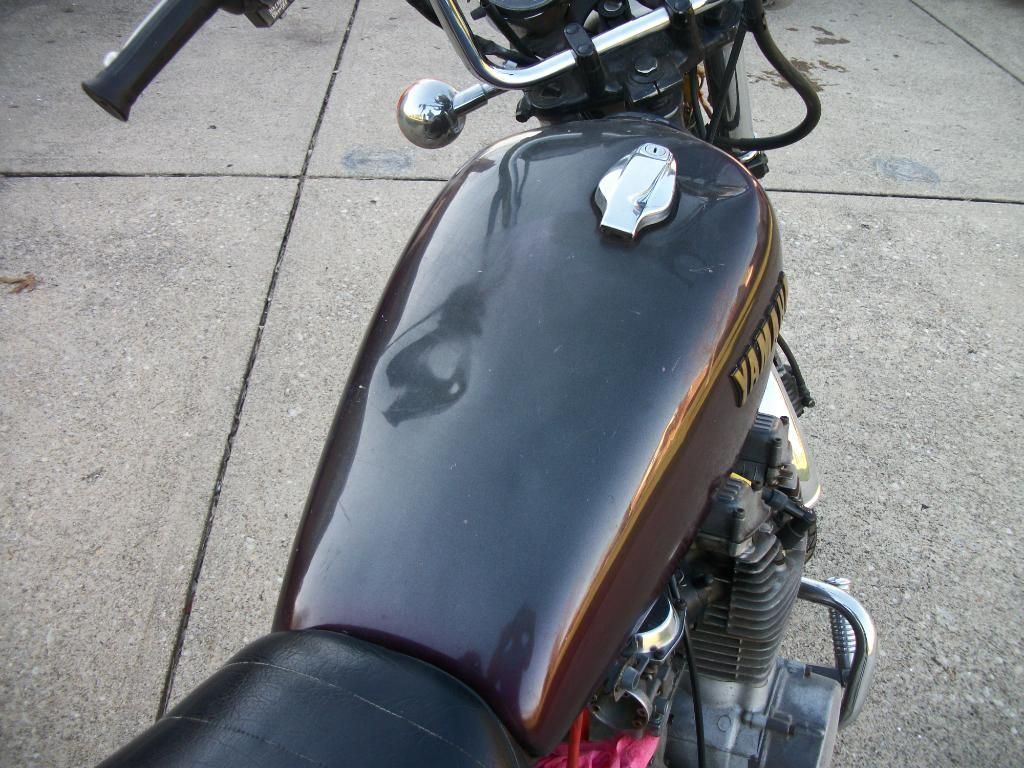
    Now for the ugly….the tank has a few dents, one looks to be the real killer requiring a replacement tank..

    This one shows the deep dent that includes the gas filler area...


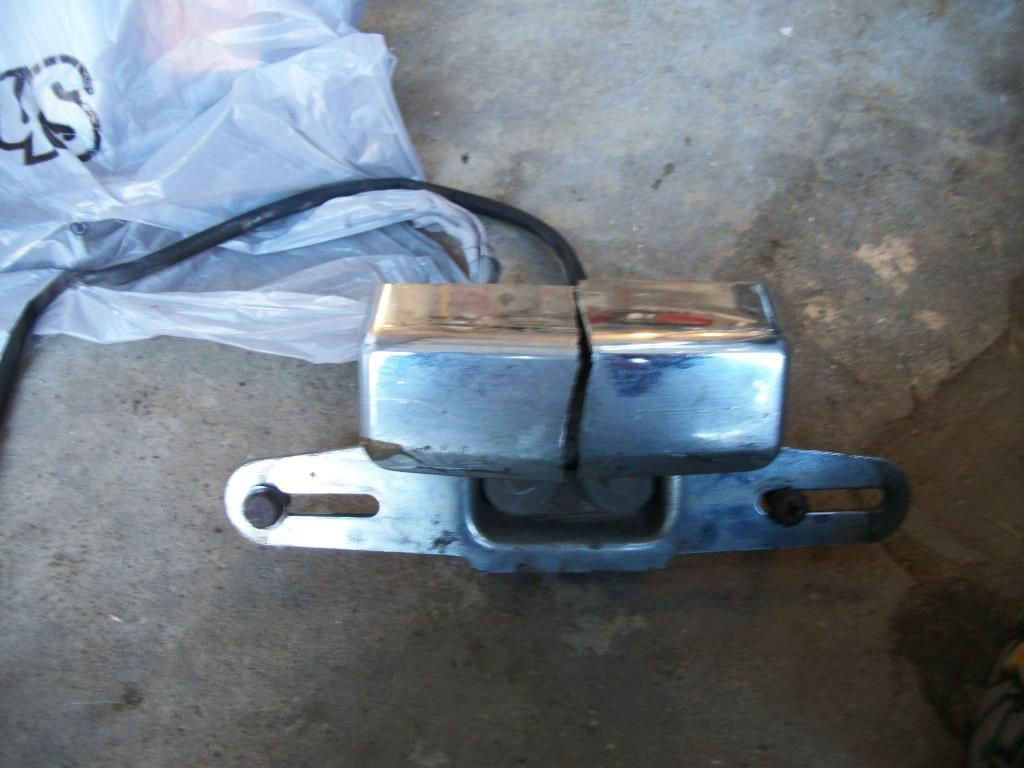
    So I removed the bag and moved the light back into stock location, in the process discovering a broken piece, not sure how this got broken.…


    As luck would have it though, that is one of the remaining items from my wrecked bike, so, easy no cost solution, replace with a good part. And here is the back view now…


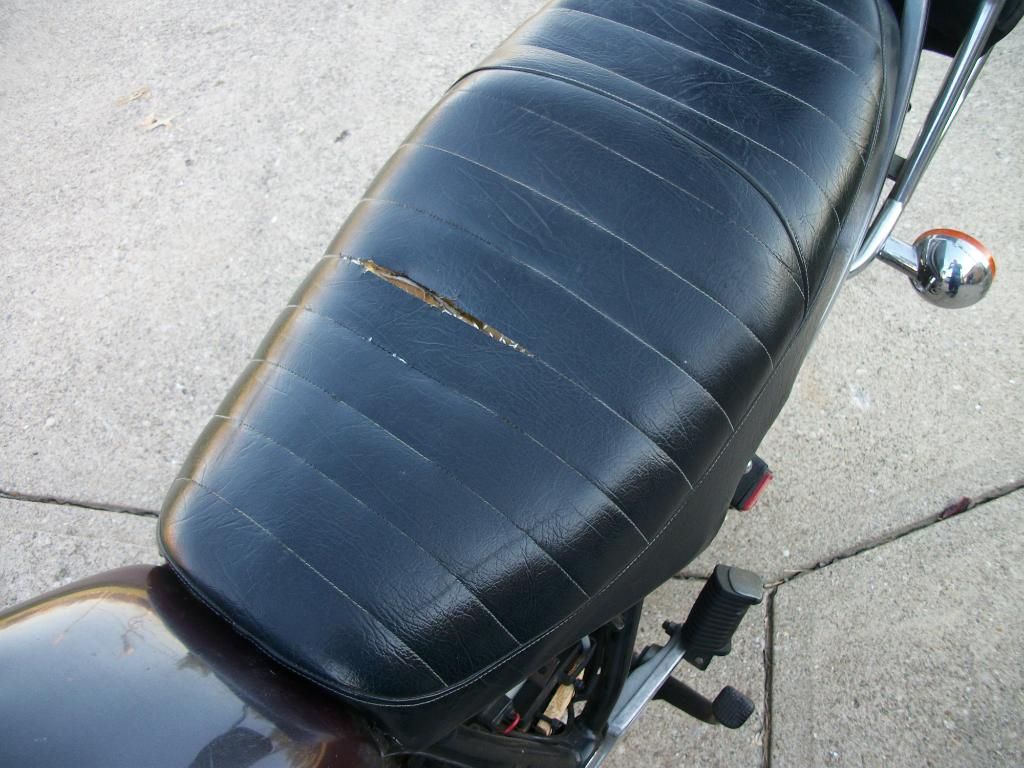
    The seat has a tear in it, so a replacement cover will be needed…


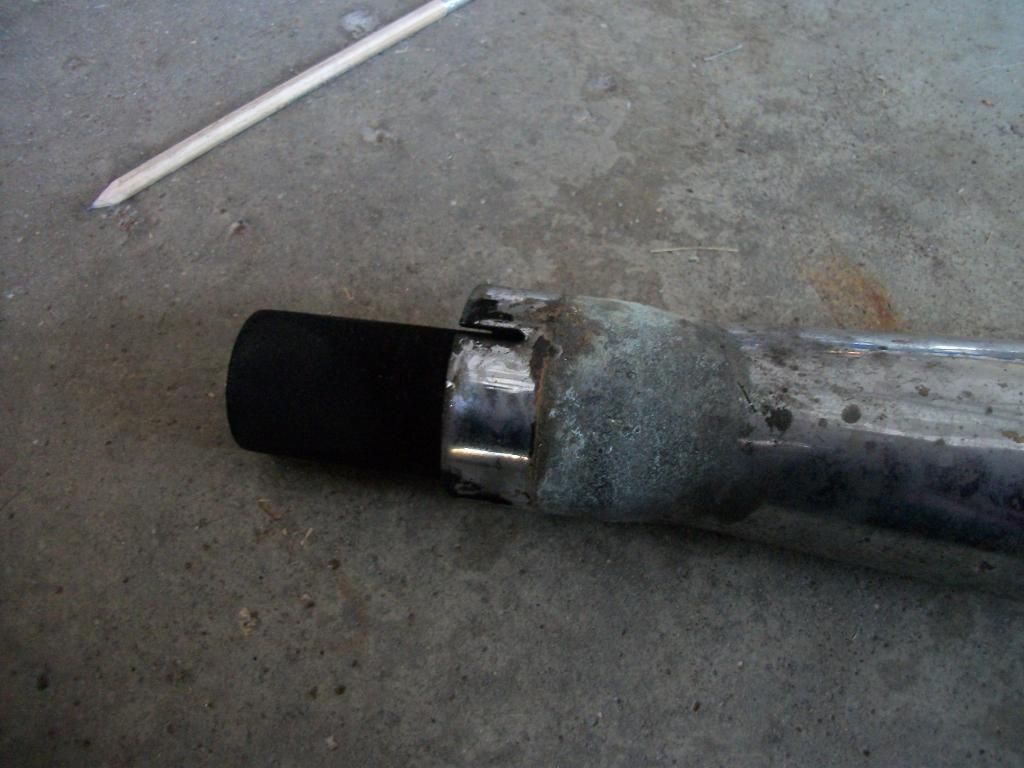
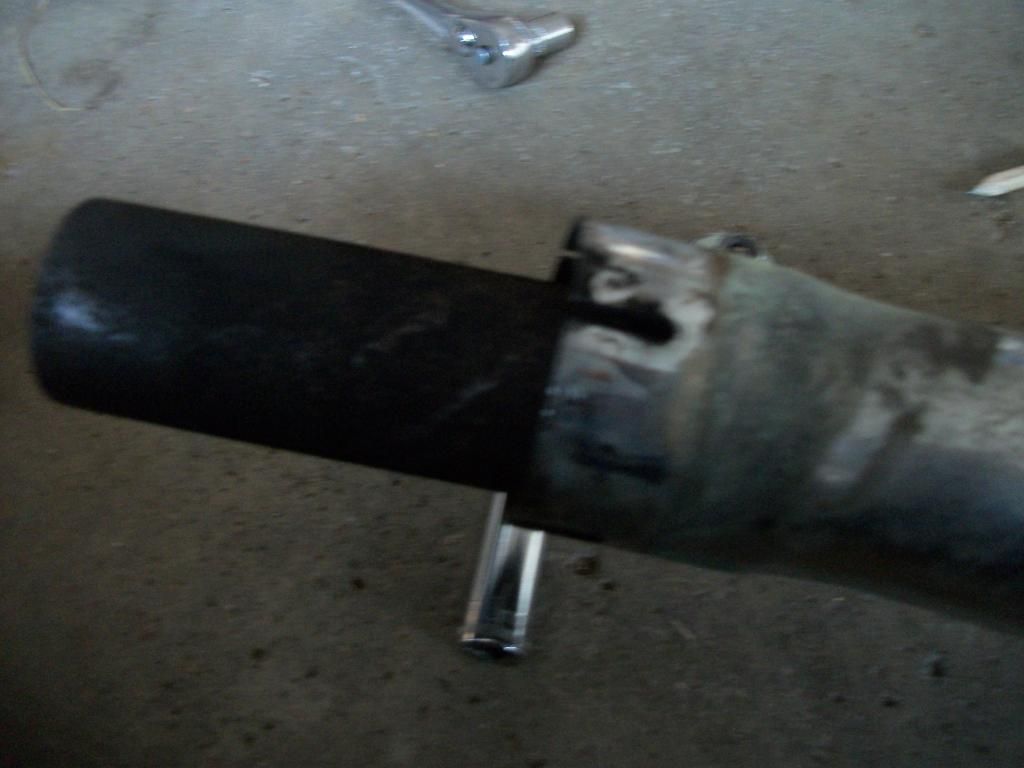
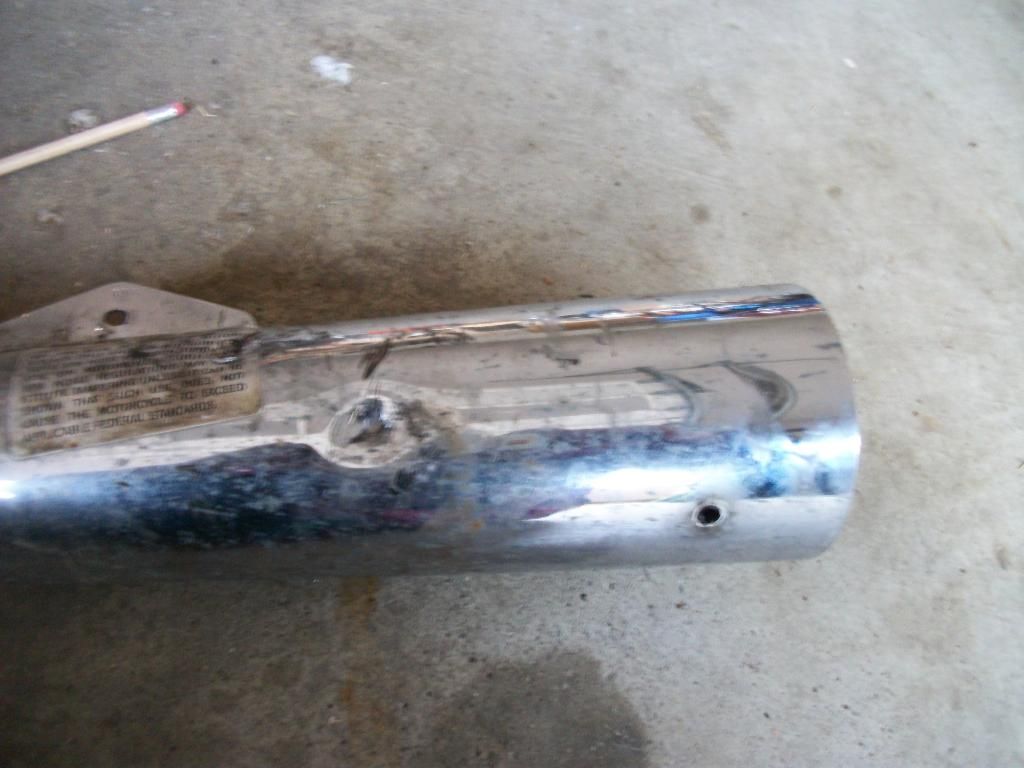
    The exhaust is a Kerker 4-1. I was advised going in that it needs a baffle, the existing is falling apart. When I pulled the muffler off, I found part of the internals trying to fall out the inlet, notice the piece in two different positions in the pictures ..…


    Now, I belive the internals slide out of these, I pulled the retaining screw at the outside bottom near the outlet, but it does not seem to budge, it has a couple dents, but I did not think they would keep it from sliding out, not sure what the screw on the inside is for…….


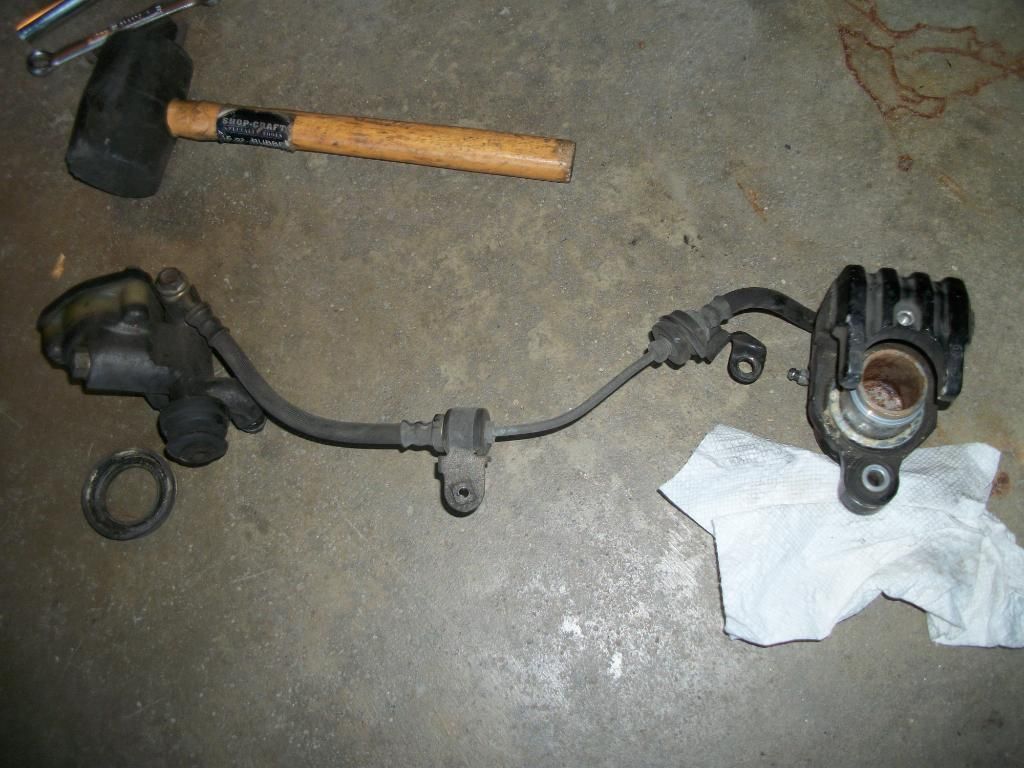
    In the process of checking out the exhaust, I noticed the rear brake dragging badly since I tried to use it. Which led to disassembly of the rear brake system for cleaning. I also noticed I am consistent in getting bikes with a cracked rotor…


    Rear brake system coming apart...


    One of the main reasons the bike sat was the owner could not get the carbs to tune correctly. The 4-1 with POD filters needed some alternative jetting. I also found the floats are set pretty high. Main jets are up to 137.5 on the 80 model carbs, with 45 pilots. Have not measured the floats height yet, but I have all the jets and brass parts soaking in carb dip for the evening.


    So, it appears I will have a few things to do over the winter.
Working...