
 Tweet
Tweet
just over twenty seven years old with but 2,600 original miles 
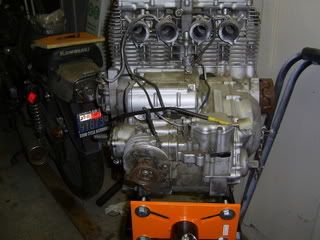
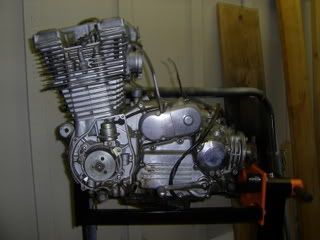
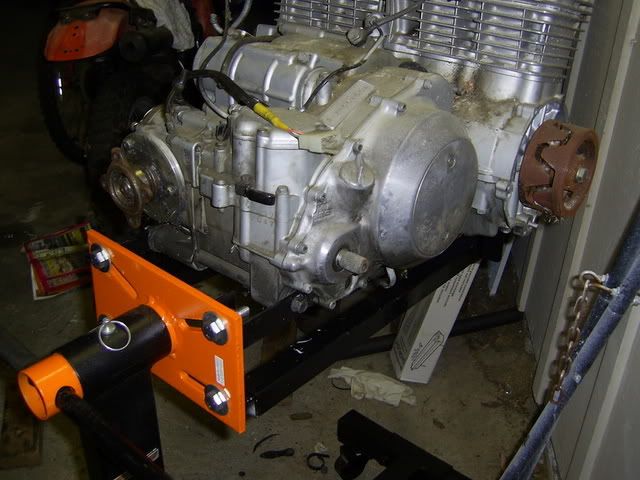
Had talked to DiverRay once about making an XS engine mount.
The frame this 79 came in was toast so a while back I cut out the front mount and welded on some bolts and just got around to sticking it on today. Most of this engine will be going into my MNS
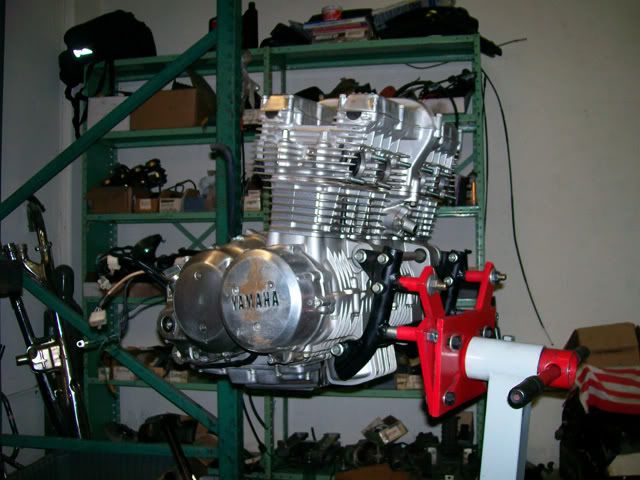
mro
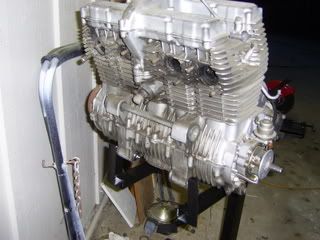
Had talked to DiverRay once about making an XS engine mount.
The frame this 79 came in was toast so a while back I cut out the front mount and welded on some bolts and just got around to sticking it on today. Most of this engine will be going into my MNS
mro


")


Comment