Announcement

Collapse
No announcement yet.

Clutch Plates

Collapse
X
 
  • Filter
  • Time
  • Show
Clear All
new posts

  • Clutch Plates

    Question & Curiosity:
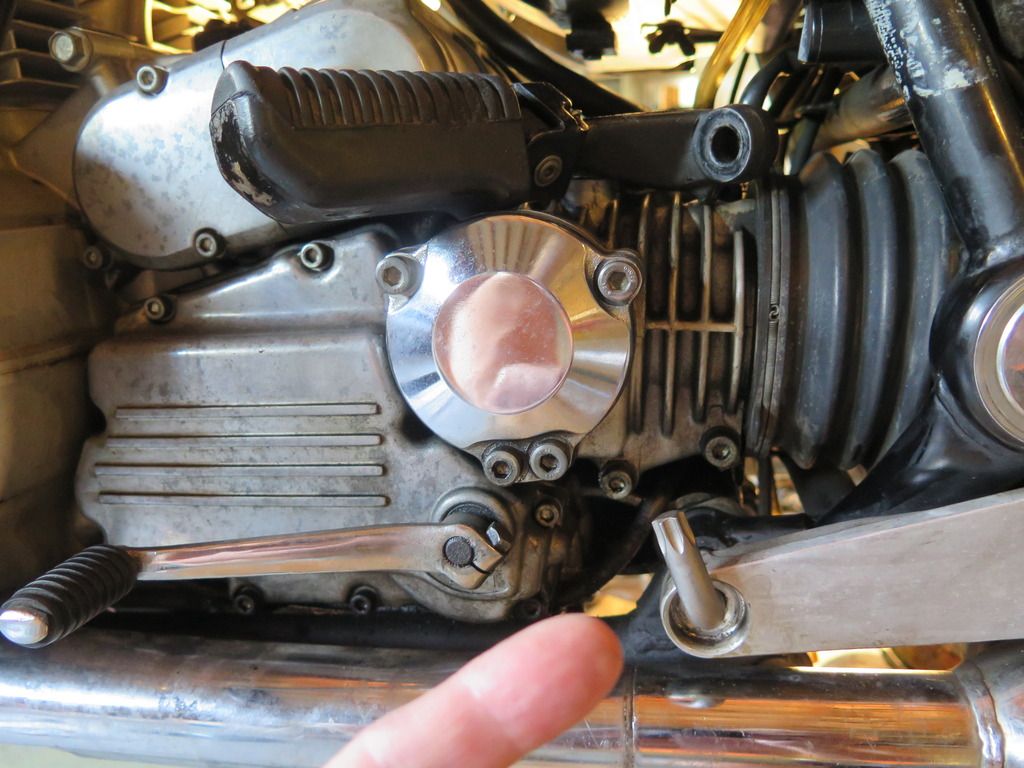
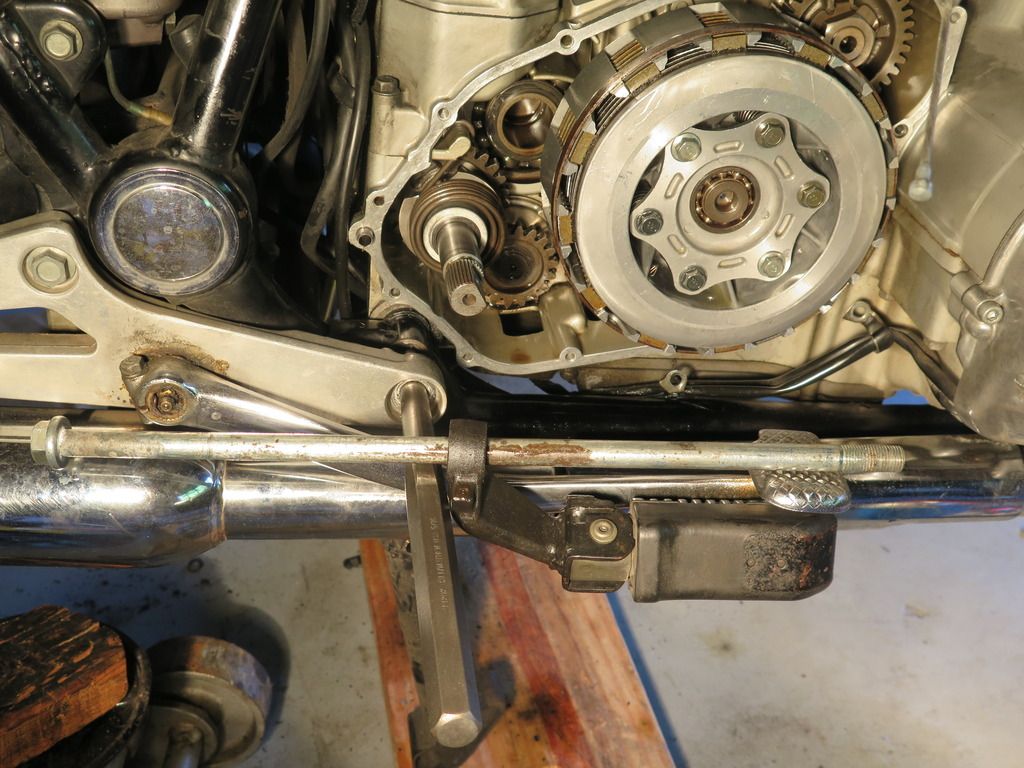
    Did an R&R on the Clutch. Removed and measured the plates. But they were all bone dry as you can see in the photo. (btw: all plates in spec and almost exact thickness to my new plates)

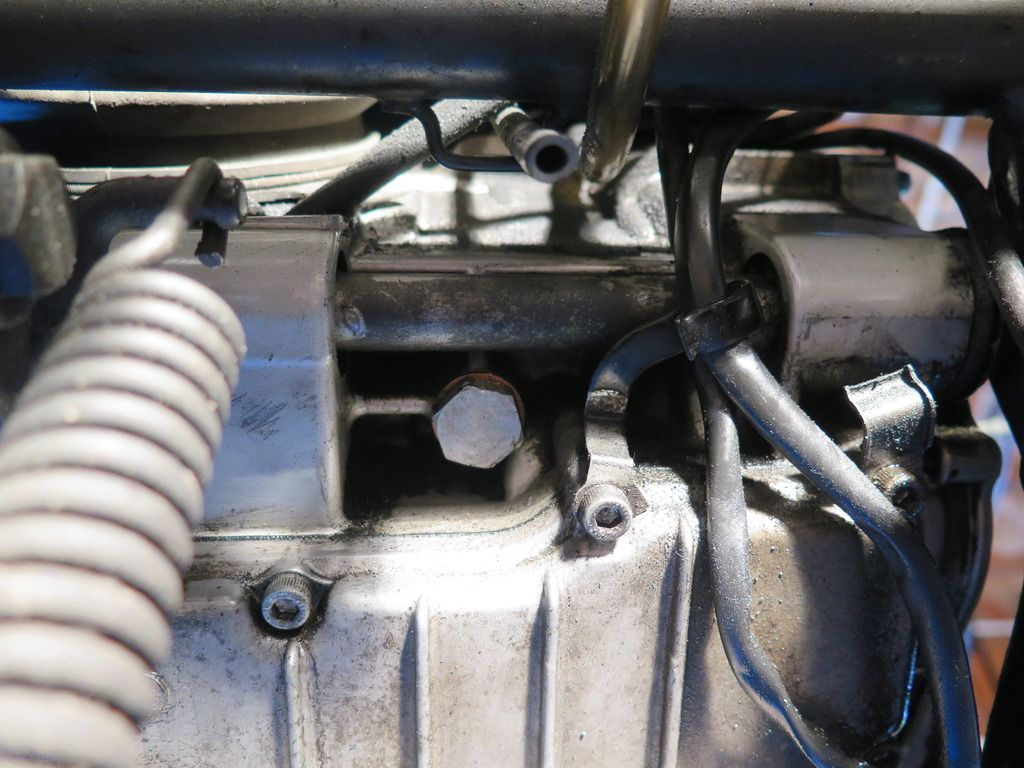
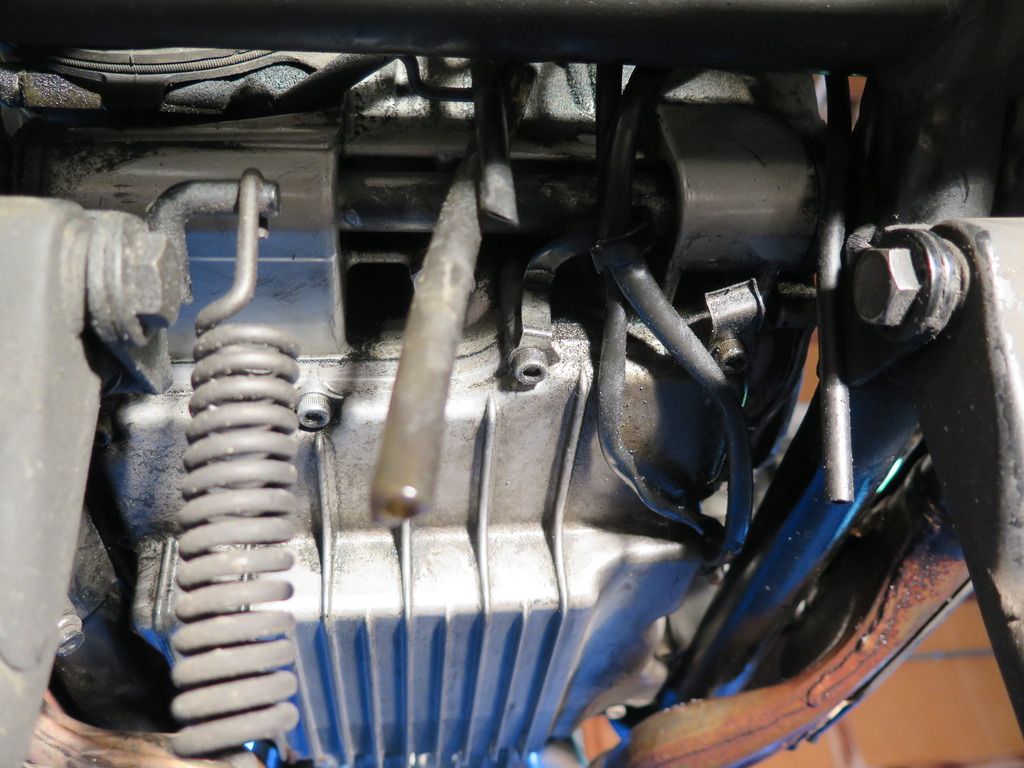
    I had ridden the bike about 20 miles immediately prior to draining the oil and removing the clutch. Oil level was at the upper level in the sight glass. So oil was tip-top full. Looking at the side cover and the position of the clutch plates to the sight glass the plates would be bathed in say 1/4" of oil. Yet these plates were dry and oil free.


    Clutch Plates that I removed from XS 11E. Are as-is not wiped off at all. Just dry & oil free.

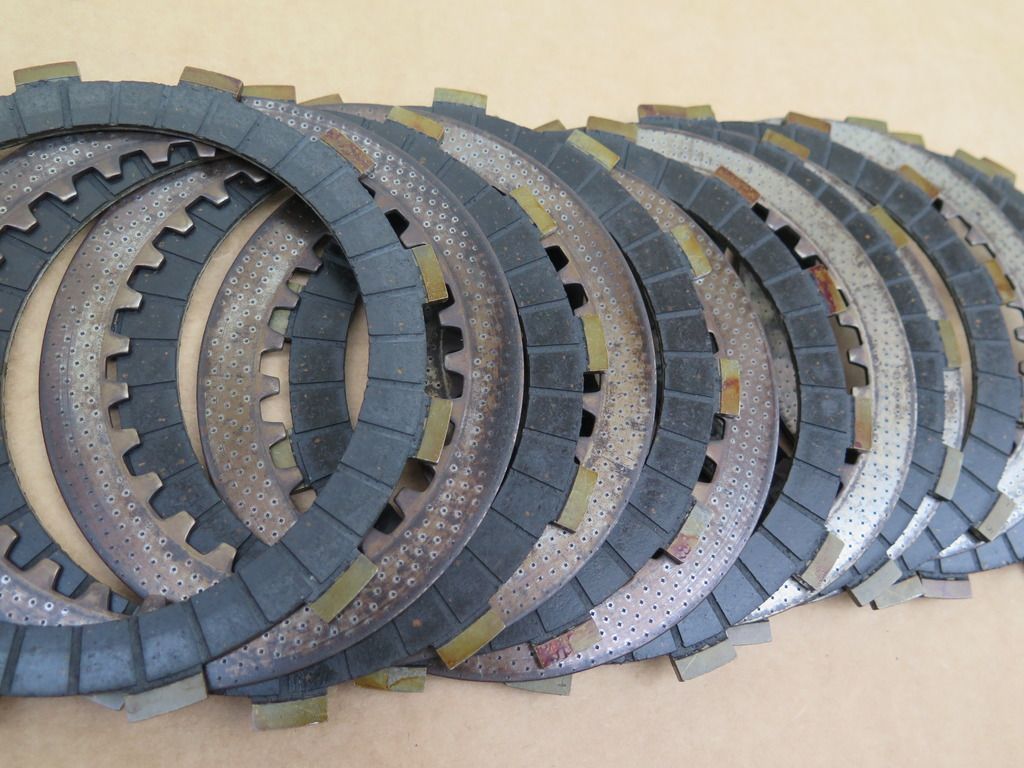
    Plates to the left nearest the engine. Plates going to right outward toward case


    Marty stopped by today after work to say Hey and he handled the clutch plates and was surprised to have No Oil residue at all on his hands. Anybody have an explanation? That brown stuff is dry, not like a gummy varnish buildup. Also no real sign of any normal slippage as parts engage when taking off from a stop. Supposedly spinning in small amount of oil but whole clutch assembly & plates were dry within an hour of a 20 mile ride. Is this normal? BTW: using Yamaha 20-50 oil since I got the bike in 2012. Clutch actually was working quite well but I could feel it wasn't exactly right.

    Thanks,
    Jeff
    78' XS1100 E
    78' XS1100 E
    78' XS1100 E

    '73 Norton 850 Commando
    '99 Triumph Sprint ST
    '02 G-Wing GL1800

  • #2
    You are over analyzing Jeff. There is no oil feed to those plates and if the bike has been sitting a while before the ride they may very well be a little dry.

    Nothing looks scorched or scored so put it back together with some new Barnett springs and ride on.
    Greg

    Everybody is a genius. But if you judge a fish by its ability to climb a tree, it will live its whole life believing that it is stupid.”

    ― Albert Einstein

    80 SG Ol' Okie;79 engine & carbs w/pods, 45 pilots, 140 mains, Custom Mac 4 into 2 exhaust, ACCT,XS850 final drive,110/90/19 front tire,TKat fork brace, XS750 140 MPH speedometer, Vetter IV fairing, aftermarket hard bags and trunk, LG high back seat, XJ rear shocks.

    The list changes.

    Comment


    • #3
      Also, after a ride, engine oil very warm and thinned, so will drain very easily/quickly.

      Also if parked on sidestand, then clutch may not have been very deep in the oil bath and with engine spinning, SLUNG what oil was still on there like a washing machine on spin cycle!

      Now, there is a bearing that the clutch spins on. I remember TOD /TrBig talking about how he put the wrong washer in the clutch and it covered/blocked the path for the oil to get into the clutch boss and I think he found galled bearings on his clutch???

      Yamaha 20/50??? Probably kinda $$ isn't it??

      T.C.
      T. C. Gresham
      81SH "Godzilla" . . .1179cc super-rat.
      79SF "The Teacher" . . .basket case!
      History shows again and again,
      How nature points out the folly of men!

      Comment


      • #4
        Thanks. Kind of makes sense oil would sling off. Just odd it was all so dry. I just wanted to confirm that not a drop of oil on the plates was normal when these clutches are dismantled.

        I did follow the Tips thread & photos you posted + the Manual. Made it easy. Thanks. Also followed the Parts list for disassembly and reassembly as a logic chek. Those big boss washers; I double checked that so that is OK. I remembered reading Tod's post about those washers. As for the Yama 20-50 I get that from a local bike shop for $20 a gallon. Its less $$ here in Georgia than say Castrol GTX 20-50. Plus the bike shop owner appreciates a customer and I'm glad he can keep the doors open.

        Jeff
        78' XS1100 E
        78' XS1100 E
        78' XS1100 E

        '73 Norton 850 Commando
        '99 Triumph Sprint ST
        '02 G-Wing GL1800

        Comment


        • #5
          Jeff all looks good but would not hurt in the lest to buff up those metal plates with some sand paper and give them a little more grip. Not that there appears to be anything wrong just since you have it apart it is an easy step.

          It would be good to soak them before reinstall in oil.
          To fix the problem one should not make more assumptions than the minimum needed.

          Rodan
          https://www.youtube.com/watch?v=khm6...liHntN91DHjHiS
          1980 G Silverbird
          Original Yamaha Fairfing and Bags
          1198 Overbore kit
          Grizzly 660 ACCT
          Barnett Clutch Springs
          R1 Clutch Fiber Plates
          122.5 Main Jets
          ACCT Mod
          Mac 4-2 Flare Tips
          Antivibe Bar ends
          Rear trunk add-on
          http://s1184.photobucket.com/albums/z329/viperron1/

          Comment


          • #6
            Side Cover Install

            Update: THANKS for the tips & info.

            The clutch project is almost done. Bike is a Standard 11E.
            QUESTION: So how do I get the side cover to clear the Foot Peg. Following TC's repair tips (which is on a Special) i did loosen that 17mm bolt and can move the footpeg. But not enough to wiggle the side cover over that Kick Starter shaft. I need a straight shot in to do that and you can see from the pic the relation of the case to the footpeg obstacle.

            Obvious thing is to pull that 17mm foot long rod out but I'm afraid its the rear engine support and if I do that to pull out the foot peg to slap the side cover on that I then couldn't get that shaft aligned back up without jacking up the back of the engine.

            Foot peg is loose and i can move it but not enough clearance to get the side cover over the kickstart shaft.


            would rather ask than do something stupid. Maybe its just hammer that foot long bolt out, lift out the foot peg, slide on the side cover then reverse the steps. But I'm concerned about doing that. Can't see anything specific in the manual that covers this problem. The first XS's with the kick starter.

            btw: when I took the side cover off I wiggled the foot peg and side cover but kick starter spring popped off and kick starter shaft pulled out. That's how I got the side cover off. Problem is now that foot peg doing the re-assembly.

            Thanks,
            Jeff
            78' XS1100 E
            78' XS1100 E
            78' XS1100 E

            '73 Norton 850 Commando
            '99 Triumph Sprint ST
            '02 G-Wing GL1800

            Comment


            • #7
              Hey Jeff,

              Sorry about the instructions not working for the early model with kickstart shaft, mine is an 81H without the starter shaft!

              Perhaps find an equally large bolt, or even a socket ratchet extension and shove in from the other side to keep the engine jacked up while you remove the large bolt from the right side. Once you get the bolt over half way out, then the ratchet extension or such if it's long enough can be used as a lever to slightly lift the rear of the engine enough to take the weight tension off of the long bolt so you should then be able to PULL it the rest of the way out!

              T.C.
              T. C. Gresham
              81SH "Godzilla" . . .1179cc super-rat.
              79SF "The Teacher" . . .basket case!
              History shows again and again,
              How nature points out the folly of men!

              Comment


              • #8
                Hi Jeff,
                Lookin' forward to you making that LD ride to Canon City! As for your sidecover issue, pull that long bolt all the way out..........then, when putting it back in, turn it around the other direction so the nut is on the passenger side(same as clutch sidecover). That way, if cover needs to be removed in the future, all that needs to be done for necessary clutch cover clearance is remove the nut then the peg.......easy-peasy.
                BTW,just a slight pressure on bottom backside of motor with a floor jack is all that's needed.......and wa-la, bolt slips right back in.(worked well for me).
                Last edited by motoman; 06-18-2016, 08:14 PM.
                81H Venturer1100 "The Bentley" (on steroids) 97 Yamaha YZ250(age reducer) 92 Honda ST1100 "Twisty"(touring rocket) Age is relative to the number of seconds counted 'airing' out an 85ft. table-top.

                Comment


                • #9
                  After reading TC's post I had been thinking of trying to get my jack under there as you are recommending.

                  It seems the Manuals for some reason omitted any mention of this problem. You can see from my pic, the right side cover will not clear that foot peg bracket.

                  Tomorrow I will try to get some jack pressure under the back of the motor then for safety do as TC said and push a shaft through from the left side. Just to be safe. Then if it works OK put the long bolt in front the left side and put the nut on the clutch side. Phew ........ Nothing is easy is it.

                  Yes, looking forward to Colorado Rally. Got my new Conti GO's on and FD greased. New wheel bearings & seals. Just a few more things and maybe a surprise or two for grins. Will be fun. Wing is ready as backup if needed. Though I really really want to get my 11E to Pikes Peak. That would be neat.

                  So when the engine falls on the floor tomorrow I'll give you a call.

                  Jeff
                  Last edited by JeffH; 06-18-2016, 08:33 PM.
                  78' XS1100 E
                  78' XS1100 E
                  78' XS1100 E

                  '73 Norton 850 Commando
                  '99 Triumph Sprint ST
                  '02 G-Wing GL1800

                  Comment


                  • #10
                    Originally posted by JeffH View Post
                    After reading TC's post I had been thinking of trying to get my jack under there as you are recommending.

                    It seems the Manuals for some reason omitted any mention of this problem. You can see from my pic, the right side cover will not clear that foot peg bracket.

                    Tomorrow I will try to get some jack pressure under the back of the motor then for safety do as TC said and push a shaft through from the left side. Just to be safe. Then if it works OK put the long bolt in front the left side and put the nut on the clutch side. Phew ........ Nothing is easy is it.

                    Yes, looking forward to Colorado Rally. Got my new Conti GO's on and FD greased. New wheel bearings & seals. Just a few more things and maybe a surprise or two for grins. Will be fun. Wing is ready as backup if needed. Though I really really want to get my 11E to Pikes Peak. That would be neat.

                    So when the engine falls on the floor tomorrow I'll give you a call.

                    Jeff
                    .....well, you gots my number to call while under bike.......for encouragement.
                    81H Venturer1100 "The Bentley" (on steroids) 97 Yamaha YZ250(age reducer) 92 Honda ST1100 "Twisty"(touring rocket) Age is relative to the number of seconds counted 'airing' out an 85ft. table-top.

                    Comment


                    • #11
                      front peg/motor mount

                      Hi Jeff,
                      Just also wanted to let you know, even though a bit too late.

                      When that motor mount bolt is out, take a 'look-see' as to whether there is a gap or not between the frame and swing-arm gusset/rear peg mount. I found with my Venturer there was. The gap on both sides allowed a flat washer on each side where the bolt goes through between frame and gusset.
                      My guess was, the brackets on both sides being pulled inward a tad put unwanted side-load in the swing-arm/frame area. Never really knew for sure and maybe just a figment of my imagination, but when corrected with a flat washer each side, rear of bike seemed to be more stable when pushed really hard with cornering loads on bike in long reasonably fast sweepers. Anyways...JAT.
                      81H Venturer1100 "The Bentley" (on steroids) 97 Yamaha YZ250(age reducer) 92 Honda ST1100 "Twisty"(touring rocket) Age is relative to the number of seconds counted 'airing' out an 85ft. table-top.

                      Comment


                      • #12
                        Just get a long like 18 inch 3/8ths extension bar and push it in from the other side it will give you the leverage and flex to get the bolt back in
                        To fix the problem one should not make more assumptions than the minimum needed.

                        Rodan
                        https://www.youtube.com/watch?v=khm6...liHntN91DHjHiS
                        1980 G Silverbird
                        Original Yamaha Fairfing and Bags
                        1198 Overbore kit
                        Grizzly 660 ACCT
                        Barnett Clutch Springs
                        R1 Clutch Fiber Plates
                        122.5 Main Jets
                        ACCT Mod
                        Mac 4-2 Flare Tips
                        Antivibe Bar ends
                        Rear trunk add-on
                        http://s1184.photobucket.com/albums/z329/viperron1/

                        Comment


                        • #13
                          Right Foot Peg debacle

                          Clutch Procedure:
                          I am just not seeing in the 78' Manual any mention at all of pita involved to remove that foot peg. Seems to me one of the major steps in doing a Standard clutch is totally omitted in the engine & frame sections.

                          So now I'm stuck. Have the rear wheel off (grease FD & new tire) and to do that I have to put 2x4 blocks under the center stand to raise up the rear enough to get the wheel under the fender. Plus as you see in pic2 that engine support long bolt is just slightly in front of the center stand pivot.

                          What I am thinking is put the rear wheel back on, then get the bike on the side stand and try to get a jack lined up so I can hit that larger left side part of the engine where the shaft goes through. Certainly don't want to try and support the engine weight on the oil pan. The rod in the center is the long bolt that needs to be pulled out so the foot peg can be pulled out for a minute while the clutch cover is slid over the kick start shaft.

                          Pic straight up showing the rear engine mounts, that long bolt just behind the Middle Drive oil drain bolt & the oil pan


                          Forward pic showing the kick stand bolts and the area where I need to support the engine enough to pull that long engine support bolt so I can remove the right foot peg


                          Kind of a pita to just to remove a foot peg. So with the bike on the side stand I should be able to get some jack support on that larger left side engine mounting tab. Then hammer out the long bolt.

                          Question for those that have done a Standard clutch or pulled that long bolt. I imagine if not properly supported that the engine would drop down a 1/4" or more?? For insurance I will do what TC suggested and try and slide another rod in as I pull the long bolt. Reason I'm concerned is i've never removed an XS11 engine and I don't want to make more problems. I'm just not seeing an easy way to do this. Not the best design for sure when all this is needed just to do a clutch.

                          Thanks,
                          Jeff
                          78' XS1100 E
                          78' XS1100 E
                          78' XS1100 E

                          '73 Norton 850 Commando
                          '99 Triumph Sprint ST
                          '02 G-Wing GL1800

                          Comment


                          • #14
                            Originally posted by ViperRon View Post
                            Just get a long like 18 inch 3/8ths extension bar and push it in from the other side it will give you the leverage and flex to get the bolt back in
                            OK, I'll try it that way. As you can see from the post getting a jack under there is not easy and there is a lot to damage if something goes wrong. I'm thinking the axle bar from my wheel balancer might fit so I'll do that.

                            As you are saying, with a chaser bar following the long bolt when I pull it out the engine will be supported enough (on that larger right side motor bracket) that the motor shouldn't slip down too much on the left side as I pull that foot peg. Still an odd thing the engineers left us to do to get at the clutch.

                            Thanks,
                            Jeff
                            78' XS1100 E
                            78' XS1100 E
                            78' XS1100 E

                            '73 Norton 850 Commando
                            '99 Triumph Sprint ST
                            '02 G-Wing GL1800

                            Comment


                            • #15
                              Got it put back together. THANKS .....................

                              Appreciate the very rapid responses & tech tips. Thanks so much. I had installed new oil filter and now have the Clutch all buttoned up and the long bolt back in and re-torqued.

                              Made work what I had. The motor mount long bolt is 12mm diameter.
                              Held up the left rear motor mount bracket with this:


                              Upon removing the long bolt, the aft of the motor actually only settles maybe 1mm at most.
                              I was surprised it was so little movement. But you guru's already knew that was what happens.


                              Engine only took a minor wiggle to get the long bolt back into motor mount. So rear wheel needs to be put back on. I did fill the crankcase with oil (TC that Yama Lube 20-50 is now $22) and start the bike in neutral. Clutch lever is smooth and NO LOUD BANGING or clanking noises so 'so far so good'. It appears I'm one step closer to having an 11E at the Colorado Rally.

                              Jeff
                              78' XS1100 E
                              78' XS1100 E
                              78' XS1100 E

                              '73 Norton 850 Commando
                              '99 Triumph Sprint ST
                              '02 G-Wing GL1800

                              Comment

                              Working...
                              X