
 Tweet
Tweet
Yeah, from the way it ran the day it came home I'm sure the rings or valve seats will need some attention. Once I check the valve clearances and swap the cct the compression test will be next. Gotta say I feel much more confident that I'll be able to make the proper repairs on this bike as compared to several years ago when I worked on my xj650.
-
78 E -
Hey Olin,
Great work/progress so far. Don't get too hung up on your early compression readings. After sitting for years, the rings can get stuck, microrust can form in the cylinders. Using some Marvel Mystery Oil in the oil can help loosen up stuck/gummed rings, and after a few hundred miles the rings can reseat themselves. IF the valves were not too far off of spec, then hopefully their sealing surfaces are still good. vs. too little clearance and chance of burning/pitting the seats/valves which could then require at least lapping.
The oily plugs could possibly be the valve seals that also can dry up with age/heat, and allow oil to slowly leak down the valve into the combustion chamber. But also stuck rings could allow excessive amounts of oil to come up past the rings as well. If you aren't keen on taking the head off to replace the valve seals, then you may want to get some oil treatment that is designed to help soften old rubber seals to let them slightly swell to help them seal better. JAT!
T.C.T. C. Gresham
81SH "Godzilla" . . .1179cc super-rat.
79SF "The Teacher" . . .basket case!
History shows again and again,
How nature points out the folly of men!Comment
-
T.C., thanks for the tip on the compression test. I'll do it to get the initial numbers and hopefully they are good enough, but if they aren't, your advice puts me at ease. I definitely want to get this on the road for this season and if I don't have to open up the top end, all the better. I'll post my findings once I can get back to it, after getting the garden ready today.78 EComment
-
After another break from the bike I have been able to put some time in the garage and got quite a bit done. I tweaked the valve shim tool to fit the head and took measurements and verified what shims I have :
Intake
1 .003 Shim 260
2 .004 shim 255
3 .004. Shim 260
4 .005. Shim 260
Exhaust
1 .006 shim 290
2 .008 shim 285
3 .008 shim 290
4 .007 shim 285
Based on this I'll need to change at least 6 shims to get everything back into spec. Some advice I am seeking is whether to go to the high side of the spec or just get it into the range. Any thoughts are appreciated.
I was able to replace the cam chain tensioner with the automatic tensioner and all went well.
The carbs came off and I started digging into them. Two had fuel staining on the outside of the float bowl and each one had sediment in the bowls. I cleared all the jets and noted what size was for each. The mains are 137.5, the pilots are 42.5 and what I believe are the air pilots, at 8 o'clock on the airbox side are 210. I don't know how the change in both pilots will affect performance but there must have been a reason for replacing the stock sizes. Again, any thoughts are welcome.
I hope to continue progress once my weekend starts on Wednesday and will let you know how it goes. Thanks for stopping in on my thread/diary.
Bob78 EComment
-
Glad you had some time to get back at that E project.
I got a junker E in 2012 and bought new Mikuni stock jetting. I will check what i used but it was genuine Mikuni and stock. btw: driven 18,000 miles since. Normally get 38-39mpg in most driving conditions, including mountain twisties. Of course drops -5mpg going straight & really steady-fast pace like in Texas. (not sure I like those 85-90 mph speed limits anyway on an old bike) Bike runs great at sea level and just did top of Pike's Peak 14,110 ft. at the Colorado XS Rally. Ran good going up. It started easily at summit which surprised me. (though only got 33-34 mpg crossing KS with Kansas gas for some reason).
btw: your valves were way tighter than mine. I didn't look back at your mileage but maybe they were never adjusted since the factory put them in. My I-4 was way wide a gap but after running the bike 100 miles found the valve had ever so slightly rusted open and it was not seating all the way until I actually rode the bike 100 miles.
Keep us posted. Interested in hearing how this turns out. Pics too. We like pics.
JeffLast edited by JeffH; 09-05-2016, 08:40 AM.78' XS1100 E
78' XS1100 E
78' XS1100 E
'73 Norton 850 Commando
'99 Triumph Sprint ST
'02 G-Wing GL1800Comment
-
JeffH, thanks for the info on your xs and how it runs through the range of elevations and speeds. The odometer reads at 55,000 miles, but it may be more as the previous owner said his sister ran it for a while without the speedo connected.
I'm working on the pics, need to reinstall photo bucket on my phone, again.
Today I pulled the petcocks off and was able to clean them out. Aside from a little scuffing on one where the o-ring and adjustment plate sit, everything looked good. I also checked on the coil pickup wires and they have already been repaired, with an extra 1-1/2" length of wire soldered in. I re-taped the solder joints but everything looked good.
I'll get the carbs back on next and hopefully try to put some fuel into it to see where the float level sit as well as how it fires. After that I should be able to get the new clutch springs in and adjust the clutch lever.78 EComment
-
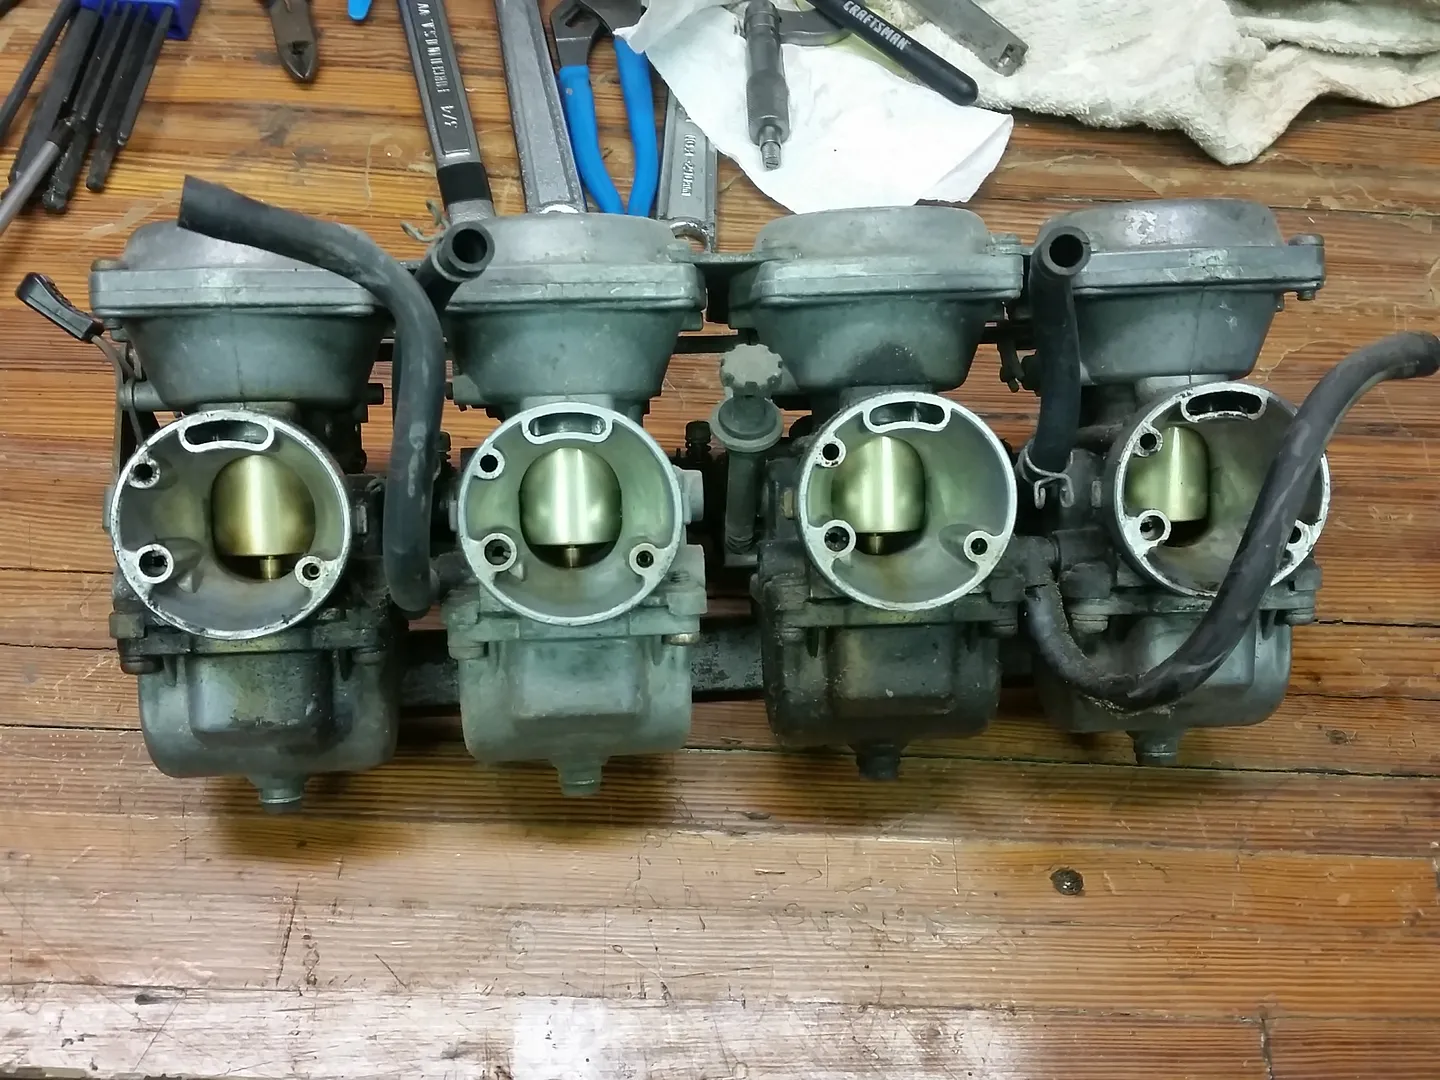
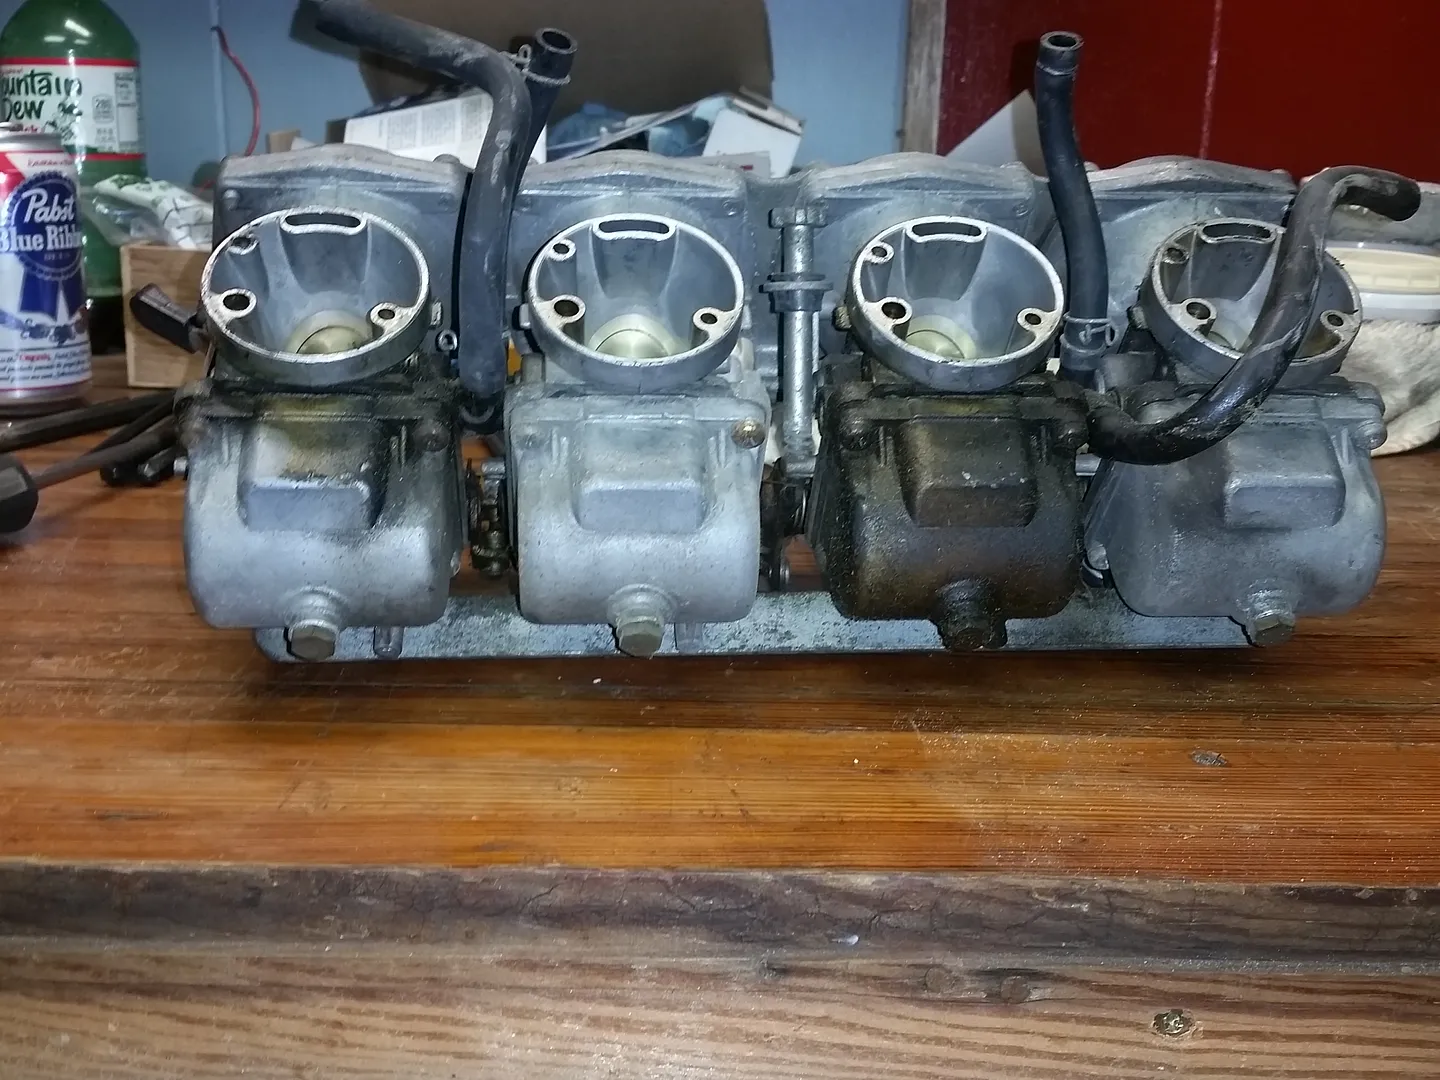
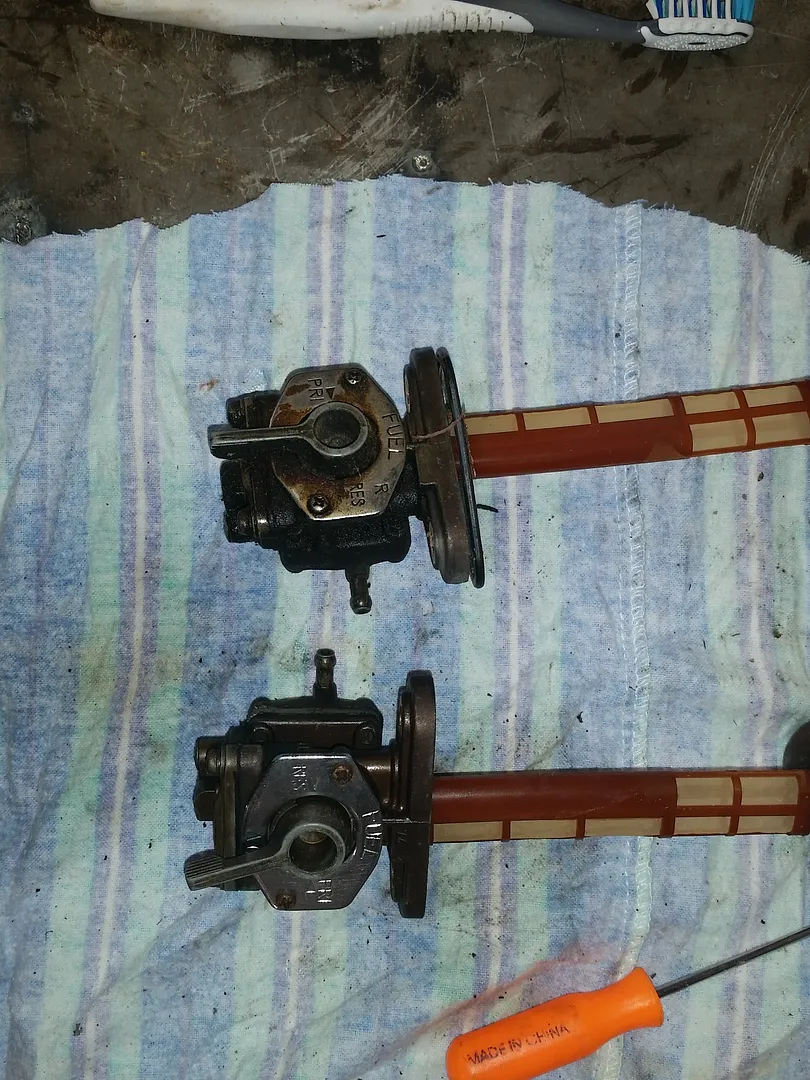
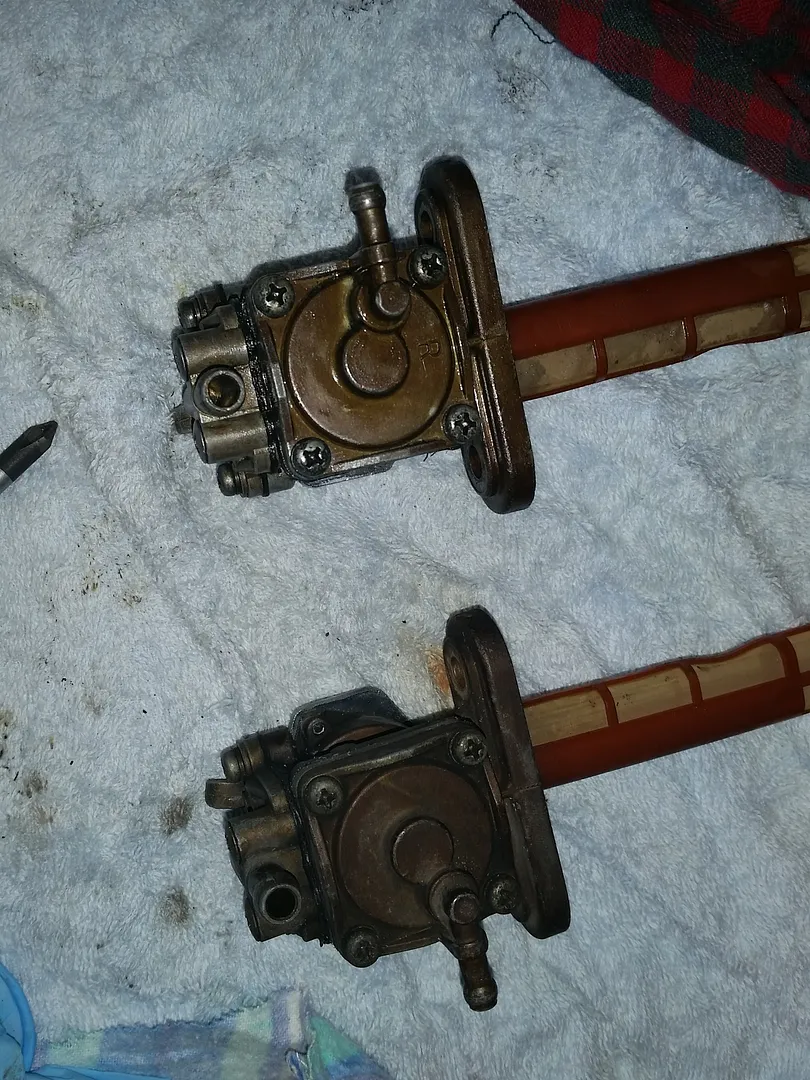
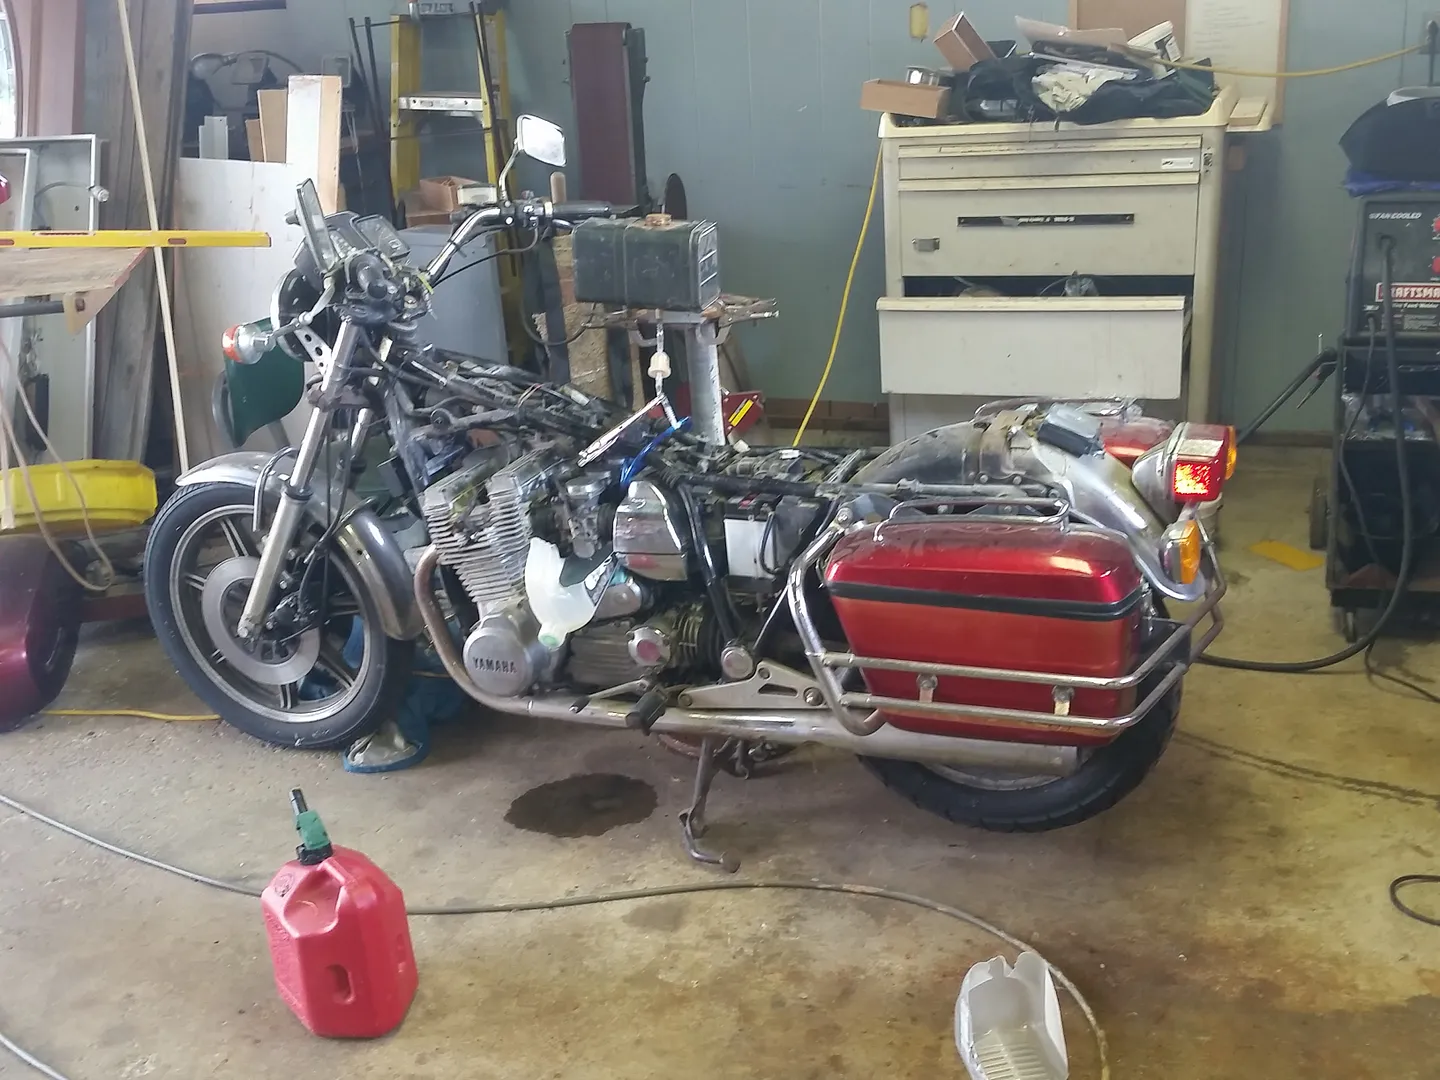
Here are a few pictures of what I've been working on.78 EComment
-
Hey again,
The clearances NARROW as the engine wears, so most folks who do not like to work on their bikes any more than they have to will set the clearances to the widest spec, that way they have lots of miles/time before they hammer the valves into the head and eventually wear to too narrow a gap again! Others who want the maximum performance and don't mind both checking and changing shims more often will set to the minimum clearance. YMMV!!
Also, you could possibly cut down on one shim change by moving Ex #4 to Ex #1, leave Ex. 2/3 alone, and then just get the replacement for Ex #4. You should also be able to swap In #2 to In #1, and so you will only need to get shims for In #2, 3, 4.
I don't know what book you're looking at, but the 137.5 Mains and 42.5 pilots are the correct OEM size. The Air jet sounds correct, and most folks don't change the air jet at all!!
T.C.T. C. Gresham
81SH "Godzilla" . . .1179cc super-rat.
79SF "The Teacher" . . .basket case!
History shows again and again,
How nature points out the folly of men!Comment
-
T.C.
Thanks for the break down on the shim clearance theory. That is what I thought was the case but you made it much more clear. I guess now it's time to find some shims!
I'll plan on leaving the jetting as is for now and once it's up and running willl see how things go with a carb sync. Thanks again for the advice.
Bob78 EComment
-
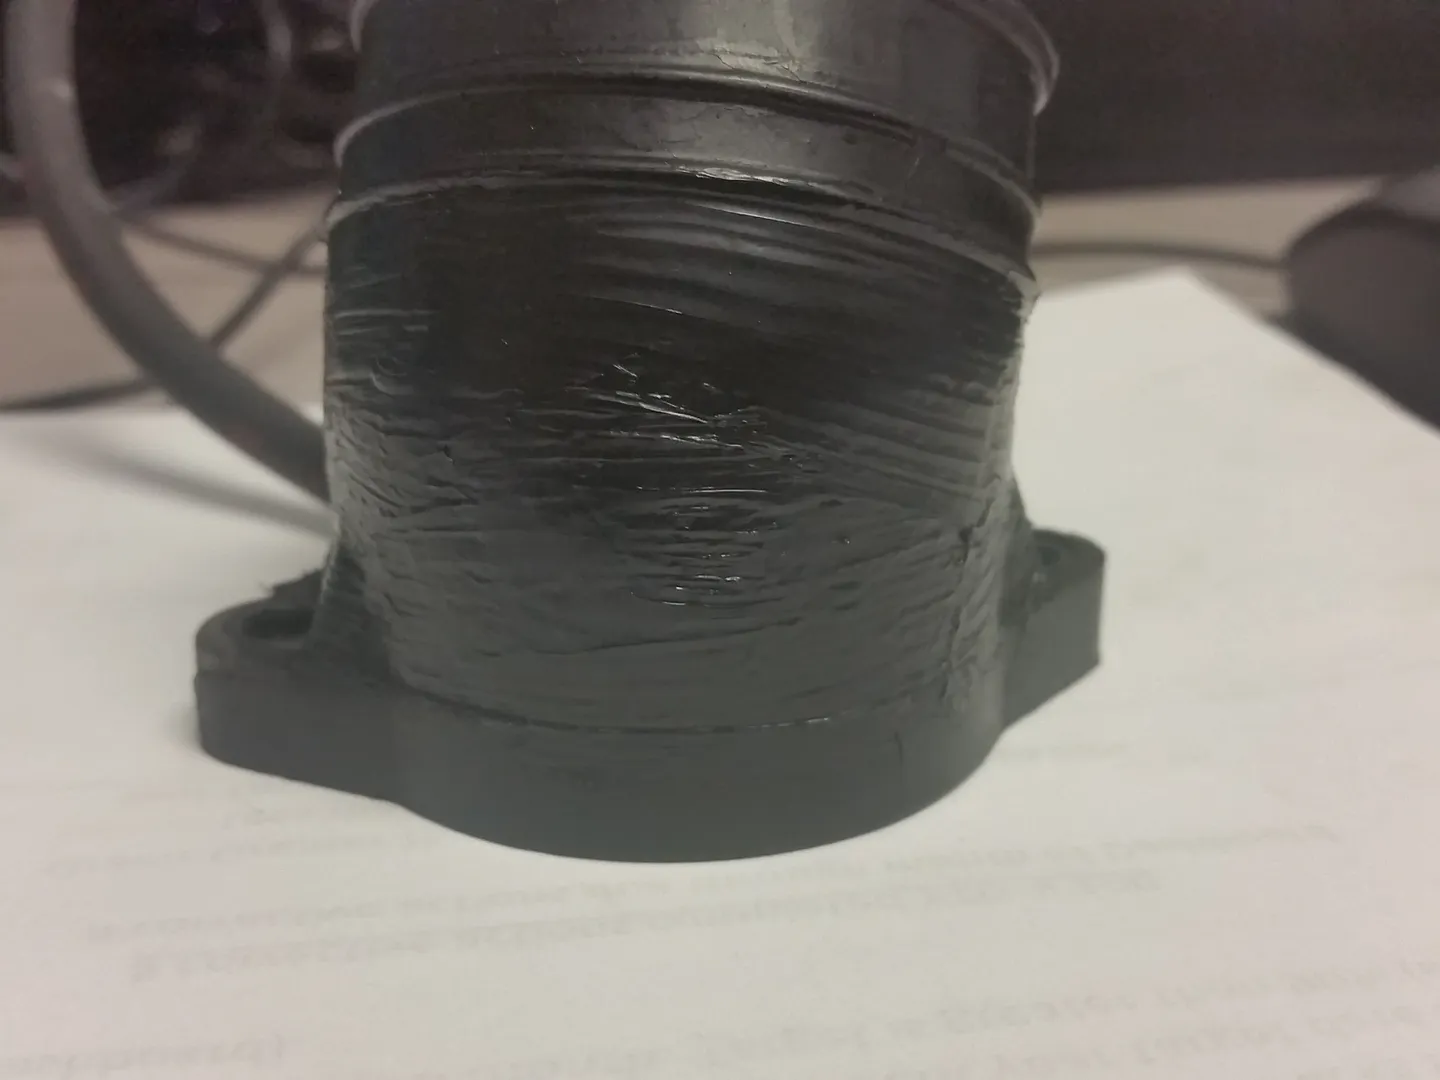
While the carbs are off the cycle I decided to check the intake boots and confirm they are ok to reuse. The cracks in the exterior surface do not go all the way through so I used liquid electrical tape to seal them, after a good degreasing and wipe down. When the boots were off the head I noticed it looks like a previous owner may have port matched the heads. Cylinders 2 & 3 have a little grinding on the left side of the bore. Can anyone confirm that this is not something done from the factory?
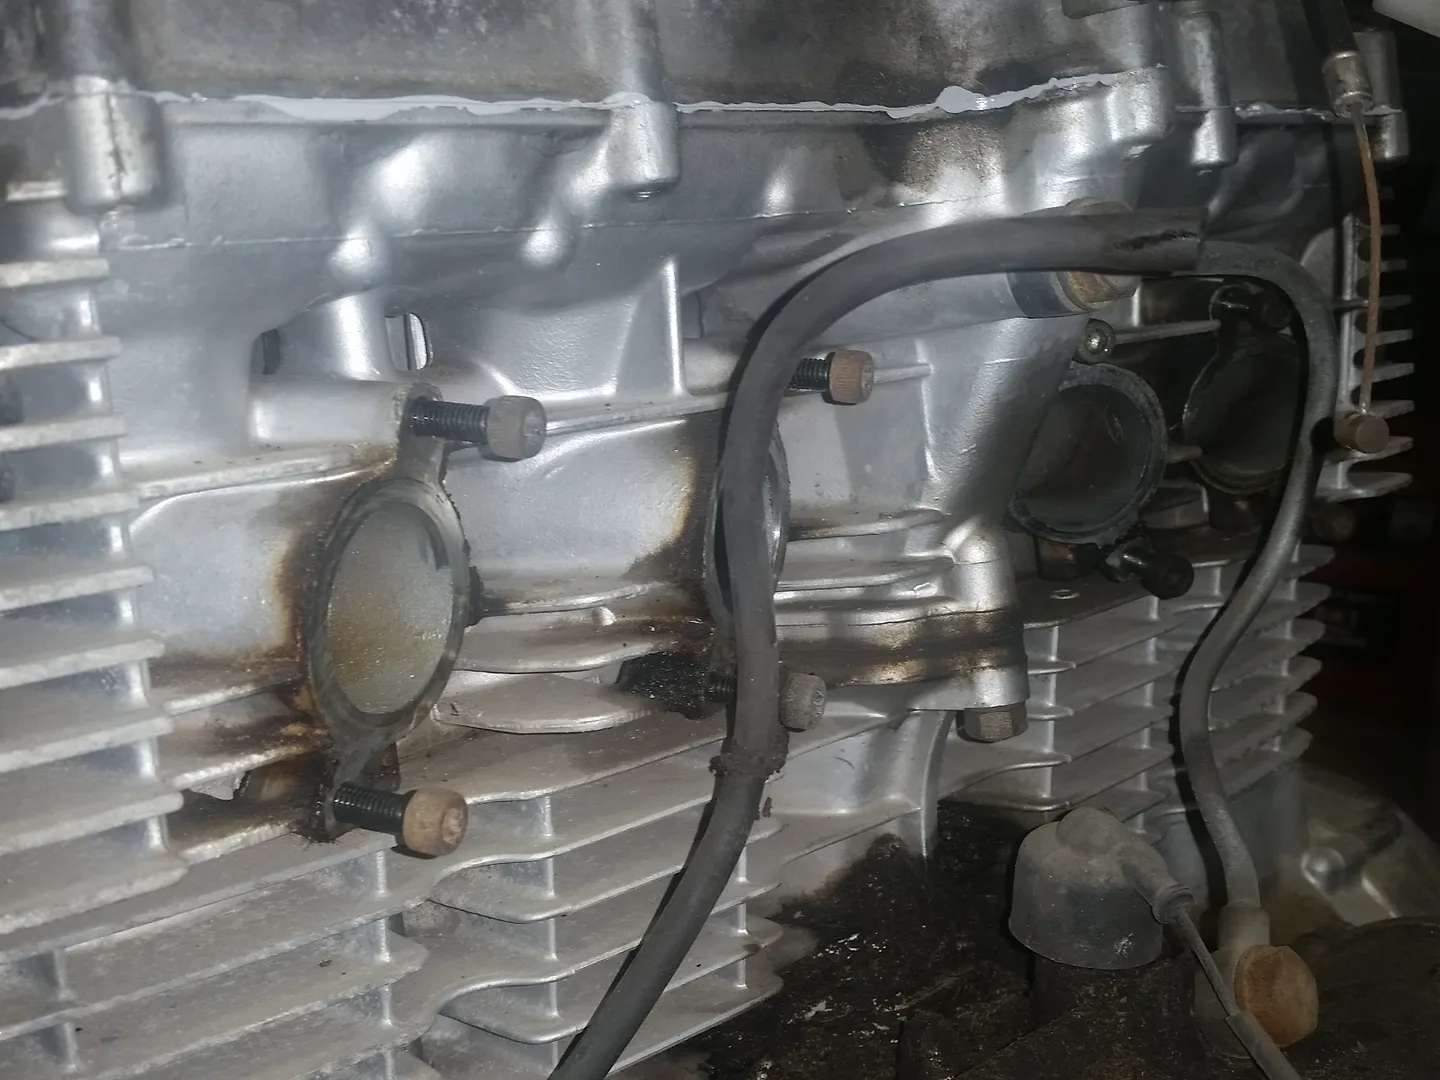

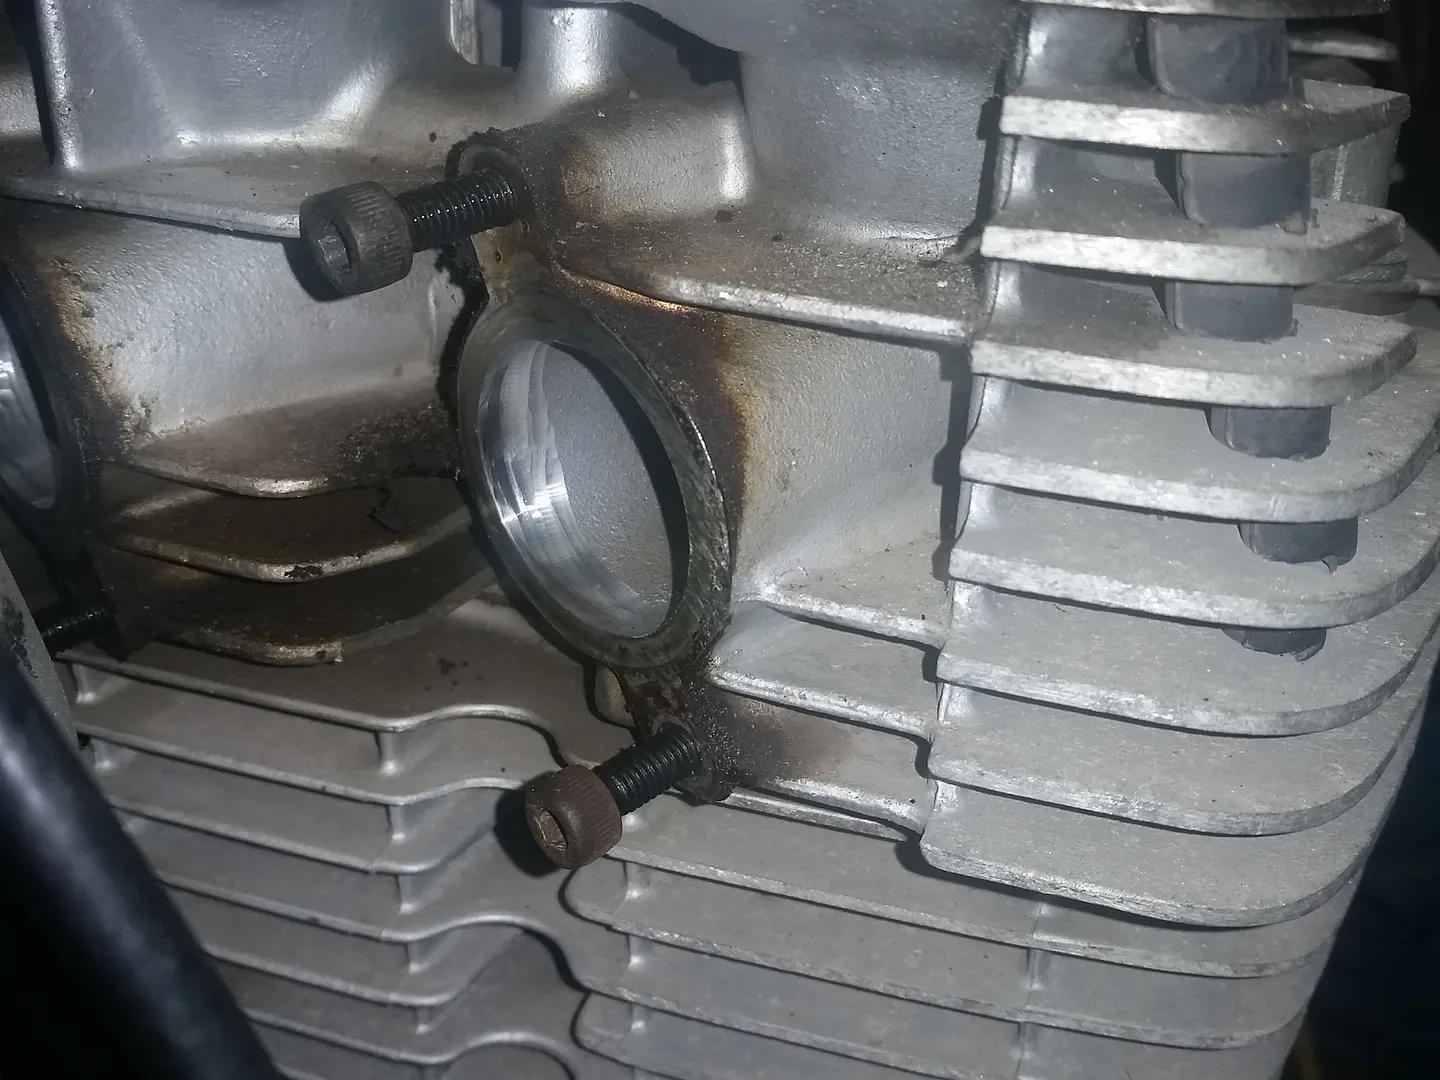
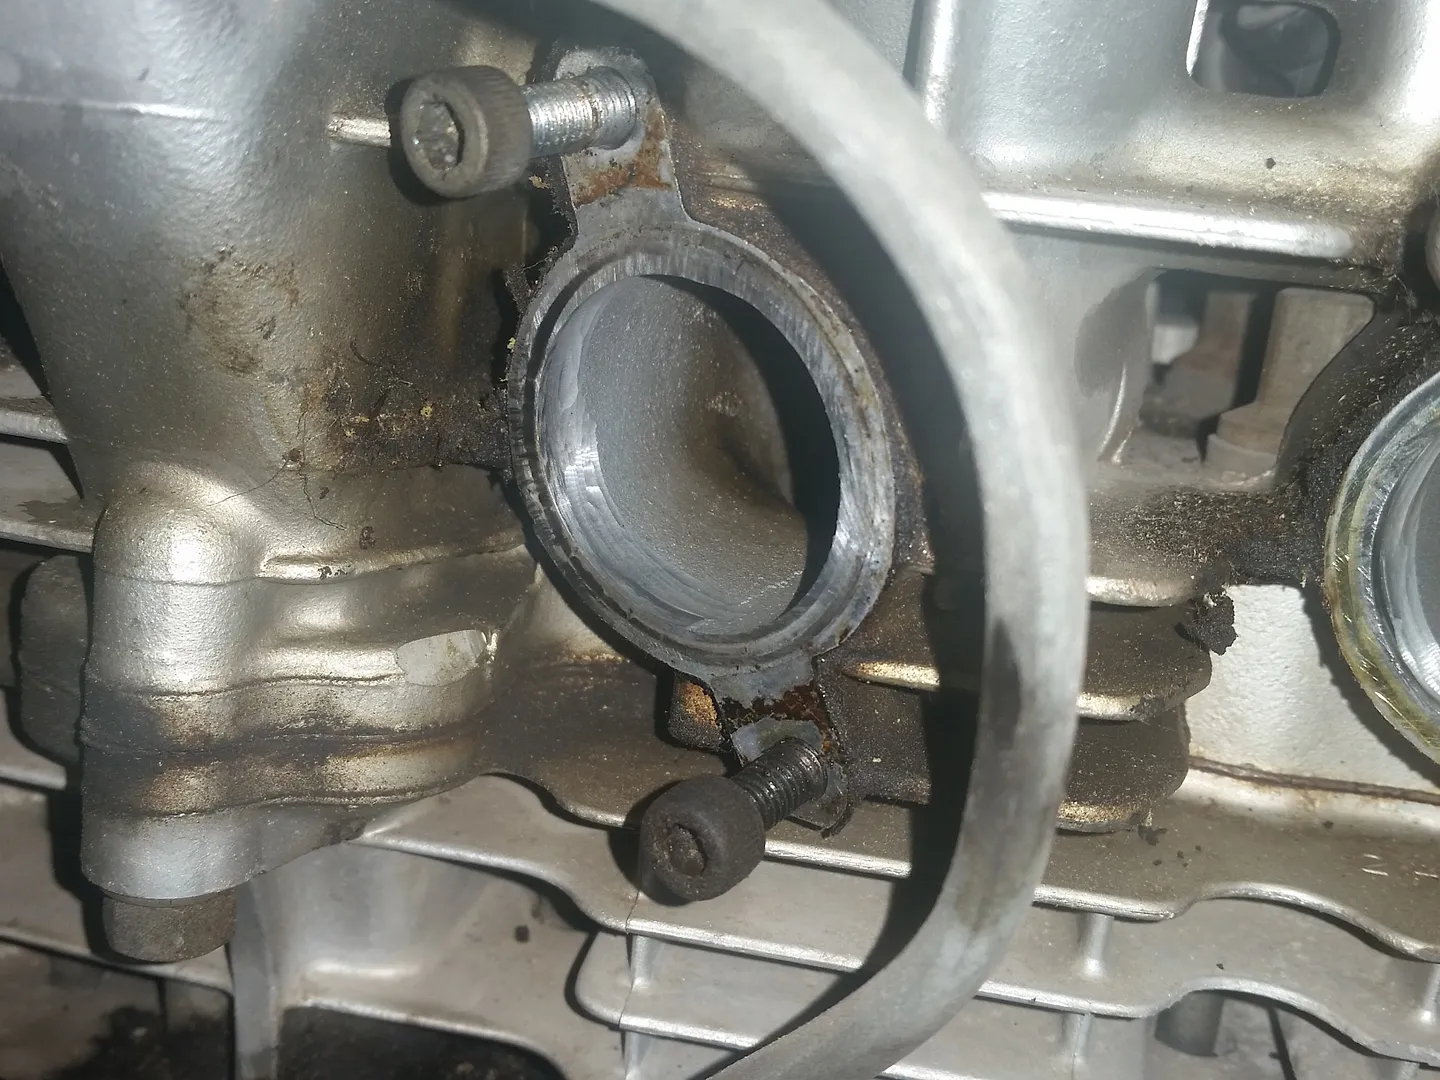
The boots appear to take the liquid electrical tape well, but we'll see how it holds up. I do plan on getting my hands on a new set for next year but am anxious to get it running and funds are limited for the project.

Thanks for stopping in.
Bob78 EComment
-
The carb boots are back on and I cleaned up a little of the oil and grime on the back of the engine while I had the room. Tomorrow morning is the start of the weekend and I plan on getting the carbs back on, charging the battery and giving the engine a try.78 EComment
-
Last edited by MPittma100; 09-14-2016, 08:17 PM.1981 XS1100H Venturer
K&N Air Filter
ACCT
Custom Paint by Deitz
Geezer Rectifier/Regulator
Chacal Stainless Steel Braided Brake Lines
Chrome Front Rotor & Caliper Covers
Stebel Nautilus Horn
EBC Front Rotors
Limie Accent Moves On In 2015
MikeComment
-
Mike,
Thanks for the confirmation of the jets. Because I haven't ridden the xs more than up the block the day I got it, and the previous owner said it ran great when he rode it regularly, I'm going to leave well enough alone unless something comes up during the final tuning.
Thanks,
Bob78 EComment
-
Carbs and airbox are back on. I have the test tank nearly set up but had to quit to complete domestic duties. All in all a good day as I don't usually get much of anything done on my first weekend day off. It's a unique situation, 4 days on, 4 days off, and I work nights. Having 2 young boys, 5 and 2, I can't keep a night schedule during my weekends or I'd miss out on too much of their lives. So I switch back and forth every 4 days, usually getting a nap but most often it ends up being a 30 to 36 hour day. I know many people work swing shifts or extended shifts but I'm now experiencing it and it's a unique way to earn a living.
Sorry for the rambling but I felt it important to include in this thread as it may help explain the starts and stops in progress as well as the random posting times of my posts.
Thanks again for everyone who has stopped in to lend advice or just followed along.
Bob78 EComment
-
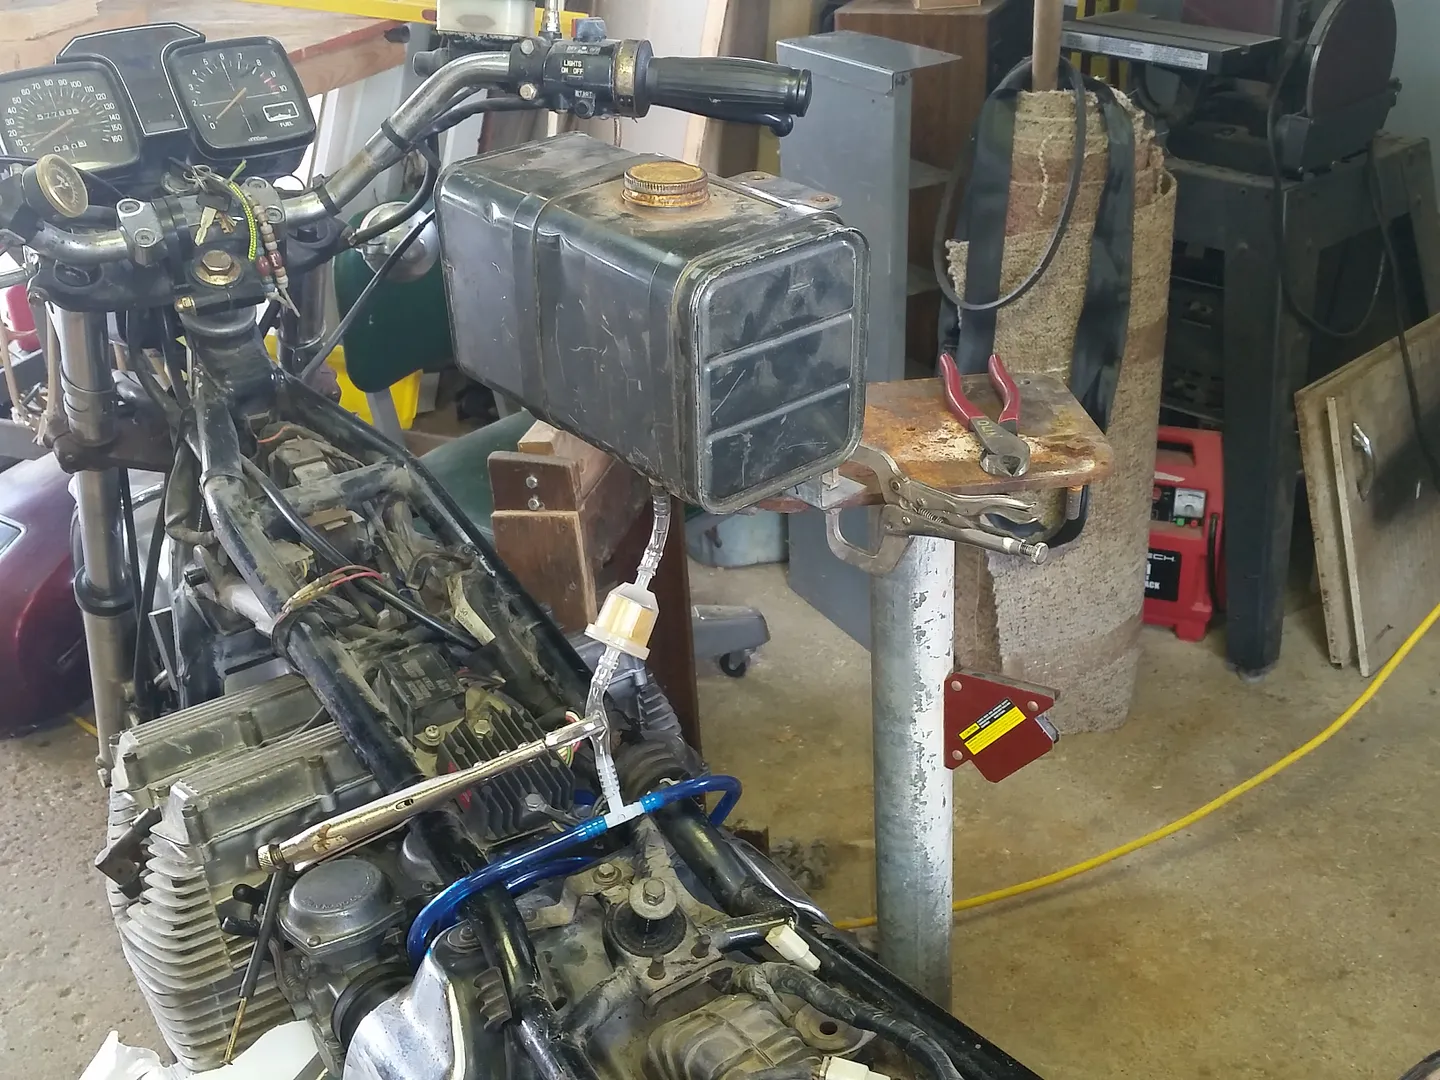
The engine runs! Everything sounded good to the ear during the initial run but I have a couple of items to follow up on- first, the choke doesn't stay in positionn it slides back to off. I had to hold it with my hand during starting. Second, fuel was leaking between the number one and two carbs. There was no indication ofan issue while it ran. The first thing I'll do is use the o-ring fix on the tee as the rubber showed visual deterioration when I cleaned the carbs. Hopefully this sorts out the leak, if not I'll just go down the list.
Here's a closer look as my test tank. Just an old one probably from a snowblower with a shut-off, filter and tee. I do need to change the mount, probably going to fab a clamp-post I can attach to the handlebars.
Thanks,
Bob78 EComment


Comment