
I was able to get it out by soaking the piston edge in Kroil then pushing it down. Once it moved I used plastic pry bars to work it out of the bore. There was no rust or pitting on the bore, just sludge in the brake fluid. I'm not concerned with cosmetics at this point, just trying to go through each system and get it road-safe. This winter I'll go through the bike and pretty things up as I see fit. Probably will get stainless brake lines and repaint everything then.
Thanks,
Bob
-
A good trick when using the grease gun is to first fill the caliper with brake fluid, therefore not much grease will be necessary, less cleaning up messy grease.Leave a comment:
-
I used a grease gun to free two seized front calipers. If you push hard enough, a normal zerk fitting of a grease gun will fit over the bleeder nipple and let the grease force the piston out. You then have a small task of cleaning the grease out of the caliper.
Boiling the caliper parts in lemon juice will get rid of all of the rust.
Wire brush on a Dremel to remove the pitting and vulcanized rubber from the caliper bore.
The most difficult part was getting the dust seal to seat properly.Leave a comment:
-
Thanks for stopping by. Getting together sounds like a great idea. I figure my xs should be road-worthy in a few weeks. What kind of shape is your xs in?Leave a comment:
-
Milwaukee Area
Hey there,
I'm an xj rider from Milwaukee. Also doing a restoration on mine. Let me know how yours is going and we can go for a ride some time.Leave a comment:
-
Here are a few pics from last night
[IMG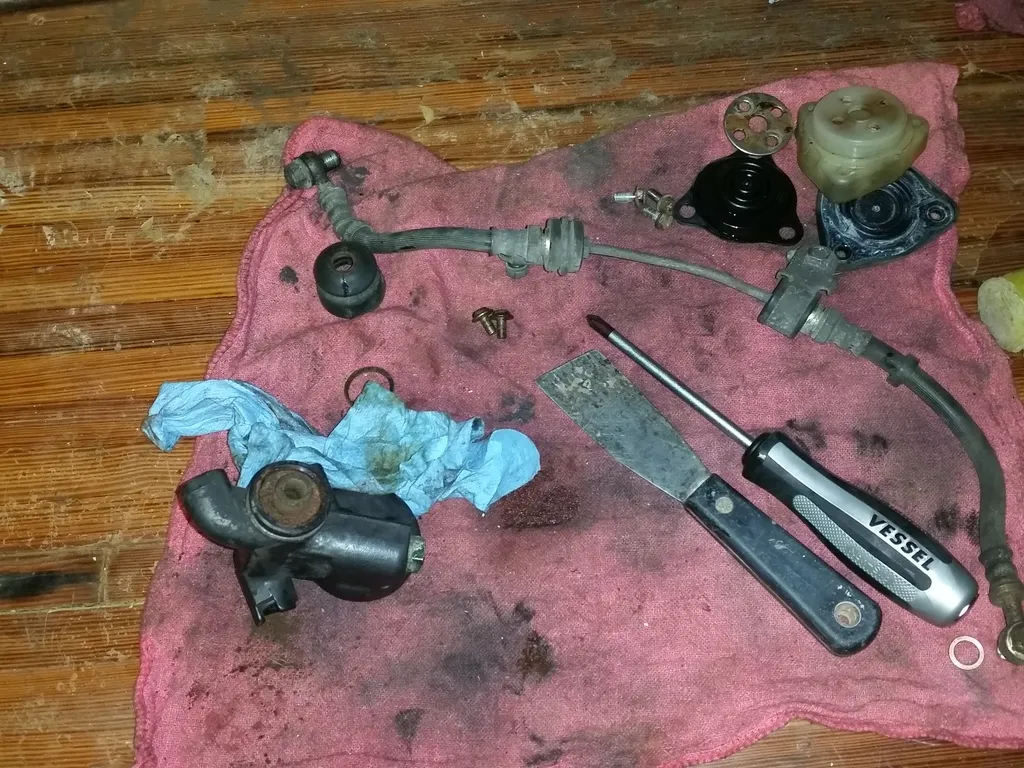 [/IMG]
[IMG]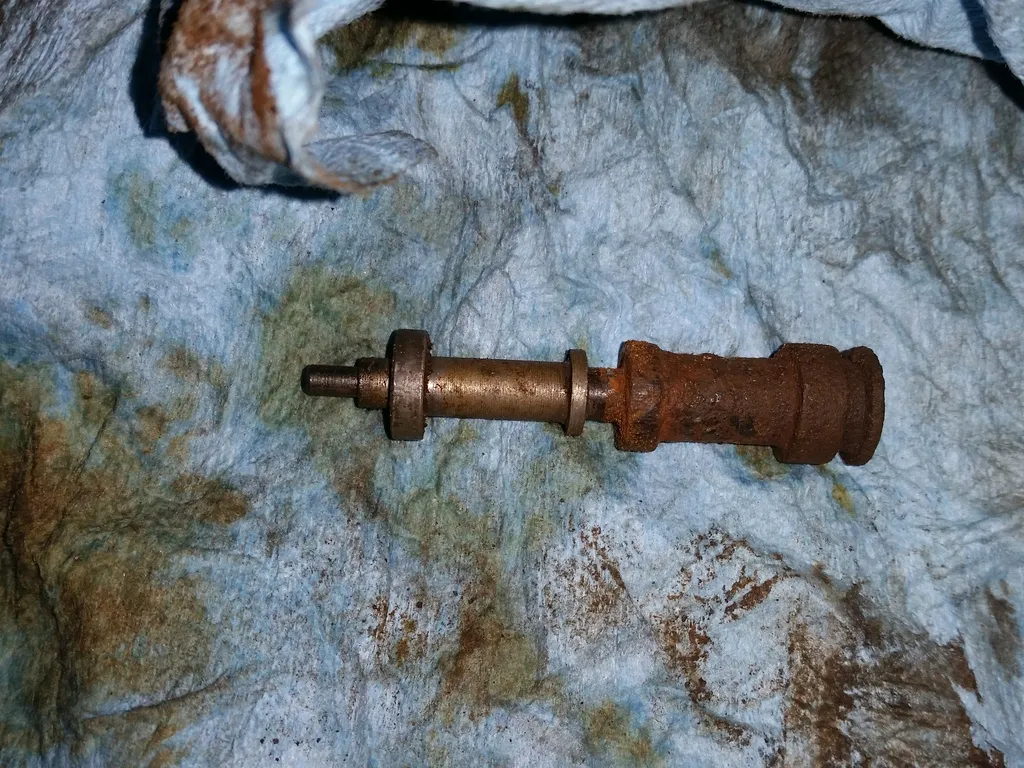 [/IMG]
[IMG]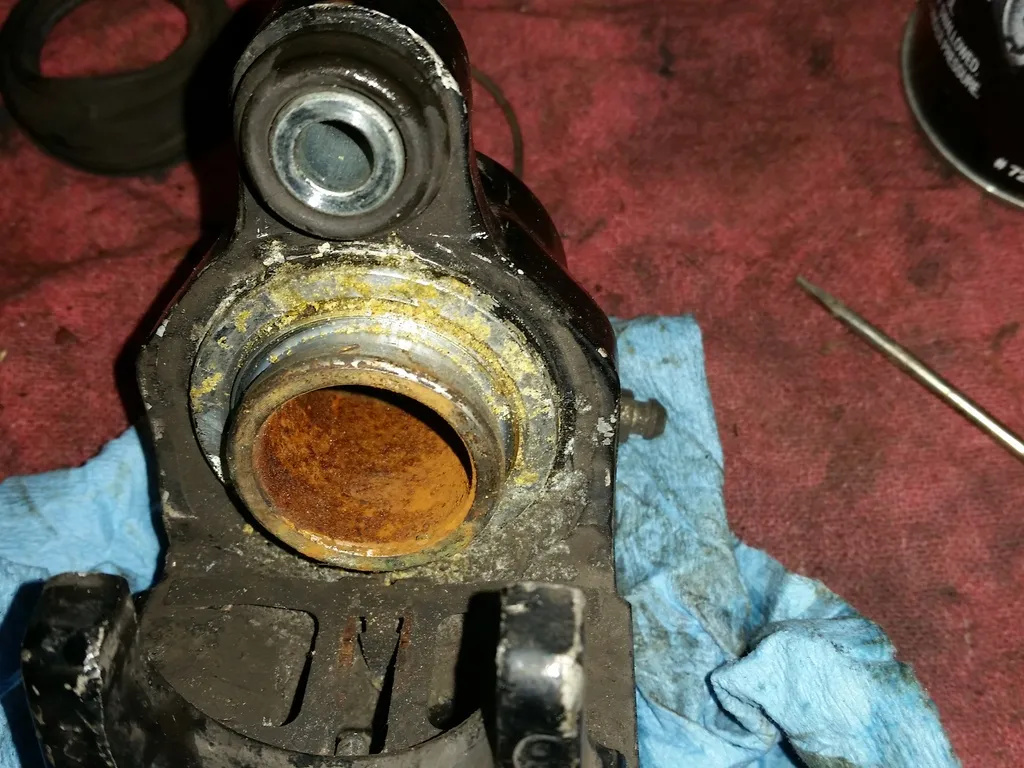 [/IMG]
[IMG]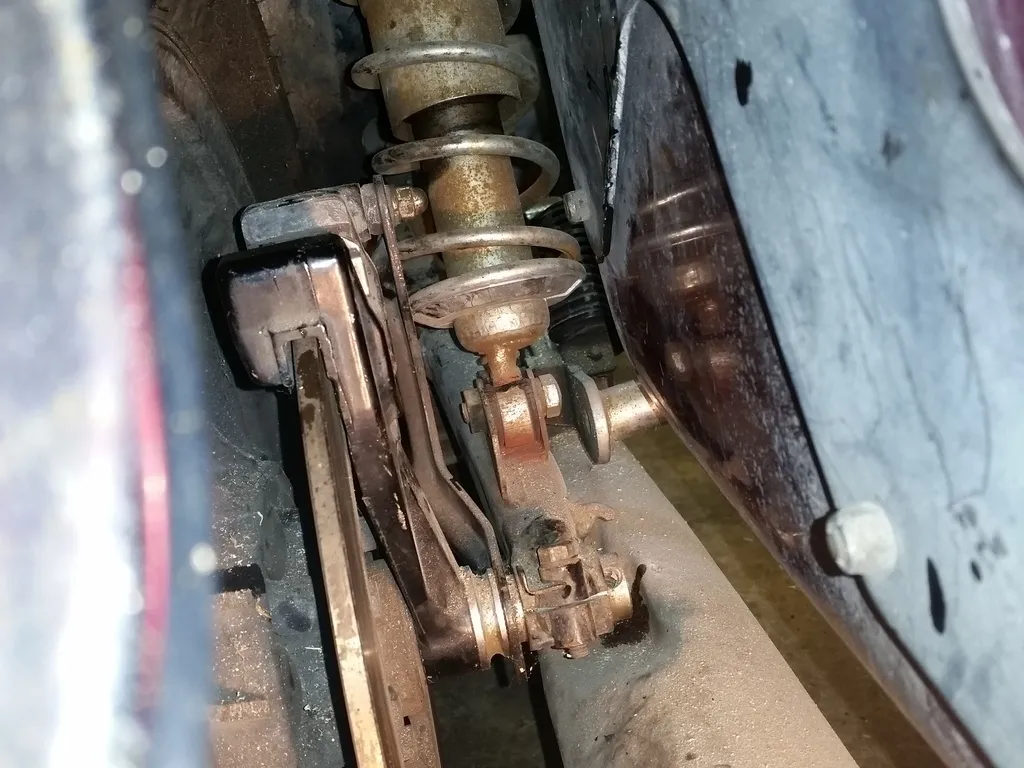 [/IMG]
Leave a comment:
-
Better make sure that tubing you have will handle fuel without breaking down.Leave a comment:
-
I've got a couple short lengths of clear tube, mainly as accessories for my mity-vac bleeder. I will check to see if I have enough to get the bike set, once I reach that point.
I spent the last two hours going through the rear brakes. The master cylinder was rusty behind the dust boot but everything came apart well. The seals and plunger between were in great shape. I cleaned everything and confirmed the spooge hole was clear. Moving to the caliper, aside from some oxidation of the caliper body, the piston and cylinder wall was in good condition as well. There was a bunch of sediment in the bottom of the cylinder but it all washed out fine. I still need to bleed it out but feel good about progress.
While I was in the area I found the right rear shock bottom eye was cracked clean off the shock body. Looks like I'll be buying new shocks sooner than I planned.
I'm a bit tired but have plenty of pictures that I'll post at my next opportunity.
Thanks,
BobLeave a comment:
-
I did all of this work and purchasing back in 2008, so memory may be a bit faded. Its just standard 1/4" line. It was either an auto parts store or at a Walmart. It may be a yellow-ish translucent color. You may find it in the lawnmower section instead of the auto parts section. The fuel filters I used were intended for a lawnmower. These are seasonal at some auto parts stores. In the winter, these items are not on display.Leave a comment:
-
I also had an xj650, my cousin has it now, sitting at his parent's house. If he doesn't do anything with it soon, I may have to get it back.
What material is recommended for the fuel line? I would like to go with clear and have heard tygon is good but would like any opinions.
Thanks,
BobLeave a comment:
-
To give an alternate view of the triple clean carb rule, I bought an XJ650 in 2008. It started just barely and it ran horribly. I adjusted the valve clearances, cleaned the carbs and did a vacuum sync. I rode that bike for 4 years in all temperatures. I rode it in 10 deg F weather and it started in just a couple of revolutions every time. I was on that bike every chance I got for four years.
I only went over the carbs one pass. I took my time and was careful. Having the instructions printed in front of you helps.
I had never worked on an engine like that before in my life so it was all new to me.
I did not require any new parts. Everything original part went back after a thorough cleaning. The one exception was that I made new bowl gaskets from a sheet of gasket material.
I did replace all of the old fuel hoses with new clear hoses to be able to see when the lines were dry for using the prime and I installed an inline fuel filter.Leave a comment:
-
Topcat, thanks for the reminder. I still need to do a lot before I will put the tank back on.
Check / adjust valves
Replace cam chain tensioner
Triple clean carbs
Tune and balance carbs
Full brake system clean
I'm sure I'll find more to do. Although the cycle ran when I got it, it wouldn't run without partial choke, and it hadn't seen regular use in over 5 years.Leave a comment:
-
Hey Bob,
Glad you're still getting it done, but before you put the tank back on, aside from fixing the petcocks, you need to fix the carbs, because the float valves leaked, that's what allowed it to get fuel in the oil. Keep at it!
T.C.Leave a comment:
-
Good evening,
After too long away from the XS, I have finally been able to do a little bit to the bike. I changed the engine and middle gear oil and drained out the gas tank. The tank is very clean inside, but the right petcock appears to have been leaking as the engine oil smelled more like gas than oil. Neither the engine nor middle gear oil I drained was anything close to what should have been in there. The middle gear drain plug had a small amount of fine dust attached to the magnet but no shavings or larger particles. So far so good. I'll get the final drive fluids done next and then move on to the brakes. If things continue as I hope, the bike should be ready for a road test in a couple weeks.
Thanks again to all who have contributed to the site as it has been a wealth of information.
BobLeave a comment:
-
Well, it's been a while since I last posted here. I have had several domestic projects that took priority over getting the garage cleaned and organized and working on the xs1100. I've finally started insulating and paneling the garage so I hope next week I will be able to begin going through the bike. I have been busy collecting parts that I believe I may need. So far I have the full bearing set as noted above, oils, oil filters, a valve shim tool, barnett clutch springs, and a venture acct. With everything, I'm hopefull that it will only be a couple night's work to get the bike safety checked and tuned. I still plan to ride the xs to work at least once this fall.Leave a comment:


Leave a comment: