
I already removed the shaft and starter clutch last night no problem. I also still have the o-ring and tube that's not in the picture.
I was able to remove the lower half without removing the rotor which has been a complete bear to remove. My current gear pullers are not getting a good hold of it so I'm going to have to fabricate something. Would have done it today if it was a little warmer. It takes a while for the heater to warm-up the garage. The crankshaft will not come out with the rotor on and I don't want to just hit it. Might damage the crankshaft bearings with the lateral force.
As for the copper color on the bearings, that may just be the crappy oil. Anyway, I would replace the bearings and seals anyway while I have the case open. small price to pay to avoid opening it up again.
-
-
From the pics, looks like crank bearings 1-3-5 have some copper tint. If so, they need replaced. In your top pic, you can see the gear that goes on the shaft holding the back of your Hyvo chain. Just unbend that washer holding the nut, remove that nut and gear, then you can slide that shaft out the other side, then you can pull the crank and chain out to get to the other crank bearing halves.
Also, the O-ring for the top shell oil feed tube is missing. I hope you kept track of it. Notice the large bearing in the back with the outer gear that drives your middle drive. Notice that just has one half of a ring for the groove. One half of that will stay in each case half, just like you see, on reassembly.
I see you got the cases split with the rotor still attached. For those with an XJ motor, the way the rotor is designed, you have to take it off before you can split he cases.Last edited by trbig; 12-24-2013, 07:27 PM.Leave a comment:
-
-
Here are the photos of the split case. That didn't take much work. Just a lot of hits with a rubber mallet.
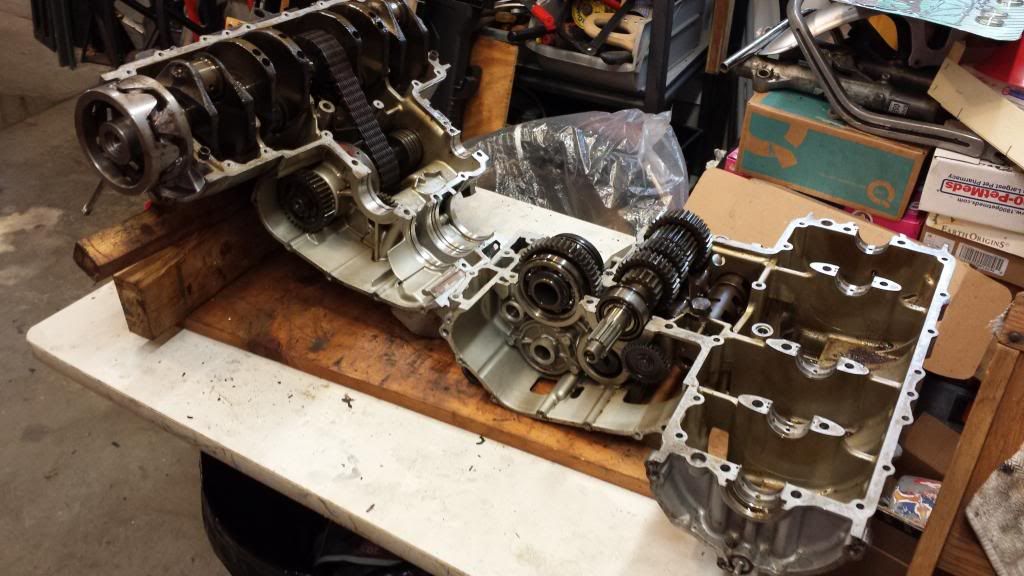
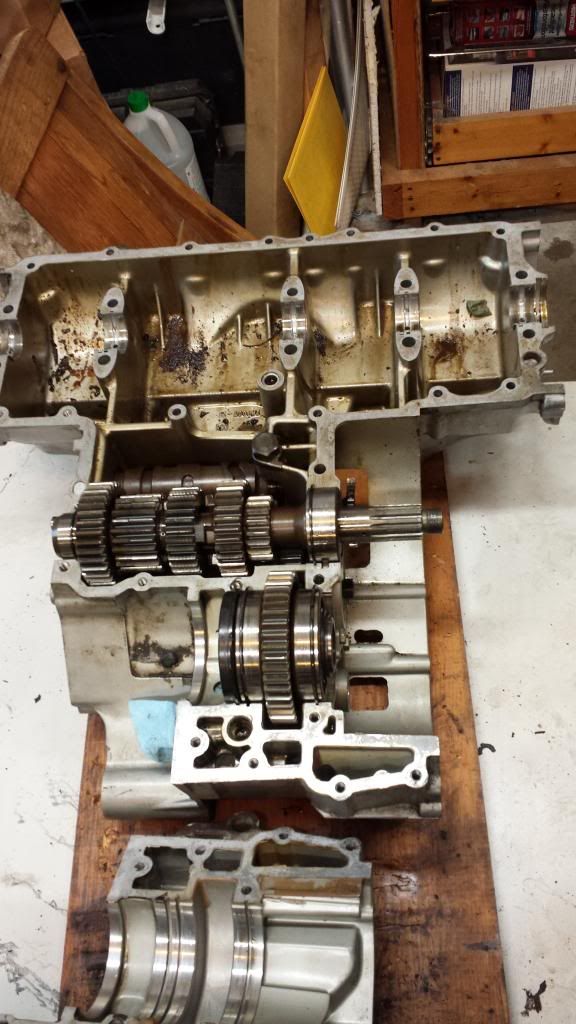
Since I took these, I have removed everything in the top half (except the posts). I don't plan to go any further with the transmission other than to remove the one set of gears.
This was loads of fun (seriously). I can't imagine that the second engine will be worse since this was the submerged one.Leave a comment:
-
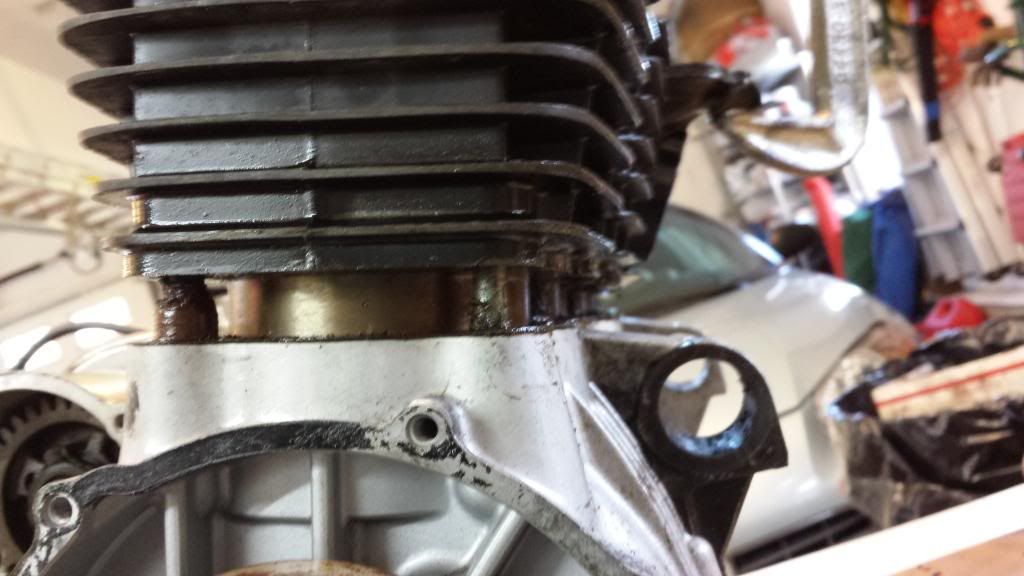
I used a dental pick and some safety wire to clear the area around the posts. I then turned the engine cylinders horizontal and put a large amount of PB Blaster on the seam.
I left my clamp arrangement in place to provide tension. Came out days later and the clamps had fallen to the floor and a small opening appeared. More PB and more tension and it lifted to the shown position. I then had do clear the tops of the posts which took even more work and safety wire.
Since then I have removed the cylinders and split the crankcase.Leave a comment:
-
One fine thread
Boy, was this thread ever an enjoyable read. Dental picks, guitar wire, electrolysis, beat the crap out of it, heat it, weld a special tool, 2x4's, WD40, no WD40, various other chemicals, including Coca-Cola, hook it up to a car battery to make it glow but don't blow yourself up, give up, keep trying, not that kind of hammer, this other kind. What did I miss?
And the best part is that after more than a month of work, he gets the jugs off. Congrats Rich.
Merry Christmas to all.Leave a comment:
-
-
-
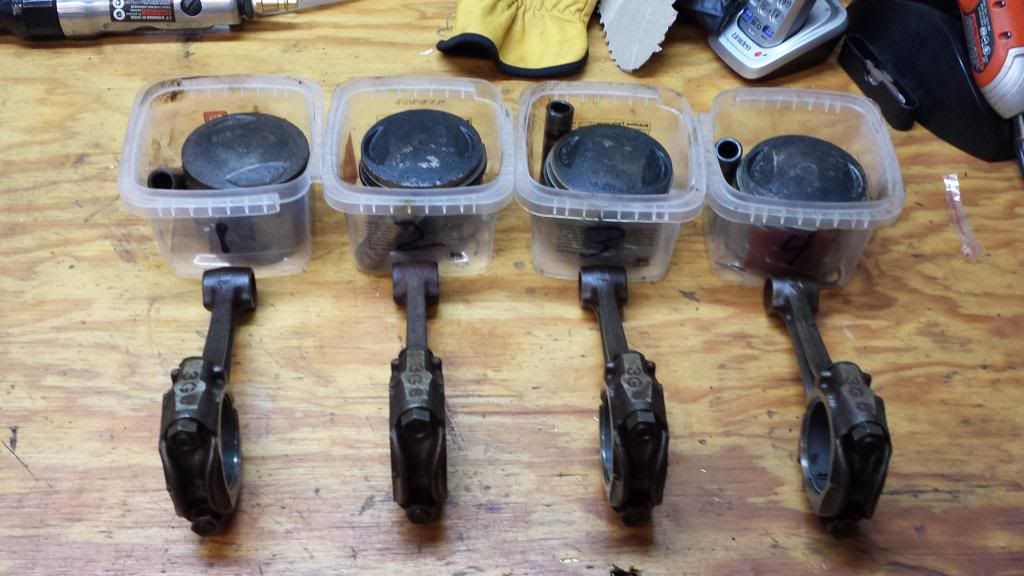
Well I finally got them separated. The hard part was getting them past two of the posts once it was freed from the crankcase. Anyway it's off now and so are the pistons. Next step will be to split the crankcase.
Leave a comment:
-
-
Hi Brian Coca Cola is high in Fructose and Sucrose so you get a real sugar high and the fizz makes you Buuuuuurp The acid must clean out your pipes
 which fortunately are not made of steel

The Aspertame in the Diet Coke on the otherhand will Kill you
Do you know what Fish do in Water ?
I hope you are feeling better and a little chuckle did not hurt your throat.
PhilLeave a comment:
-
-
-
soulutions
believe it or not , ive been using coca-cola for years to do these kinds of things , drench what you need to , 12 hours later repeat , ect. ect. till it comes apart , wont take longLeave a comment:


Leave a comment: