Announcement

Collapse
No announcement yet.

79 Special Cafe Build

Collapse
X
 
  • Filter
  • Time
  • Show
Clear All
new posts

  • 79 Special Cafe Build

    I've been asking questions and reading old posts lately, but I haven't formally introduced myself.

    Bought this bike off Craigslist for $400, it was not running and had clearly been "modified" previously. First, I tried to get the bike running, but it looked like the old battery had died, so I picked up a new one and started troubleshooting. There was clearly fuel and air going in but I was only getting a spark when I shut off the starter, causing a backfire . So then I read up on here about teh Mike's XS coils, but apparently not enough as one of the coils broke when I tried to install it and the other looks ready to do the same. So I ponied up to get the Dyna Coils but that still didn't solve the problem. Here are the original coils and the black spark plug.
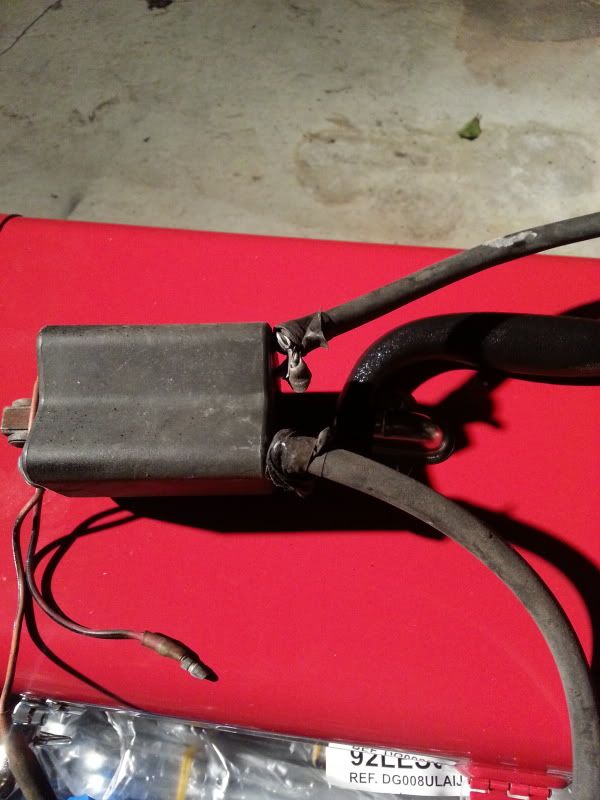

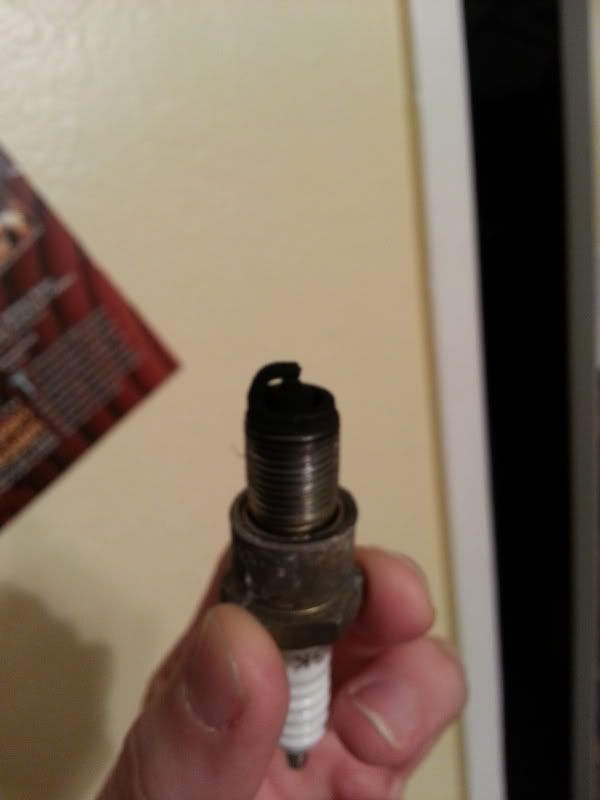


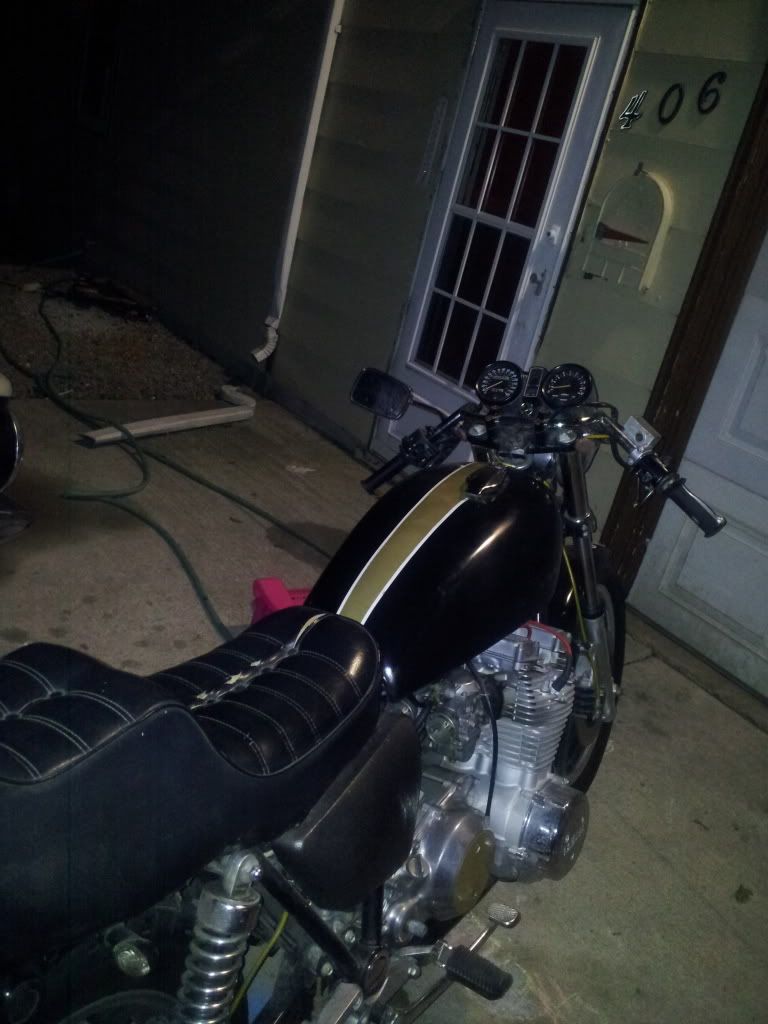
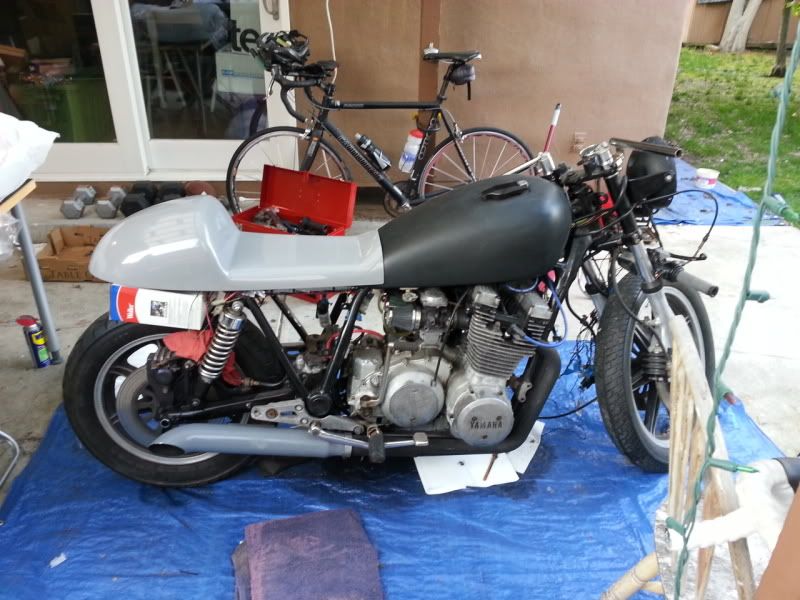
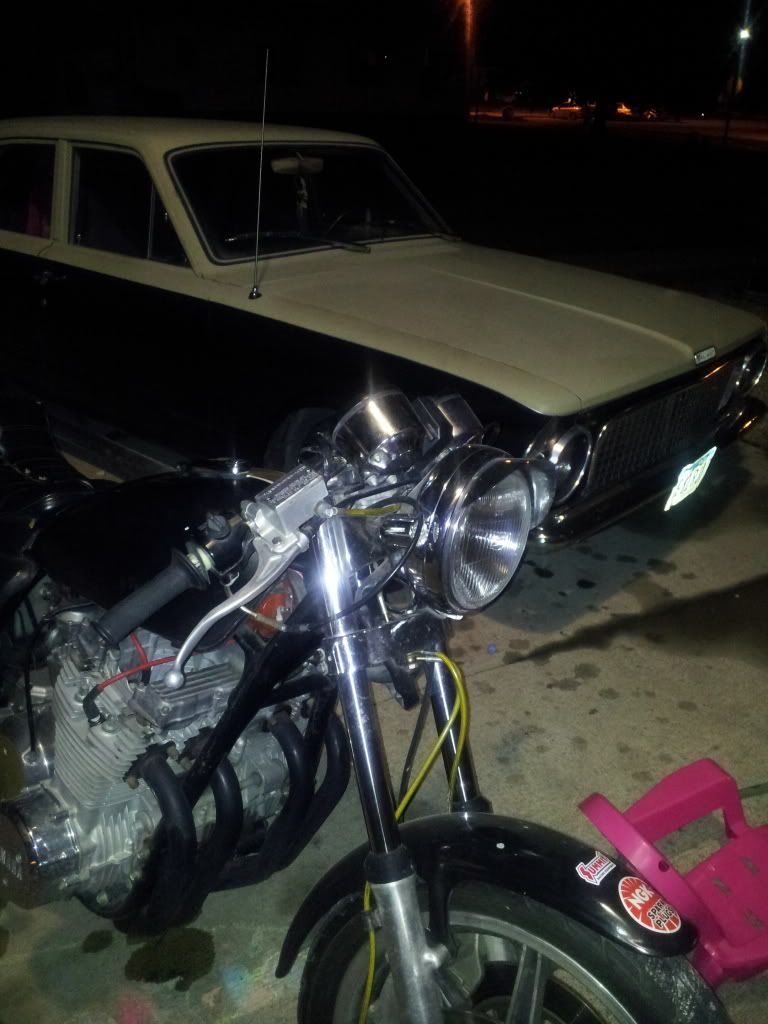
    So now I am pulling apart the bike to track down the electrical gremlins in the wiring harness as well as trim down the accessory tabs on the frame and hide the wiring. Here is the bike as she sat after I pulled the harness.
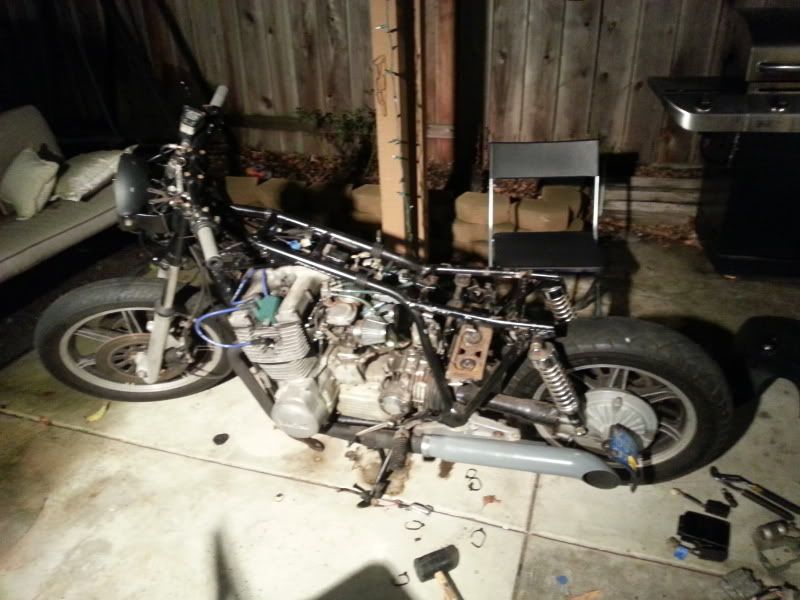


    The wiring is going to take some doing to get right, as there was a horrible rats nest in the headlight bucket and there are butt connectors all throughout the harness that I'll need to take care of as I delete some of the unnecessary circuits.

    So I am just going for a clean retro cafe look similar to this (BTW I know this is a CB750)


    I've been looking around on here and I've seen a few cafe builds, so I am hopeful that this will turn out well, but I've got a lot of work ahead of me.
    79 SF 3H3 Engine, 145/45 Mikuni Jets, El Cheapo Pod Filter Mod w/ EMGO Pods, Coil Repower w/ Dyna Coils, Accell Wires and Side Gapped Plugs, 78 Mech Advance, 4-2 Turnouts

  • #2
    cool project u go there.. i too am in the middle a cafe... ok time to try to answer the questions. with those mods looks like u got basicly an open exhaust and pods. with the pods are the the emgo cheapo brand? if so there is a lip on the inside of the filter that covers up the air jet on the carbs. also woth the mods u will have to tear down the carb and rejet. if ur backfiring means u got unburnt fuel exploding in the exhaust. black plugs could mean ur running very rich and or ur burning alot of oil. hope some of this helps.... very helpful crew here. have fun... here is mine

    [IMG][/IMG]


    https://www.youtube.com/watch?v=EGm84ccRNbc

    as of now i got the seat sent out to get redone and with taxes im planing on buying some raask rear sets
    Last edited by lee_dutcher; 01-26-2013, 04:27 PM.
    _____________________________________________ 1979 XS 1100 Special "The judge" mods- K&N air pods, 4-1 mac, 147.5 pilots, 57.5 mains, LED turn signal, cafe bars, HEL translucent yellow stainless steel brake line, dyna coil (dc2-1), raptor 660 mc, r6 controls..(sold)

    1982 gs1100e "all business" cafe project
    1980 gs1000g "stock"
    1982 honda express "stretched 10 inch(my daughters scooter)
    2008 jmstar 150cc Chinese scooter ( wife's bike)

    Comment


    • #3
      Omars have a nice cafe seat and fender.

      http://www.omarsdtr.com/cafenew4.html

      Comment


      • #4
        Not to send you chasing irrelevant things, but have you checked out your pickup coil wires?
        '81 XS11H Venturer - holed up in storage while life happened since 07/08/04
        '81 Kawasaki KE175 enduro - 63 mph of smokey fun, now with collector plates!

        Comment


        • #5
          I looked them over, and they looked like they had been replaced. There is an additional loop of wire (making the pickup coil harness longer) and the wires look pristine. I even pulled on them and they didn't stretch.

          After pulling apart the harness it looks like there were some shorts and burned wires, so I definitely have to R&R the harness. Once I make sure that that is not the problem, I will start looking for other causes.
          79 SF 3H3 Engine, 145/45 Mikuni Jets, El Cheapo Pod Filter Mod w/ EMGO Pods, Coil Repower w/ Dyna Coils, Accell Wires and Side Gapped Plugs, 78 Mech Advance, 4-2 Turnouts

          Comment


          • #6
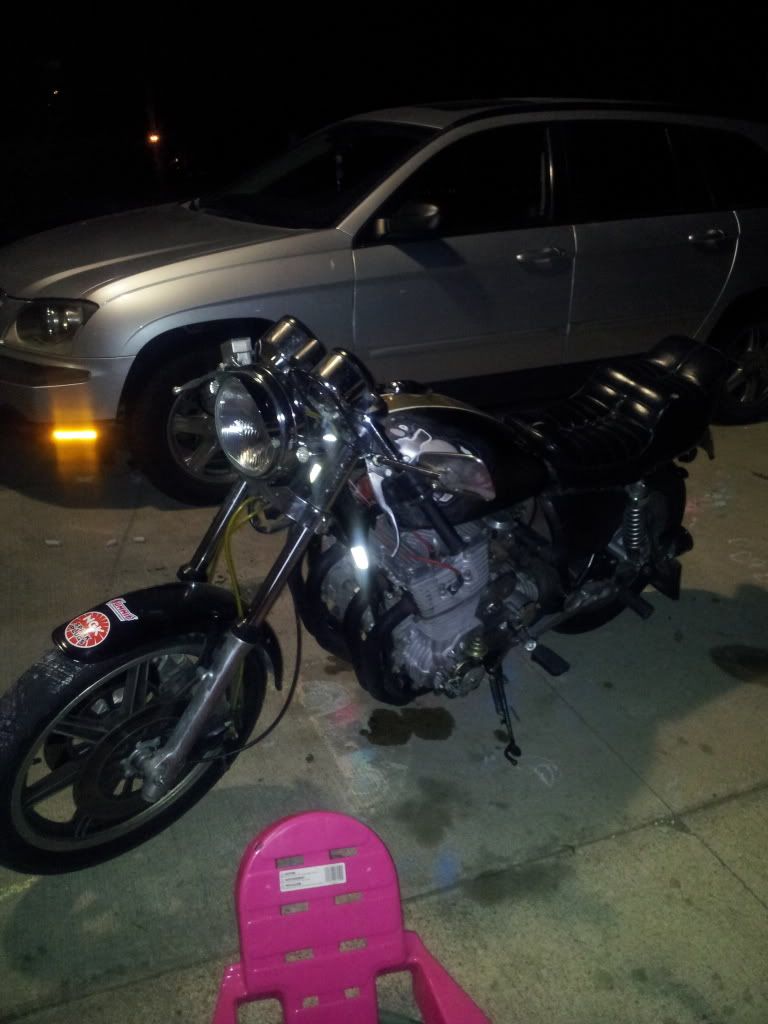
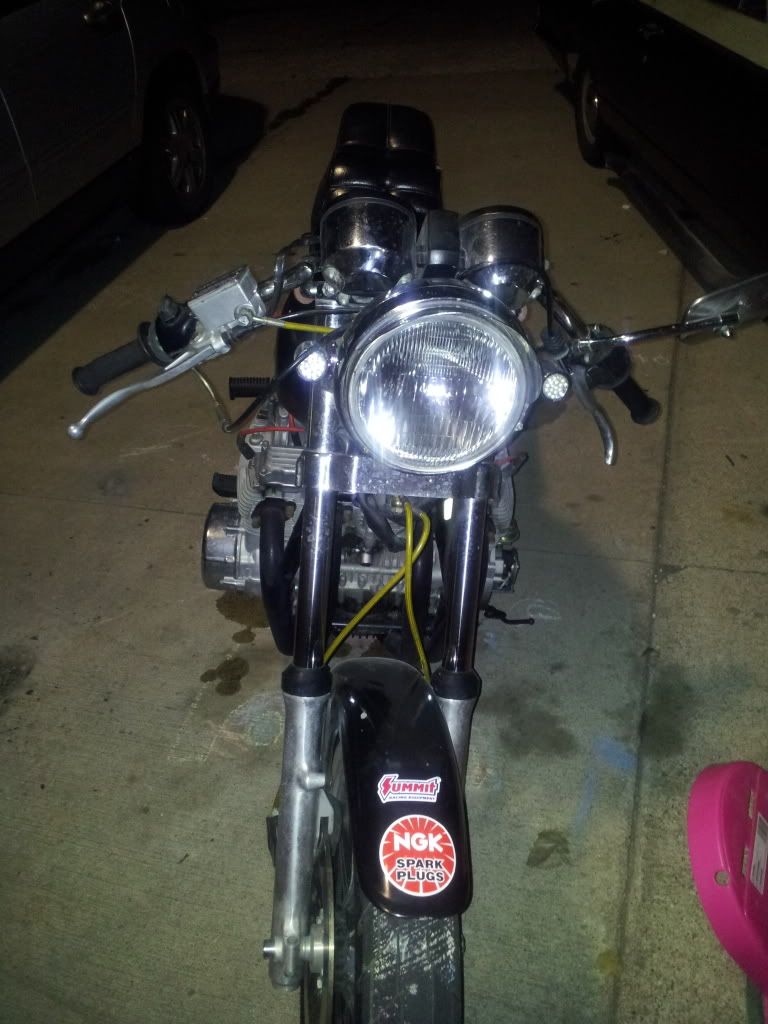
            Progress Update

            I've made a lot of progress lately.

            Redid the wiring harness
            Larger guage power and ground wires
            Dyna Coils and Accel Wires
            Clip-ons
            Lowered the front forks
            Deleted battery holder and frame tabs

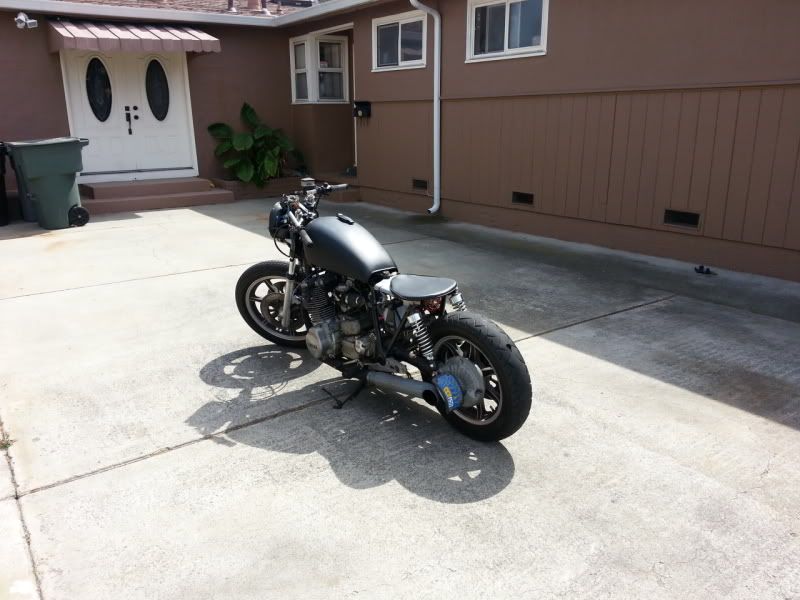
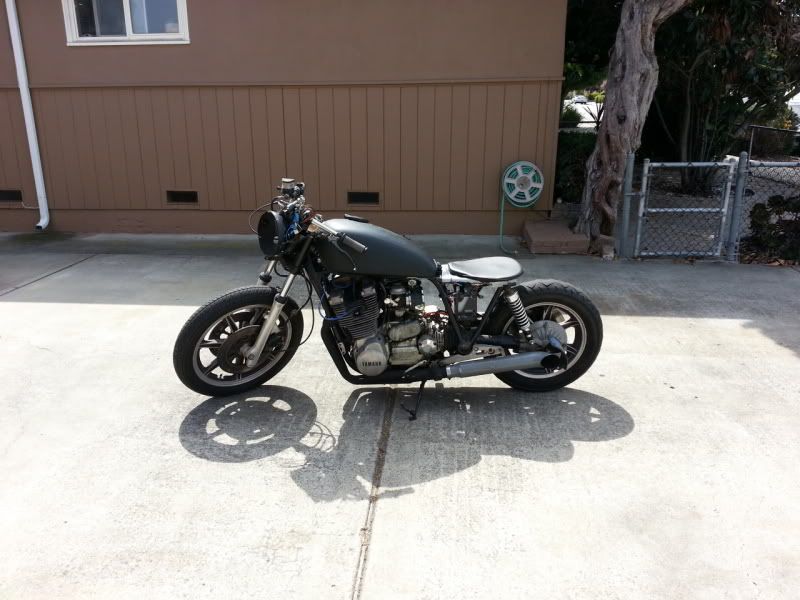
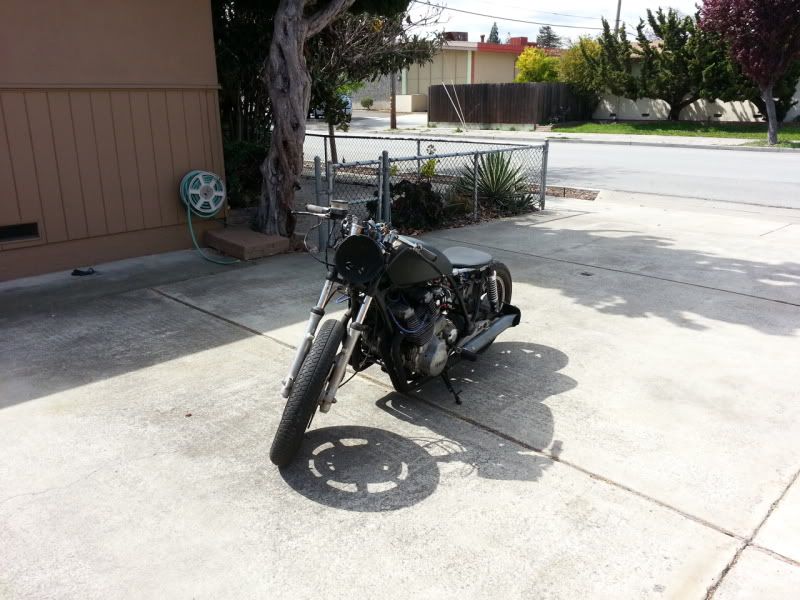
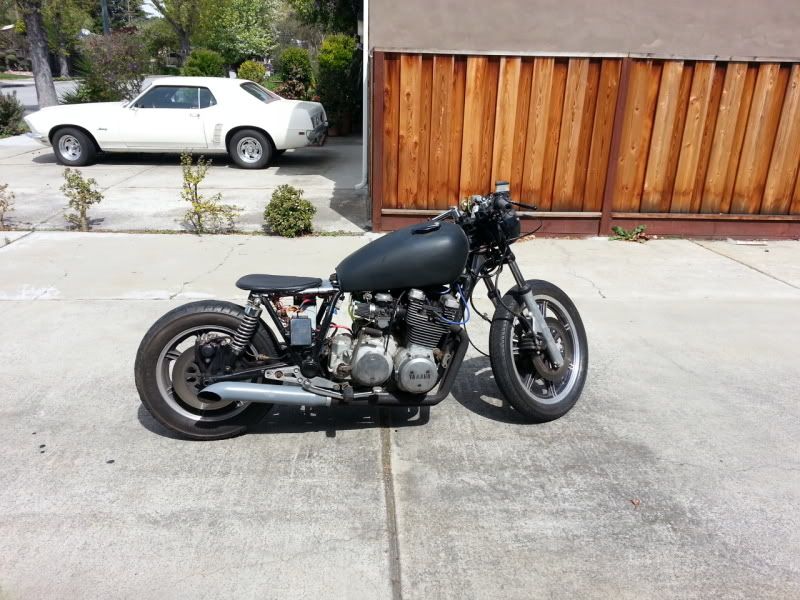
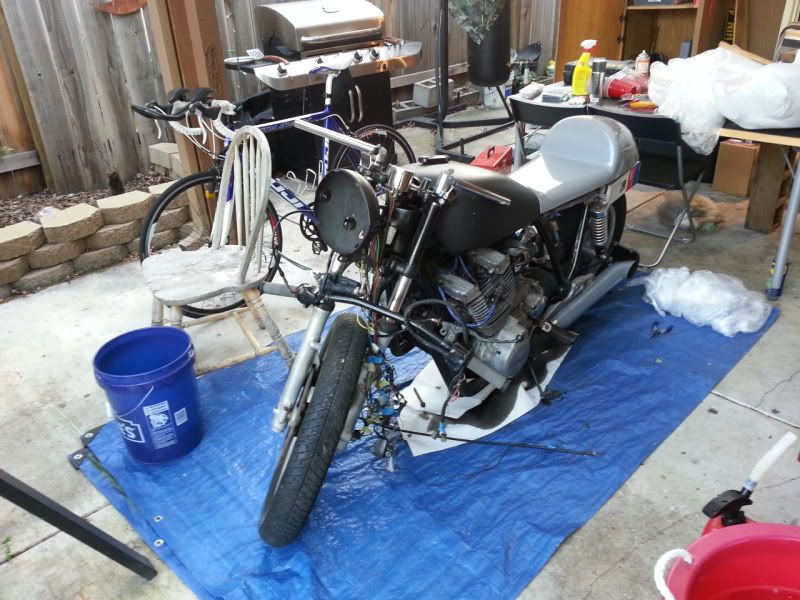
            So now I need to have a seat pan and rear hoop welded in and then mount the cafe seat that I have sitting in my back yard and mount the relays, fuses and TCI.

            Here are some pictures of the progress:


            79 SF 3H3 Engine, 145/45 Mikuni Jets, El Cheapo Pod Filter Mod w/ EMGO Pods, Coil Repower w/ Dyna Coils, Accell Wires and Side Gapped Plugs, 78 Mech Advance, 4-2 Turnouts

            Comment


            • #7
              standard tank

              i think the standard tank has more of the cafe feel to it (just a suggestion). the bike is coming along nicely keep up the good work.
              xs1100 hartail bobber

              http://i1169.photobucket.com/albums/...-38-36_563.jpg

              Comment


              • #8
                Do you mean something more like this?


                I still need to clean the rust out of it and patch some holes, but that can wait while I finish the frame, clean the engine and cover the wiring harness.

                I'm really hoping to have it done, minus the paint by the end of April.

                Any ideas of the best way to clean the carbs in-situ? I was getting a lot of backfiring and could not keep it running without keeping on the throttle. The bike was clearly sitting for quite some time, so I think there is some varnish in the carbs.
                79 SF 3H3 Engine, 145/45 Mikuni Jets, El Cheapo Pod Filter Mod w/ EMGO Pods, Coil Repower w/ Dyna Coils, Accell Wires and Side Gapped Plugs, 78 Mech Advance, 4-2 Turnouts

                Comment


                • #9
                  Originally posted by spayne83 View Post
                  Any ideas of the best way to clean the carbs in-situ? I was getting a lot of backfiring and could not keep it running without keeping on the throttle. The bike was clearly sitting for quite some time, so I think there is some varnish in the carbs.

                  In your situation, I think the best way to go would be 2 cans of carb cleaner, pull the rack off the bike, pull the tops off, pull the slides(be careful with the diaphrams), pull the idle mix screw (don't forget about the washer, spring and oring), flip and pull the bowls off (careful with those old gaskets, if not torn, reuse), take out the pilot jets and the mains then gently push out the emulsion tubes.
                  Open the choke fully and spray everything. (watch your eyes!)
                  (you shouldn't necessarily need to pull the floats out)
                  I suggested 2 cans, so that you can gauge how much you're using and not run out 1/2 thru the job.
                  I'd use the bowls as little cups to hold the parts from each carb. (and you can soak the parts in there too.
                  Once both cans are empty, reassemble and put back on bike.

                  If you're going with the standard tank then make sure your vac lines are correct for the petcocks, if the special tank, then make sure your vac ports from the carb boots are used and/or plugged.

                  Add an inline fuel filter if you've got rust in that tank!
                  Hi, my name is George & I'm a twisty addict!

                  80G (Green paint(PO idea))
                  The Green Monster
                  K&N A/F, TC's fuse block, '81 oil cooler, TC's homemade 4-2 w/Mac Mufflers, Raptor 660 ACCT
                  Got him in '04.
                  bald tire & borrowing parts

                  80SG (Black w/red emblems & calipers)
                  Scarlet
                  K&N A/F, TC's fuse block, WJ5, Shoei bags, Raptor 660 ACCT.
                  Got her in '11
                  Ready for the twisties!

                  81H (previously CPMaynard's)
                  Hugo
                  Full Venturer, Indigo Blue with B/W painted tank.
                  Cold weather ride

                  Comment


                  • #10
                    I had to add for all those that will read this and say: That's not the best way to clean carbs.
                    This would be my advice for this particular situation.
                    I do agree with most everybody else that carb cleaning should be done methodically and not in a hurry. (and even sometimes at least 3 times)
                    It would be best with a sonic sink or similar, and even better breaking the rack apart, but most of us don't want to go that far. (or can't due to other factors)
                    Hi, my name is George & I'm a twisty addict!

                    80G (Green paint(PO idea))
                    The Green Monster
                    K&N A/F, TC's fuse block, '81 oil cooler, TC's homemade 4-2 w/Mac Mufflers, Raptor 660 ACCT
                    Got him in '04.
                    bald tire & borrowing parts

                    80SG (Black w/red emblems & calipers)
                    Scarlet
                    K&N A/F, TC's fuse block, WJ5, Shoei bags, Raptor 660 ACCT.
                    Got her in '11
                    Ready for the twisties!

                    81H (previously CPMaynard's)
                    Hugo
                    Full Venturer, Indigo Blue with B/W painted tank.
                    Cold weather ride

                    Comment


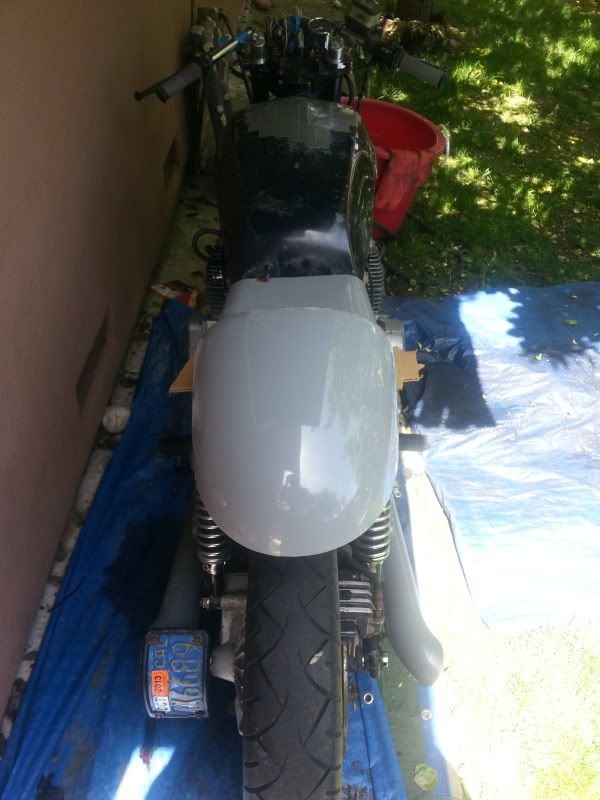
                    • #11
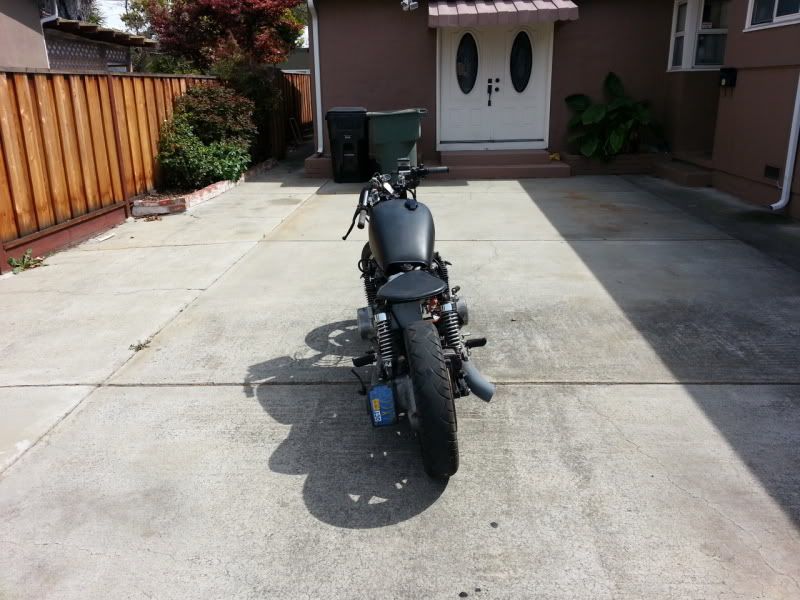
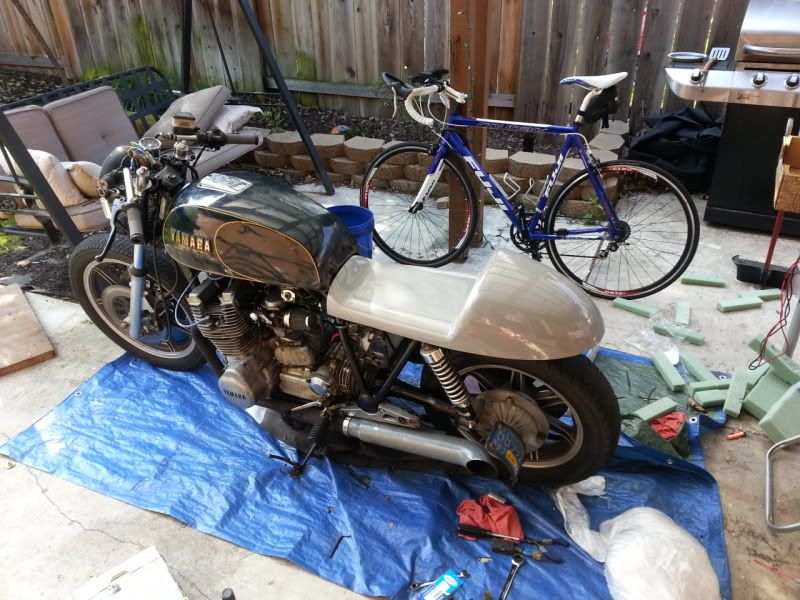
                      It's getting closer...

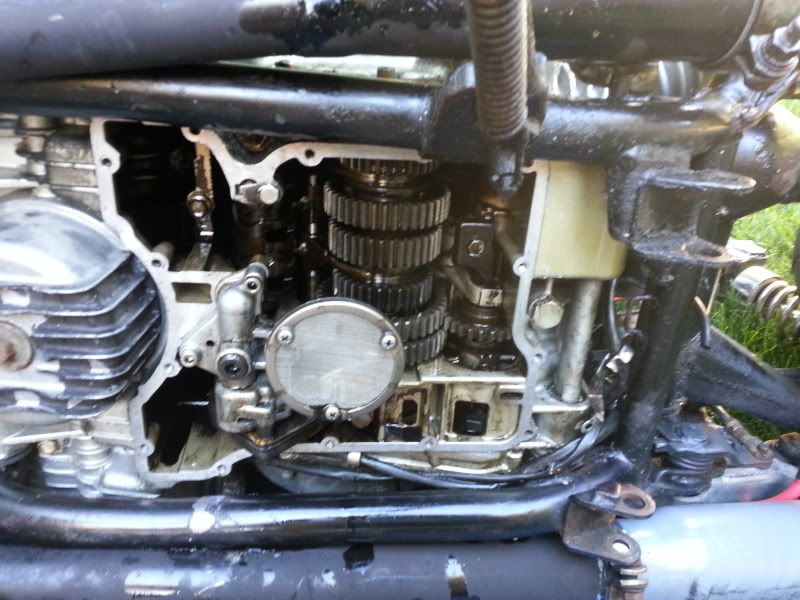
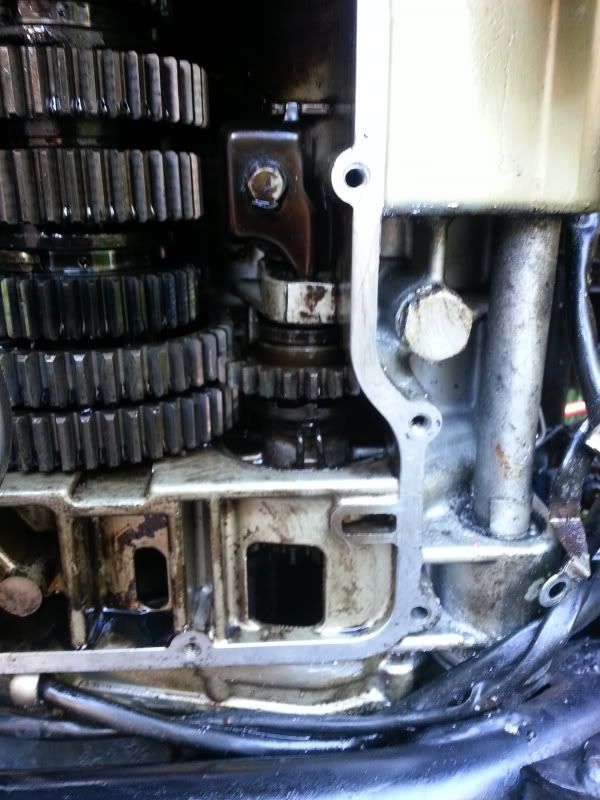
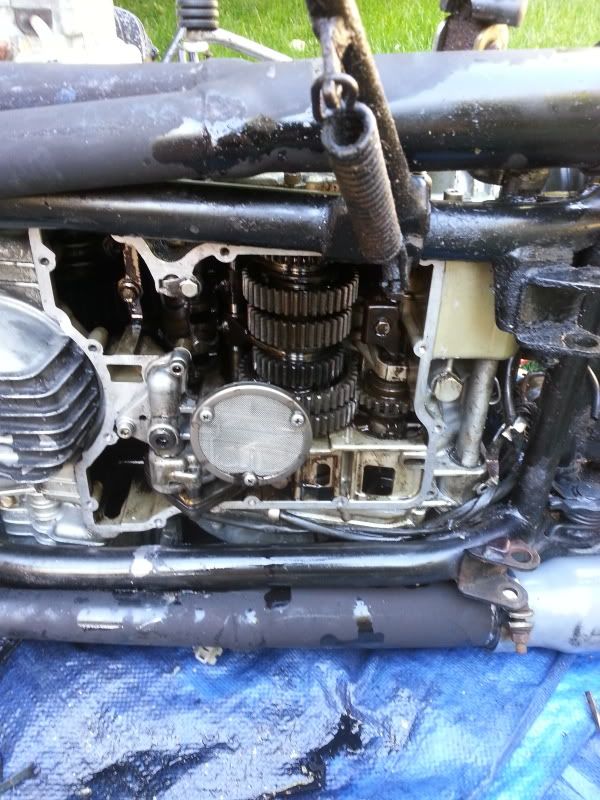
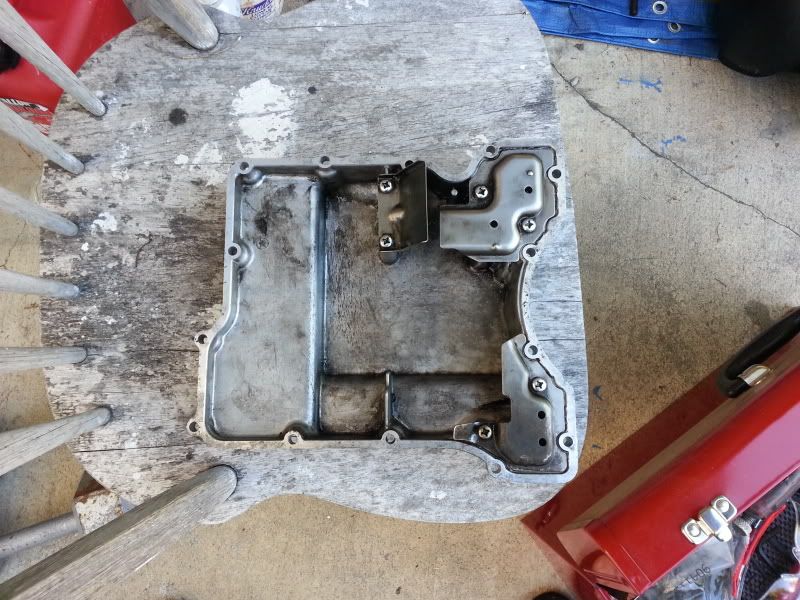
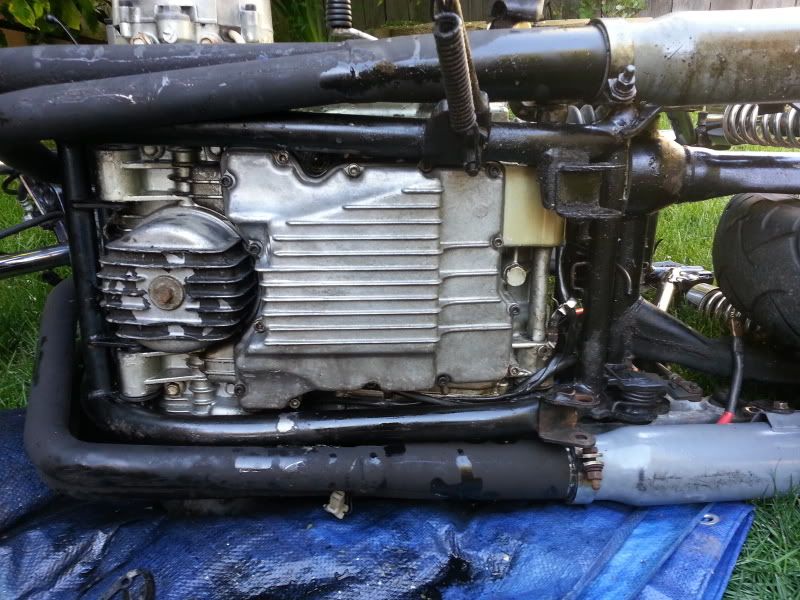
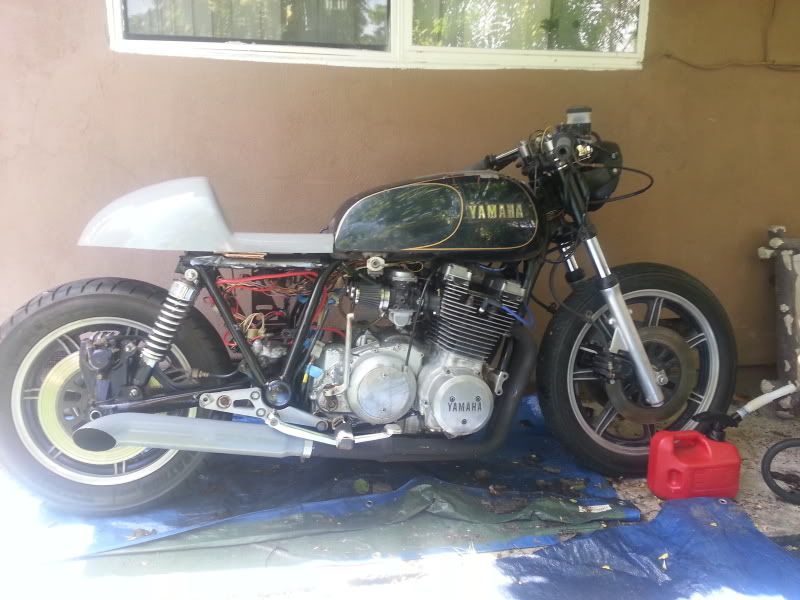
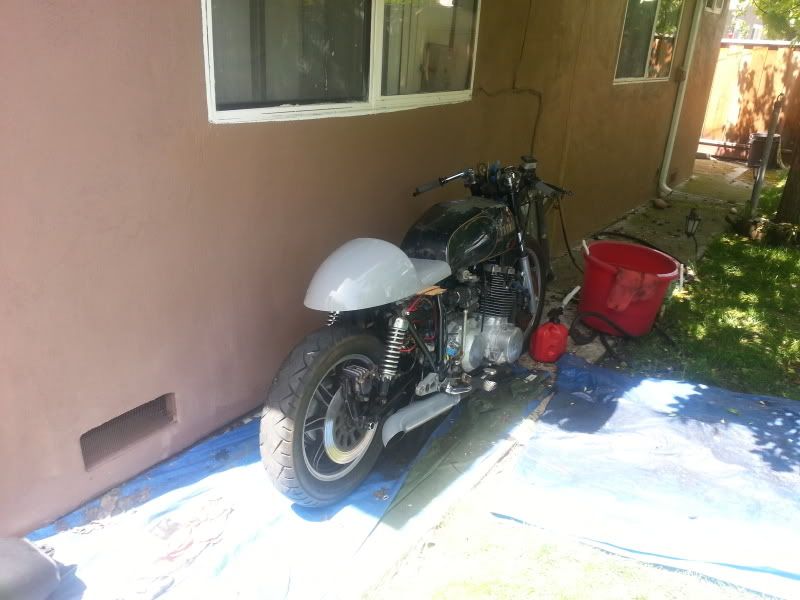
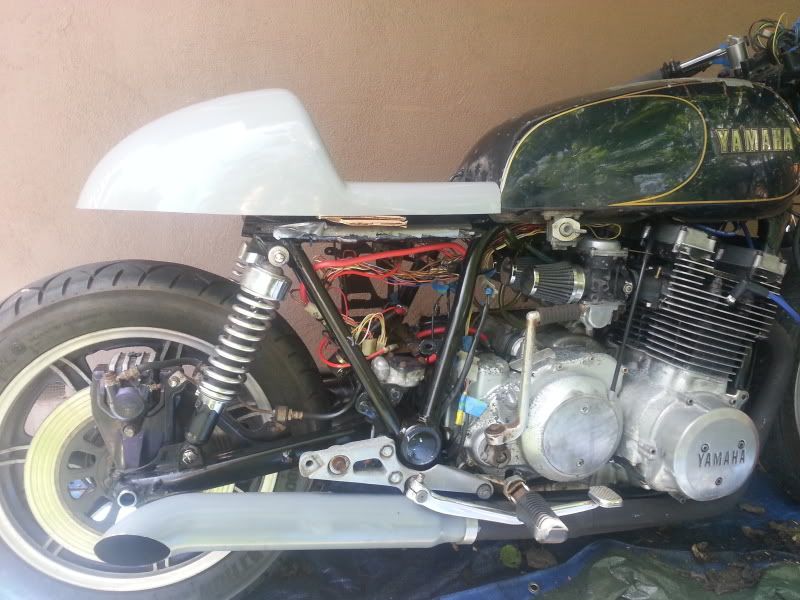
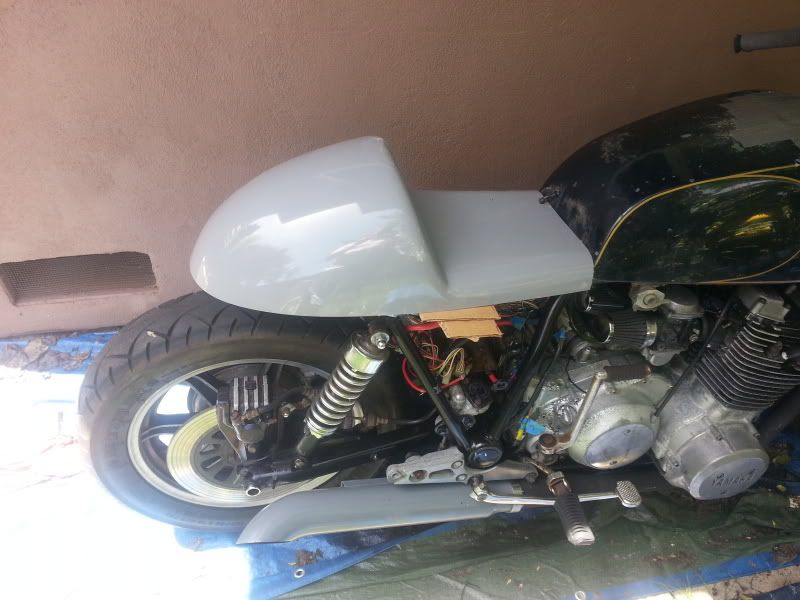
                      I had some time this weekend to do a little work on the bike. Mostly mock up the tail section and try to resolve the oil leak on the bottom.


                      I took some time after taking off the oil pan to spray on some aircraft stripper and take off the flaking paint job. Used "The Right Stuff" instead of a gasket when I put it back together. When I looked, there didn't seem to be a trail of oil from anywhere else, and there was a bolt missing on the oil pan and the gasket was shot (took about an hour to get the oil one off), so I am fairly confident that that is where the leak was from.

                      I think that I am almost settled on the final iteration for the tail section, I just need to blend the from of the fiberglass in with the tank.


                      What do you guys think?
                      79 SF 3H3 Engine, 145/45 Mikuni Jets, El Cheapo Pod Filter Mod w/ EMGO Pods, Coil Repower w/ Dyna Coils, Accell Wires and Side Gapped Plugs, 78 Mech Advance, 4-2 Turnouts

                      Comment


                      • #12
                        like it

                        Originally posted by spayne83 View Post
                        I had some time this weekend to do a little work on the bike. Mostly mock up the tail section and try to resolve the oil leak on the bottom.


                        I took some time after taking off the oil pan to spray on some aircraft stripper and take off the flaking paint job. Used "The Right Stuff" instead of a gasket when I put it back together. When I looked, there didn't seem to be a trail of oil from anywhere else, and there was a bolt missing on the oil pan and the gasket was shot (took about an hour to get the oil one off), so I am fairly confident that that is where the leak was from.

                        I think that I am almost settled on the final iteration for the tail section, I just need to blend the from of the fiberglass in with the tank.


                        What do you guys think?
                        i like it, and the tank looks better because of the knee dents in the tank. in my opinion it gives it more the cafe style you are going for. good job so far keep it up. one thing that helped me through my project was posting the build on here. its good to get others opions and words of encouragement. my family was tired of hearing about my bike, and this is a place where people are as excited as bikes as you are, and dont get tired of talking about them.
                        about your carbs. do you still have the stock jets in the carbs, if you do you might have to change the jets for your set up ( pod filters and exhaust) just a thought .
                        xs1100 hartail bobber

                        http://i1169.photobucket.com/albums/...-38-36_563.jpg

                        Comment


                        • #13
                          rear sets

                          they do make after market rear sets for these bikes too.
                          xs1100 hartail bobber

                          http://i1169.photobucket.com/albums/...-38-36_563.jpg

                          Comment


                          • #14
                            So I am ditching the key switch and going with an aftermarket switch. My question is since the main fuse is 30A, does the switch also need to be rated at 30A? I bought this: http://www.amazon.com/gp/product/B00...?ie=UTF8&psc=1
                            because under the specs it says 30A, but I just got it and it is showing 20A at 12V. Will the switch burn out?
                            79 SF 3H3 Engine, 145/45 Mikuni Jets, El Cheapo Pod Filter Mod w/ EMGO Pods, Coil Repower w/ Dyna Coils, Accell Wires and Side Gapped Plugs, 78 Mech Advance, 4-2 Turnouts

                            Comment


                            • #15
                              Originally posted by spayne83 View Post
                              the specs it says 30A, but I just got it and it is showing 20A at 12V. Will the switch burn out?
                              Yes, eventually... Maybe not right away, but it will be on the ragged edge of full load.

                              Switch ratings can be hard to figure out; they'll usually give multiple ratings both for AC and DC, with the AC ratings being higher. DC is a much tougher usage, so the switch needs to be derated. I noticed they also give a watt rating (55W) which at 12 VDC is only about 4.5 amps. Watt ratings are generally the most accurate/safest for small switches....
                              Last edited by crazy steve; 04-24-2013, 02:18 PM.
                              Fast, Cheap, Reliable... Pick any two

                              '78E original owner - resto project
                              '78E ???? owner - Modder project FJ forks, 4-piston calipers F/R, 160/80-16 rear tire
                              '82 XJ rebuild project
                              '80SG restified, red SOLD
                              '79F parts...
                              '81H more parts...

                              Other current bikes:
                              '93 XL1200 Anniversary Sportster 85RWHP
                              '86 XL883/1200 Chopper
                              '82 XL1000 w/1450cc Buell, Baker 6-speed, in-progress project
                              Cage: '13 Mustang GT/CS with a few 'custom' touches
                              Yep, can't leave nuthin' alone...

                              Comment

                              Working...
                              X