 Tweet
Tweet
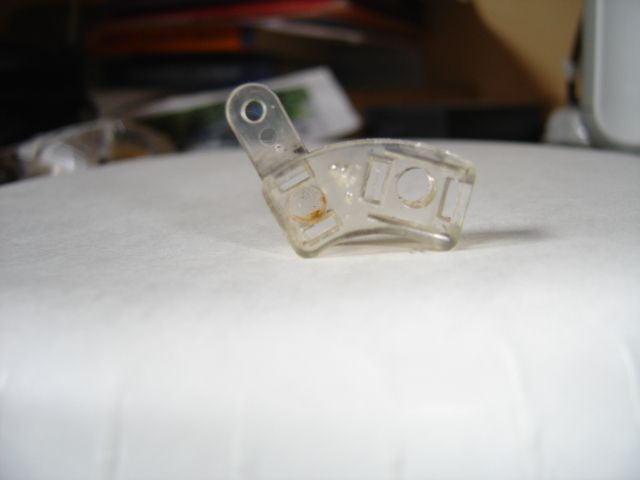
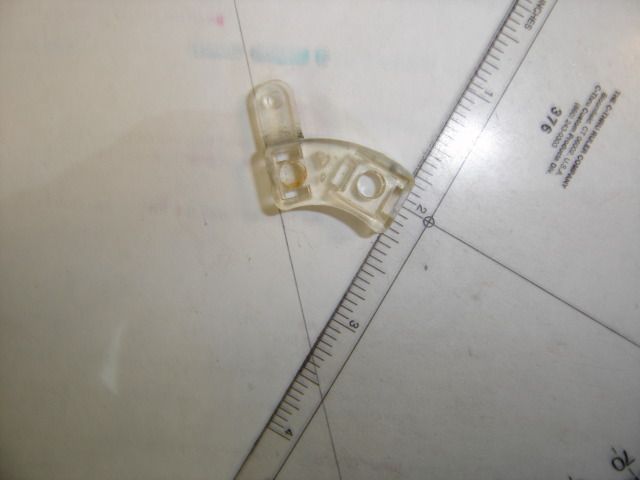
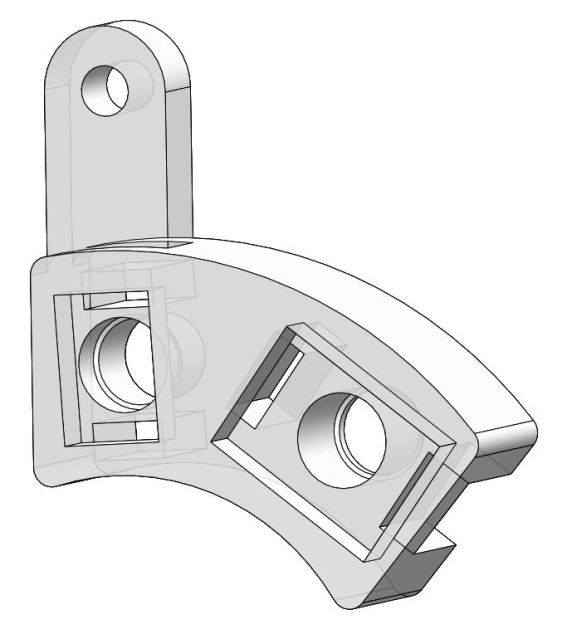
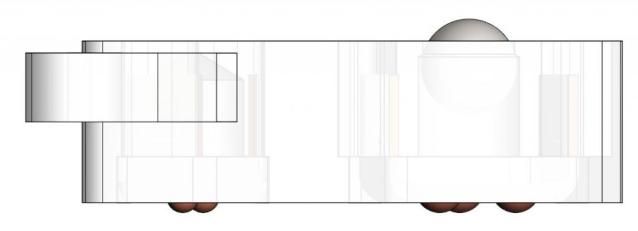
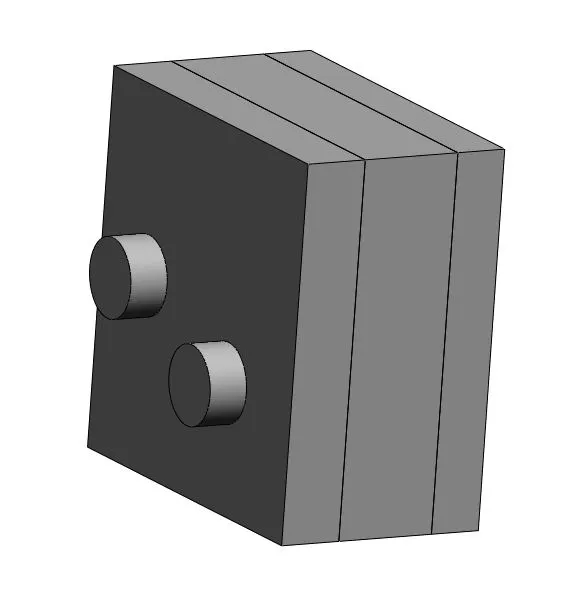
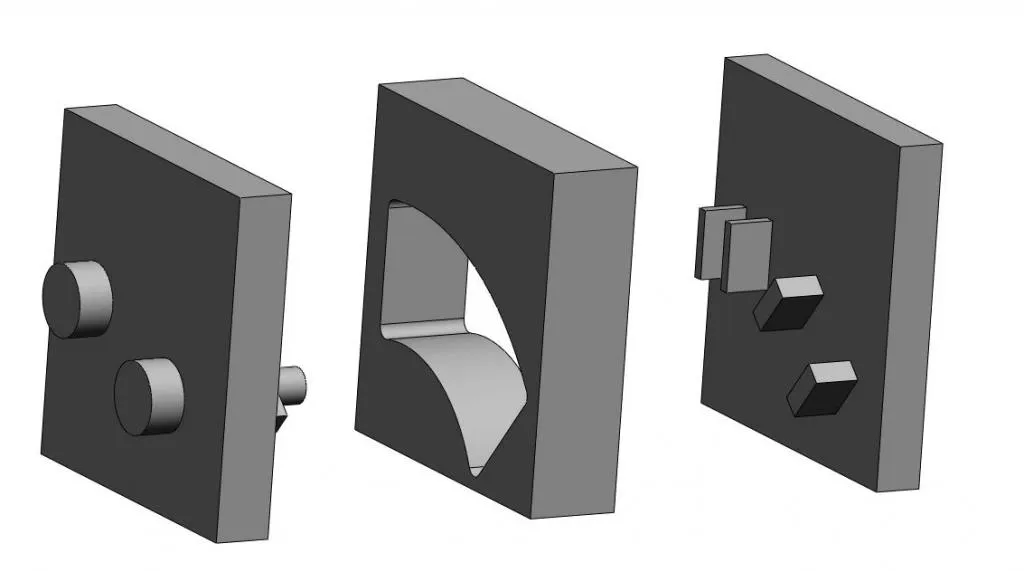
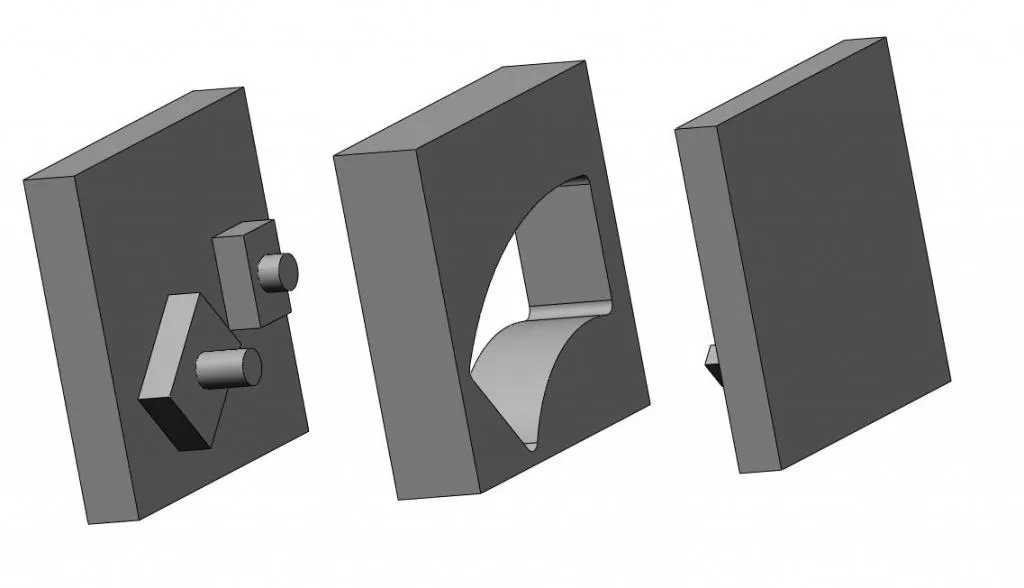
The radial angle and placement (centering) of the tang, that the switch handle screws to, seems to need adjusted.
Also the square bottom bore hole on the left is 6.15mm in depth, from the contact face side and is one size, #7 drill bit.
Right side bore hole is a straight taper but what you have would work.
Otherwise, that's awesome, great job, wish I knew how to do that.
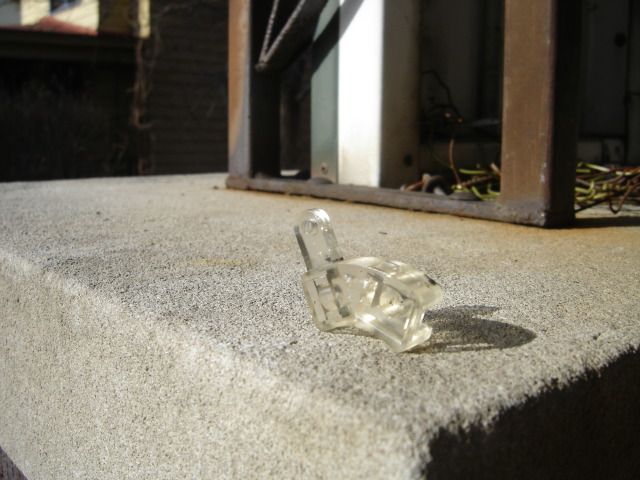
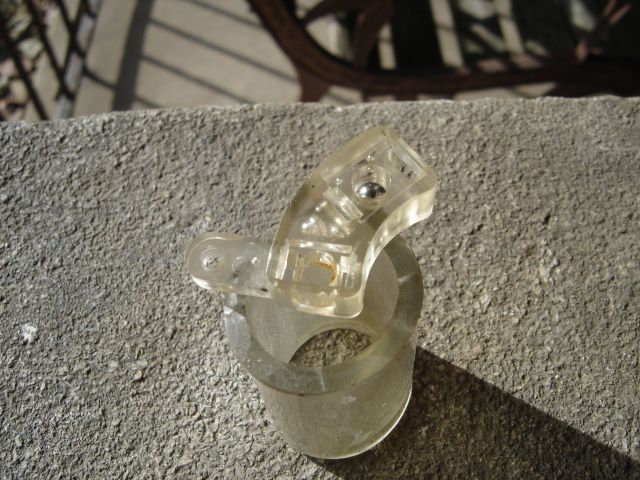
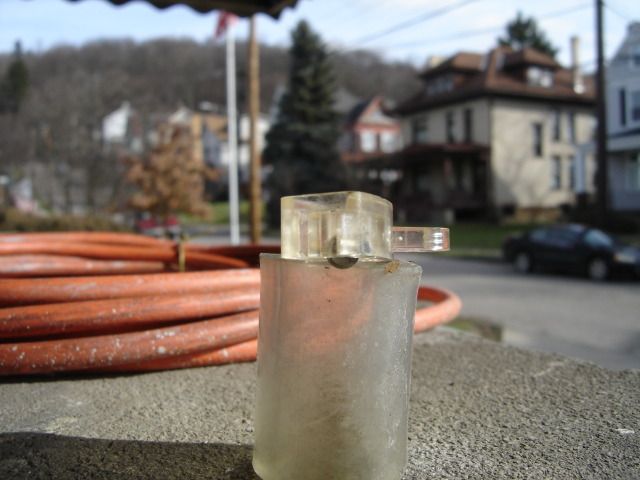
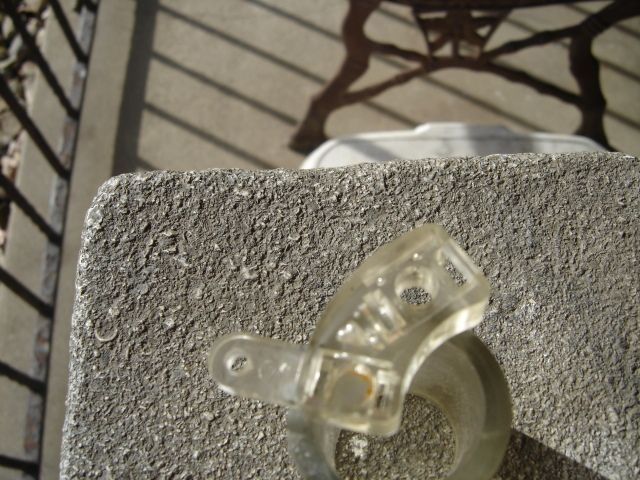
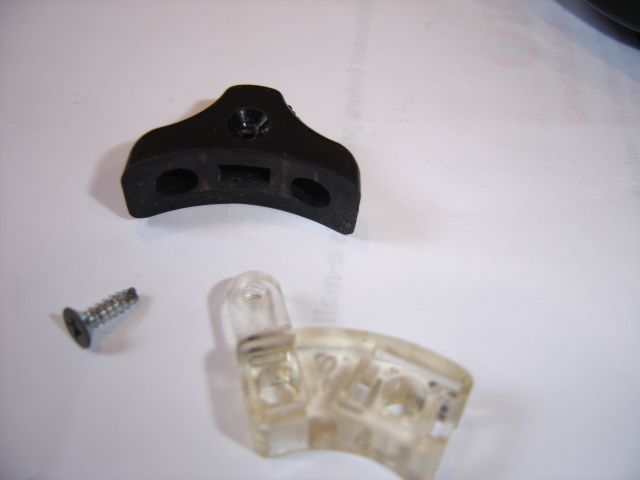
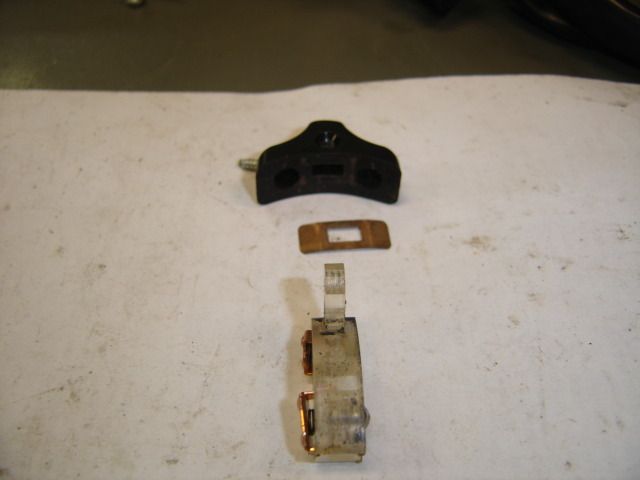
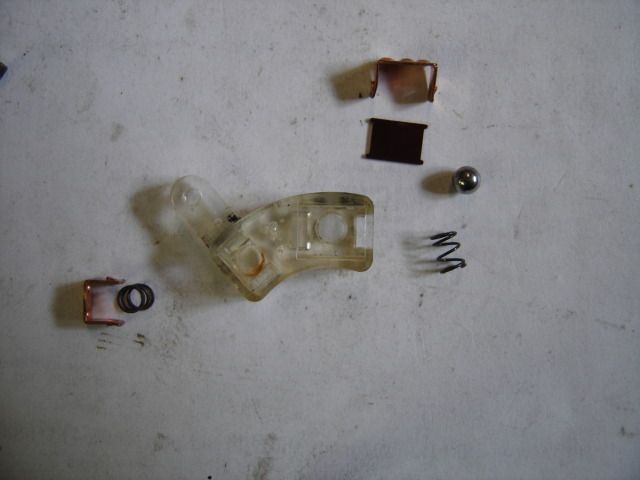
Here's some better pics (PMP)
:
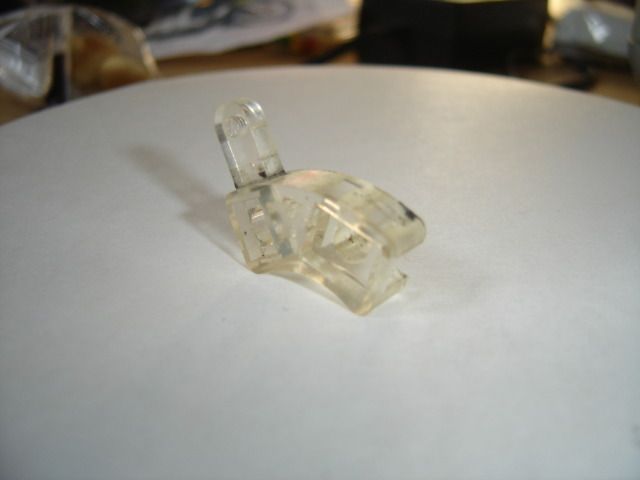

Also the square bottom bore hole on the left is 6.15mm in depth, from the contact face side and is one size, #7 drill bit.
Right side bore hole is a straight taper but what you have would work.
Otherwise, that's awesome, great job, wish I knew how to do that.
Here's some better pics (PMP)
:
 )
)


Comment