
 Tweet
Tweet
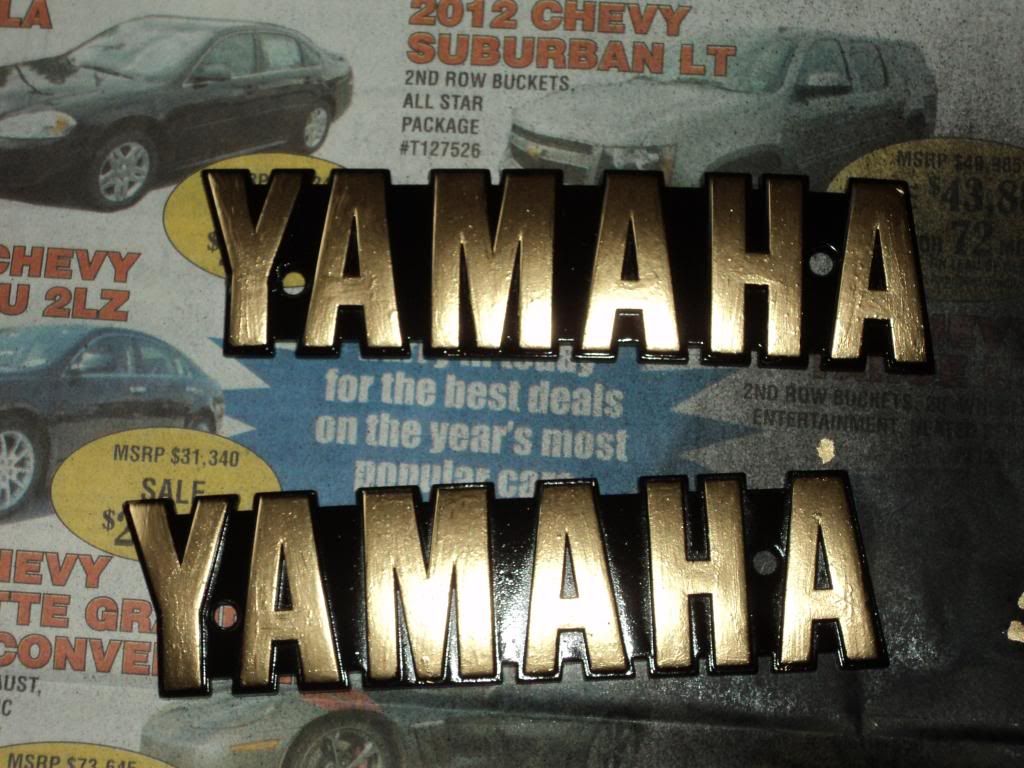
I like your brass one, but honestly don't think your original one looked all that bad......
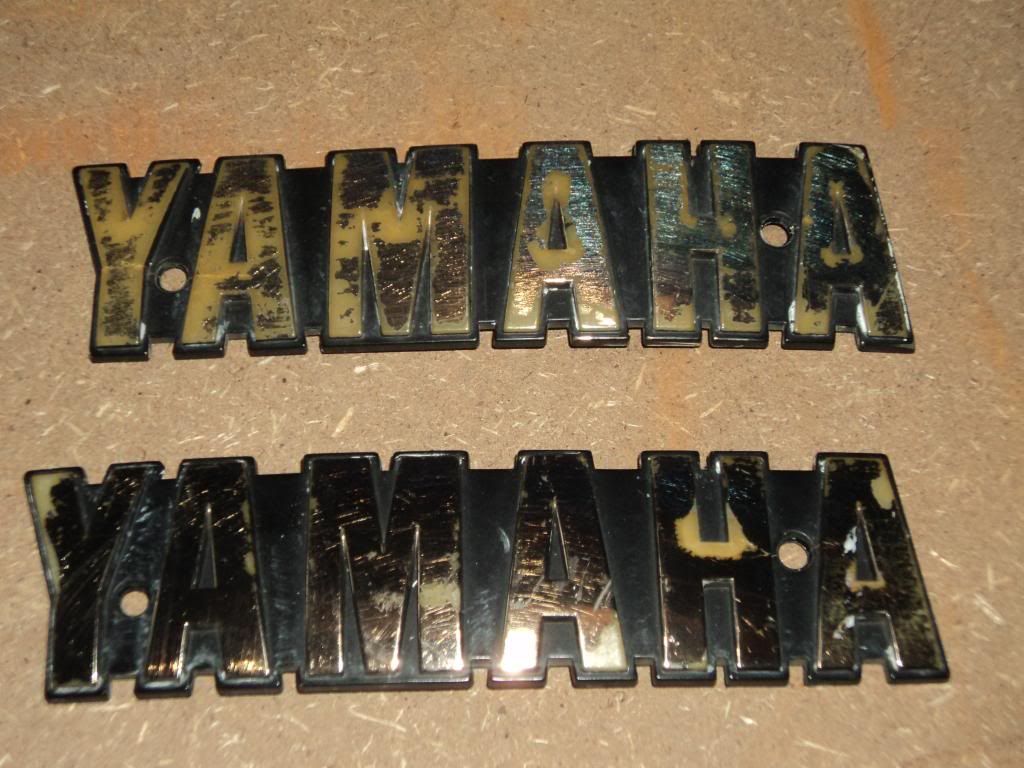
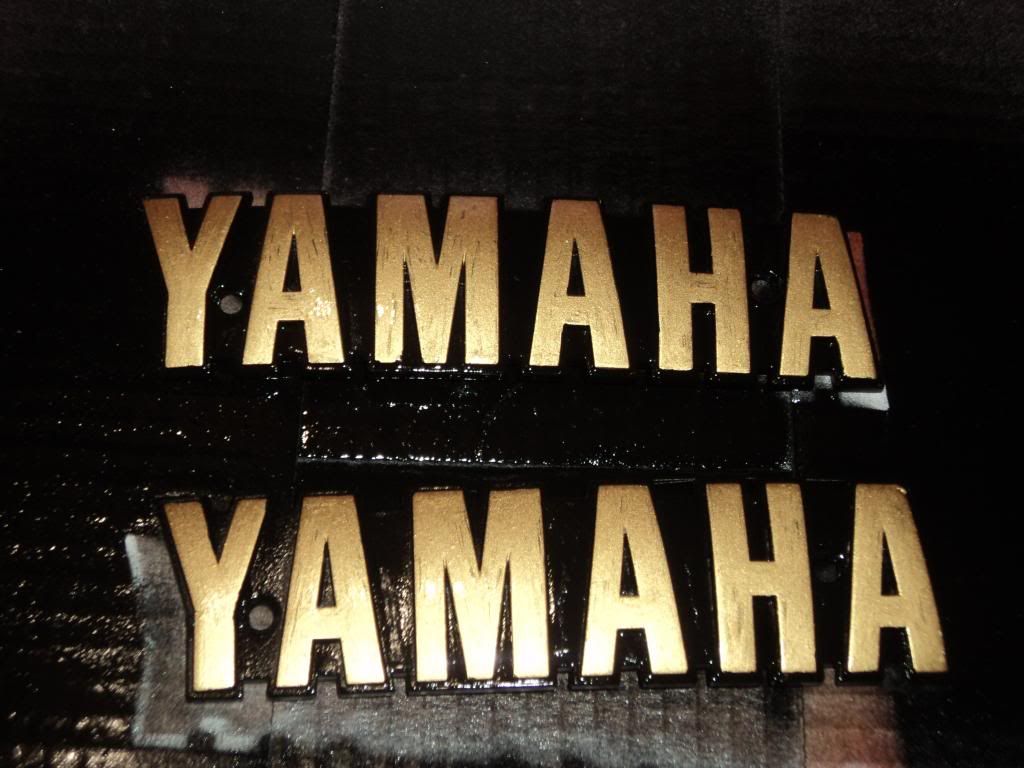
Well here is todays progress on the emblems.... they have a few flaws but those can be touched up easily enough.
<<click thumbnails for larger view>>


Well here is todays progress on the emblems.... they have a few flaws but those can be touched up easily enough.
<<click thumbnails for larger view>>


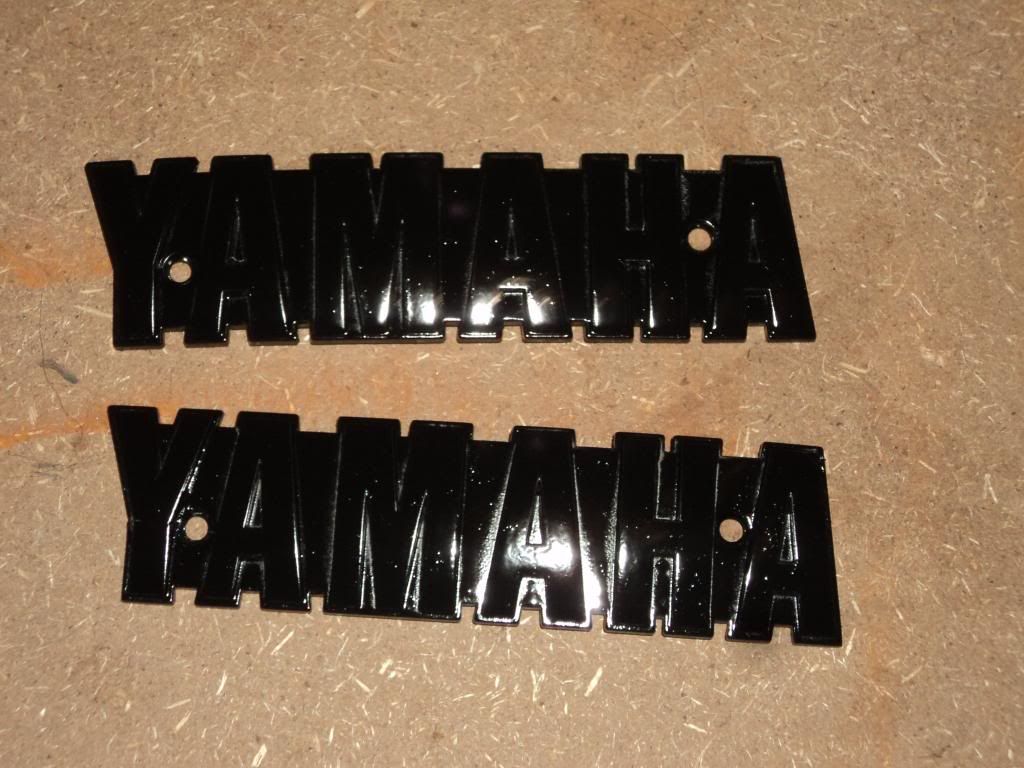
 Test their compatibility before doing the actual finished badge.
 )
)


Comment