 Tweet
Tweet
The decision to de-link the brakes needs to be your own. In my case the bike had a non-functioning proportioning valve and rather than replace it I decided to spend the repair money instead to separate the front from the back. Had the valve been working correctly I can't say that I would have done this but I really like the end result.
After buying my XJ I learned soon enough that I had no rear brakes. The first sign of trouble was trying to bleed the rear caliper and getting no brake fluid. Once heading in to pull the rear master cylinder it was evident that the previous owner had been in there too. After pulling the rear M/C 3 times and opening the proportioning valve 3 times I decided it was time for something different. I'm a reasonably bright guy but can't figure out what's wrong with this valve even though it's clean so I doubt that I would be able to identify a working replacement. I've also ridden for years without linked brakes so it was an easy decision for me.
Here's the proportioning valve torn apart. Seems simple enough. Oh well moving on.
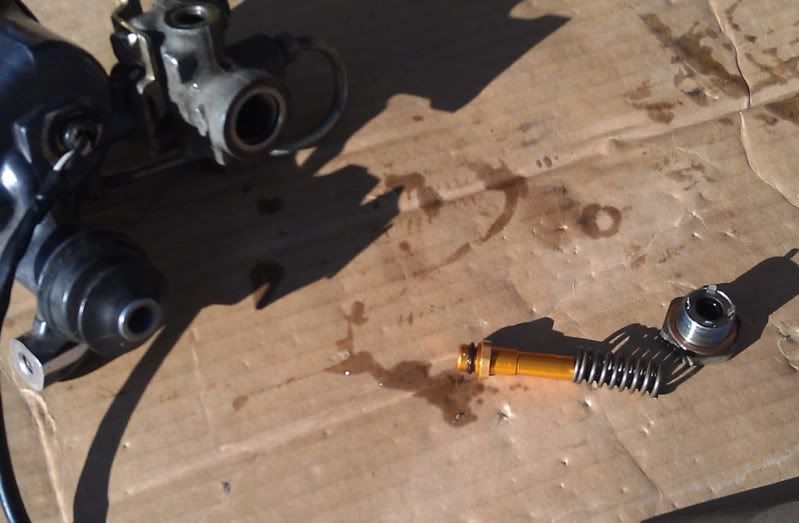
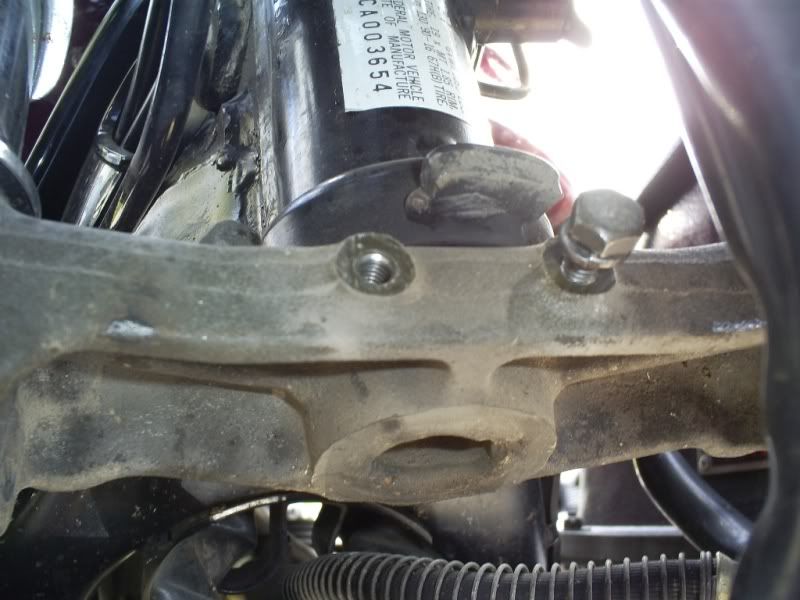
Here the rear master cylinder has had the front brake line removed and opening plugged. The opening is not deep so I used the fill plug from the Master Cylinder. The fill plug hole is tapped much deeper and I was able to use a bolt from the parts bin. Note they both have crush washers under them.
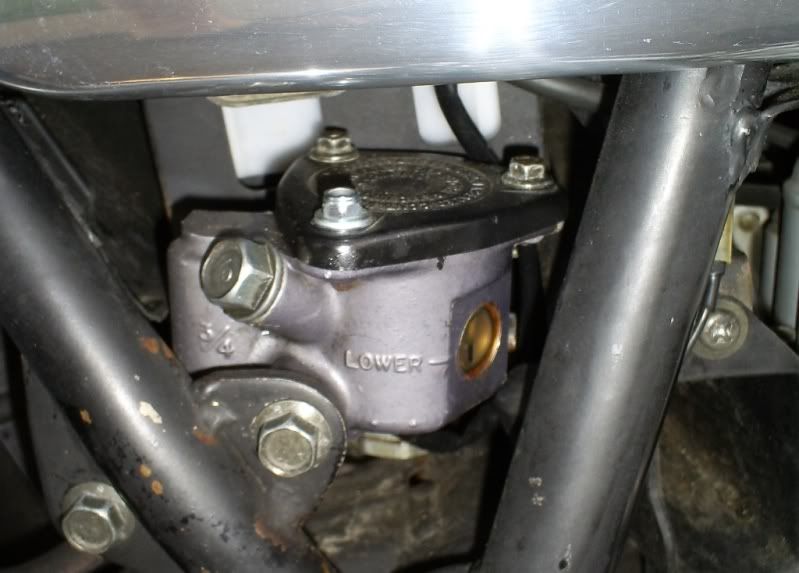
On to the front. The XJ relies on a beefy 3/4" bore rear Master Cylinder to provide lots of fluid to drive the rear and left front calipers. The front Master Cylinder is 14mm (smaller than 5/8") dia. bore to drive the right front brake. I decided to look elsewhere in the Yamaha line and didn't have to look far. The 920 Viragos are twin front disc non-linked brake setups and there are lots of their parts on ebay. I picked up a really nice '82 Virago front Master Cylinder which is 5/8" bore, almost 3mm larger than the stock XJ 14mm Master Cylinder. The 920 Viragos have similar handlebars as the XJ so the M/C reservoir is sloped like the XJ's. Prior to installing I disassembled and cleaned the replacement M/C as I had already cleaned and rebuilt all the calipers. On a side note the wiring is exactly the same including color codes.
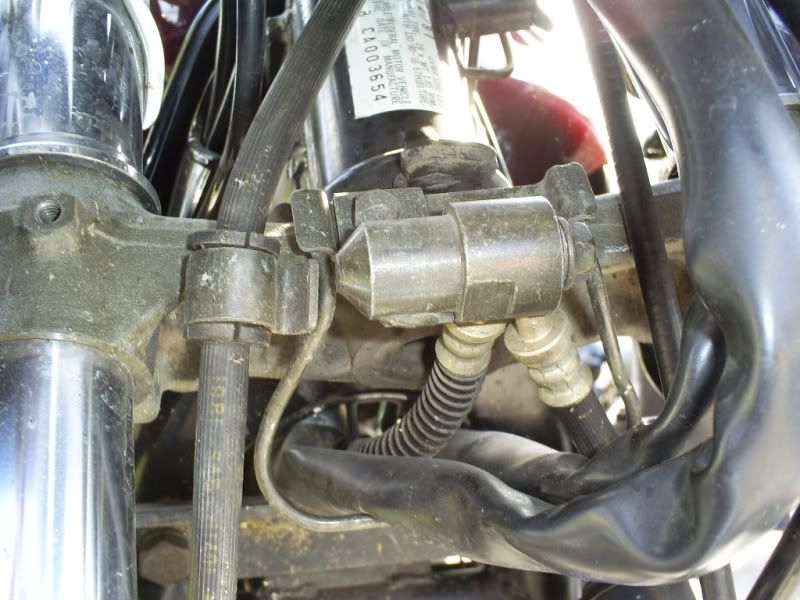
Next item in need is brake lines. The XJ has one long brake line from the front M/C that goes clear to the front right caliper. This has to go. The left side is connected to the rear via a connector on the lower triple tree. This has to go too. While it may be possible to find a longer banjo bolt and reuse the fitting the fitting needed is easy to find on eBay.
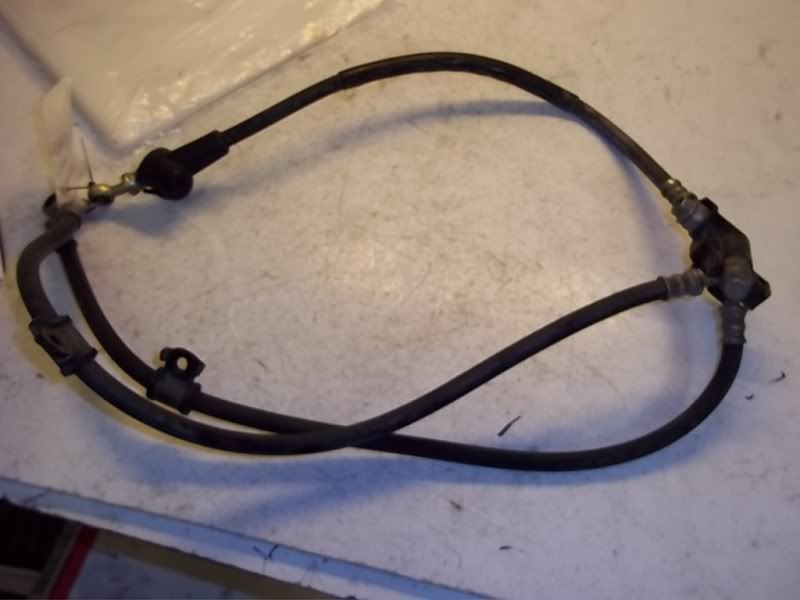
Next up some different brake lines. This is a nice used set of lines I found on eBay from a non-linked XS. While I may convert to stainless in the future I wanted to get the system working first and determine the length of the lines needed. This set while 30+ years old looks very nice with no cracking and are as nice as what I'm pulling off.
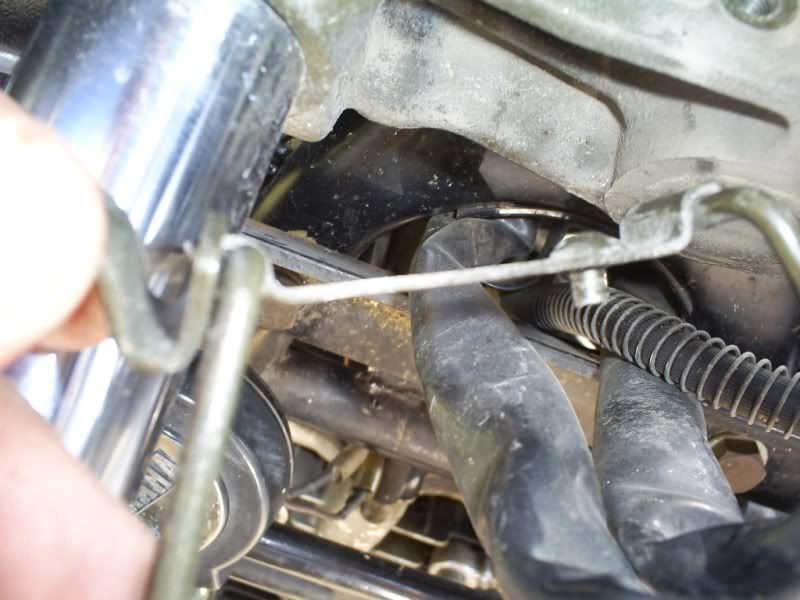
While running the lines the only real problem is that the brake line coupling on the lower triple tree is different with the XS parts. Basically there is a bolt hole and pin arrangement that is backwards from the XS to the XJ. Pulling the parts of the triple tree reveal both holes are there and tapped : )
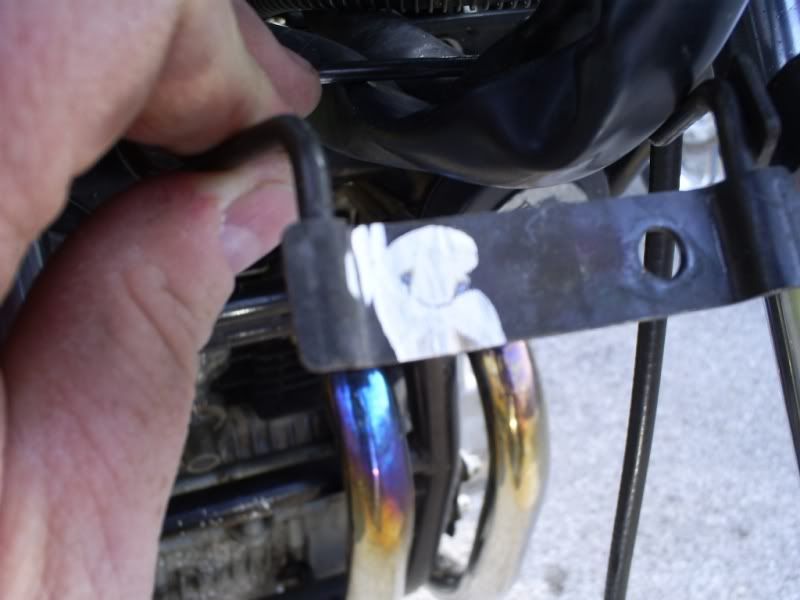
The welded piece that contains the wiring harness has a hole on one side and a rivet used as a locator pin on the other. In order to install the XS part the rivet needs to be removed which was easy with a 4.5" angle head grinder.
There's a small tack weld on the rivet head that was easily removed and the rivet knocked out.
With the rivet knocked out the hole needs to be larger.
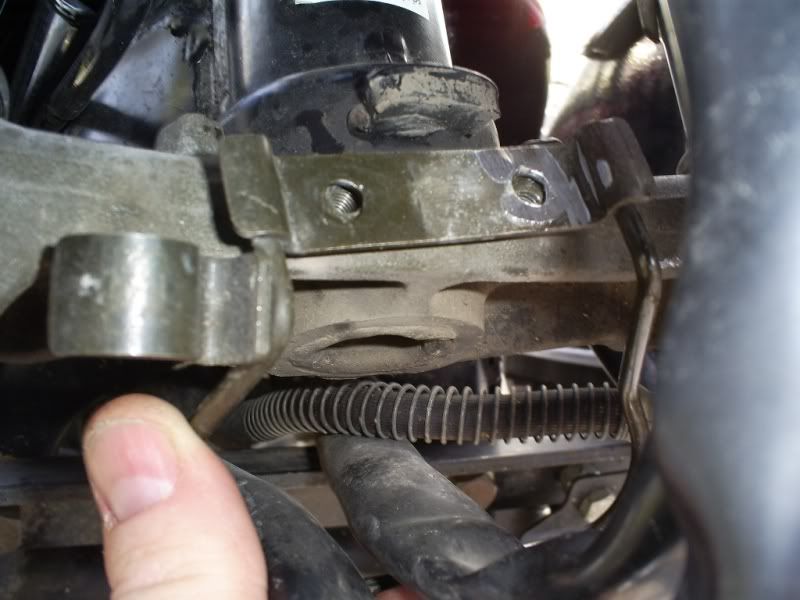
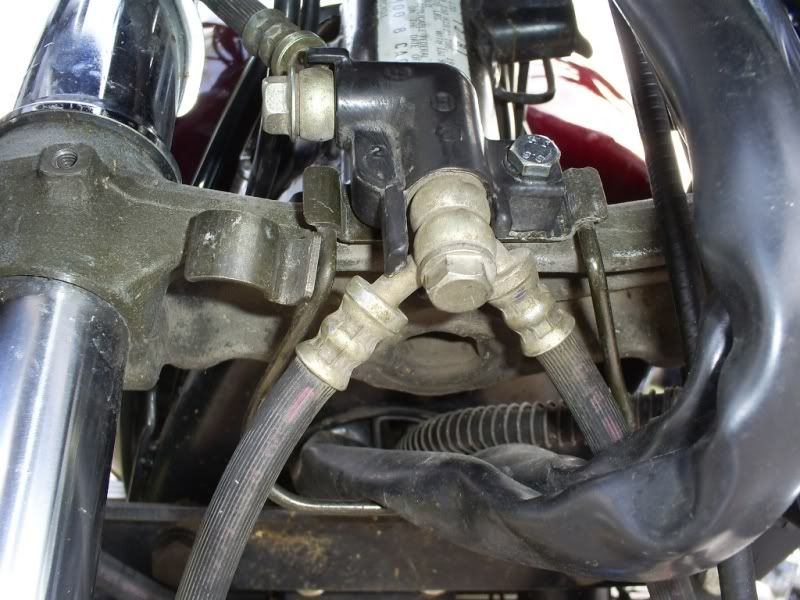
Now the XS brake line junction block fits and it has a stub on the left side that goes through the bracket and into the lower T/T. I had to find a longer bolt than stock to fasten the junction block back up to the lower T/T.
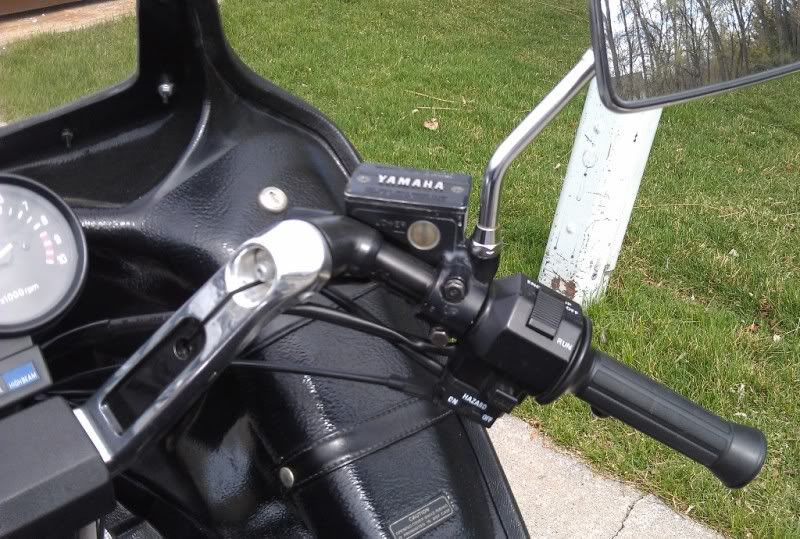
From here the rest is easy. Mount the replacement front Master Cylinder and connect the upper brake line. Note the Virago part looks right at home on the XJ.

Connect the lower hoses and bleed the brakes. I did have to move the lower hose rubber grommets after removing the XS mounting tabs.
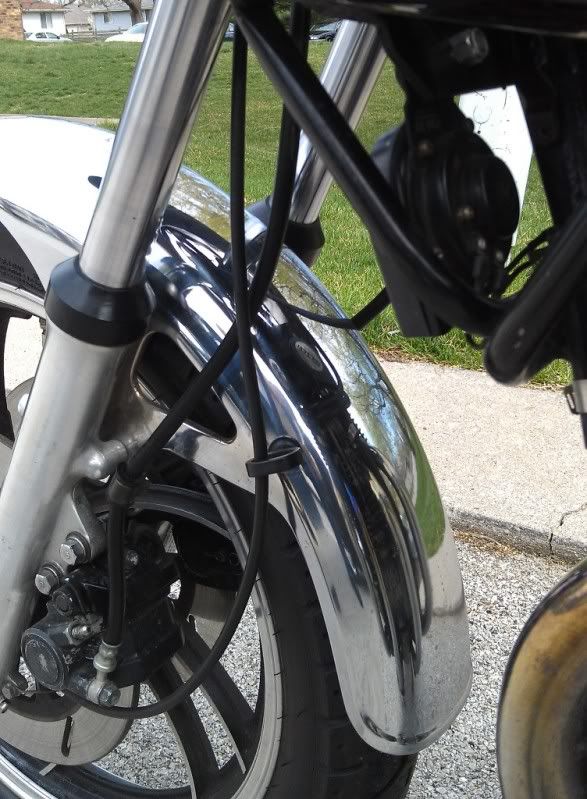
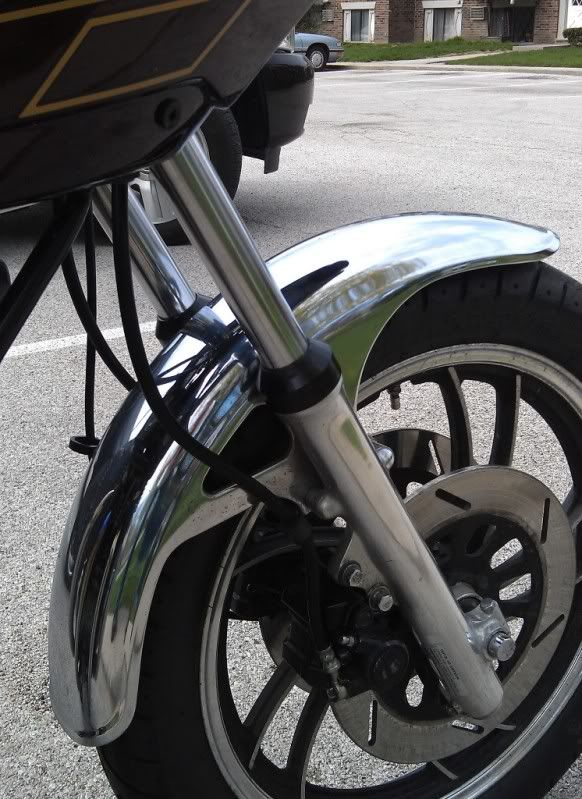
As you can see everything fits great. I now can stop the bike with the front brakes using 2 fingers and I can pass on the front brakes when there's loose material on the street. I live in a Northern State that uses Sand, Cinders, and salt in the winters so there's always an abundance of loose material on the streets in the spring. Also many of the cities around here use a powered machine for filling pot holes that dispenses liquid tar substance followed by real small pea gravel over the top and you never know when you are going to turn a corner and find the city just hit all the cracks in the street and theres loose pea gravel everywhere for a couple days.
John
After buying my XJ I learned soon enough that I had no rear brakes. The first sign of trouble was trying to bleed the rear caliper and getting no brake fluid. Once heading in to pull the rear master cylinder it was evident that the previous owner had been in there too. After pulling the rear M/C 3 times and opening the proportioning valve 3 times I decided it was time for something different. I'm a reasonably bright guy but can't figure out what's wrong with this valve even though it's clean so I doubt that I would be able to identify a working replacement. I've also ridden for years without linked brakes so it was an easy decision for me.
Here's the proportioning valve torn apart. Seems simple enough. Oh well moving on.
Here the rear master cylinder has had the front brake line removed and opening plugged. The opening is not deep so I used the fill plug from the Master Cylinder. The fill plug hole is tapped much deeper and I was able to use a bolt from the parts bin. Note they both have crush washers under them.
On to the front. The XJ relies on a beefy 3/4" bore rear Master Cylinder to provide lots of fluid to drive the rear and left front calipers. The front Master Cylinder is 14mm (smaller than 5/8") dia. bore to drive the right front brake. I decided to look elsewhere in the Yamaha line and didn't have to look far. The 920 Viragos are twin front disc non-linked brake setups and there are lots of their parts on ebay. I picked up a really nice '82 Virago front Master Cylinder which is 5/8" bore, almost 3mm larger than the stock XJ 14mm Master Cylinder. The 920 Viragos have similar handlebars as the XJ so the M/C reservoir is sloped like the XJ's. Prior to installing I disassembled and cleaned the replacement M/C as I had already cleaned and rebuilt all the calipers. On a side note the wiring is exactly the same including color codes.
Next item in need is brake lines. The XJ has one long brake line from the front M/C that goes clear to the front right caliper. This has to go. The left side is connected to the rear via a connector on the lower triple tree. This has to go too. While it may be possible to find a longer banjo bolt and reuse the fitting the fitting needed is easy to find on eBay.
Next up some different brake lines. This is a nice used set of lines I found on eBay from a non-linked XS. While I may convert to stainless in the future I wanted to get the system working first and determine the length of the lines needed. This set while 30+ years old looks very nice with no cracking and are as nice as what I'm pulling off.
While running the lines the only real problem is that the brake line coupling on the lower triple tree is different with the XS parts. Basically there is a bolt hole and pin arrangement that is backwards from the XS to the XJ. Pulling the parts of the triple tree reveal both holes are there and tapped : )
The welded piece that contains the wiring harness has a hole on one side and a rivet used as a locator pin on the other. In order to install the XS part the rivet needs to be removed which was easy with a 4.5" angle head grinder.
There's a small tack weld on the rivet head that was easily removed and the rivet knocked out.
With the rivet knocked out the hole needs to be larger.
Now the XS brake line junction block fits and it has a stub on the left side that goes through the bracket and into the lower T/T. I had to find a longer bolt than stock to fasten the junction block back up to the lower T/T.
From here the rest is easy. Mount the replacement front Master Cylinder and connect the upper brake line. Note the Virago part looks right at home on the XJ.
Connect the lower hoses and bleed the brakes. I did have to move the lower hose rubber grommets after removing the XS mounting tabs.
As you can see everything fits great. I now can stop the bike with the front brakes using 2 fingers and I can pass on the front brakes when there's loose material on the street. I live in a Northern State that uses Sand, Cinders, and salt in the winters so there's always an abundance of loose material on the streets in the spring. Also many of the cities around here use a powered machine for filling pot holes that dispenses liquid tar substance followed by real small pea gravel over the top and you never know when you are going to turn a corner and find the city just hit all the cracks in the street and theres loose pea gravel everywhere for a couple days.
John
 )
)
 I especially like the XV front master...
Comment