Probably old hat to many but my first time and thought I'd take some pix and share for the next guy(s). In my opinion the best place to work on the master cylinder is on a bench. Here's a master cylinder I'm getting ready to install on my XJ. It's actually off a 920 Virago but the process is the same. Typical junk, some soft, some hard.
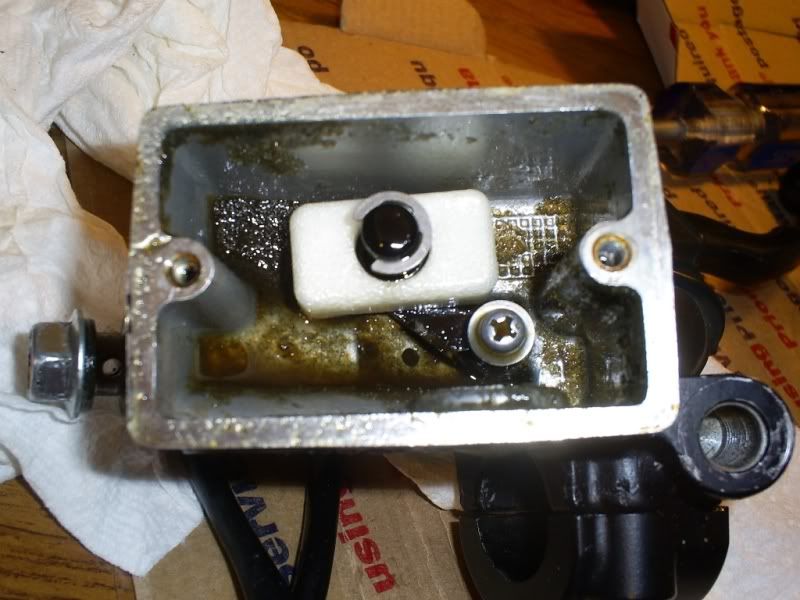
Remove the fluid level float and cir clip.
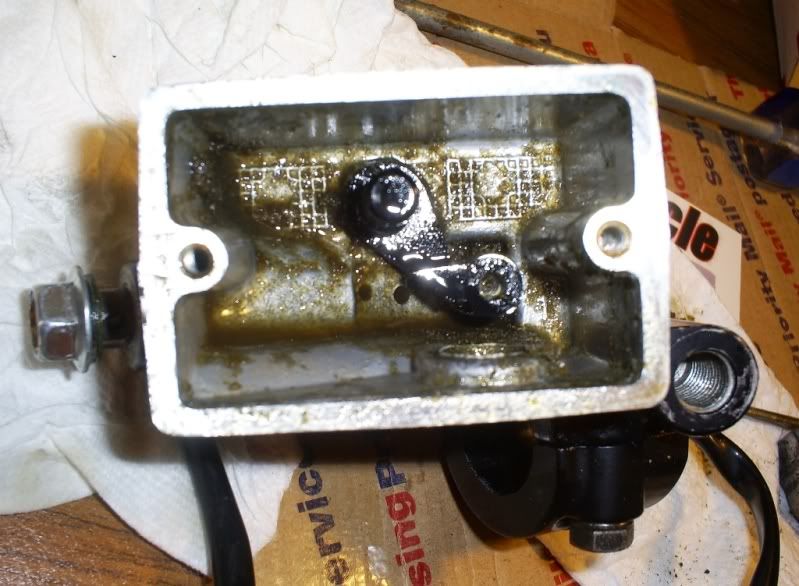
Remove the brake lever by removing the lock nut then the small bolt. This exposes the plunger in the master cylinder body. Carefully remove the rubber boot, it's thin and just has edges in grooves in the body and plunger.
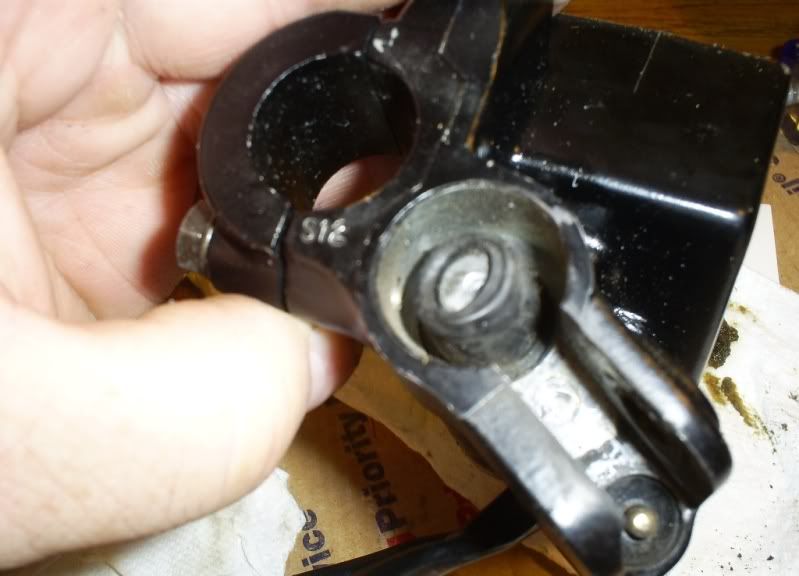
Removing the boot exposes the plunger. Remove the internal C clip to remove the plunger.
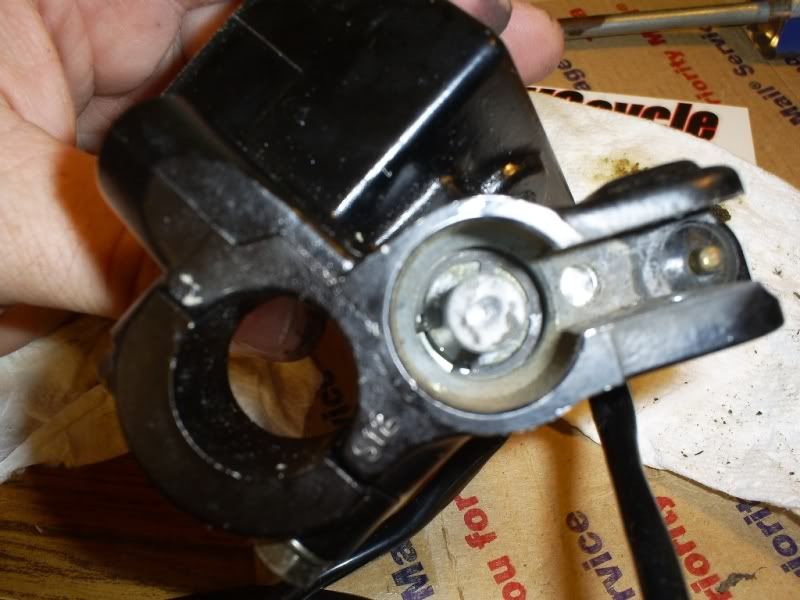
Pull the plunger out and set aside. Behind the plunger is a rubber cap seal and a long spring, remove it too.
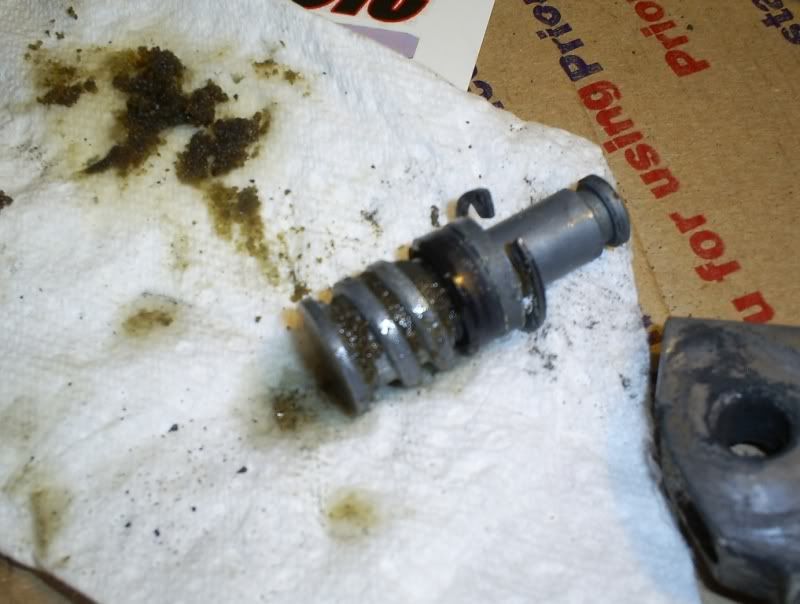
Clean the reservoir and cylinder bore. I used a scraper to remove the hard parts and brake cleaner for the soft and I also used q-tips. The manual recommends not using anything other than brake fluid on rubber parts.
Ensure that the VERY small hole in the bottom of the reservoir is open, this is the fluid return port that allows your brakes to retract.
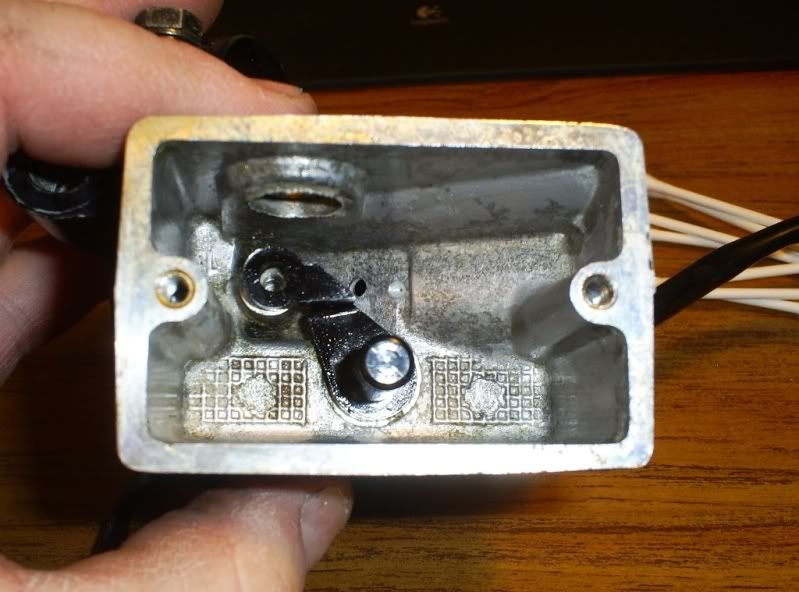
The bore should be clean and smooth, a pitted bore is a a "replacement needed" message.
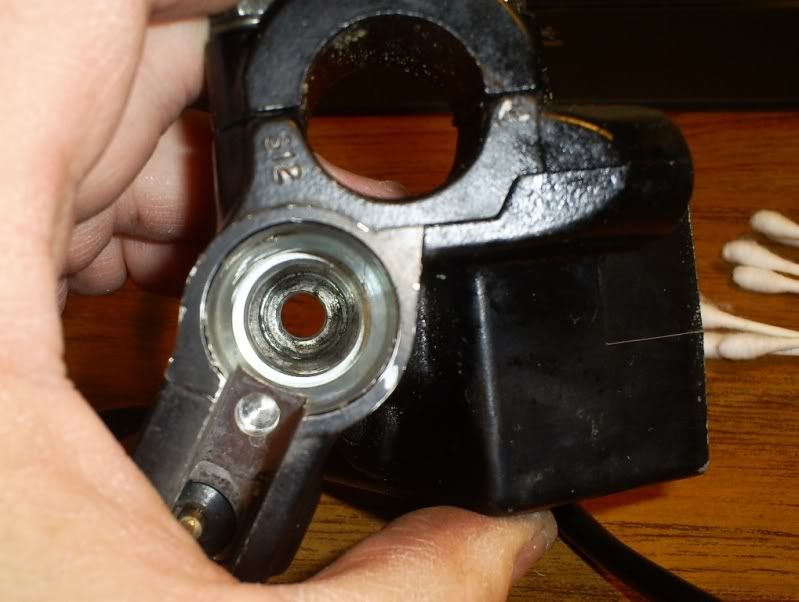
What to replace is a judgement call. If in doubt replace parts, it is after all your brakes. If you decide to re-use rubber parts they should be free of any defects and still fit properly (not swelled up or dried out/shrunk/cracked). Reassemble in reverse order. I use a dab of clean brake fluid as a lubricant for the rubber parts. Pour a small amount of new brake fluid into a small container to work from and don't contaminate the bottle, discard any unused brake fluid.
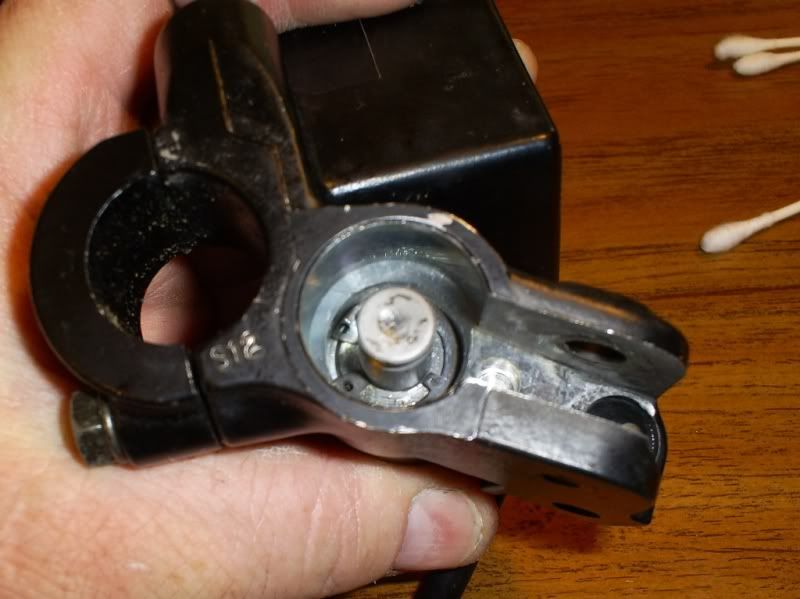
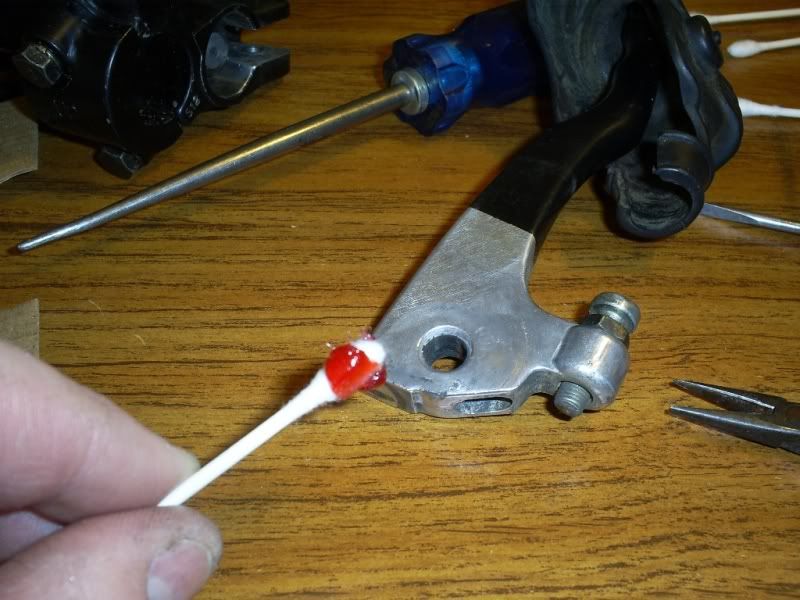
Add a little grease for the pivot areas of the brake lever, don't forget the very small spring that keep the lever fully retracted.
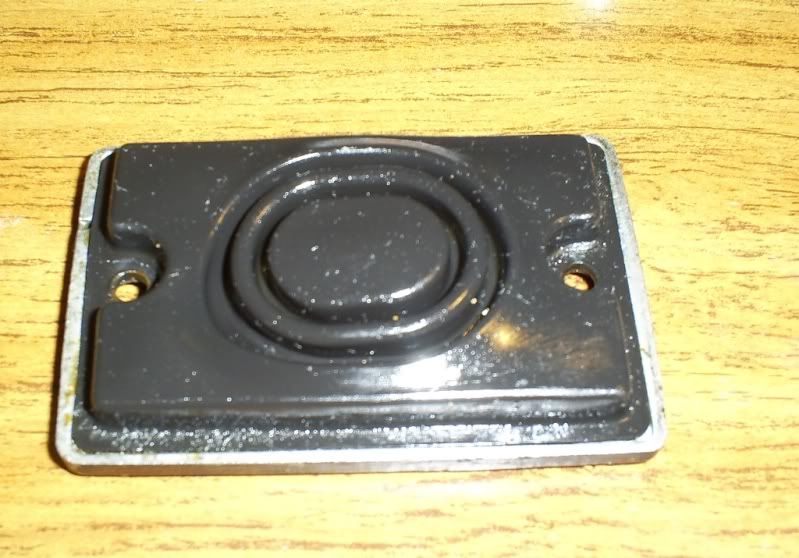
Don't overlook cleaning the cap!

Remove the fluid level float and cir clip.

Remove the brake lever by removing the lock nut then the small bolt. This exposes the plunger in the master cylinder body. Carefully remove the rubber boot, it's thin and just has edges in grooves in the body and plunger.

Removing the boot exposes the plunger. Remove the internal C clip to remove the plunger.

Pull the plunger out and set aside. Behind the plunger is a rubber cap seal and a long spring, remove it too.

Clean the reservoir and cylinder bore. I used a scraper to remove the hard parts and brake cleaner for the soft and I also used q-tips. The manual recommends not using anything other than brake fluid on rubber parts.
Ensure that the VERY small hole in the bottom of the reservoir is open, this is the fluid return port that allows your brakes to retract.

The bore should be clean and smooth, a pitted bore is a a "replacement needed" message.

What to replace is a judgement call. If in doubt replace parts, it is after all your brakes. If you decide to re-use rubber parts they should be free of any defects and still fit properly (not swelled up or dried out/shrunk/cracked). Reassemble in reverse order. I use a dab of clean brake fluid as a lubricant for the rubber parts. Pour a small amount of new brake fluid into a small container to work from and don't contaminate the bottle, discard any unused brake fluid.

Add a little grease for the pivot areas of the brake lever, don't forget the very small spring that keep the lever fully retracted.

Don't overlook cleaning the cap!

Comment