It may seem simple enough but I like pictures so I took some while changing the fork oil and making spacers for my XJ1100.
The fork caps are 30mm and are slim nuts meaning there is little shoulder to them. Standard sockets are tapered on the end and the end result with this combination could easily end up with rounded off corners on the cap nuts.
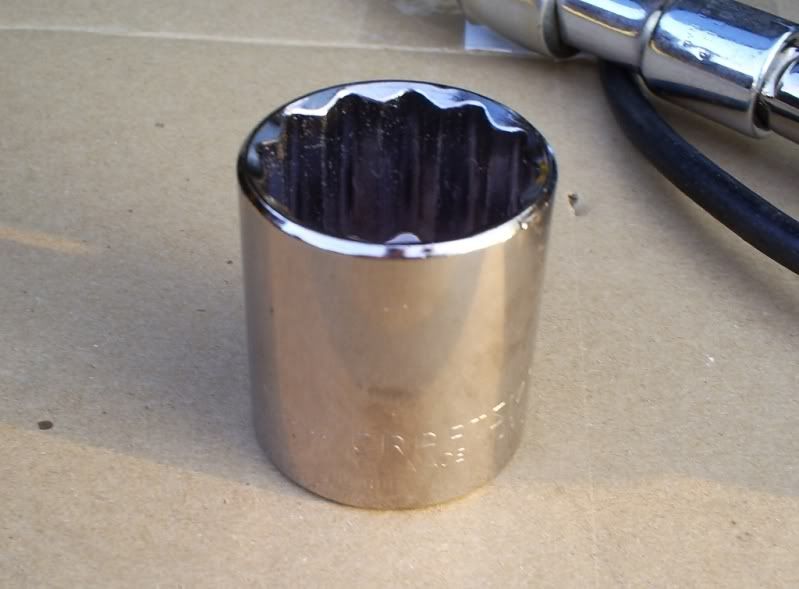
This is my socket after dressing it down on the end. This way you get 100% engagement and less chance of rounding corners off. Yes it's a new socket that I ground on but how much is a rounded off Fork cap worth?
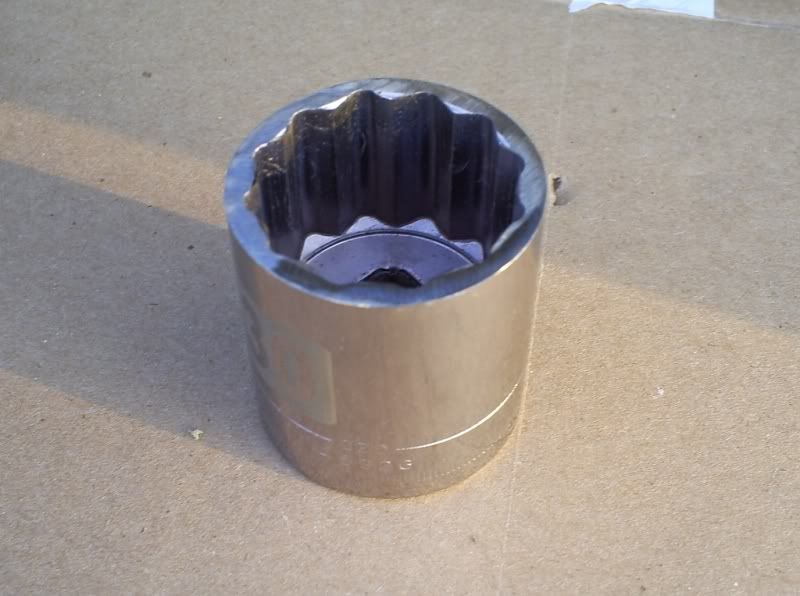
I chose to break the caps loose before draining oil so that I wouldn't end up with no oil in the forks and the caps still on. Loosen the clamps on the top triple tree. Drain the air from the forks by depressing the fill valve core.
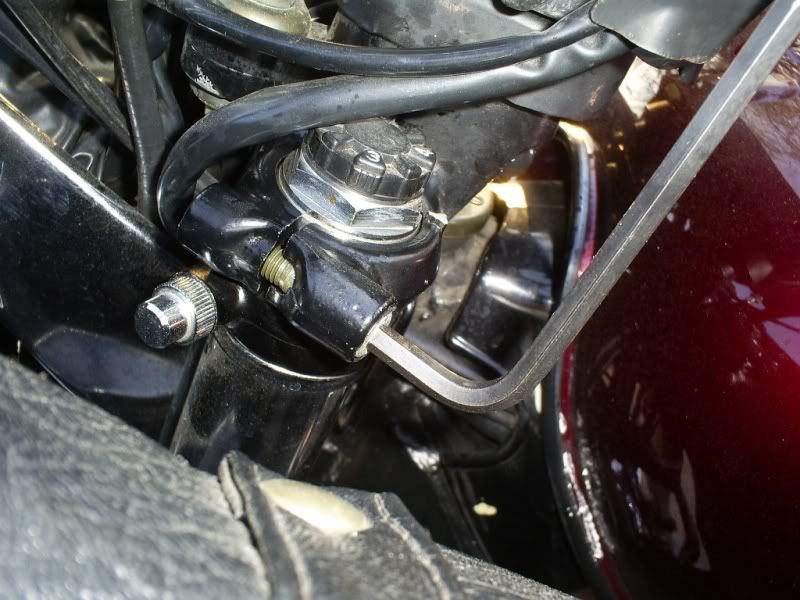
With the clamps loosened up pop the caps nuts loose. I used an impact gun as its better in that you can get square on the nut plus the hammering effect is good at loosening stuck bolts. I also started soaking all the threads the previous day. All I did was pop them loose then stop. With a ratchet its hard to hold square and wrench hard at the same time. I suppose it's possible to do this with the handle bars on but I removed them.
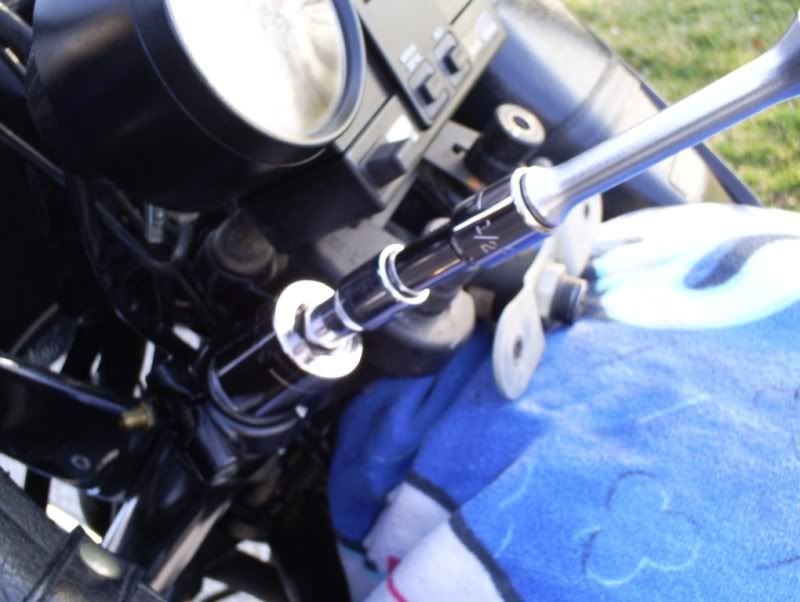
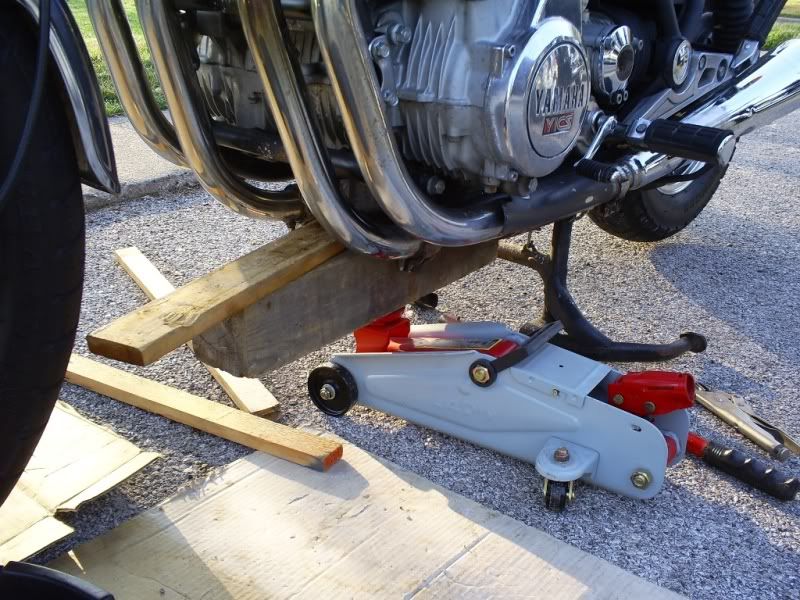
Now that we know the caps are coming off its time to jack the bike up. I used a small jack and blocks under the motor and oil filter area. Jack it up enough to take the weight off the front tire.
At this point you can start draining the forks.
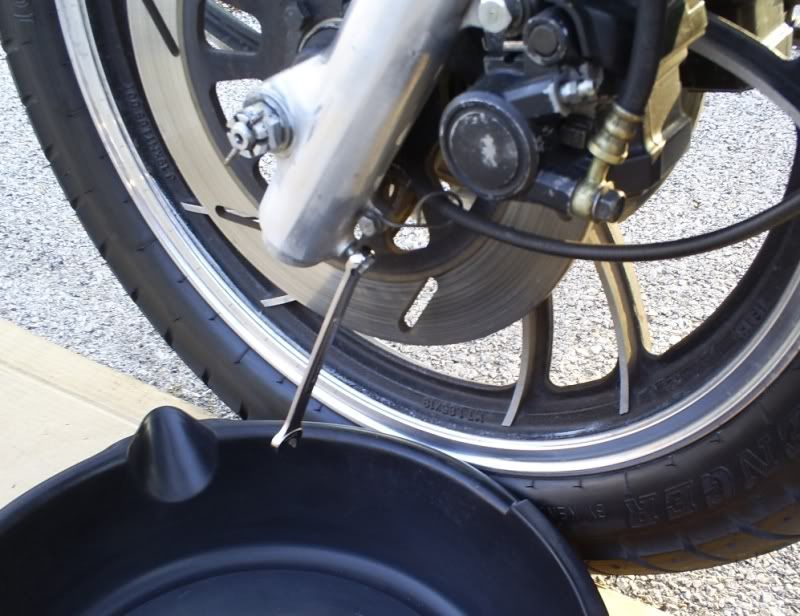
With the weight off the front end go ahead and remove the fork caps. Note on the XJ they have detent selectors on the tops of the caps and long rods below. These come out together and the long tubes are not very heavy so handle them with care.
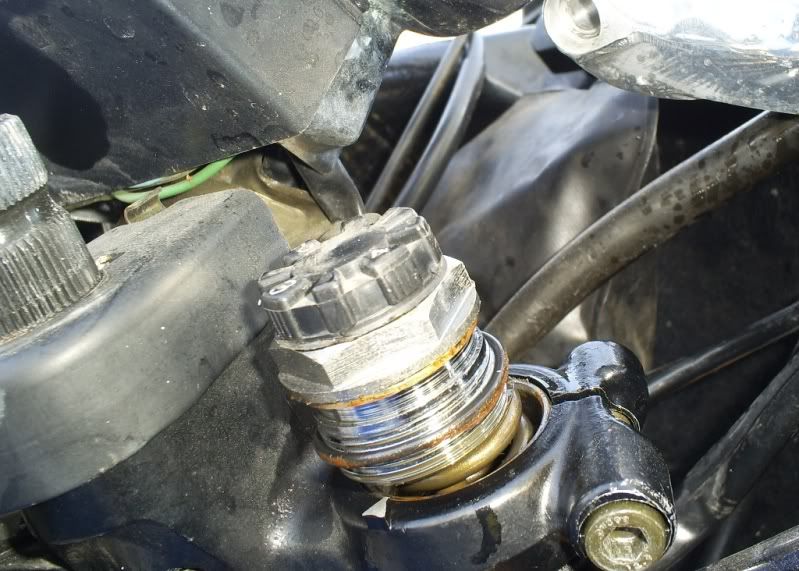
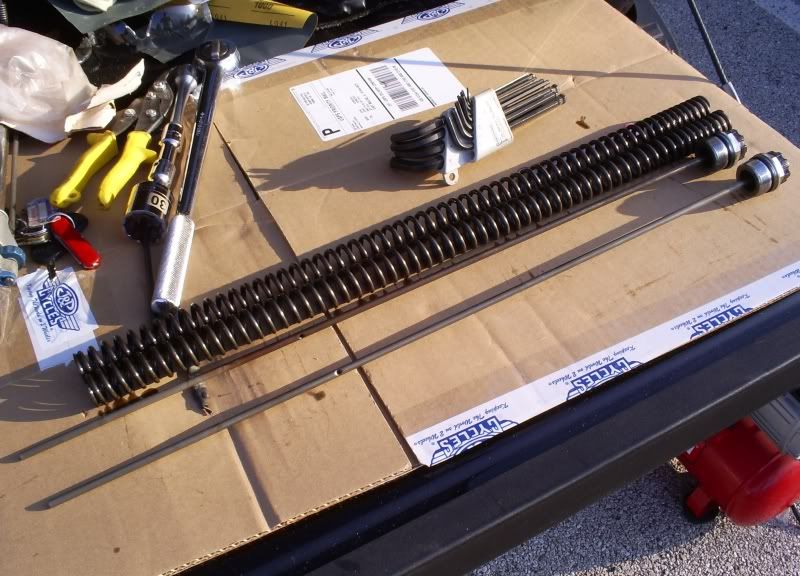
Now's a good time to pull the springs and clean them too. Here the springs and detent caps are out of the forks.
I filled the forks first with some extra 5w-20 oil and worked the forks up and down for awhile then let them set for an hour while i ran to the hardware store. I came back and worked them again then drained the oil and discarded it.
I decided to go ahead and make some pre-load spacers for the fork springs. I have a fairing and I believe the front end is to too spongy after trying different air pressures and detent settings. When I started this the detents were at #4 and the forks had 17lbs of air and I did not like the way the forks responded. I decided to go with 3/4" long spacers made from Sch80 pvc pipe and 1/2" ASE flat washers. ASE flat washers are thicker and smaller in dia than standard washers. this washer is 1.0625 in dia, a 3/8 flat washer is 1" dia. This is a better choice. The flat washer goes between the spring and spacer. No washer is required at the top as the spacer rests in 100% contact with the cap nut.
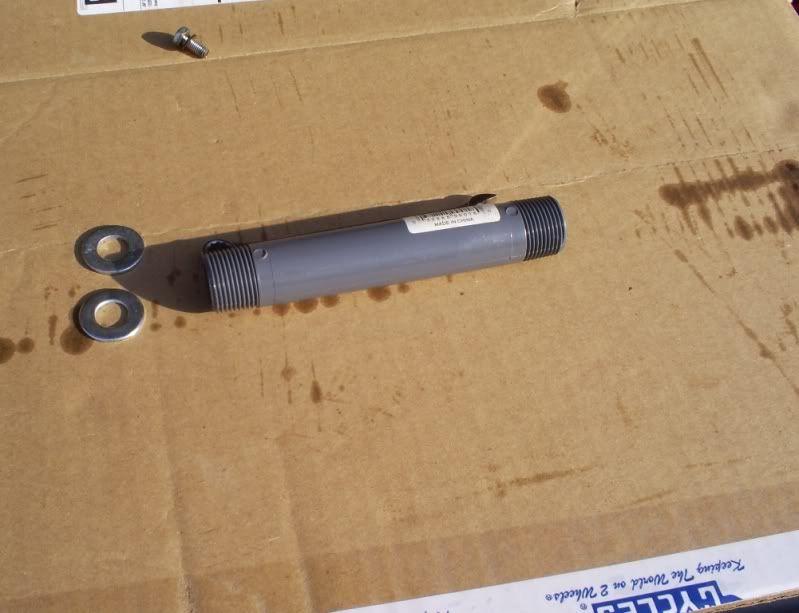
Spacers cut to length. This was a guess for length after reading everything I could find. They proved difficult to install.
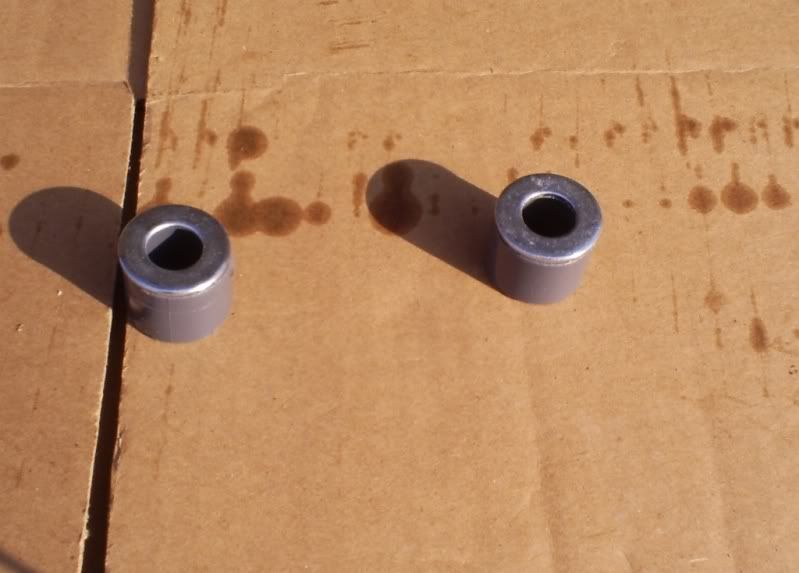
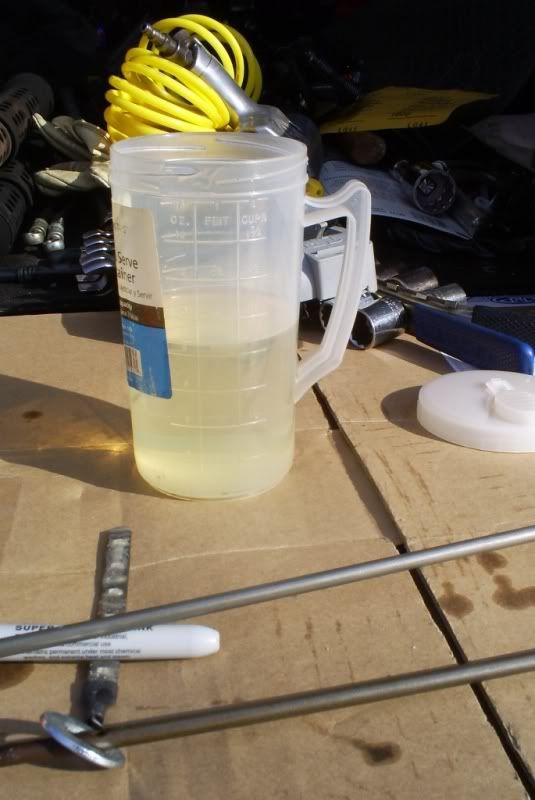
XJ forks call for 8.45 oz of fork oil. I used 20wt. The manual calls for 10wt. Its a personal choice. The consensus is that the springs control the compress on the forks, the oil controls the extension. I had good results using 20wt in another bike I owned so that's that I used. 20wt is the oil of choice with Honda Shadow owners.
Trying to install the springs, washer, and spacers while lining up the detent with the valve in the lower fork was nearly impossible. I ended up trying the spring and detent only and noting the orientation then adding the spacer and washer back in. When the rods line up the detent cap drops into place.

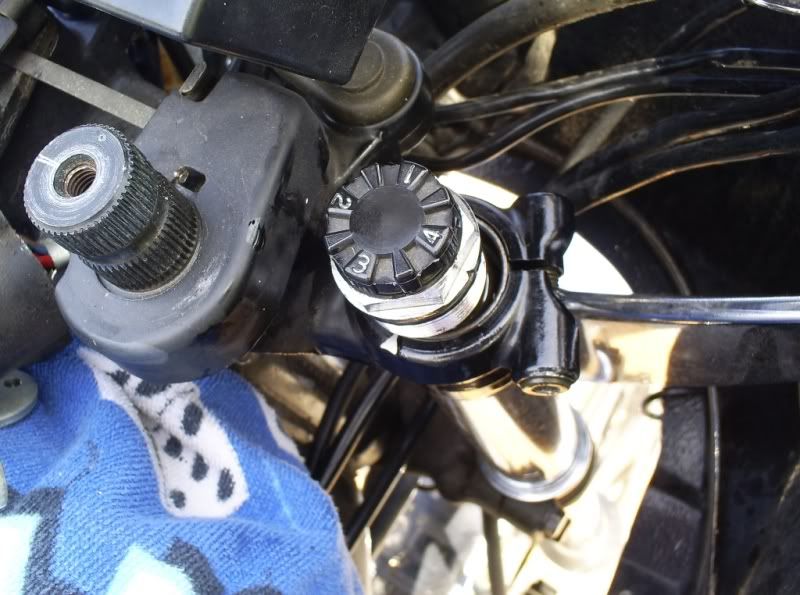
I ended up patiently rotating the cap, spring, rod and washer until everything lined up then placed the impact on the end of the socket and used it to rotate the nuts just enough to start them. Note thie requires control on the part of the operator, this is not a place for Gorilla control. Note that if you bottom the rod on the detent in the fork and rotate the detent in the fork rotates too. In order to change orientation you must raise the cap up off the valve in the fork then rotate then try again. I finished installing the nuts by hand. The trick is to hold the socket and extensions so that the nut is square in the tube. This can be a difficult nut to get started. I think this task would be nearly impossible with a ratchet or channel locks.
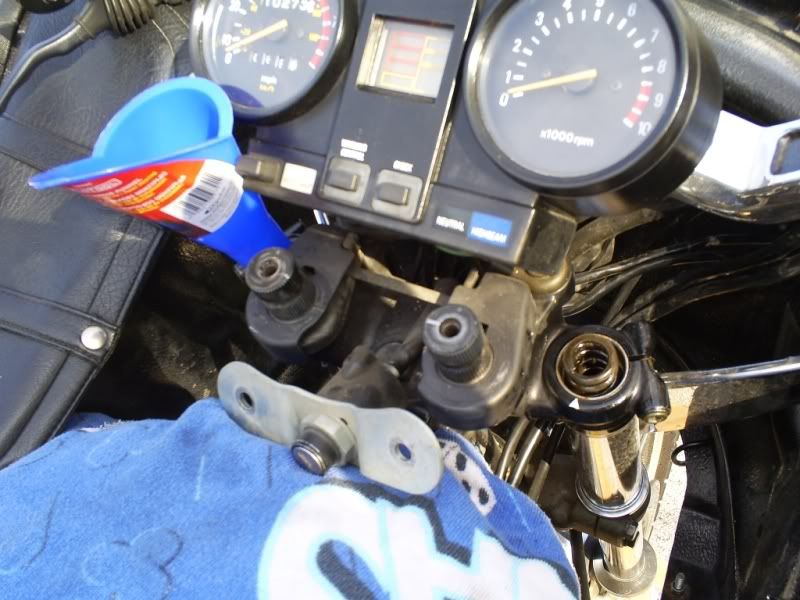
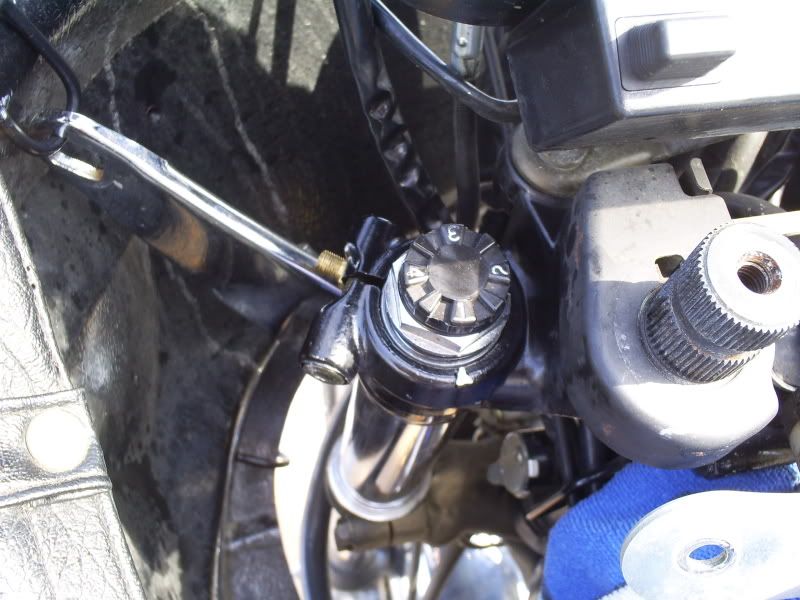
Don't forget to air the forks back up with a low pressure source. The max air pressure setting is 17psi. Also set the detents on the forks the same from side to side.
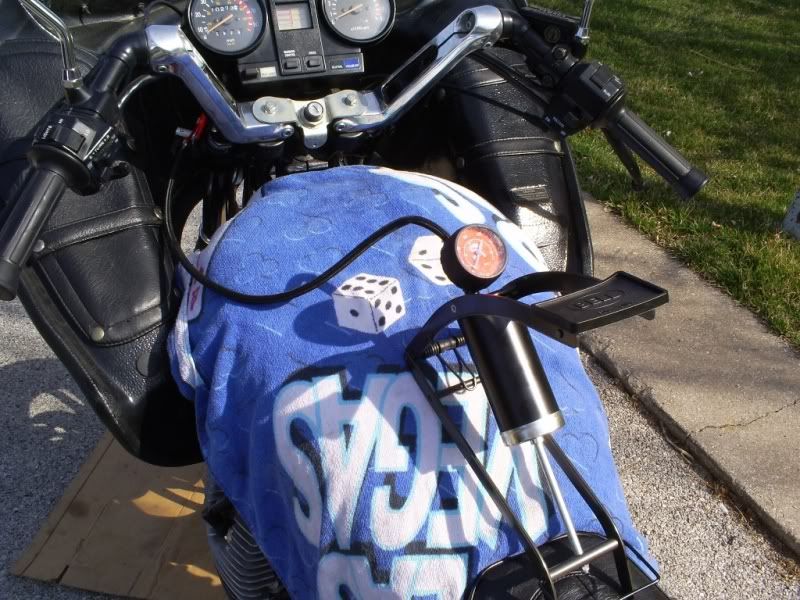
Button everything up and take the jack out from under the bike. Go for a slow test ride as you get used to the new behavior of the forks. Before I started I was ready to just buy progressive springs and toss the originals. I'm extremely pleased with the change in the handling in my bike with 2 simple 3/4" spacers. the front end is much better, stays up in the corners, and during braking all while providing an acceptable ride. I have no interest in replacing the springs now. I'm currently running 10psi and #3 detent with a Windjammer fairing and I'm very happy.
John
The fork caps are 30mm and are slim nuts meaning there is little shoulder to them. Standard sockets are tapered on the end and the end result with this combination could easily end up with rounded off corners on the cap nuts.

This is my socket after dressing it down on the end. This way you get 100% engagement and less chance of rounding corners off. Yes it's a new socket that I ground on but how much is a rounded off Fork cap worth?

I chose to break the caps loose before draining oil so that I wouldn't end up with no oil in the forks and the caps still on. Loosen the clamps on the top triple tree. Drain the air from the forks by depressing the fill valve core.

With the clamps loosened up pop the caps nuts loose. I used an impact gun as its better in that you can get square on the nut plus the hammering effect is good at loosening stuck bolts. I also started soaking all the threads the previous day. All I did was pop them loose then stop. With a ratchet its hard to hold square and wrench hard at the same time. I suppose it's possible to do this with the handle bars on but I removed them.

Now that we know the caps are coming off its time to jack the bike up. I used a small jack and blocks under the motor and oil filter area. Jack it up enough to take the weight off the front tire.

At this point you can start draining the forks.

With the weight off the front end go ahead and remove the fork caps. Note on the XJ they have detent selectors on the tops of the caps and long rods below. These come out together and the long tubes are not very heavy so handle them with care.

Now's a good time to pull the springs and clean them too. Here the springs and detent caps are out of the forks.

I filled the forks first with some extra 5w-20 oil and worked the forks up and down for awhile then let them set for an hour while i ran to the hardware store. I came back and worked them again then drained the oil and discarded it.
I decided to go ahead and make some pre-load spacers for the fork springs. I have a fairing and I believe the front end is to too spongy after trying different air pressures and detent settings. When I started this the detents were at #4 and the forks had 17lbs of air and I did not like the way the forks responded. I decided to go with 3/4" long spacers made from Sch80 pvc pipe and 1/2" ASE flat washers. ASE flat washers are thicker and smaller in dia than standard washers. this washer is 1.0625 in dia, a 3/8 flat washer is 1" dia. This is a better choice. The flat washer goes between the spring and spacer. No washer is required at the top as the spacer rests in 100% contact with the cap nut.

Spacers cut to length. This was a guess for length after reading everything I could find. They proved difficult to install.

XJ forks call for 8.45 oz of fork oil. I used 20wt. The manual calls for 10wt. Its a personal choice. The consensus is that the springs control the compress on the forks, the oil controls the extension. I had good results using 20wt in another bike I owned so that's that I used. 20wt is the oil of choice with Honda Shadow owners.

Trying to install the springs, washer, and spacers while lining up the detent with the valve in the lower fork was nearly impossible. I ended up trying the spring and detent only and noting the orientation then adding the spacer and washer back in. When the rods line up the detent cap drops into place.


I ended up patiently rotating the cap, spring, rod and washer until everything lined up then placed the impact on the end of the socket and used it to rotate the nuts just enough to start them. Note thie requires control on the part of the operator, this is not a place for Gorilla control. Note that if you bottom the rod on the detent in the fork and rotate the detent in the fork rotates too. In order to change orientation you must raise the cap up off the valve in the fork then rotate then try again. I finished installing the nuts by hand. The trick is to hold the socket and extensions so that the nut is square in the tube. This can be a difficult nut to get started. I think this task would be nearly impossible with a ratchet or channel locks.


Don't forget to air the forks back up with a low pressure source. The max air pressure setting is 17psi. Also set the detents on the forks the same from side to side.

Button everything up and take the jack out from under the bike. Go for a slow test ride as you get used to the new behavior of the forks. Before I started I was ready to just buy progressive springs and toss the originals. I'm extremely pleased with the change in the handling in my bike with 2 simple 3/4" spacers. the front end is much better, stays up in the corners, and during braking all while providing an acceptable ride. I have no interest in replacing the springs now. I'm currently running 10psi and #3 detent with a Windjammer fairing and I'm very happy.
John
 ).
).
Comment