
Many thanks!
I'll give it a shot tomorrow...
I know the chain didn't move on the sprockets because I placed a plastic wire tie on both of the sprockets to keep the chain on the sprockets. It must have skipped a beat on the crankshaft sprocket when I replaced the tensioner...how, I don't know...
It looks to be one cog off...
I'll keep you posted...
Tenorman
-
You're off a few teeth on the cam sprockets. Make sure the timing pointer is on the 'T' mark, then remove the cam chain tensioner and at least one of the cam sprockets to get enough slack in the cam chain. Move the cams until the dots line up, adjust the sprockets on the chain until the bolt holes line up in the cams, then reassemble including the cam chain tensioner. Make sure any slack in the chain is at the front of the motor, not the back. DO NOT move the crankshaft until everything is reassembled. Rotate the motor twice by hand and verify that the dots still line up, then adjust the tensioner by using the 'C' mark. This is if you're still using the OEM tensioner; if you've swapped to an automatic tensioner, no adjustment needed.
You probably didn't do any damage, but it can't hurt to check compression after you're done.Leave a comment:
-
Help!....please!
I think that I may have lined up my cams incorrectly...
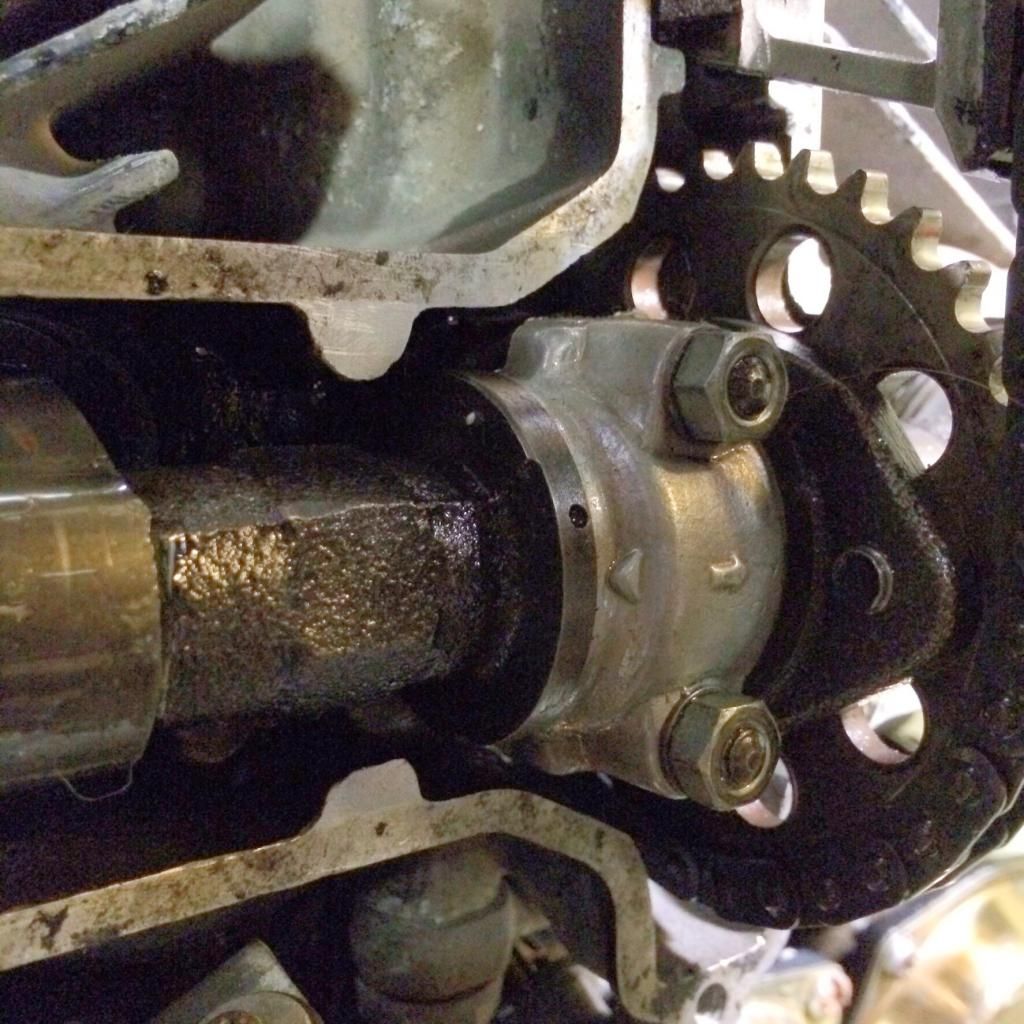
This is where the cams are when I set the timer wheel to "T"
The following photo shows when I have the Timer wheel set to "C"
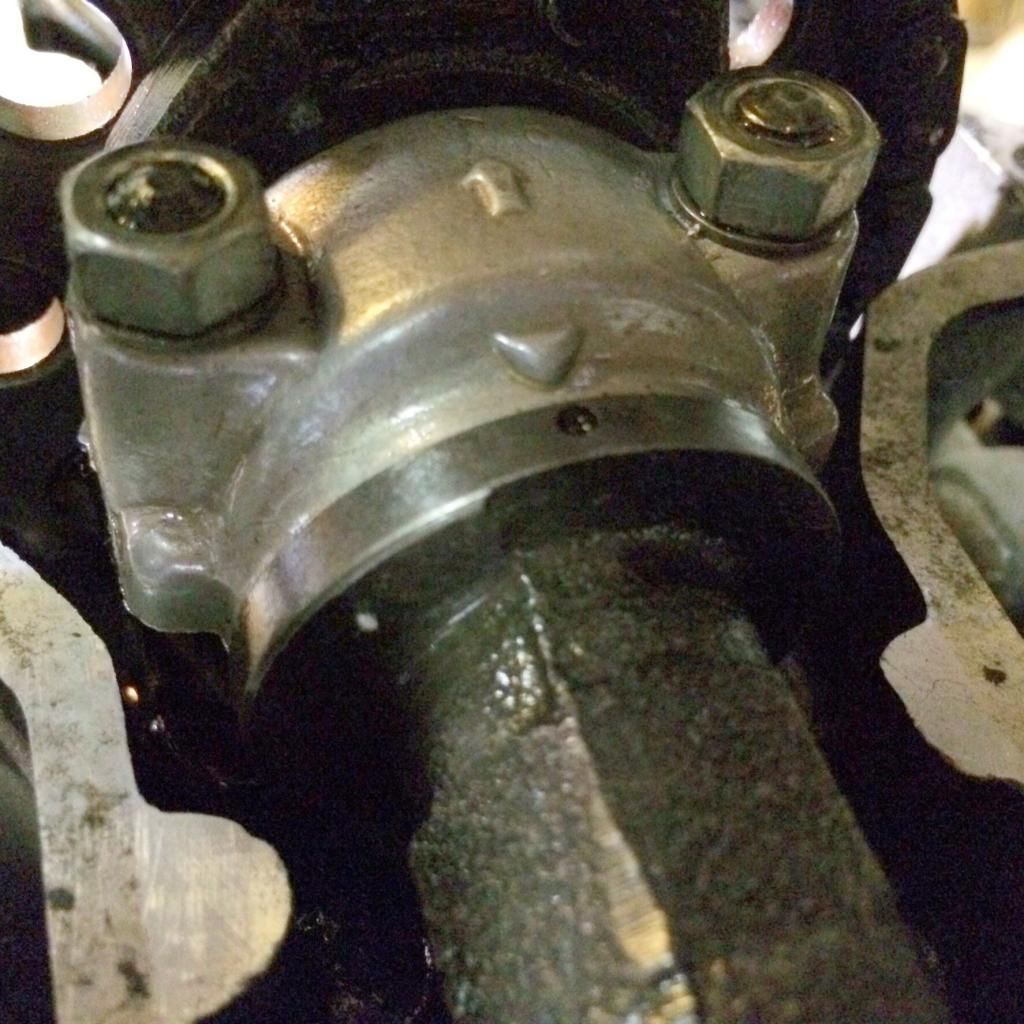
Obviously I have something wrong...
The engine turned easily with no bumps...
Will I need to flip the cams? I have the "nips" facing up with the dots...see photo...
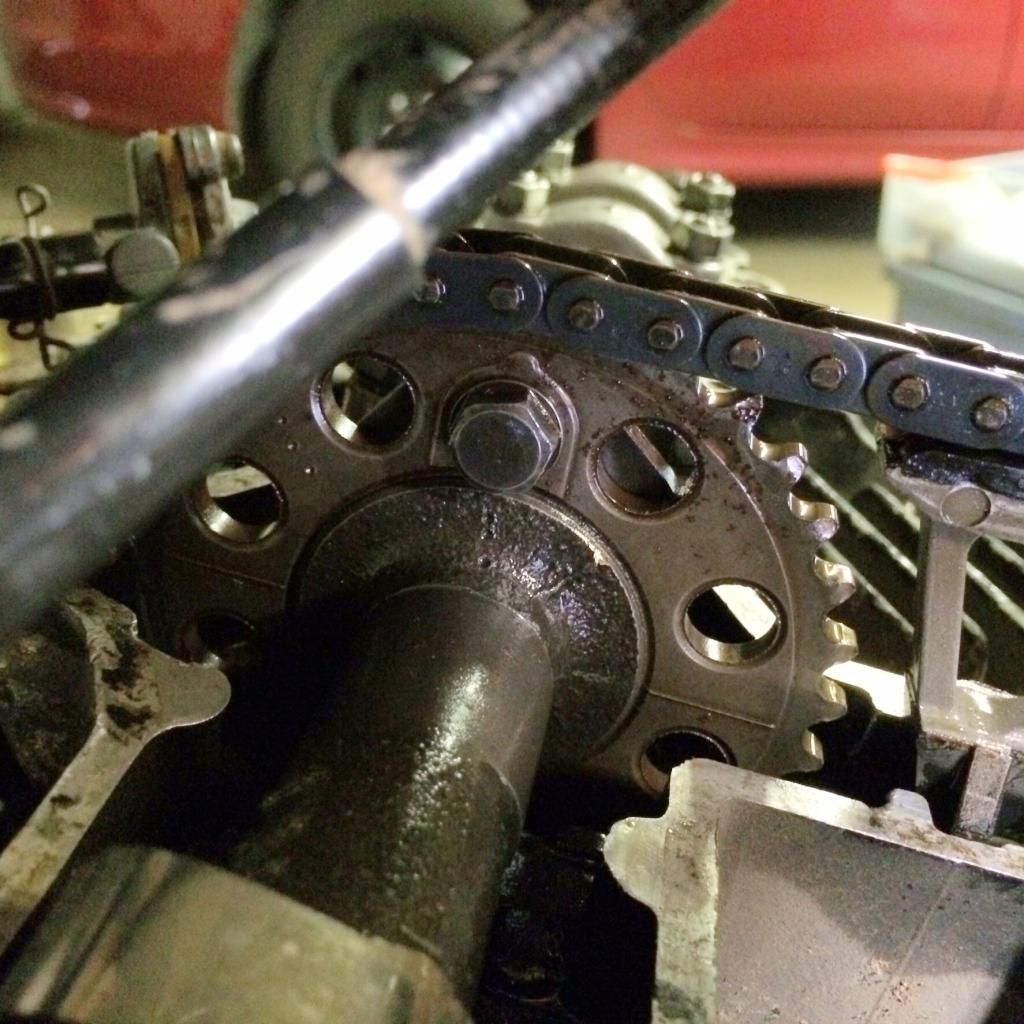
Your comments and suggestions are very much appreciated....
Thanks,
TenormanLeave a comment:
-
Mmm..strangely, my dots lined up perfectly, with the T bang on the pointer...absolutely 100%. All absolutely accurately, bang on. Despite that.....yep..I removed the cam gears and got the markers pointing where they should. I use the word 'markers' out of respect for Wildkat..... I don't want to offend any XSettes. Or is there only the one?
Leave a comment:
-
I will second what steve said.
I have put mine 180degrees out before and the dots were off by about the width of the dot itself.
Then I remembered reading about the 'tits' and spun them around and the dots lined right up.
Now that I've had cams out numerous times, It's second nature for me to put them in with the 'tits' up matching the dots.Leave a comment:
-
James, the FSM is silent on the significance of the 'tits' next to the bolt holes, but Yamaha went to the trouble of identifying them and does show them pictorially as being installed as noted. Just a tiny difference in the relationship between the bolts and cam chain teeth could throw cam timing off by several degrees or more. Remember that 'cam degrees' is 720 (360 X 2), so less than .020" difference will equal one 'cam degree'. Advancing/retarding a camshaft even a few degrees can have a significant effect on the power curve and in this case, even changing the overlap.
Is that the case here? Don't know... but checking for this is fairly involved, requiring a degree wheel and a way to accurately check valve movement. Seems easier to install the cam sprockets as shown.... Last edited by crazy steve; 05-13-2014, 12:30 AM.
Leave a comment:
-
James,
My guess would be the sprocket teeth were indexed using that as a referance point during sprocket production. Never had them off myself, but from postings and pics with some havin' cam mark alignment issues, definitely would adhere to that assembly procedure.
Leave a comment:
-
Pointers on the cam cogs
Why are the pointers on the cam cogs so important? If the T Mark on the crank is lined up, the dots on the cams are in the right places, no slack in the chain.....why should it matter about the pointers on the cogs?Leave a comment:
-
That'd be great to ride out to Shawnee and get it done. I did replace the valve cover gasket about 5 months ago. Not sure if it would still be good. Got some Yamabond today and need to seal up my boots.
I was able to get a 4-gauge sync set from Alter Ego here in KC for $65-not bad. My question is it came with 4 brass rods-restrictors I'm guessing. Seemed to worked fine without them-I just closed the gauge valves enough to stop the pulsing. The brass rods are threaded so I'm guessing that's for another model. I just cut a 1" piece of vacuum line and used it to connect the restrictors to my ports.
Harry mentioned the 'washer swap' to possibly fix my 2nd gear slip. I'd really like to fix that also so I don't make Harley riders think they're actually outrunning me. (More a pride thing than an actual problem. Only does it when I really hit the throttle.)
Finally got an auto tensioner from a Raptor put in. Had to enlarge the holes a smidge to make it fit. No more leaks or adjusting which is nice. What's weird is I find myself trying to find stuff to fix/check instead of just getting on and riding.Leave a comment:
-
James,
That 79 will be really loud on the top end with the valves properly adjusted, mine was. But, it ran like crazy!
Some of us are getting together at Russ' place in Shawnee the middle of next month to work on The Navy Bike. You could swing by there and we could give you a hand if you like. It'll need resyncing after a valve adjustment.
I would get a gasket for the valve cover. If you need to know where to get a good price on one I know where to get them for $12.Leave a comment:
-
I need to do clearances...
Riding home the other day I've noticed a ticking from the top of the engine. I bought my '79 Special with 31k and am now at 39k. I'm too intimidated by doing this since I have a great fear of taking a running bike and turning it into a pile by messing something up on something as critical as this.
I'm sure it's easier than it looks but I'd rather have someone there that's done it before. Should have at least checked clearances when I replaced the gasket...hindsight always 20/20.
Guess I'll go get a feeler gauge set and some Yamabond. I have the Clymer manual and some time this weekend. Glad I found this thread.Leave a comment:
-
I haven't use the tool, yet, but I would think that the number of shims that need changing/swapping/replacement would justify which method to use.
In other words, if you've got 2-3 shims to work on (because the others are in spec) then use the tool, but If you've got to swap more than 4 around, then maybe pulling the cams out might be a better way to go.
Also factored into the decision is any other work like replcaing the CCT with an ACCT, then pulling the cams might be good too.
Another factor is whether you've ever pulled your cams before and are familiar/comfortable doing it.
Just trying to give you options/opinions.Leave a comment:
-
-
When using the feeler gauge, if one size fits, say .010" for example, then try .009", if that won't fit, then your measurement is .010", I prefer the use of the shim removal tool, it works fine for me, JMHOLeave a comment:
-
So, I will be checking my clearances soon. What is the overall vote for? The tool, or removing the cams? Also when I use the feeler gauge, how tight should it slide in and out to get a proper size? Should it slide in easy or have resistance? That may be a stupid question but I don't have much experience with the gauges. Thanks guys.Leave a comment:


Leave a comment: