Today I replaced the fork seals in my SH. Being the special model it has the advantage of not needing to reach that nut down in the bottom of the fork tube, so I could not document that process. Here is how I went about it…
To start with you want the front wheel off the ground, I use the center stand and then had my daughter lean on the back of the seat to lift the front of the bike up and put a jack stand under the frame cross member.
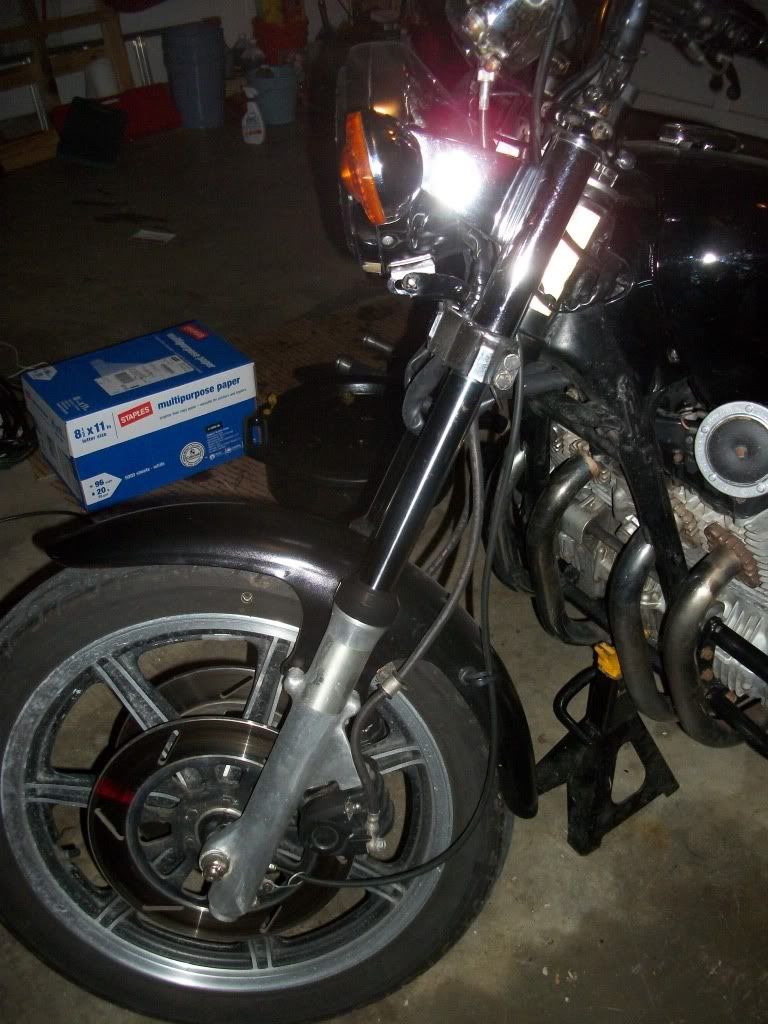
Next, you want to remove the brake calipers from the forks. It could be done later, but makes wheel removal much simpler if done now. I find I have to remove at least one to get the wheel out anyway. I tied them to the engine guards as seen here to take the weight off the brake lines. Just do NOT squeeze the brake lever!!
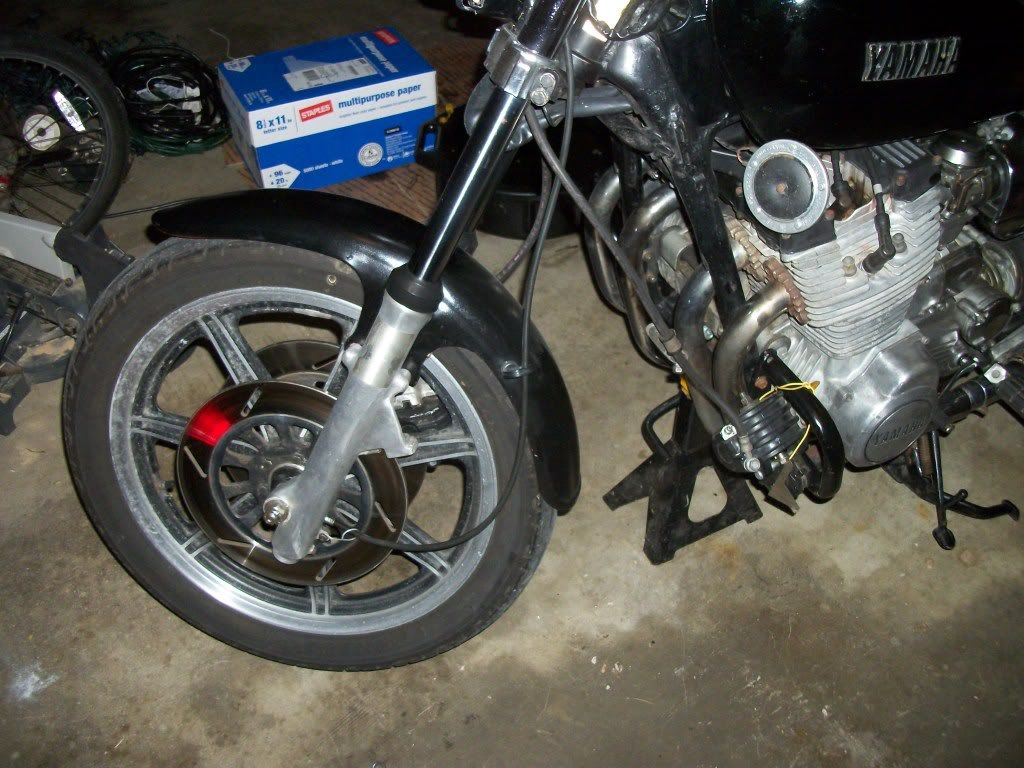
As part of removing the brake calipers, I pulled the rear bolts holding the front fender in place, so I continued and removed the front bolts as well letting the fender raise up.
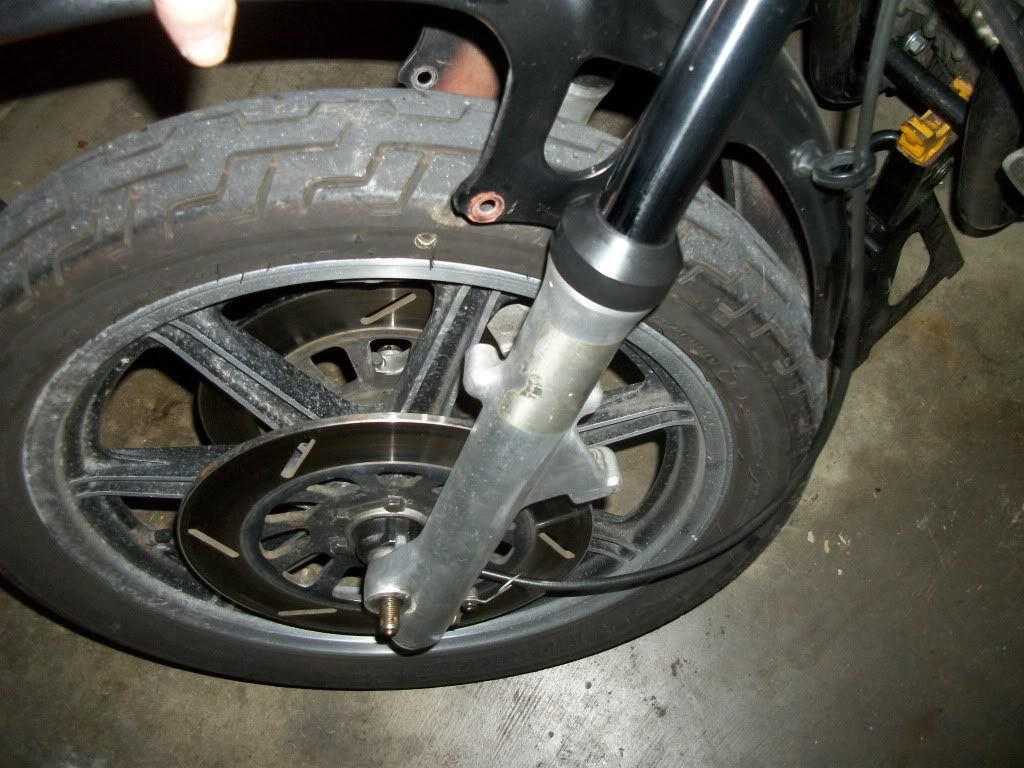
From here you want to remove the front wheel. This will then allow the fender to sit back by the engine area with the speedometer cable in its guide on the fender. So you now have the forks ready to remove. Before you do so, remove the air valve cap and release the air pressure from the fork(s) and then take a wrench and loosen the cap on top of the forks.
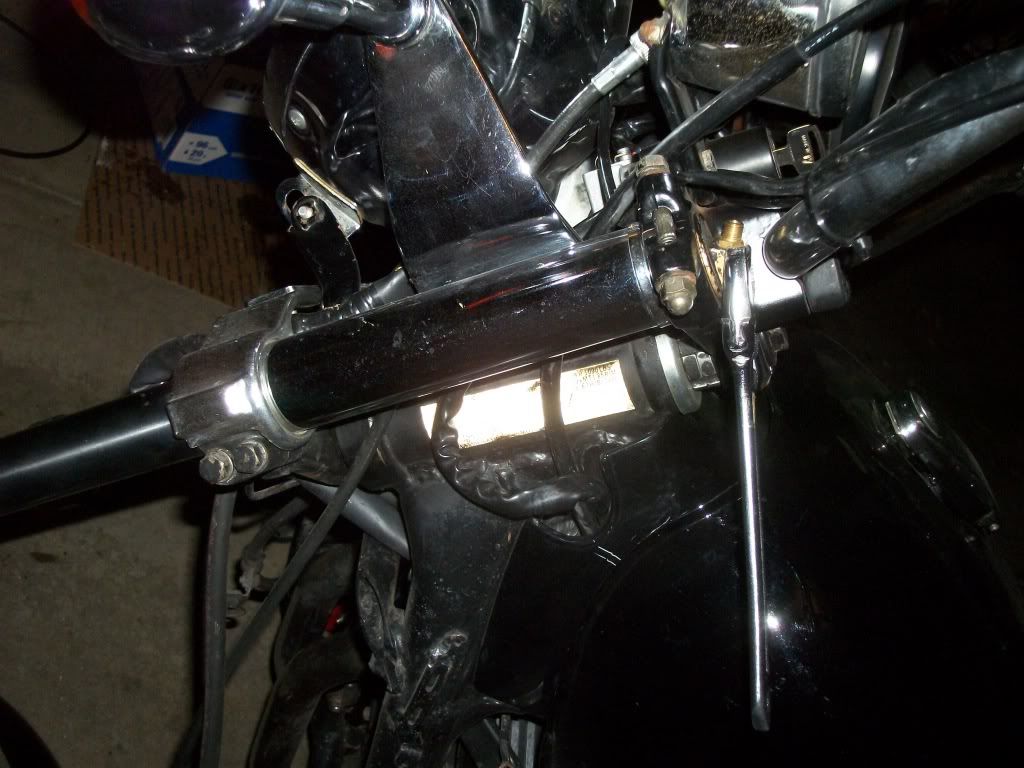
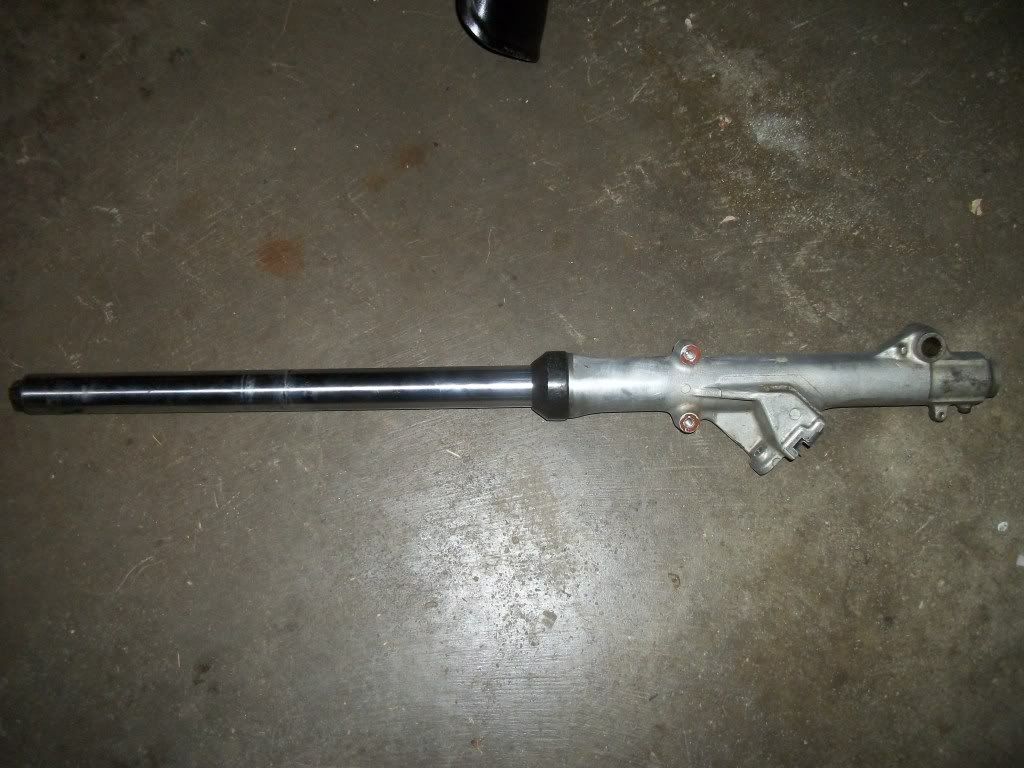
Next, loosen the pinch bolt at the top triple tree that holds the fork in place, next loosen the lower triple tree pinch bolts. From here the fork will simply slide down out of the trees, it may take some twisting of the upper tube in the trees to get them to drop. Here is the fork removed.
Time to disassemble a fork, it is a much simpler task than it may appear to be. First, finish removing the top cap/air cap. Keep downward pressure on the cap as you unscrew it, the spring will be pushing on it. Once you remove the cap, you will see the top of the inner spring, the tube will also slide down pretty easily.
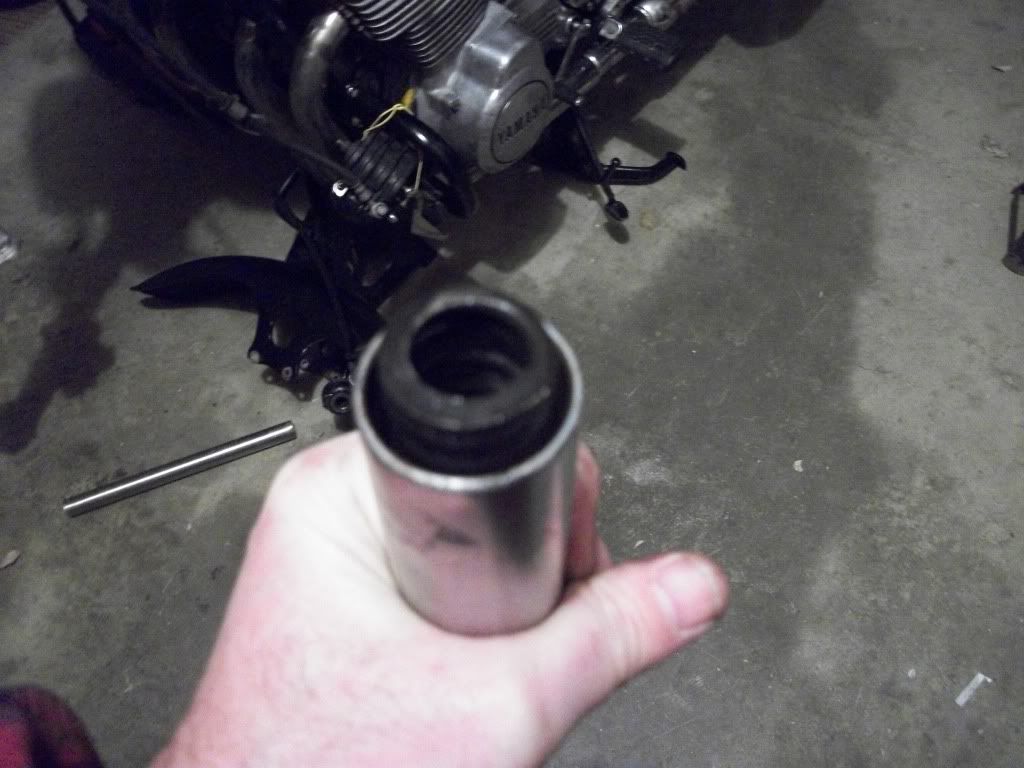
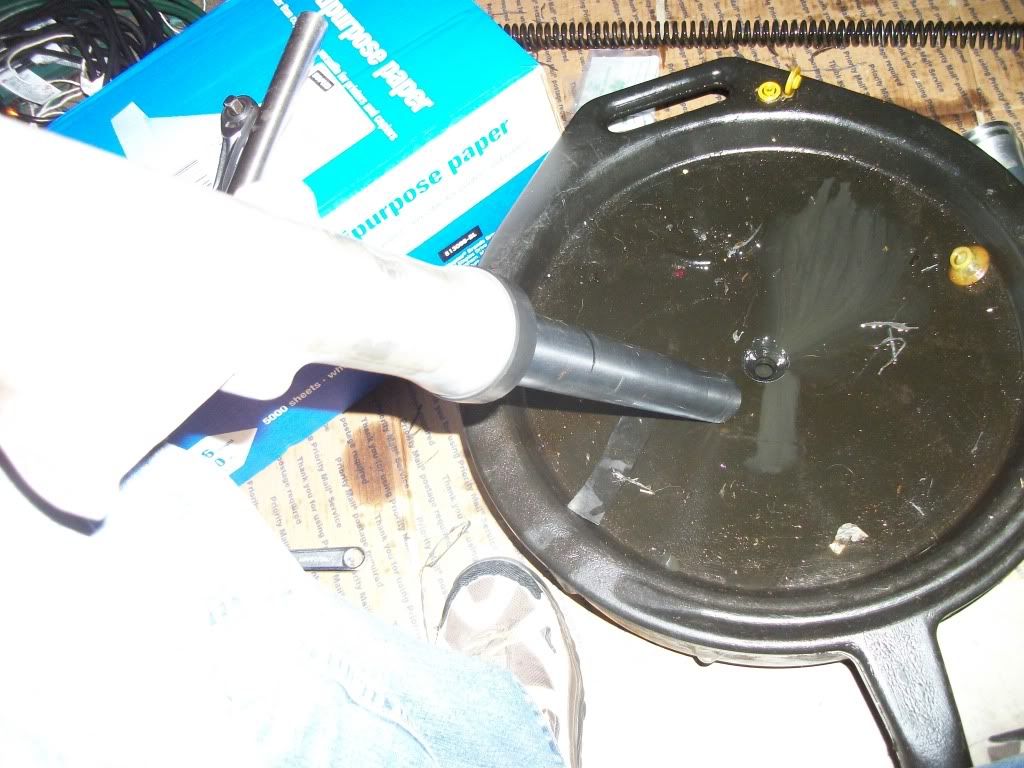
Remove the spring, notice one end is slightly smaller than the other, the small end goes into the fork first. Now is the time to drain out the old oil. Give the fork a few good pumps all the way in and out to get all the oil out.
Now is one of the rougher parts of the job, removing that allen head socket cap screw in the bottom of the fork.
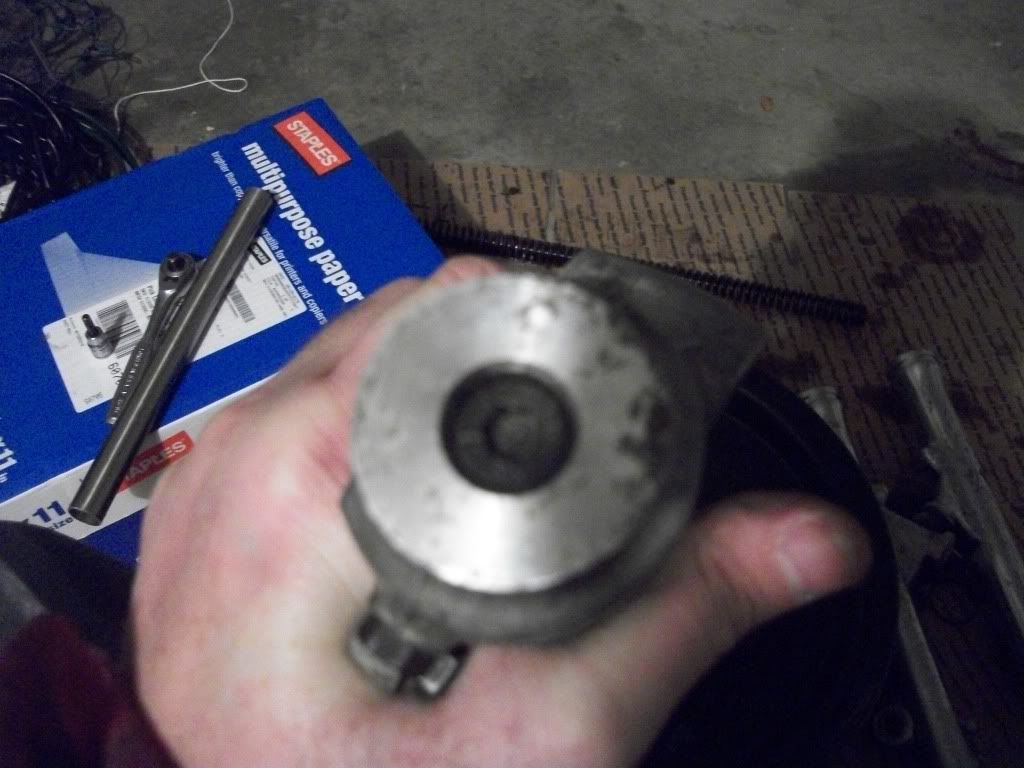
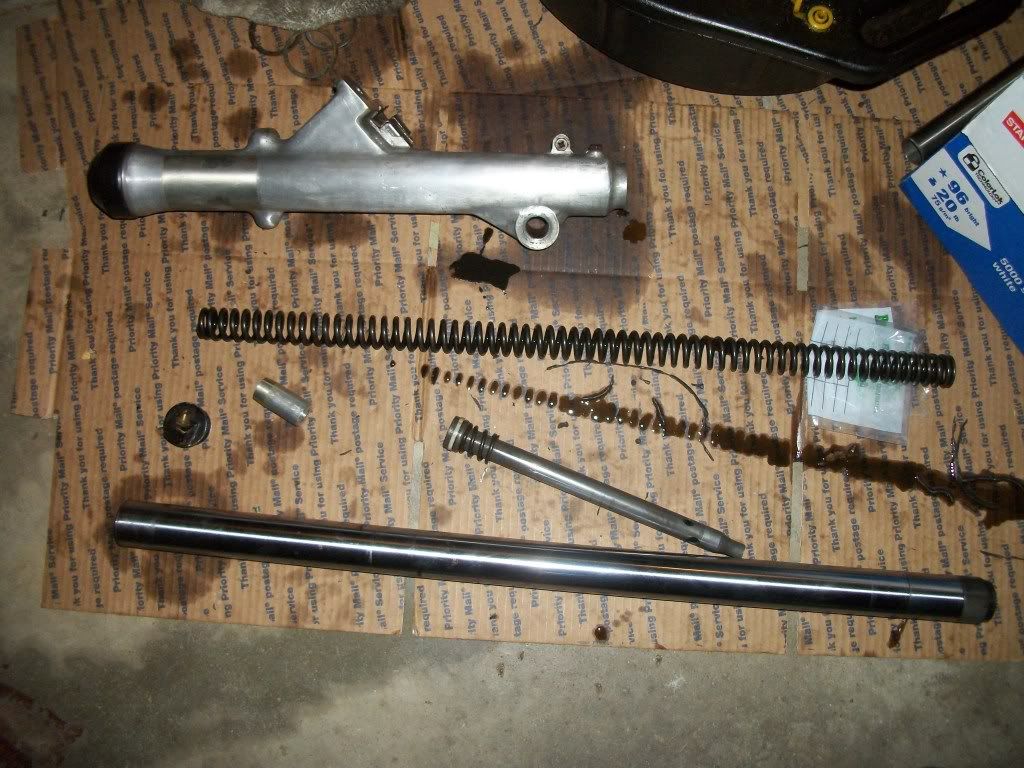
It threads into the inner damper rod, which once you break the bolt loose (it is put in with locktite thread locker, so it takes some work to get it loose), will start to turn with the bolt. The way I overcome this is to grab the upper tube close to the dust boot and try to pull it out of the slider and hold pressure to keep that damper rod from turning. The bolt will turn out of the damper like this, but you will need to re-grip the upper tube a few times to keep pressure on the inner damper. Once the bolt comes loose, the upper tube will slide out of the slider (lower fork) and the inner damper and its spring will slide out of the upper tube. In the bottom of the upper tube, the end that was in the lower fork, is what is referred to as the oil lock piece, you will want to slide it out the bottom of the tube. Here is a pick of all the components disassembled.
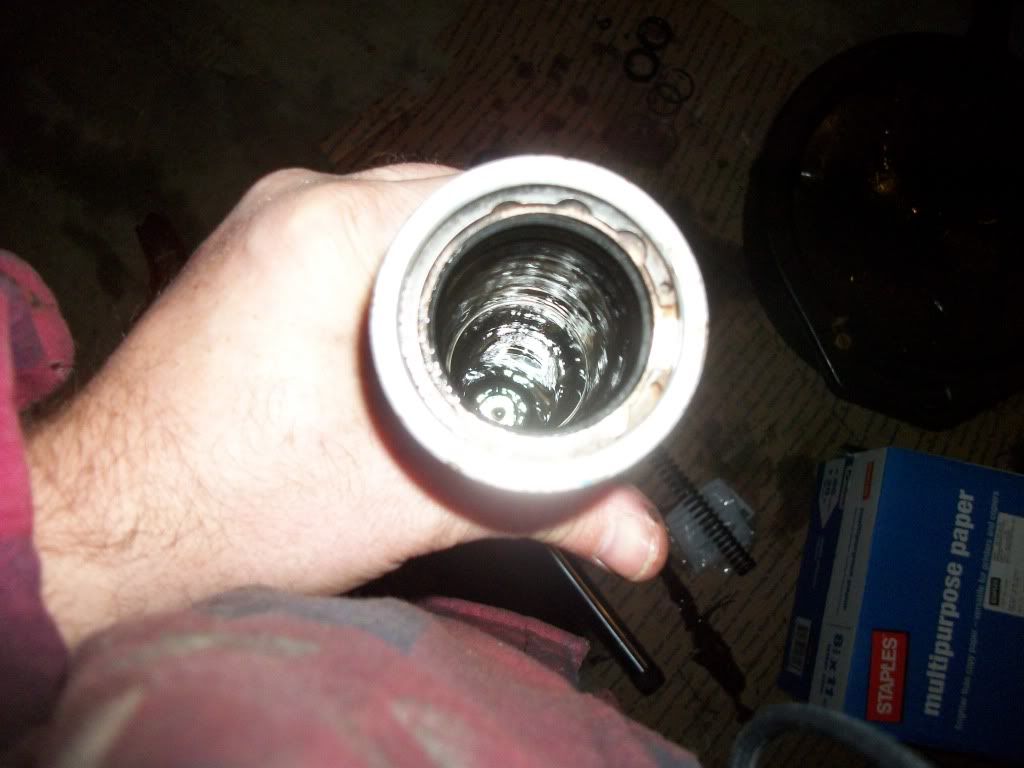
So now comes the coup-degra, the fork seal in the slider. You can see here, the seal is under a washer, which is held in by a C-clip.
Removing that C-clip is the other part of the job that becomes not as easy as it should be. I have a set of lock ring pliers, they fit in the holes, but, as you get them squeezed together, they tend to pop back out of the holes, at least mine did. I eventually took a small screw driver and when I had the C-Clip compressed enough, slid the screw driver between the clip and the slider and use it to lightly pry the C- Clip out while I continued with the lock ring pliers. Once you get it out, the washer on top of the seal will come right out. So now you have the slider with the seal in it, and the washer and C-Clip.
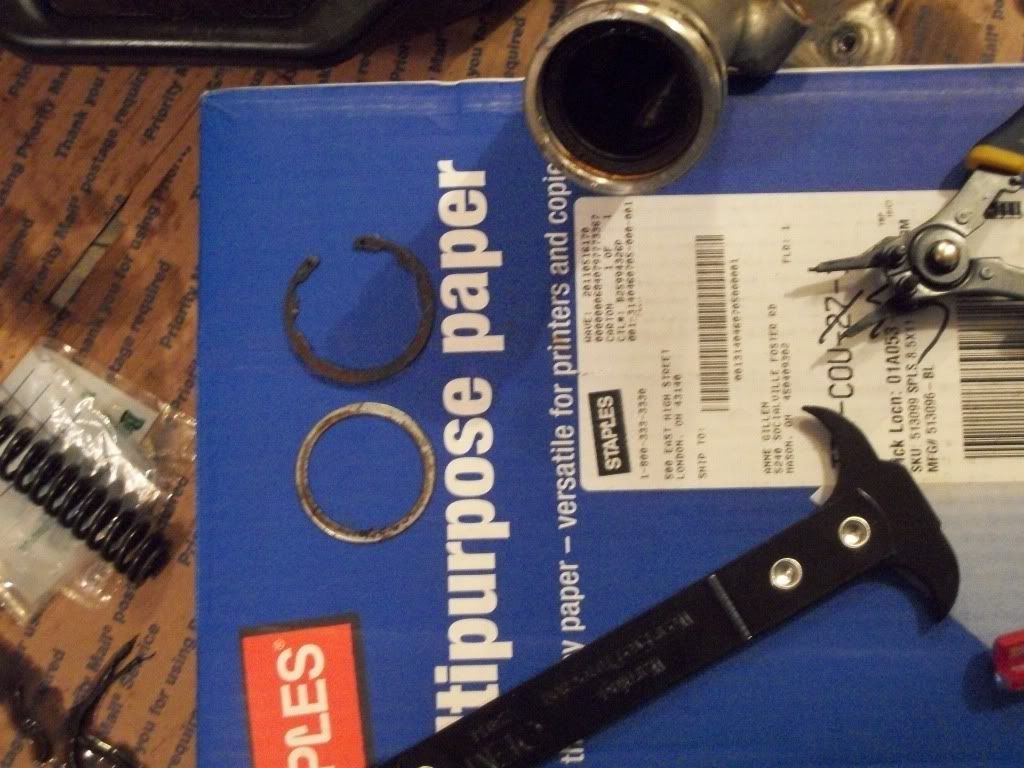
Also shown in that picture is a seal puller, a device I had never owned or used before, but Biker Phil had recommended it in a post on this process. Before I took on the task with this bike, I took the sliders I have left from the wrecked bike and removed those as a learning process. I can tell you having removed one with screw drivers and the like that the seal puller is WELL worth every penny of the $12 I paid for it!!! IT is still work to get the seal out, but A LOT less of it!!! So get one, you will thank yourself for it.
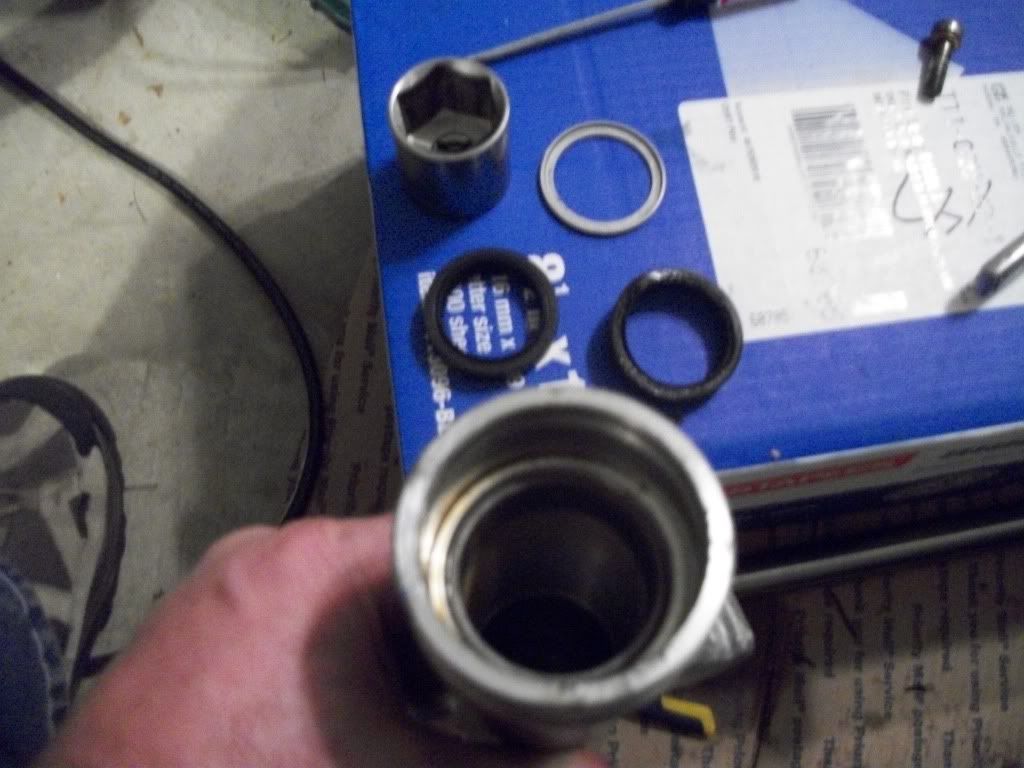
Now that you have the old seal out, there is another washer/collar under the seal. Remove it and clean the inside of the slider and all the metal parts to be reused. I spray brake cleaner into the slider using my finger to plug the bottom hole and wash it out good. In this pic you see the old seal, the new seal, the washer/collar and the socket I used to drive the new seals in.
After getting the new seal in, just reverse the process to reassemble the forks. Do not forget to put some locktite on the allen bolt in the bottom of the fork. Put your new fork oil in before you put the cap on the fork.
Hopefully this is useful to some of you like me who had never opened up a fork before.
To start with you want the front wheel off the ground, I use the center stand and then had my daughter lean on the back of the seat to lift the front of the bike up and put a jack stand under the frame cross member.

Next, you want to remove the brake calipers from the forks. It could be done later, but makes wheel removal much simpler if done now. I find I have to remove at least one to get the wheel out anyway. I tied them to the engine guards as seen here to take the weight off the brake lines. Just do NOT squeeze the brake lever!!


As part of removing the brake calipers, I pulled the rear bolts holding the front fender in place, so I continued and removed the front bolts as well letting the fender raise up.

From here you want to remove the front wheel. This will then allow the fender to sit back by the engine area with the speedometer cable in its guide on the fender. So you now have the forks ready to remove. Before you do so, remove the air valve cap and release the air pressure from the fork(s) and then take a wrench and loosen the cap on top of the forks.

Next, loosen the pinch bolt at the top triple tree that holds the fork in place, next loosen the lower triple tree pinch bolts. From here the fork will simply slide down out of the trees, it may take some twisting of the upper tube in the trees to get them to drop. Here is the fork removed.

Time to disassemble a fork, it is a much simpler task than it may appear to be. First, finish removing the top cap/air cap. Keep downward pressure on the cap as you unscrew it, the spring will be pushing on it. Once you remove the cap, you will see the top of the inner spring, the tube will also slide down pretty easily.

Remove the spring, notice one end is slightly smaller than the other, the small end goes into the fork first. Now is the time to drain out the old oil. Give the fork a few good pumps all the way in and out to get all the oil out.

Now is one of the rougher parts of the job, removing that allen head socket cap screw in the bottom of the fork.

It threads into the inner damper rod, which once you break the bolt loose (it is put in with locktite thread locker, so it takes some work to get it loose), will start to turn with the bolt. The way I overcome this is to grab the upper tube close to the dust boot and try to pull it out of the slider and hold pressure to keep that damper rod from turning. The bolt will turn out of the damper like this, but you will need to re-grip the upper tube a few times to keep pressure on the inner damper. Once the bolt comes loose, the upper tube will slide out of the slider (lower fork) and the inner damper and its spring will slide out of the upper tube. In the bottom of the upper tube, the end that was in the lower fork, is what is referred to as the oil lock piece, you will want to slide it out the bottom of the tube. Here is a pick of all the components disassembled.

So now comes the coup-degra, the fork seal in the slider. You can see here, the seal is under a washer, which is held in by a C-clip.

Removing that C-clip is the other part of the job that becomes not as easy as it should be. I have a set of lock ring pliers, they fit in the holes, but, as you get them squeezed together, they tend to pop back out of the holes, at least mine did. I eventually took a small screw driver and when I had the C-Clip compressed enough, slid the screw driver between the clip and the slider and use it to lightly pry the C- Clip out while I continued with the lock ring pliers. Once you get it out, the washer on top of the seal will come right out. So now you have the slider with the seal in it, and the washer and C-Clip.

Also shown in that picture is a seal puller, a device I had never owned or used before, but Biker Phil had recommended it in a post on this process. Before I took on the task with this bike, I took the sliders I have left from the wrecked bike and removed those as a learning process. I can tell you having removed one with screw drivers and the like that the seal puller is WELL worth every penny of the $12 I paid for it!!! IT is still work to get the seal out, but A LOT less of it!!! So get one, you will thank yourself for it.
Now that you have the old seal out, there is another washer/collar under the seal. Remove it and clean the inside of the slider and all the metal parts to be reused. I spray brake cleaner into the slider using my finger to plug the bottom hole and wash it out good. In this pic you see the old seal, the new seal, the washer/collar and the socket I used to drive the new seals in.

After getting the new seal in, just reverse the process to reassemble the forks. Do not forget to put some locktite on the allen bolt in the bottom of the fork. Put your new fork oil in before you put the cap on the fork.
Hopefully this is useful to some of you like me who had never opened up a fork before.


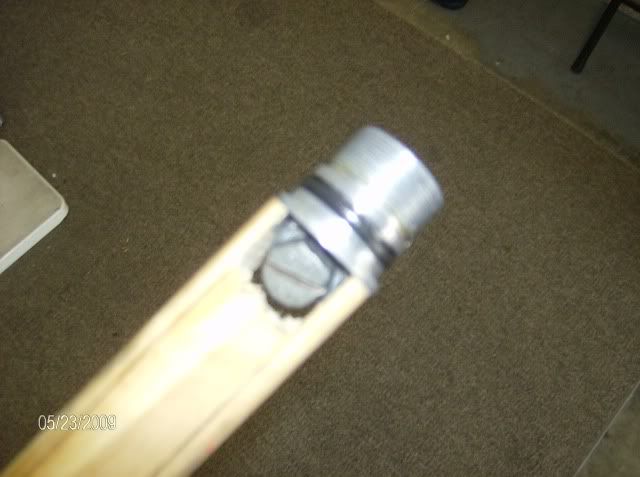


 Have not even ridden the bike, so only the air pressure pushed the oil out.

Comment