I had small rubber plugs on top of where my pilot jets were and after being out for so long they shrank and wont stay in the spot where they were so I left them out. Big deal y/n? also all my jets I screwed in till they were seated and my idle mixture screws I screwed into seated position then two and a half turns out. Sound correct to everyone?
1980 G wont idle.
Collapse
X
-
Yes big deal. If you had the rubber plugs originally you need them now, the carbs will NOT work right without them. You can order them from MikesXS, it's the rubber plug for the bs34 carbs for the XS650, same plug for pretty much the same carb. Also, those plugs are held in place by the carb bowls, so you only have to keep them in place till the bowls go on.I had small rubber plugs on top of where my pilot jets were and after being out for so long they shrank and wont stay in the spot where they were so I left them out. Big deal y/n? also all my jets I screwed in till they were seated and my idle mixture screws I screwed into seated position then two and a half turns out. Sound correct to everyone?Cy
1980 XS1100G (Brutus) w/81H Engine
Duplicolor Mirage Paint Job (Purple/Green)
Vetter Windjammer IV
Vetter hard bags & Trunk
OEM Luggage Rack
Jardine Spaghetti 4-2 exhaust system
Spade Fuse Box
Turn Signal Auto Cancel Mod
750 FD Mod
TC Spin on Oil Filter Adapter (temp removed)
XJ1100 Front Footpegs
XJ1100 Shocks
I was always taught to respect my elders, but it keeps getting harder to find one.Comment
-
Yep, like Cy said, BIG DEAL! You would be better off putting the wrong jets in it. It will run like total crap if at all.
2-1/2 turns out on the mix screws may be a little rich, but it should still start and run like that well enough for you to tune it and see what it looks like.
You could also try soaking the plugs you have in some brake fluid and see if they swell up from it and then fit tight. Could be worth a try anyway.
Life is what happens while your planning everything else!
When your work speaks for itself, don't interrupt.
81 XS1100 Special - Humpty Dumpty
80 XS1100 Special - Project Resurrection
Previously owned
93 GSX600F
80 XS1100 Special - Ruby
81 XS1100 Special
81 CB750 C
80 CB750 C
78 XS750Comment
-
Remember, they only have to stay in place long enough to get the bowls on. The bowls have a protrusion molded into them that presses them firmly into the hole, so unless they are REALLY shrunk REALLY small they will probably still work, and once gas is around them they should swell back up and seal just fine. You will just have to put the bowls on with the carbs upside down.Cy
1980 XS1100G (Brutus) w/81H Engine
Duplicolor Mirage Paint Job (Purple/Green)
Vetter Windjammer IV
Vetter hard bags & Trunk
OEM Luggage Rack
Jardine Spaghetti 4-2 exhaust system
Spade Fuse Box
Turn Signal Auto Cancel Mod
750 FD Mod
TC Spin on Oil Filter Adapter (temp removed)
XJ1100 Front Footpegs
XJ1100 Shocks
I was always taught to respect my elders, but it keeps getting harder to find one.Comment
-
Yamaha part # 3F7-14991-00-00, your nearby dealer might have some if you give them this number. Many Yamaha's and the Suzuki GS550 use the same plugs.2H7 (79) owned since '89
3H3 owned since '06
07 Triumph Tiger 1050
"If it ain't broke, modify it"
☮Comment
-
The end is in sight but I have a few questions first.
1. I closed the hole for my left petcock and will run the bike using only the right one from here on out. There are two hoses that go to the petcock one thick and one small and flexible. I will need to split both of these using a T and tie them into the ones for carbs 1 and 2 right? And assuming that's correct what do i need to look for when I go to buy the stuff i need? Size? Material?

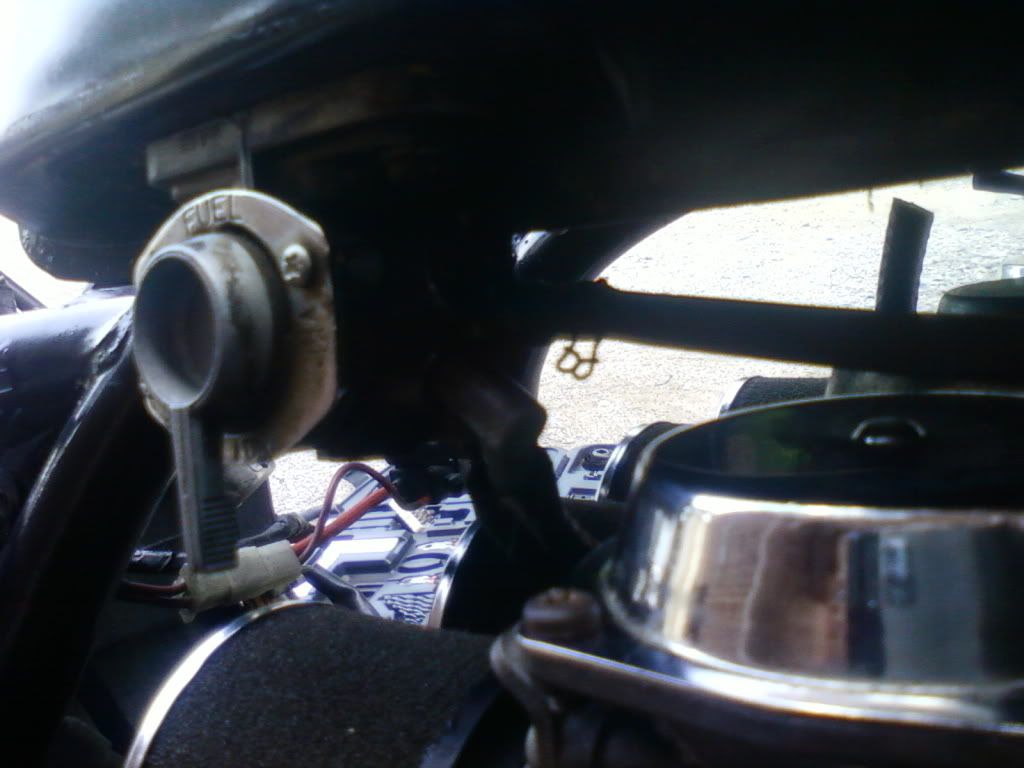
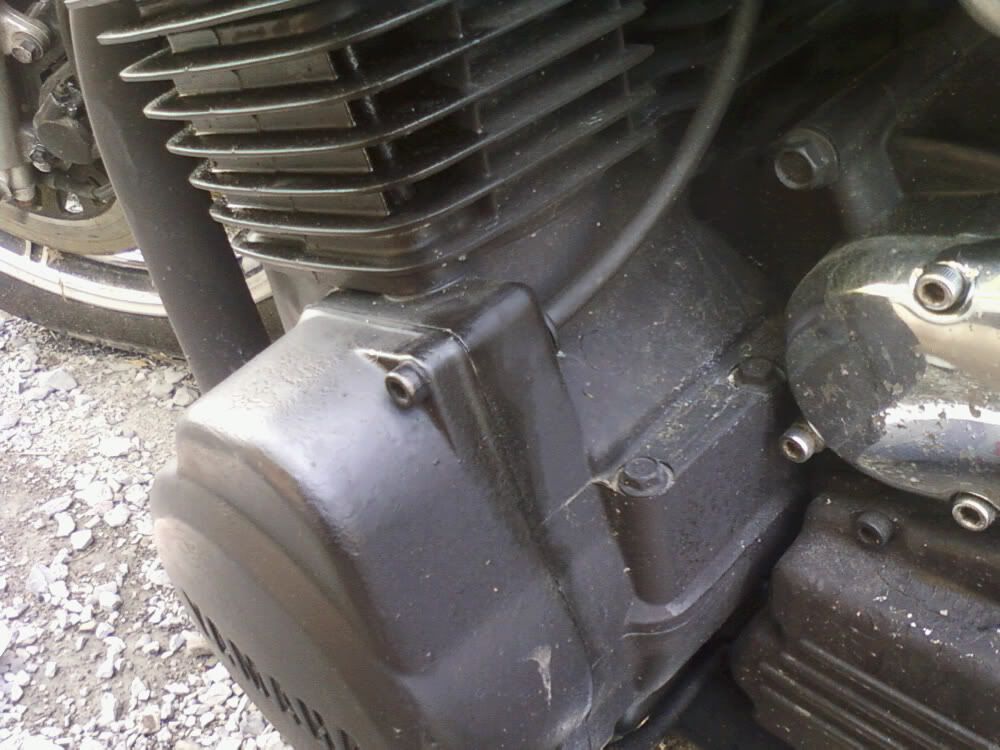
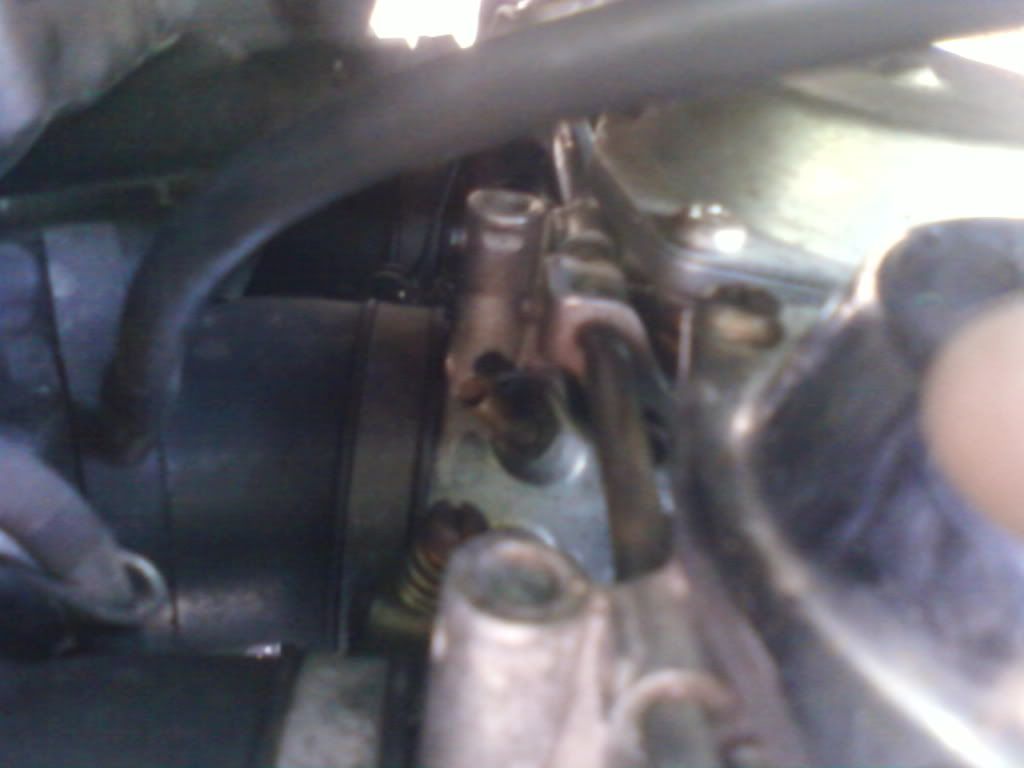
2. There is a line coming from the left side of the engine near where it says yamaha and i cant remember where it goes. I think it goes to the brass stem sticking out of carb number 2 is this correct? Here are some pics for reference.

 1980 XS11G 22XXX miles.
Comment
-
The carb boot nipple connects with a hose to the small nipple on the petcock. The large petcock nipple can be T'd to the two carb fuel inlets. That hose coming from the left side of the engine goes to the nipple on the front of #2 carb body.2H7 (79) owned since '89
3H3 owned since '06
07 Triumph Tiger 1050
"If it ain't broke, modify it"
☮Comment
-
Im not sure i understand? Are the Two carb fuel inlets the bigger more rigid hoses? Hoe do i T the petcock nipple? What do i do with the small hose on the side i removed the petcock from?1980 XS11G 22XXX miles.Comment
-
The two carb fuel inlets are between carbs 1+2 and 3+4. Run fuel hoses from those up into a T and then continue up to the large nipple on the petcock. That is your fuel supply. The small nipple on the petcock is for vacuum and is to be run to the #3 carb boot nipple with a vacuum hose. The hose from the engine hooks to the nipple on the front of carb body #2. This is the ignition vacuum advance. Take the cap you pulled off the #3 carb boot nipple and put it on carb boot nipple #2. So, all carb boot nipples should be capped off except #3 which now will have a vacuum hose on it running to the small nipple on the petcock.Last edited by bikerphil; 07-31-2011, 07:06 PM.2H7 (79) owned since '89
3H3 owned since '06
07 Triumph Tiger 1050
"If it ain't broke, modify it"
☮Comment
-
This picture shows 2 hoses. The one on the lower left that comes from the timing cover connects to the brass tube in the center of the picture. The hose that runs off the right side of the picture would usually be connected to the petcock, to operate the vacuum valve.

If you are not utililizing the left petcock (not a good idea IMO, since you will then loose 1/4 of your fuel supply), you can remove the hose from the carb boot and use a vacuum cap just like what is on the outside 2 carb boots.
You can put a T in the fuel line coming from the right petcock, and run the line to each side of the carb bank.1980 XS850SG - Sold
1981 XS1100LH Midnight Special (Sold) - purchased 9/29/08
Fully Vetterized and Dynojet Kit added, Heated Grips, Truck-Lite LED headlight, Accel Coils, Irridium plugs, TKAT Fork Brace, XS850LH Final Drive & Black SS Brake lines from Chacal.
Here's my web page devoted to my bike! XS/XJ User's Manuals there, and the XJ1100 Service Manual and both XS1100 Service manuals (free download!).
Whether you think you can, or you think you cannot - You're right.
-H. FordComment
-
So. Did all that I was supposed to...moment of truth...drum-roll...As i got to push the start button with my thumb I look down and....IT WASN"T THERE! No idea where it went or how it happened but oh well I wasnt going to let that stop me so i crammed my screwdriver in there and low and behold it runs! MY bike once again has life! Thanks you so much for all your help! My confidence has taken a big climb! Now granted it runs rough and sounds all uneven but that's without synching my carbs at all so guess whats next? Bug, if you've got the tools to do this bit I hope to take you up on your offer. Let me know in a PM. Thanks again all! Be seeing you in my soon to come replacing the starter button thread haha!1980 XS11G 22XXX miles.Comment
-
Multiple vendors sell replacement starter/horn buttons (it's the same button) for pretty cheap, both partandmore and mikesxs among others off the top of my head, plus there is a least 1 vender if not two on ebay who regularly sell them (that's where I got mine before I found the previously mentioned sites and here) and I still see them on ebay on a semi regular basis. They are pretty easy to replace as well. Plus at least one member has done an all metal version, but the problem with them is that YOU can become part of the ground circuit in wet conditions with them .
Cy
.
Cy
1980 XS1100G (Brutus) w/81H Engine
Duplicolor Mirage Paint Job (Purple/Green)
Vetter Windjammer IV
Vetter hard bags & Trunk
OEM Luggage Rack
Jardine Spaghetti 4-2 exhaust system
Spade Fuse Box
Turn Signal Auto Cancel Mod
750 FD Mod
TC Spin on Oil Filter Adapter (temp removed)
XJ1100 Front Footpegs
XJ1100 Shocks
I was always taught to respect my elders, but it keeps getting harder to find one.Comment
-
Sure wish I had found this site about a week and a half earlier when Tsunami's starter button went south. I found a couple of different places that buttons for around 6 bucks or so, which is comparable.
The slightly cheaper one was in the US and they only ship UPS which would have meant brokerage fees on top of their silly shipping cost to get it into Canada.
The other one was a Canadian source, just slightly more $, but they only ship Fedex. Fedex shipping for two buttons was CA$18
 To add insult to injury, the two buttons were shipped in a box approx 12"x10"x3", and the actual delivery agent at this end was Canada Post anyways. If they had put the buttons in a small bubblewrap envelope and sent it Canada Post expedited parcel, it probably would have cost less than 5 bucks.

Gotta add kibokojoe to my favourites list now...Ken TalbotComment
Comment