Ok Guys,
Me and Lugnut (My Father) have been tinkering around with "Naked boy" a 82 XJ1100 Texas bike with 23K on the clock. For the longest time it sat in the garage with nothing done to it. When we first brought it home we pulled the carbs, cleaned them, installed a fresh battery, rebuilt the fuse box, and fired him up.
Ran ok but we had the low spark problem and only wanted to start when you let off the button. So back to basics, from the plugs all the way back to the TCI cleaned ever connection and ground up and coated everything with di-electric grease, and tried again. (Still weak but better) It was rideable.
So with a 1 gallon gas can hung from the bars and no seat on the bike Lug nut heads down the drive way and first gear it screwed. (Rat-a-tat-tat) like a machine gun going off. So shifting up into second he continued the ride. Pulled like a frieght train! But with with first gear gone and 6 other bikes in the stable it seams like the naked boy might end up and a parts bike do to the lack of confidenece in the first and second gear fix, and the lack of willingness to part with an a hundred buck for a new gear.
She sat in the corner for a couple of months (actually behind the buffing wheel) (OMG that thing got covered) put it out of our heads for a while. Then over many cups of coffee and a few beers we decided to attack 1st gear with the dremel fix. We flipped her over, followed the instructions on the XS11.com tech tips, and slapped her back together. Much to are surprise it didn't just work, it worked Fantastic!, and best of all "No more Russian tractor" 1st gear slips in just as quite as 5th.
Although we still had a weak spark issued to deal with. So we went after the harness again. We swaped out a known working set of coils and TCI from the "Naked Boy's" sister "The Fat girl" or her full name "Black Betty the Fat bitch" (A full fairing with bags 82 xj1100) Double checked all the connections and tried again. The TCI an coils didn't fix it but going through the wires again did slightly increase the spark. not enough though to call it fixed. During our rebuild process I plann to completely reconditon the wiring harness, as i'm sure its just a matter of a connection needing to be fixed that I couldn't get to while on the bike, an we also are serouisly thinking of new after market coils as the stockers weren't all that great to begin with.
So first gear fixed and spark solutions well set in our minds, the bike sat again with us wondering what we wanted to do. Tune it and leave it dirty and ride the hell out of it next summer (Free & little time) , Fluff & buff? ( a winters worth of detailing and cleaning and not really acheiving a beutiful bike- pretty cheap) or a completely tear down cleaning, scrubing, buffing, polishing, painting, & wiring down to frame and back up in which we would be proud of ever detail. After which we would truely have a naked clasic beast that would not only be amazing to ride, but would draw attention from every one we run acrossed in are travels? (Lost of time, Lots of Coffee, and more money then we really want to spend)
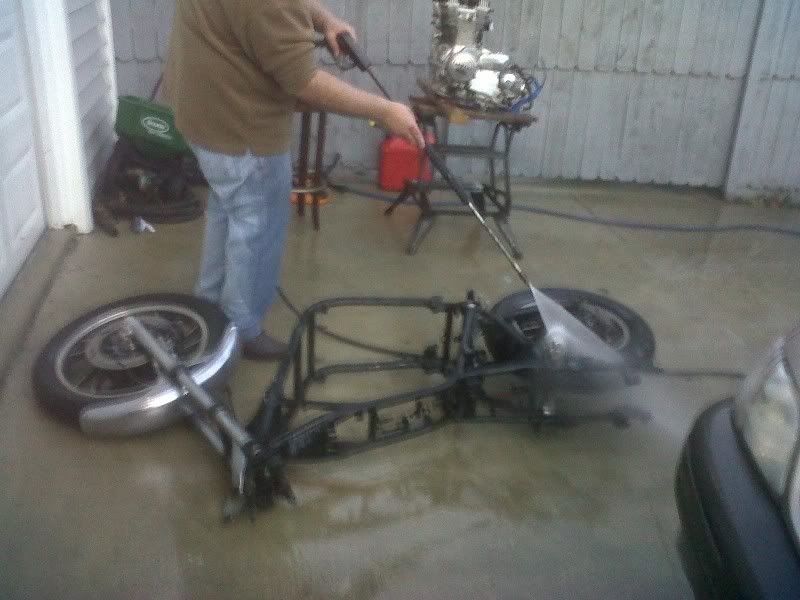
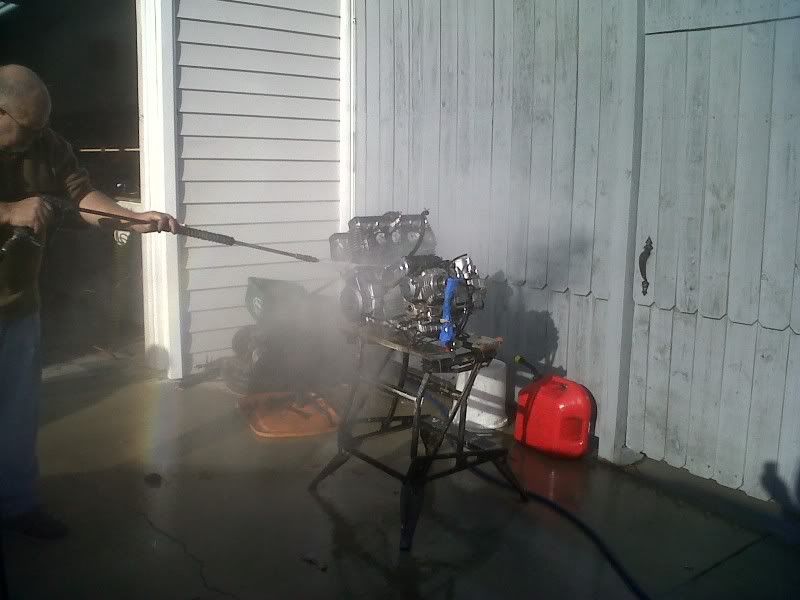
Below you will find a short video of what we decided to do, it's only the start and I will post pictures occasionally for you all to follow along with, but we have deffinatly took our first steps.
<object width="425" height="344"><param name="movie" value="http://www.youtube.com/v/9hepIzxiRkI?hl=en&fs=1"></param><param name="allowFullScreen" value="true"></param><param name="allowscriptaccess" value="always"></param><embed src="http://www.youtube.com/v/9hepIzxiRkI?hl=en&fs=1" type="application/x-shockwave-flash" allowscriptaccess="always" allowfullscreen="true" width="425" height="344"></embed></object>
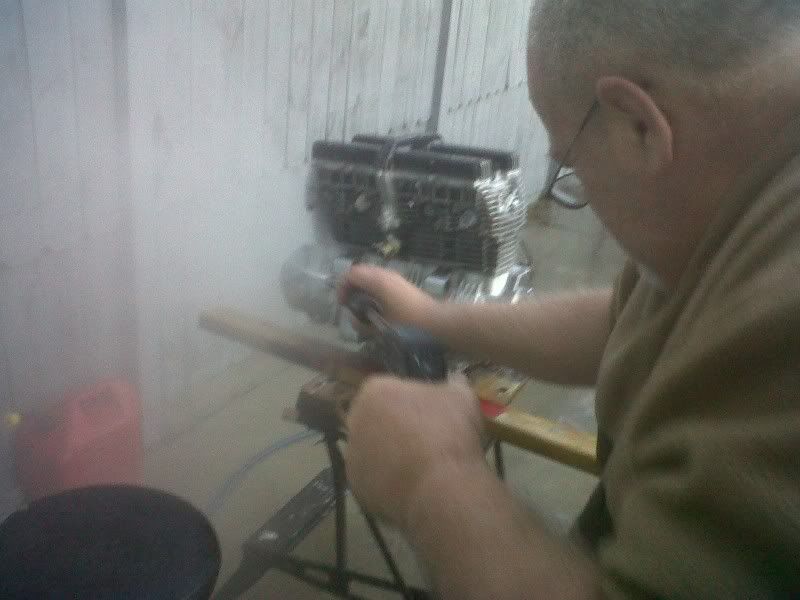
We started at 12:30 and were drinking coffee by 4:30. and as you can see we took are time doing it. I even installed some new grips on the fat girl!
_________________
My bikes.
82 xj650j Maxim 23K mile and climbing
82 XJ 1100 with vetter fairing bags and trunck 18K (no second gear problem) (The Fat Girl)
Father/Son Project
82 XJ1100 (SECOND GEAR SHOT) (Naked boy)
Dads bikes
79 XS 750 (tripple)
82 XJ 750 -(Star wars speeder)
Friend's bikes "David's"
79 XS 1100
81 XJ 650 (John Doe)
His brother's "Dougs"
82 XJ 650 (Jane Doe)
Brother inlaws bike "Rob"
81 XS 400 "the scooter"


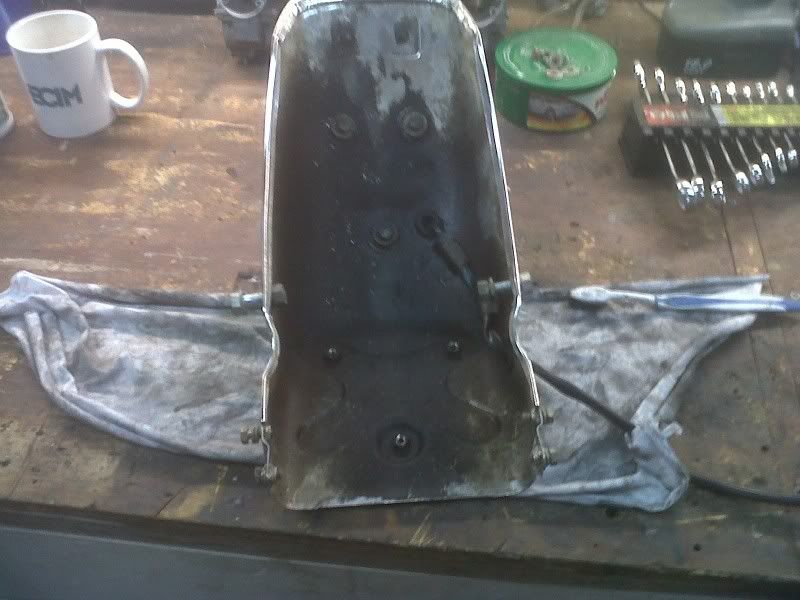
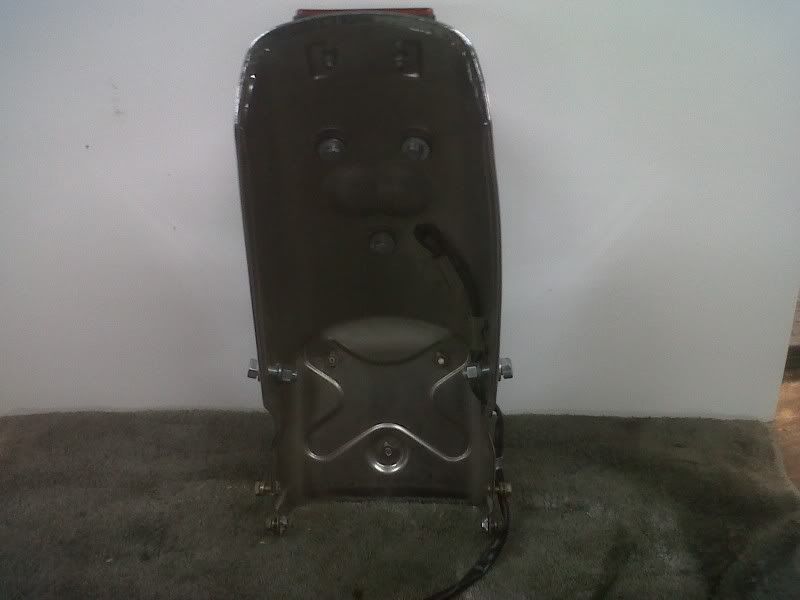
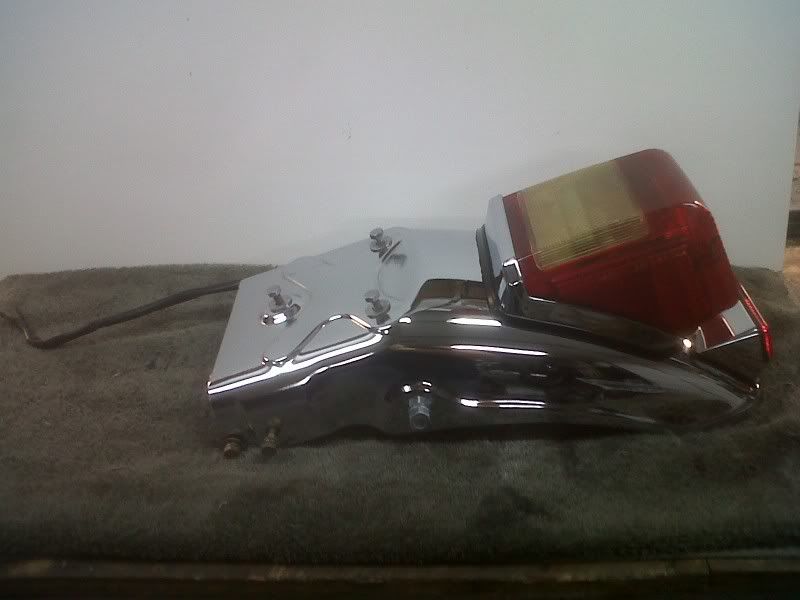
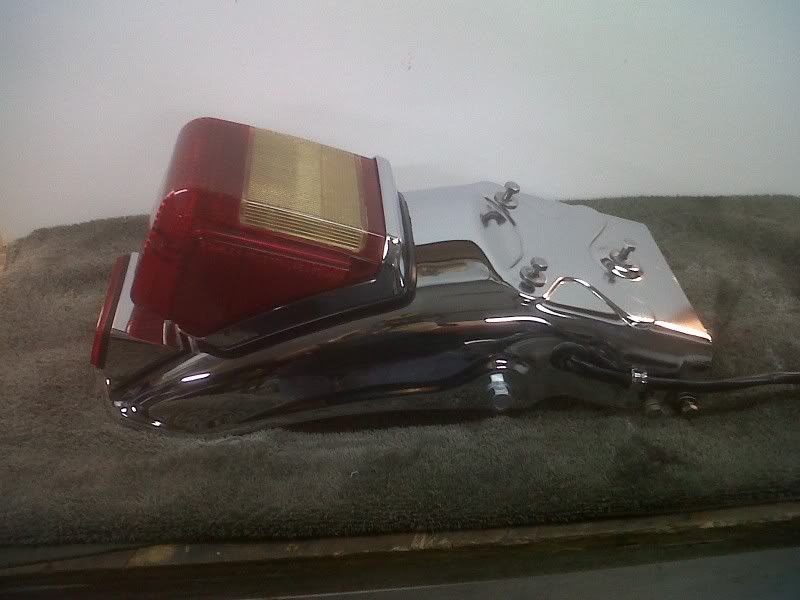
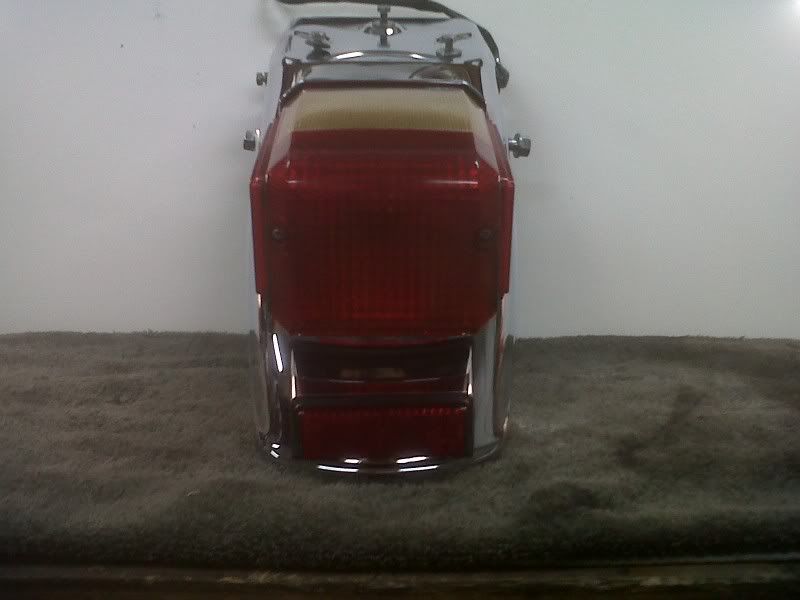
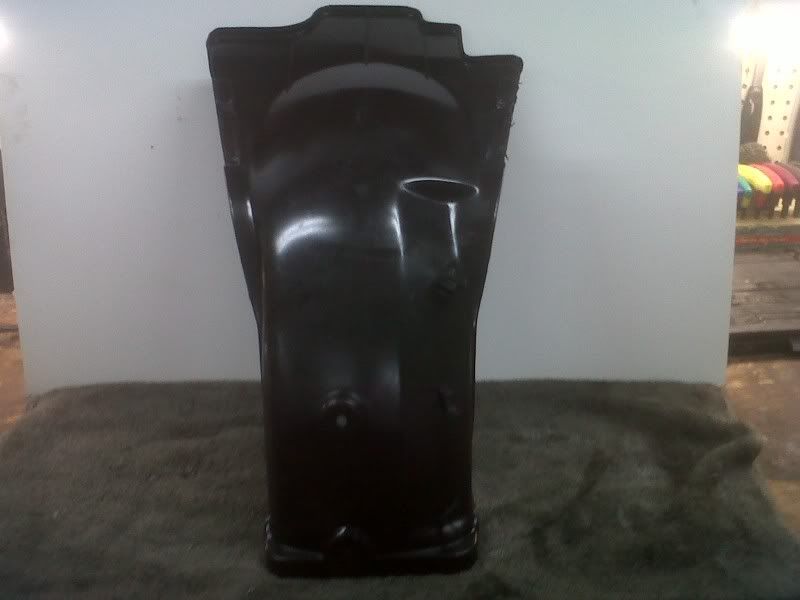
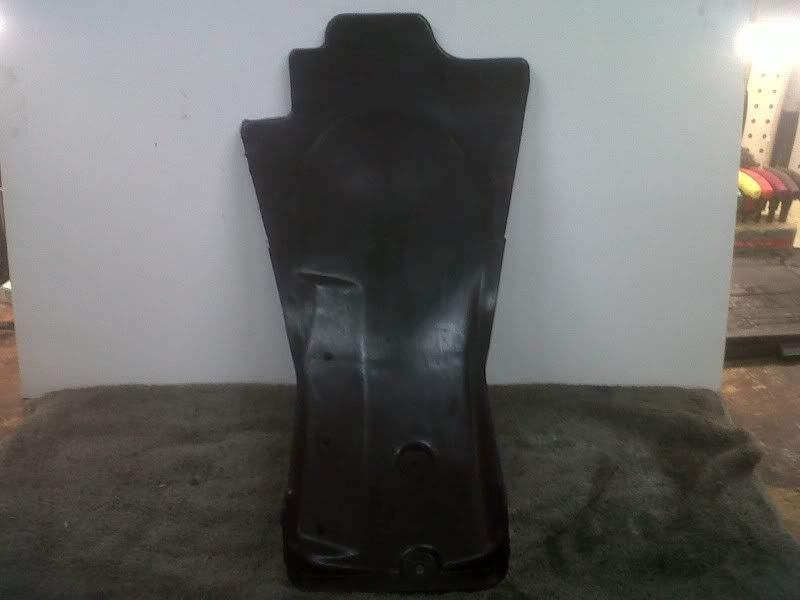
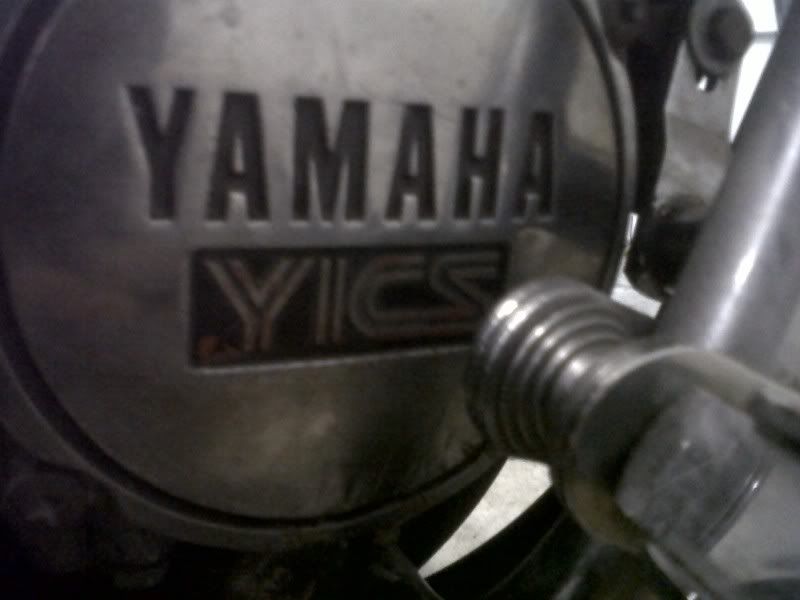
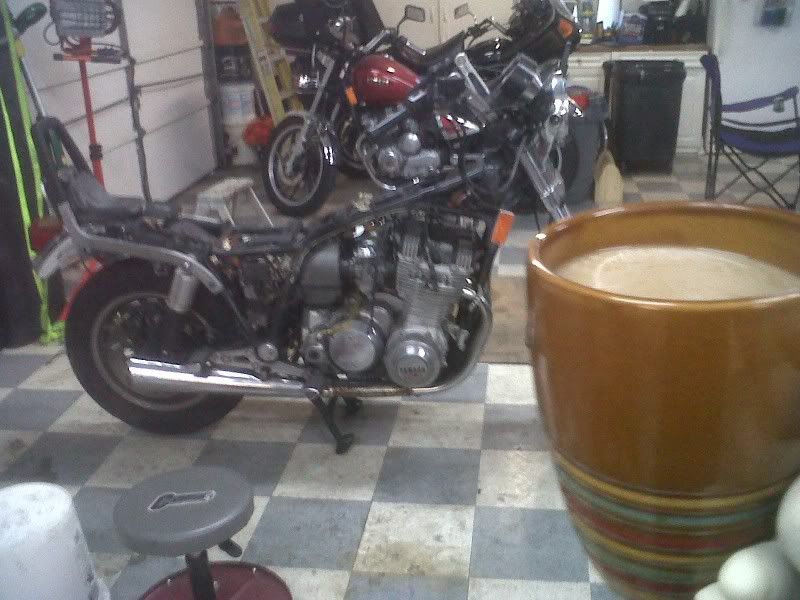
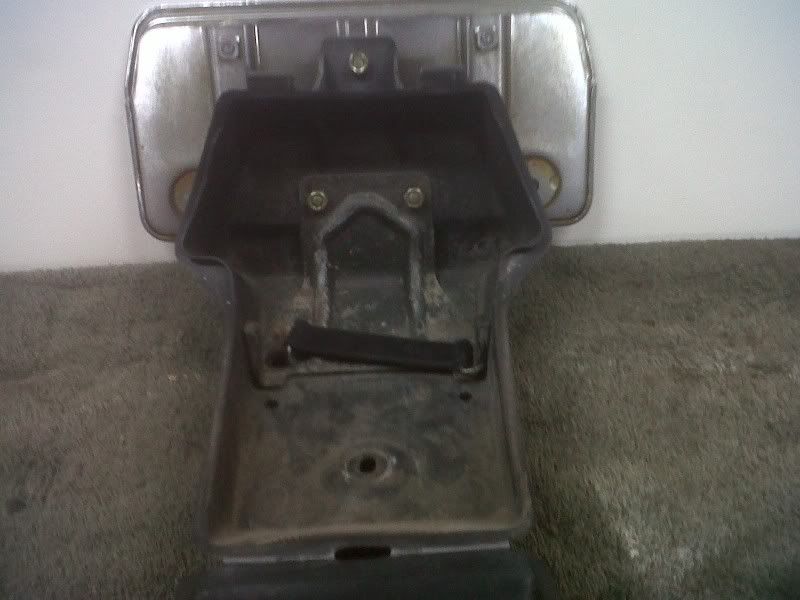
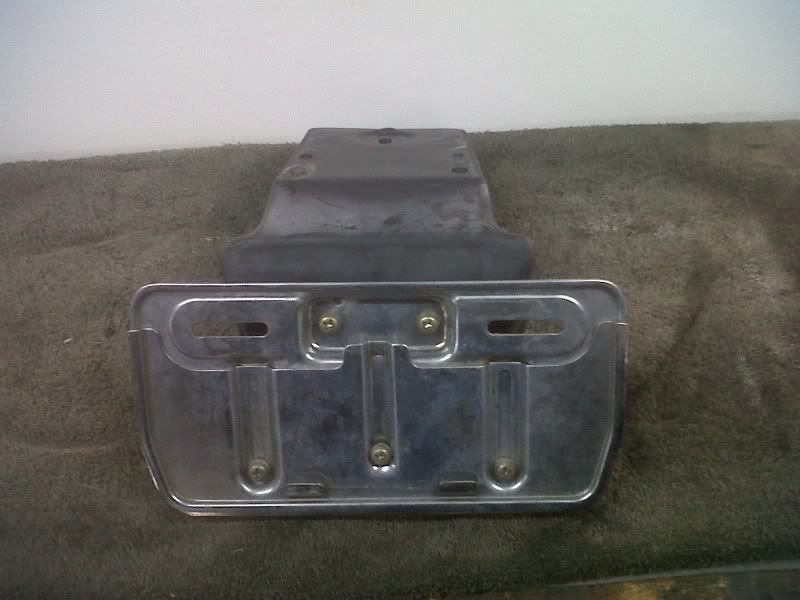
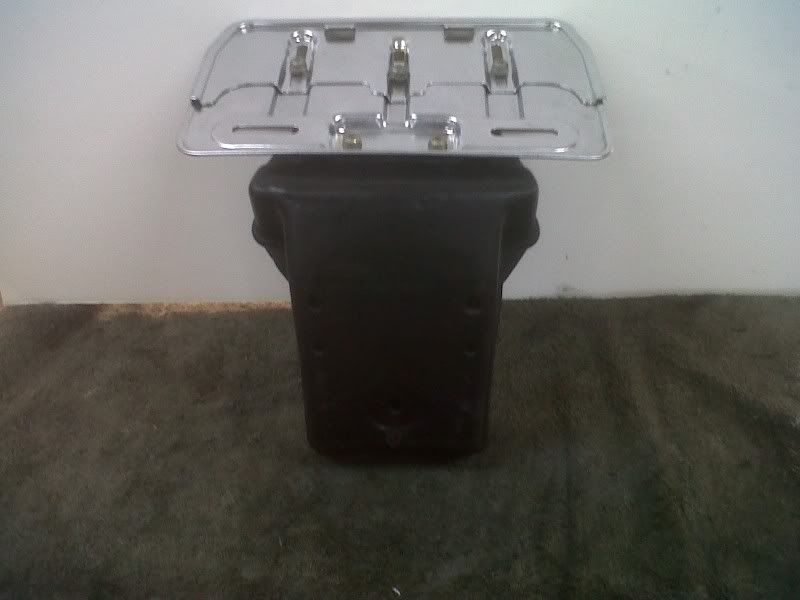
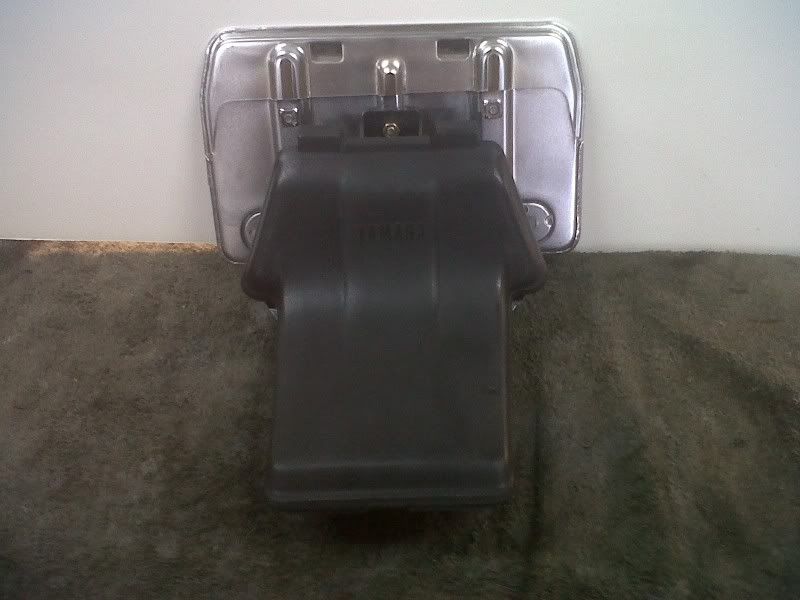
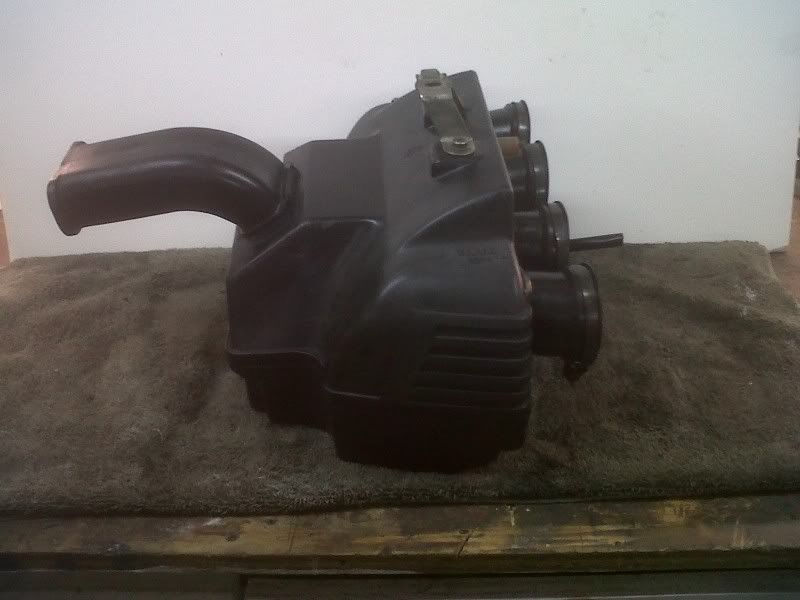
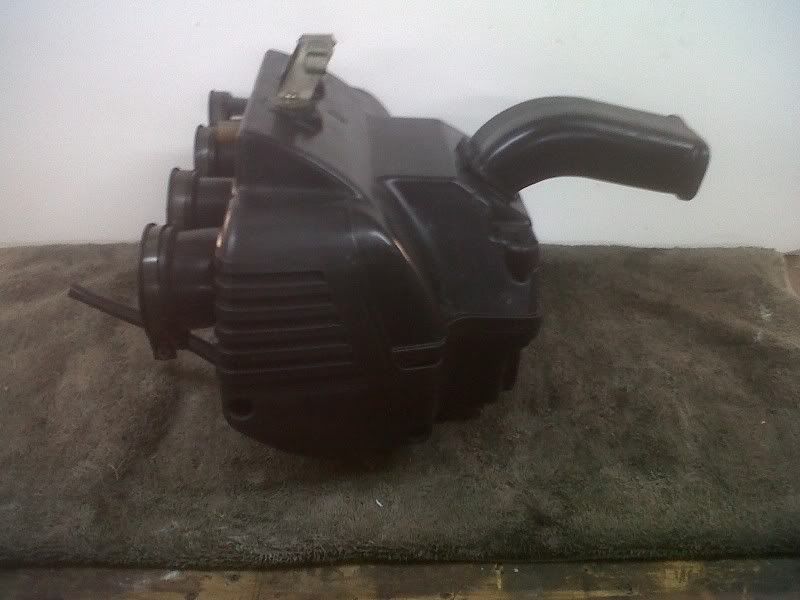
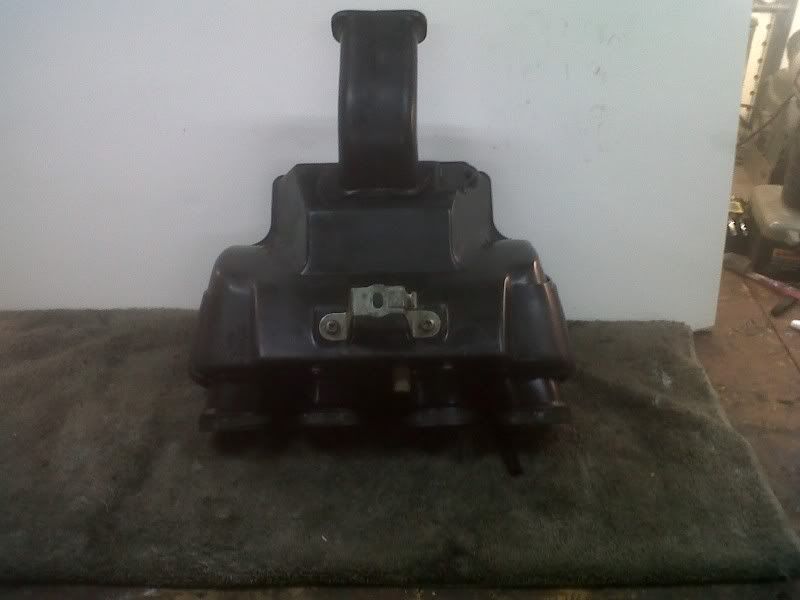
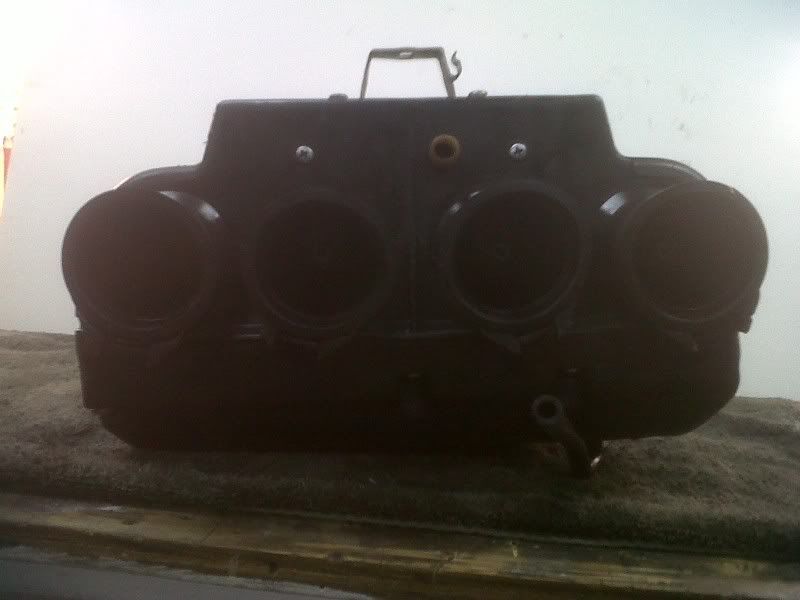
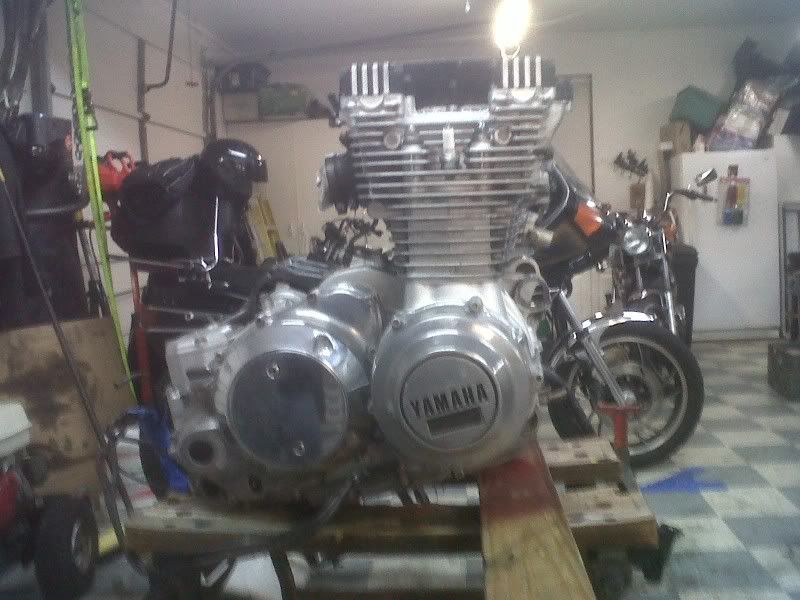
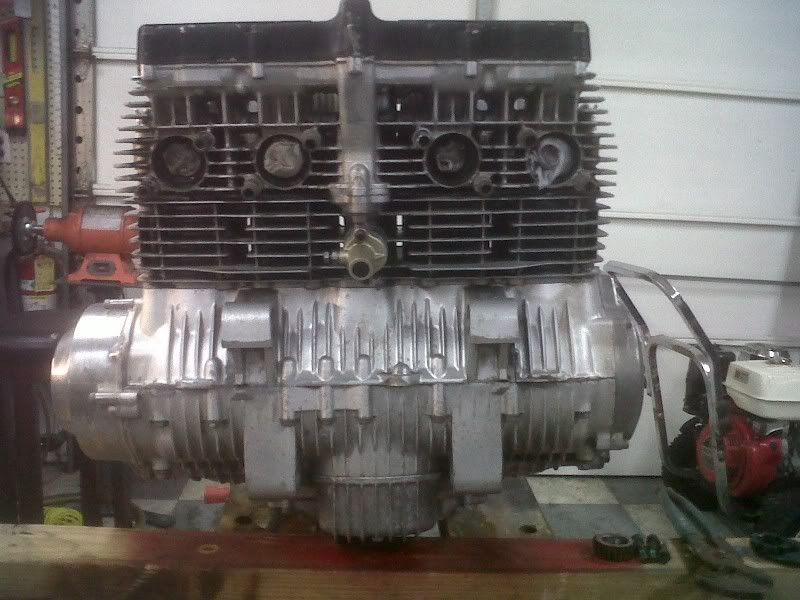
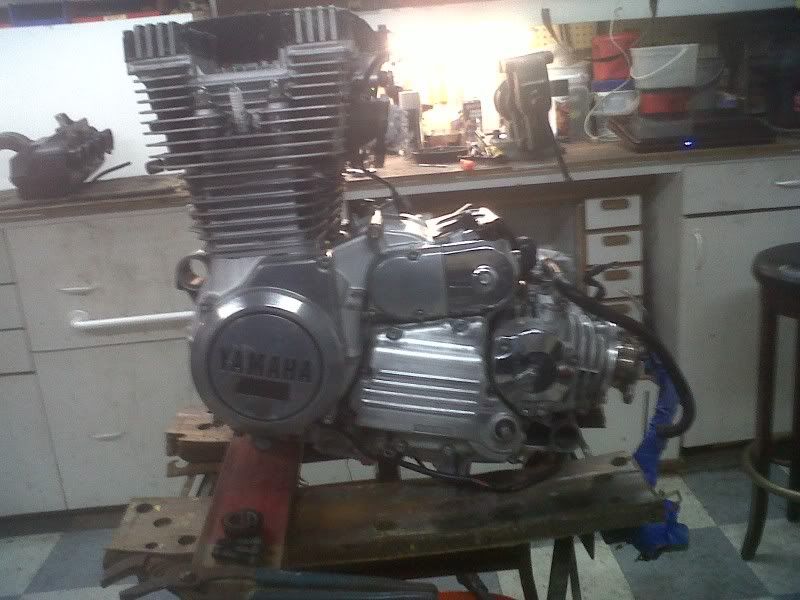
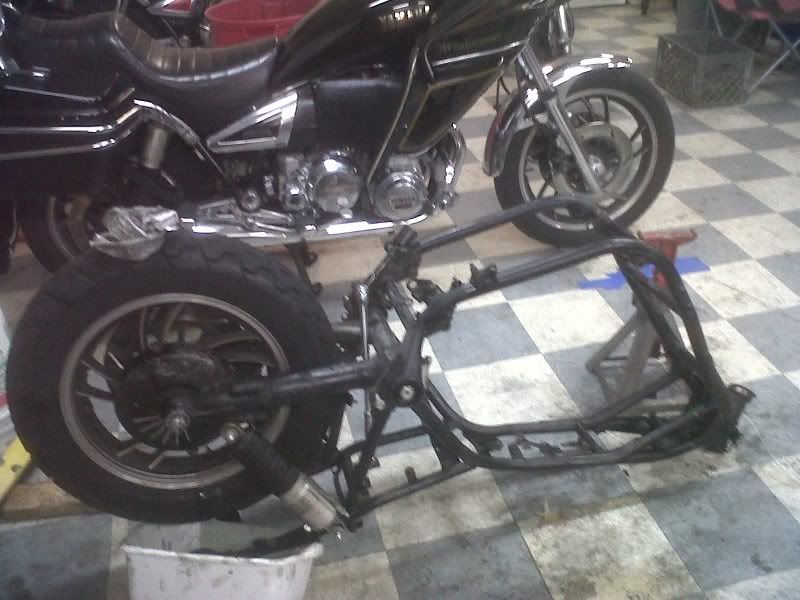
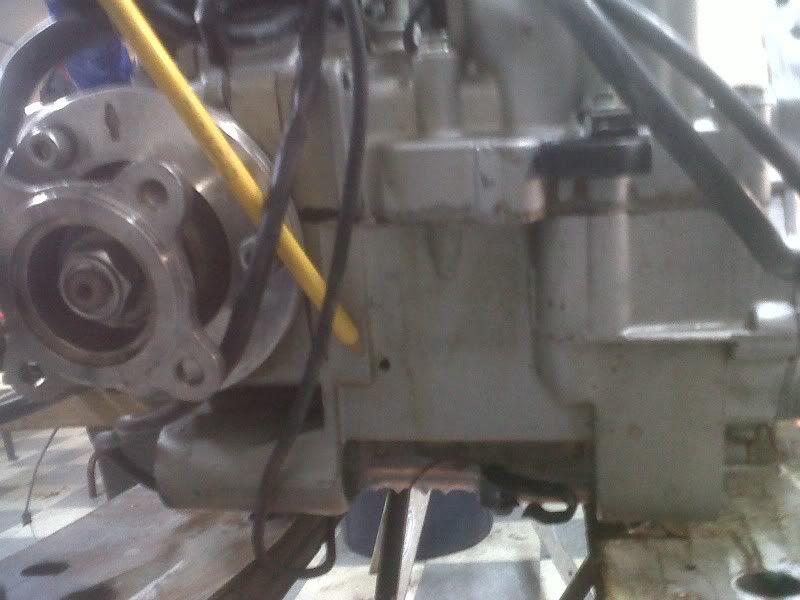
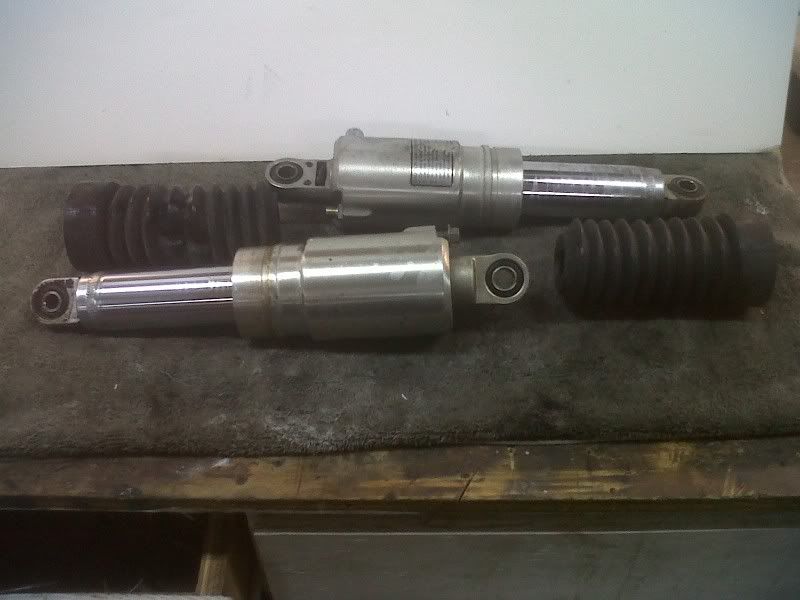
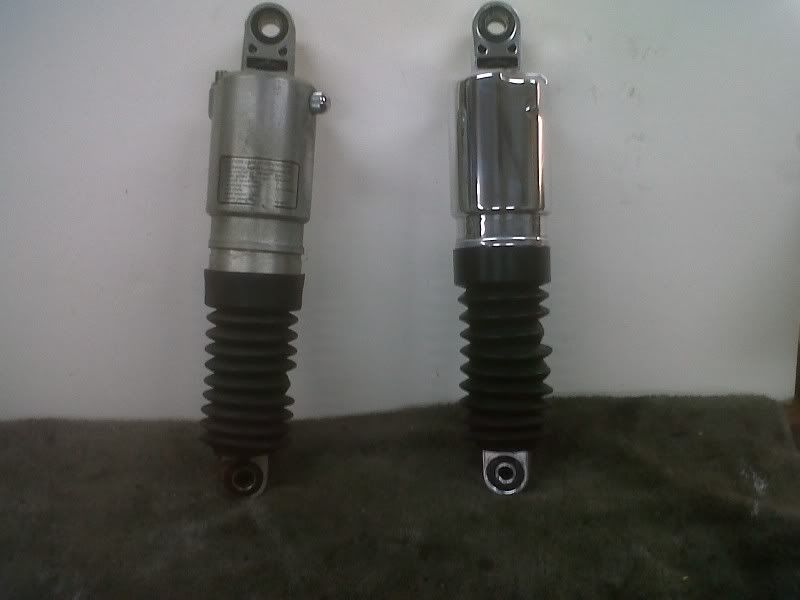
 Right. Those will come off in the next couple of days but we decided that it would be easier to balance with the tires on untill we pulled the motor out (we laid it over remembering all the posts sugesting it. No go. PITA. Stood it back up and between the two of us it easily lefted right out of the frame.) Good news it ever thing seems to be in pretty good shape though. I know this may be premature but I think this is a close to "clean it up and put it back together" project as you can get with a 28 year old bike.




Comment