If this is your first visit, be sure to
check out the FAQ by clicking the
link above. You may have to register
before you can post: click the register link above to proceed. To start viewing messages,
select the forum that you want to visit from the selection below.
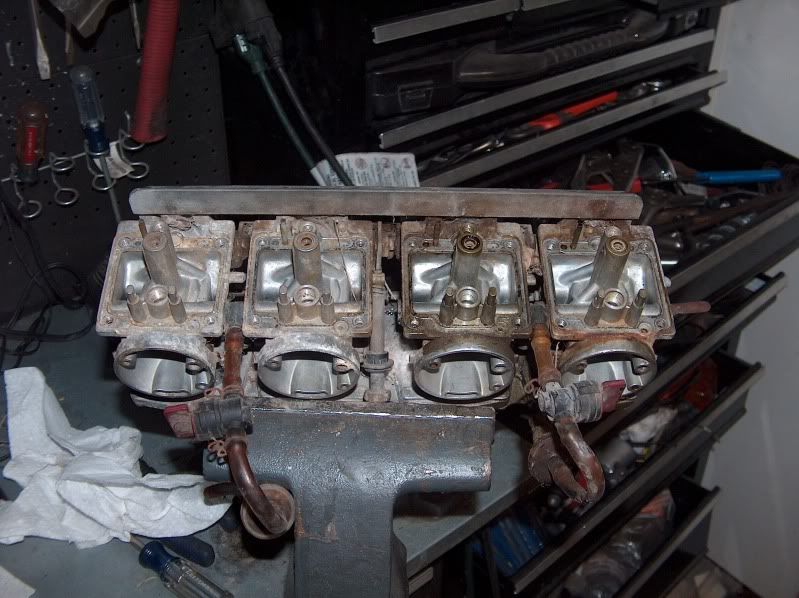
Do I tap them up from the bowl side into the neck, or down from the neck into the bowl. These suckers are pretty jammed and don't want to come out easy. So I will have to tap them pretty hard. I want to make sure I'm going the right way....
The glorious rays of the rising sun exist only to create shadows in which doom may hide.
XS11F (Incubus, daily rider)
1969 Yamaha DT1B
Five other bikes whose names do not begin with "Y"
Tap from the bowl side out into the neck of the carb. You'll need to remove the tops and slides if you haven't already.....
1979 xs1100 Special -
Stock air box/K&N Filter, MAC 4-2 exhaust, Bad-Boy Air horn, TC fuse box, Windshield, Soft bags, Vetter Fairing, Blinkers->Run/Turn/Brake Lights, Headlight Modulator, hard wire GPS power
Short Stack - 1981 xs1100 Standard - lowered for SWMBO.
Originally posted by fredintoon
Goes like a train, corners like a cow, shifts like a Russian tractor, drinks like a fish, you are gonna love it.
They look in rough shape you might want to take them completely apart and soak them in some cleaner . Replace the butterfly seals while you're at it.
BDF Special
80SG Vetter bagger 1196 Wiseco big bore kit, Mega Cycle Cams, slotted cam gears, ported and flowed head, bronze intake seats, Dyno Jet kit, Dyno coils and Mikes XS air pods, Venture cam chain adjuster,Geezer's regulator, Clutch mod, Mac 4 into 1 with custom built and tuned baffle, Oil cooler,MikesXS emulators mod.
Dyno tuned to 98 hp at the rear wheel.
I am thinking I am going to soak them, Tinamn, but I was going to soak them in Yamaha Carb cleaner. I've been told that stuff doesn't harm rubber seals. The last time I tried to replace my butterfly seals all I succeeded in doing was stripping a bunch of those little screws that hold the butterflies in.
Patrick
The glorious rays of the rising sun exist only to create shadows in which doom may hide.
XS11F (Incubus, daily rider)
1969 Yamaha DT1B
Five other bikes whose names do not begin with "Y"
One tip to removing the tubes is once the main jet and washer have been removed, thread the main jet back in a couple of turns, and while the screwdriver is still engaged with the slot on the jet, give the end of the screwdriver handle a couple of shap blows. That will help to break the corrosion seal around the alignment pin that sits just below the threads for the main jet. Soaking in a good penetrant won't hurt either. Like Geezer said, use a wooden tool, a dowel, or my favorite, a pencil, to drive the tube out. Don't use anything metal to drive it out, that will ruin the threads in the tube where the main jet screws in.
I am thinking I am going to soak them, Tinamn, but I was going to soak them in Yamaha Carb cleaner. I've been told that stuff doesn't harm rubber seals. The last time I tried to replace my butterfly seals all I succeeded in doing was stripping a bunch of those little screws that hold the butterflies in.
Patrick
Those little screws are staked from the back side. A dremel to remove it helps immensely, then remember to stake them again when re assembling.
There is also a brass pin near the jet end that helps align the emulsion tube. Some aggressive hammering without looking for it will shear it off. Don't ask how I know.
They look pretty nasty,
I think you might struggle with them if you dont replace the butterfly seals.
Ive never had a problem removing butterfly screws
if you undo them like you would use a tap and die, quarter turn at a time
then back again, dont let the bolt get to hot and use a penetrating oil, i also use a perfect fitting phillips driver and start with a wack with the hammer to the bolt to break any seal. I also use locktite putting them back together.
pete
new owner of
08 gen2 hayabusa
former owner
1981 xs1100 RH (aus) (5N5)
zrx carbs
18mm float height
145 main jets
38 pilots
slide needle shimmed .5mm washer
fitted with v/stax and uni pod filters
They look pretty nasty,
I think you might struggle with them if you dont replace the butterfly seals.
Ive never had a problem removing butterfly screws
if you undo them like you would use a tap and die, quarter turn at a time
then back again, dont let the bolt get to hot and use a penetrating oil, i also use a perfect fitting phillips driver and start with a wack with the hammer to the bolt to break any seal. I also use locktite putting them back together.
The perfect fitting screw driver is actually called a JIS (Japaneese Industrial Standard) and they are just different enough that a phillips will not grip right. But your suggestion also bears the solution. A good whack with a hammer on the end of the screw driver not only jars the thread loose, it also "drop forges" the screw to fit a phillips driver. Probably better than regular phillips screws. I always grind the backs off the screws. Working on QJets, the damn things ran a risk of breaking the head off the screw, and that got to be a real pain in the throttle.
Comment