Announcement

Collapse
No announcement yet.

Ignition swtich disassembly thread?

Collapse
X
 
  • Filter
  • Time
  • Show
Clear All
new posts

  • Ignition swtich disassembly thread?

    I have spent the last 45 minutes searching for a thread from earlier this year that outlined (with pictures) the disassembly and cleaning of the ignition switch. I used it once before, and had printed out the pictures, but I can't seem to locate it again.

    Can somebody point me in the right direction?
    1980 XS850SG - Sold
    1981 XS1100LH Midnight Special (Sold) - purchased 9/29/08
    Fully Vetterized and Dynojet Kit added, Heated Grips, Truck-Lite LED headlight, Accel Coils, Irridium plugs, TKAT Fork Brace, XS850LH Final Drive & Black SS Brake lines from Chacal.
    Here's my web page devoted to my bike! XS/XJ User's Manuals there, and the XJ1100 Service Manual and both XS1100 Service manuals (free download!).

    Whether you think you can, or you think you cannot - You're right.
    -H. Ford

  • #2
    Wasn\'t this thread was it? Lots of pics in the link.

    http://www.xs11.com/forum/showthread...on+disassembly
    Nathan
    KD9ARL

    μολὼν λαβέ

    1978 XS1100E
    K&N Filter
    #45 pilot Jet, #137.5 Main Jet
    OEM Exhaust
    ATK Fork Brace
    LED Dash lights
    Ammeter, Oil Pressure, Oil Temp, and Volt Meters

    Green Monster Coils
    SS Brake Lines
    Vision 550 Auto Tensioner

    In any moment of decision the best thing you can do is the right thing, the next best thing is the wrong thing, and the worst thing you can do is nothing.

    Theodore Roosevelt

    Comment


    • #3
      Originally posted by natemoen View Post
      Wasn\'t this thread was it? Lots of pics in the link.

      http://www.xs11.com/forum/showthread...on+disassembly
      YES! Thanks! I forgot the pictures weren't in the thread itself.
      1980 XS850SG - Sold
      1981 XS1100LH Midnight Special (Sold) - purchased 9/29/08
      Fully Vetterized and Dynojet Kit added, Heated Grips, Truck-Lite LED headlight, Accel Coils, Irridium plugs, TKAT Fork Brace, XS850LH Final Drive & Black SS Brake lines from Chacal.
      Here's my web page devoted to my bike! XS/XJ User's Manuals there, and the XJ1100 Service Manual and both XS1100 Service manuals (free download!).

      Whether you think you can, or you think you cannot - You're right.
      -H. Ford

      Comment


      • #4
        Hey Bug,

        Could not find where I had posted this before, so I took it back apart and got some better pictures anyway.

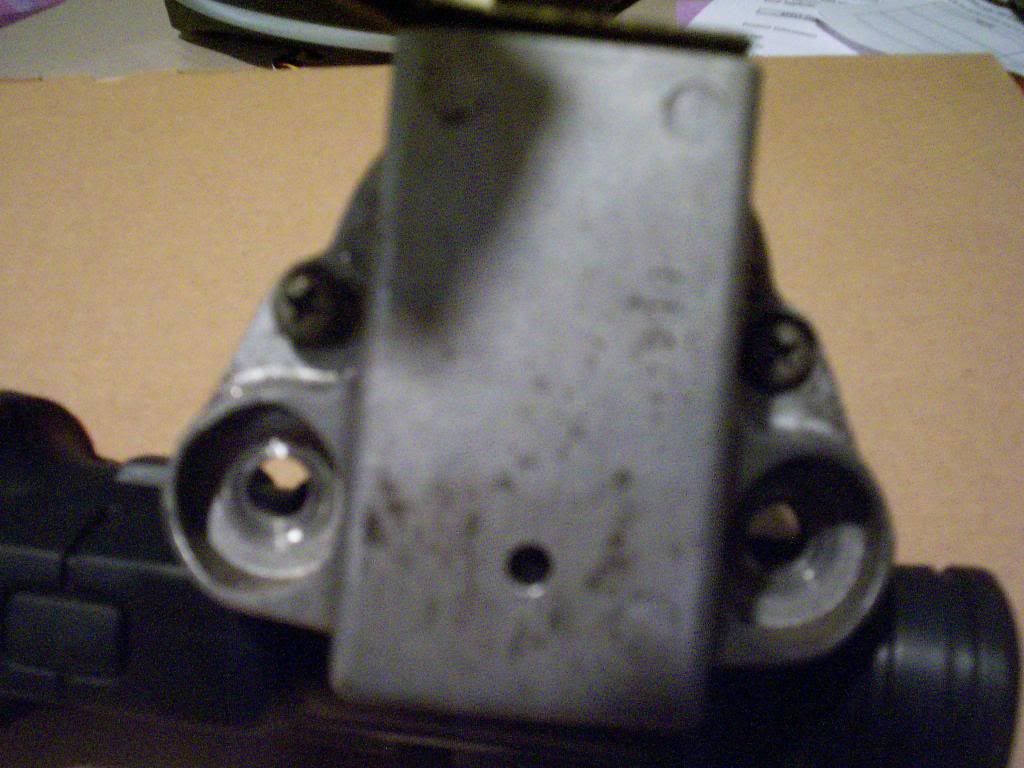
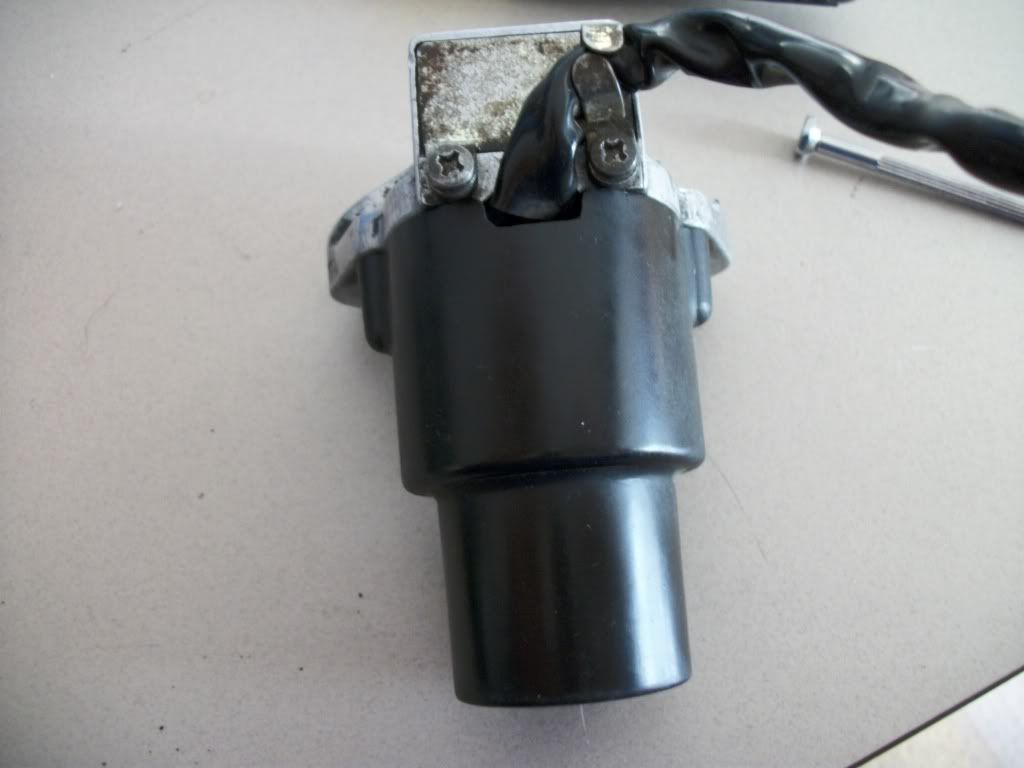
        To start with, once the switch is out of the bike, remove the two screws seen here to separate the metal housing section from the upper plastic section, you may have to pull them apart…..


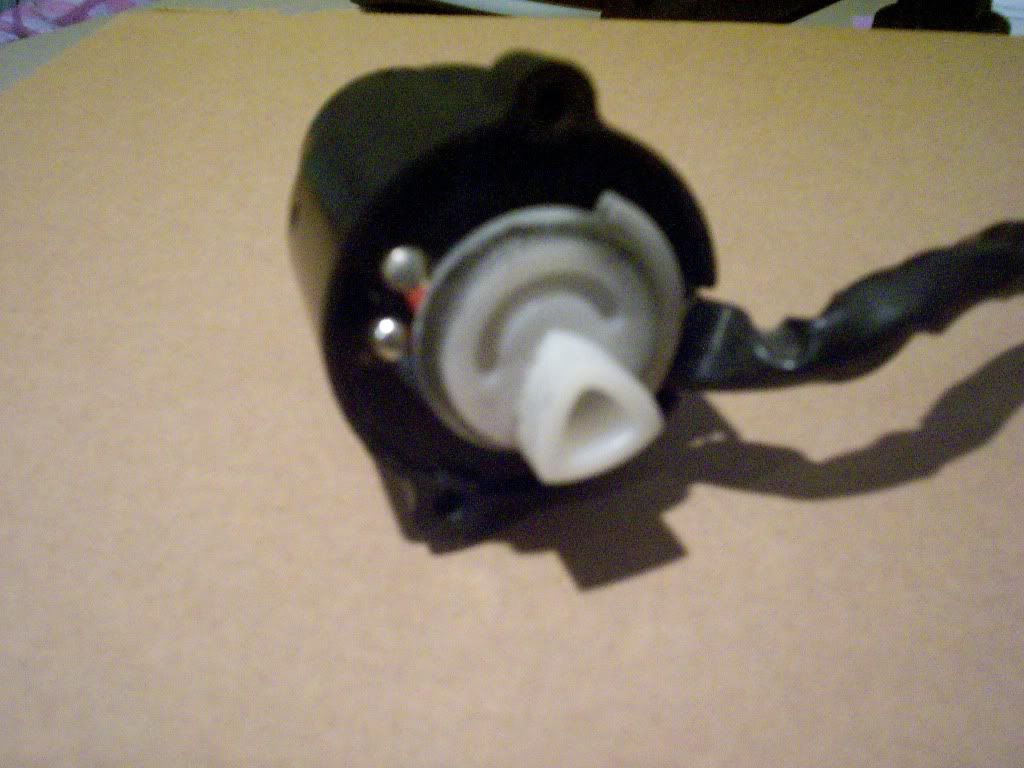
        You will see the upper plastic part….


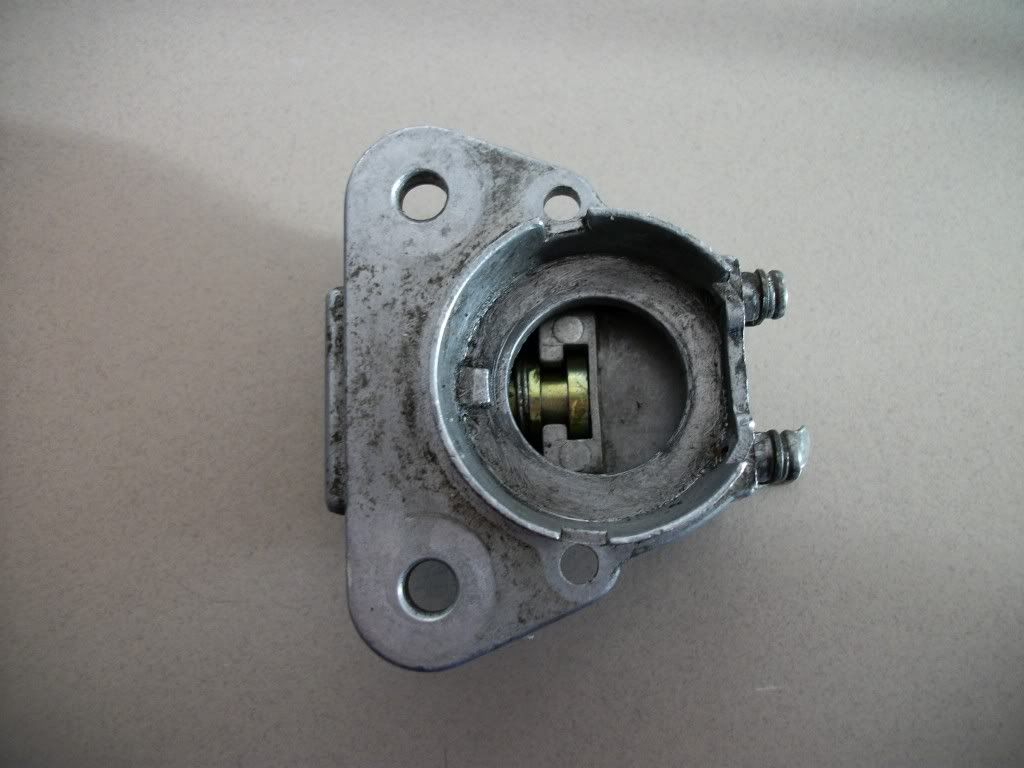
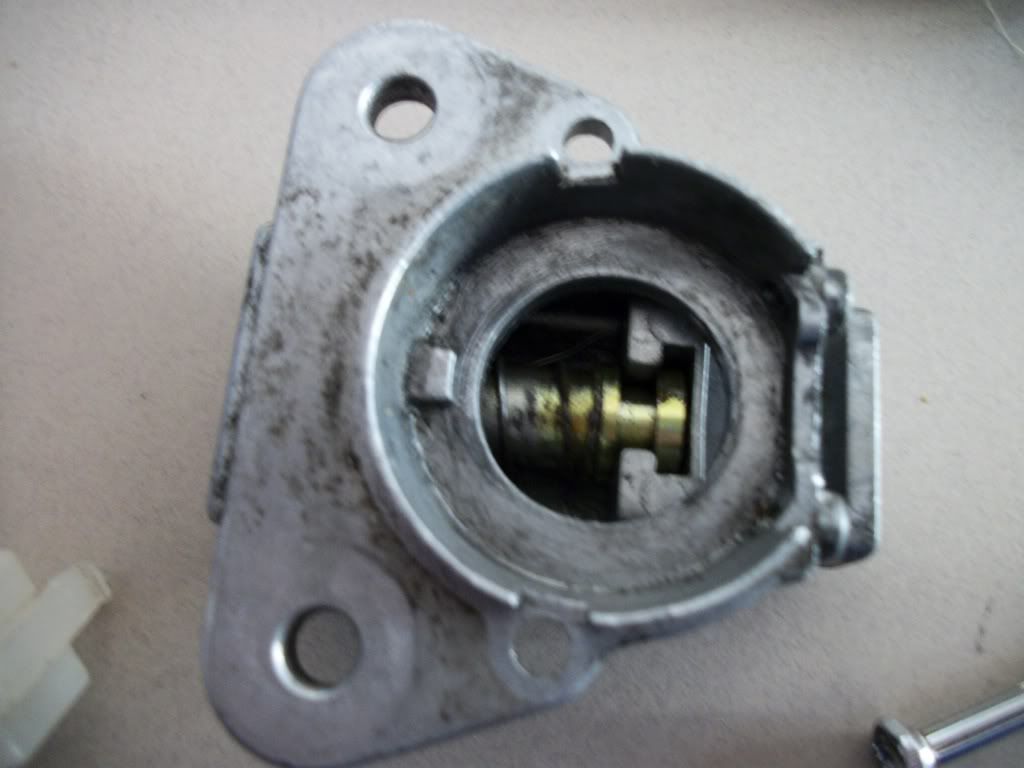
        And the lower metal housing….


        The lower meatal housing section is the locking feature that pushes the round bar you can see the end of here into a hole in the frame downtube….


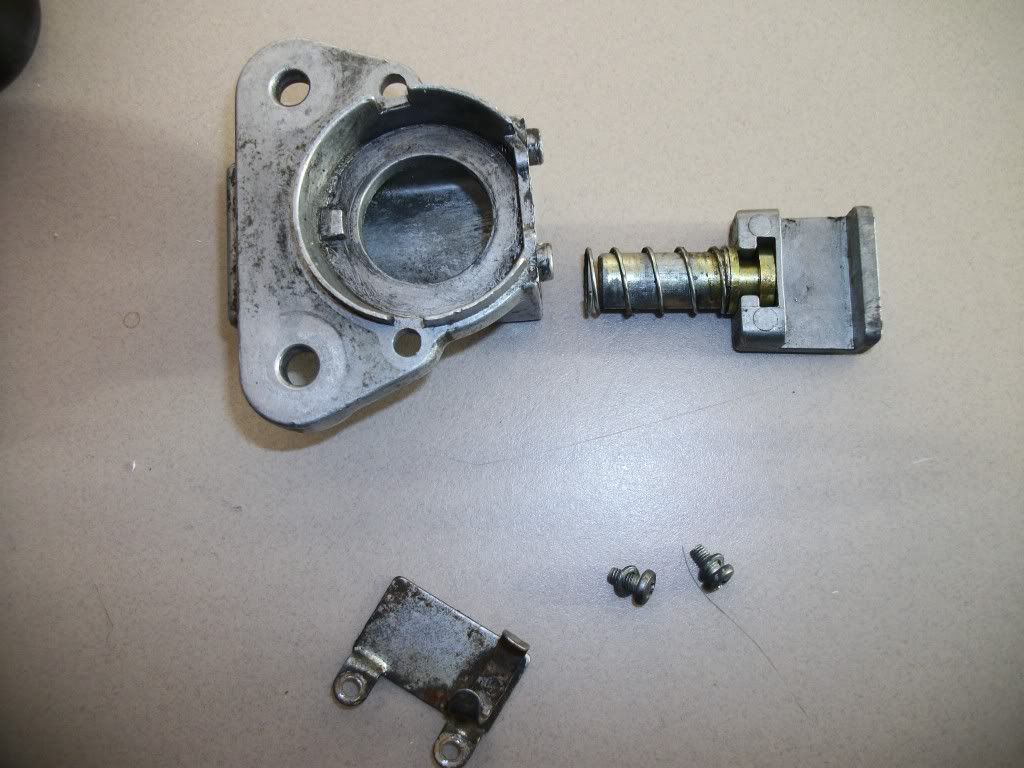
        When you remove the two small screws in the back (after removing the wiring form the clamp) it breaks down as seen here, the spring just slides off, and the yellowish steel pin will just slide up out of its slot for cleaning…


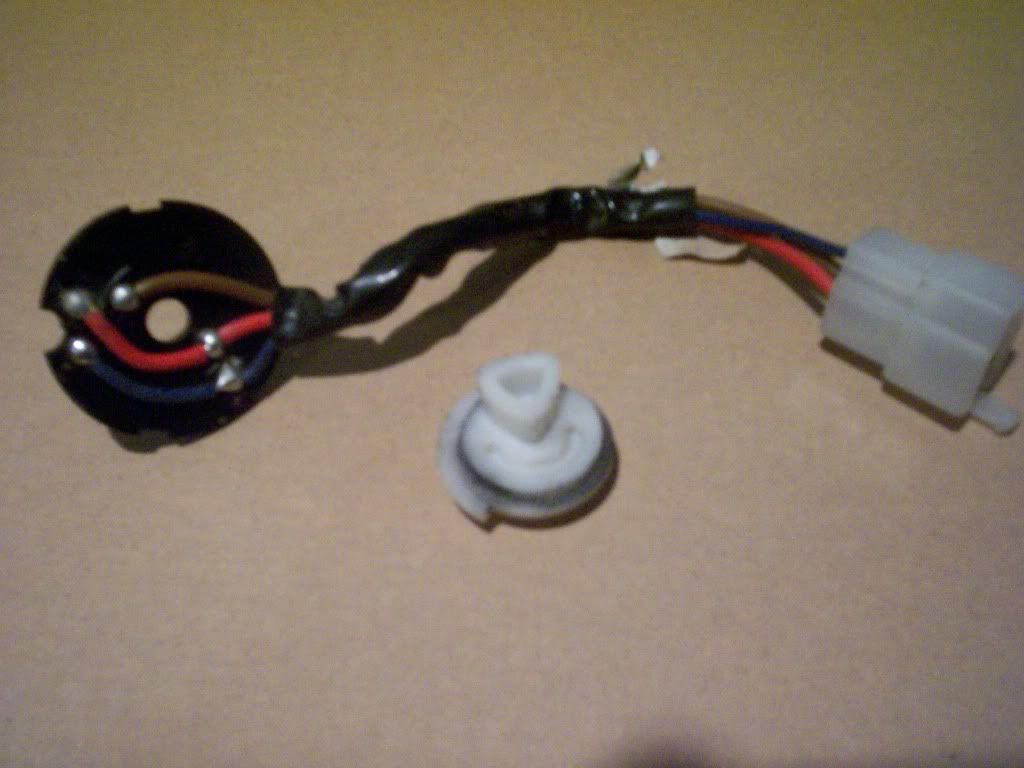
        Next, pull the white plastic cam that works the lock off noting its orientation for future reassmebly, and the wiring/contact plate will pull right off as well…..


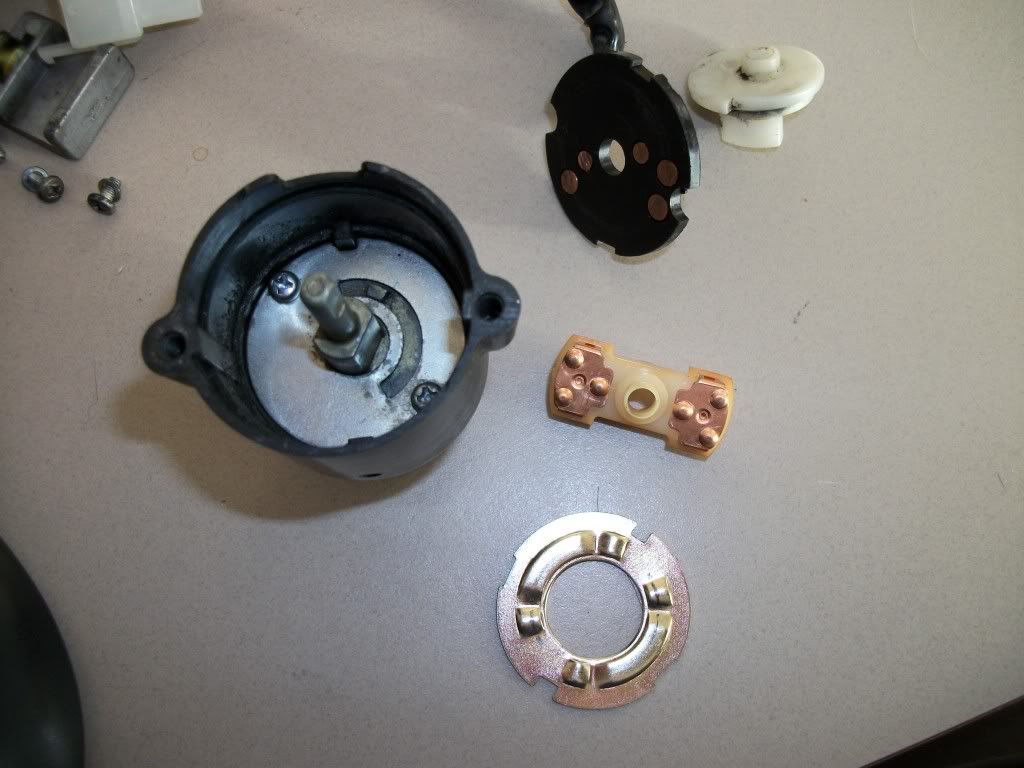
        Now the contacts that rotate to operate the switch will pull off and the “washer” with the location indents below it will also just lift out, so you have the components shown here that come off in the order they are laid out….


        This is a good time to lightly sand and clean the contacts on the wiring contact plate and the rotating contacts.

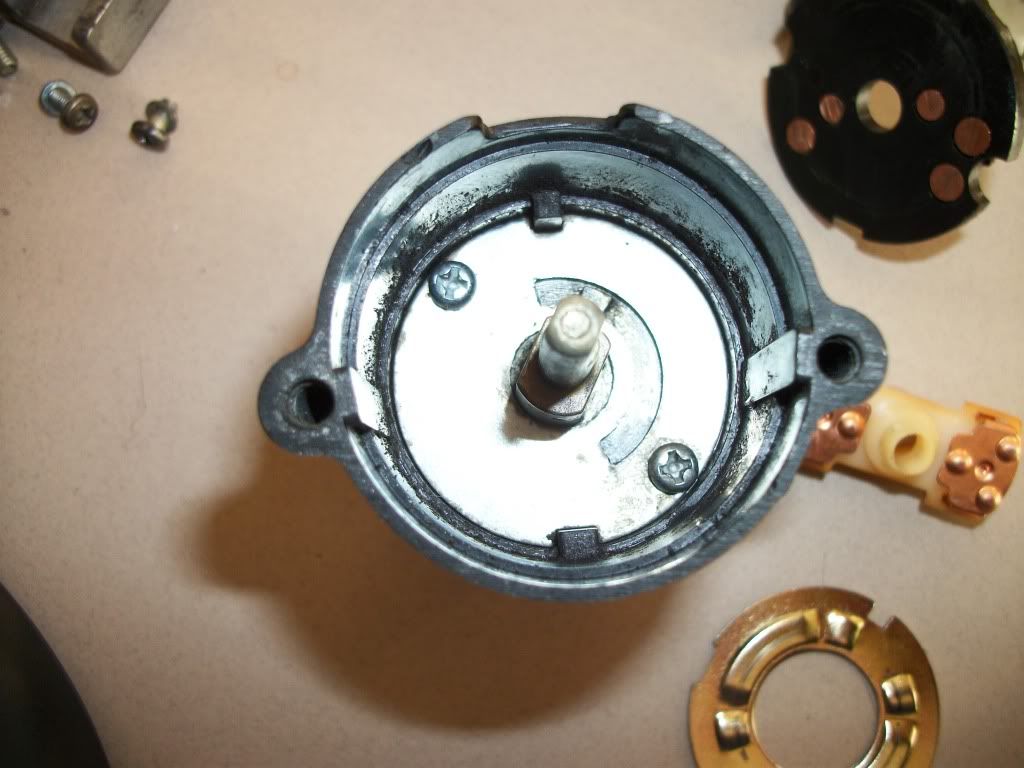
        Now you will see this….


        Before you remove the screws, take not of where the nub or tang in that slot is at. It will be important it goes back in the same orientation. Depending how far you take the switch apart, it can change.

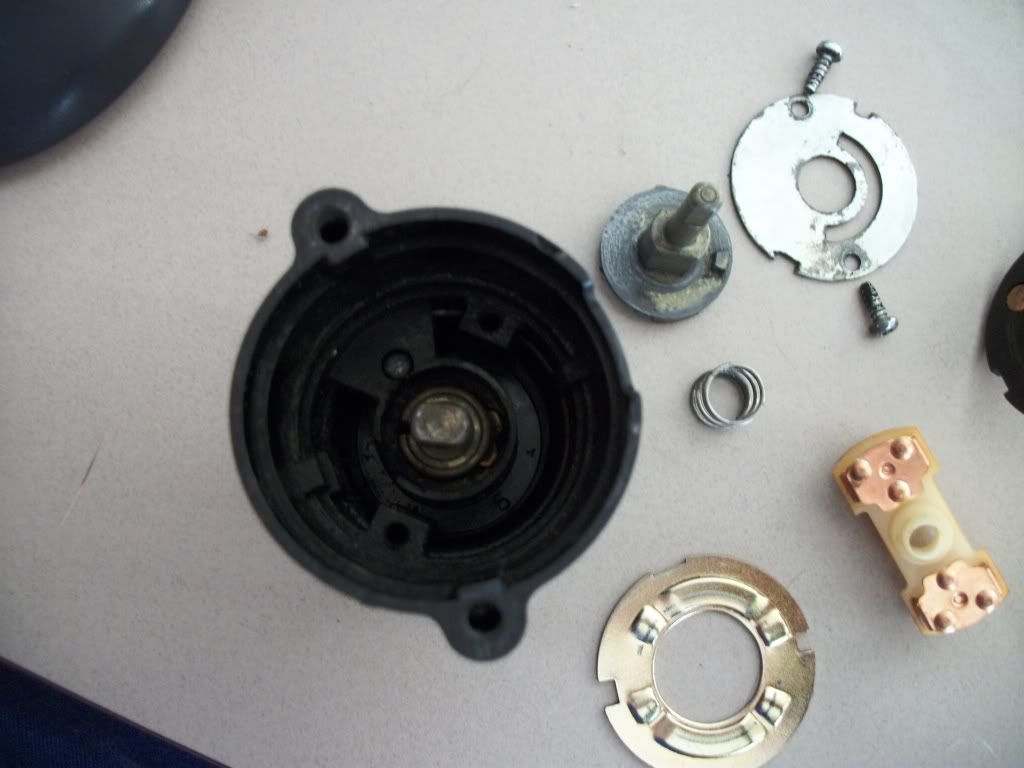
        After removing the screws, you can lift both the washer with the slot and the switch rod or whatever you want to call it off and then remove the spring underneath…..


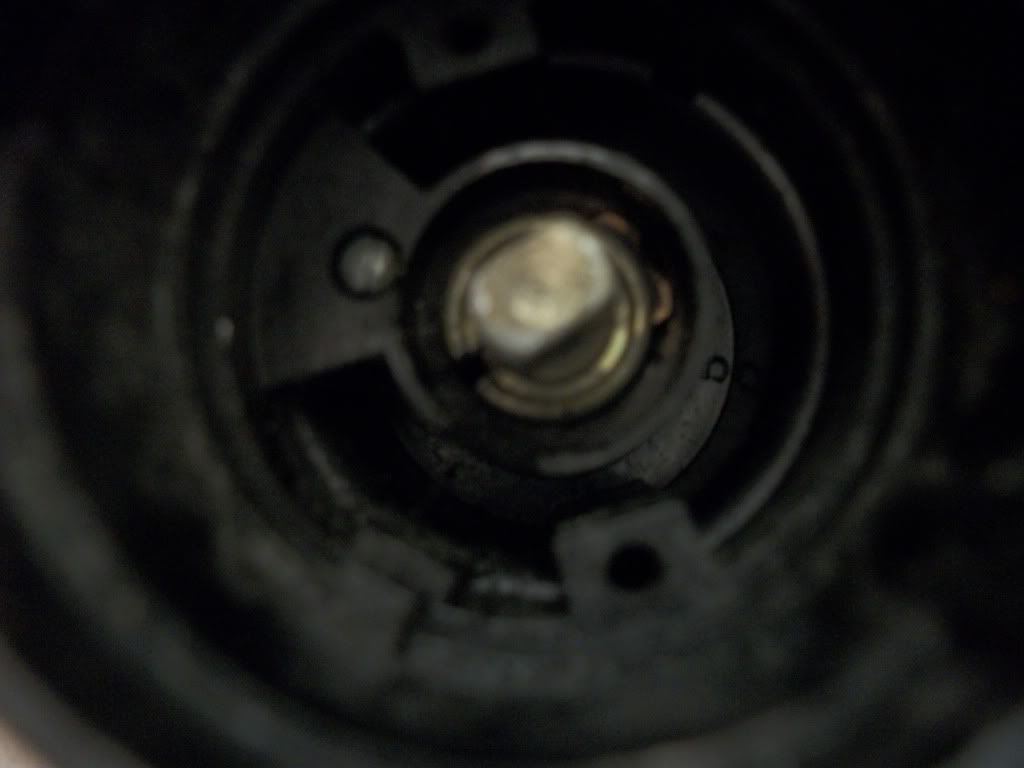
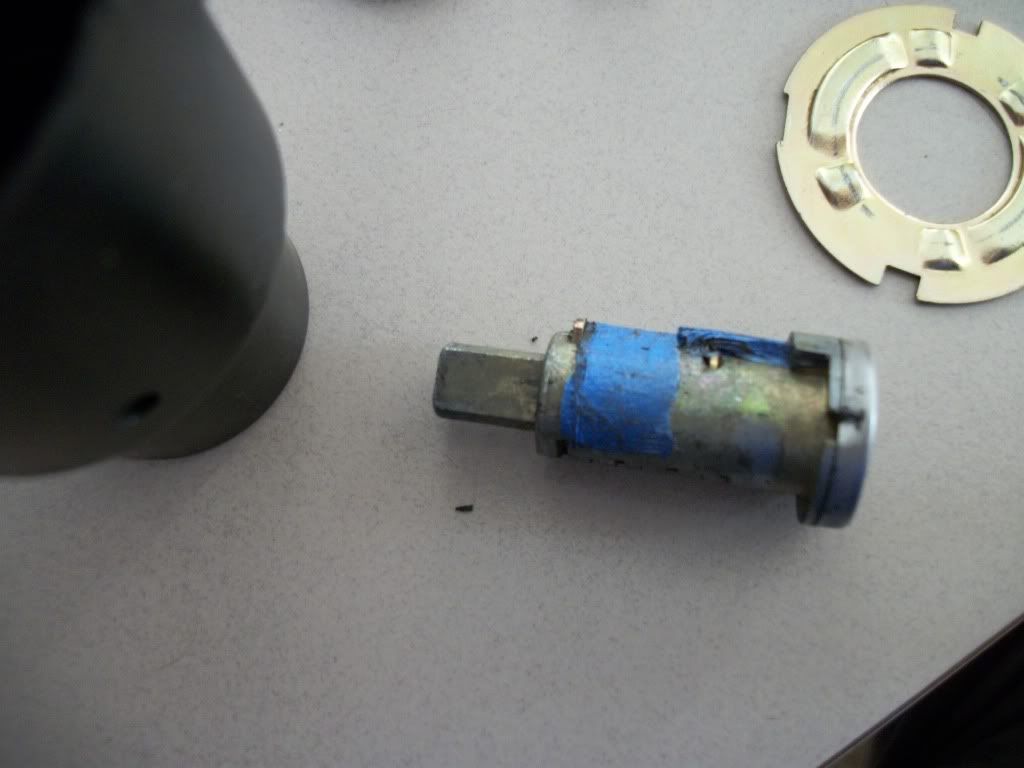
        You now have only the lock cylinder in the plastic housing. It to can be removed, but again, before you do, take note of its orientation in rotation!! This is important to get it back in the same orientation. It will go back together with the rotation wrong, but your locking feature and perhaps others like turning it on or off, may not work correctly!! Also, note that the lock cylinder tabs that set up the lock for a specific key can and will fly out of their holes when you pull this out, so use you fingers and such to keep them in place, I like to put masking tape over them to hold them in place. Those dang little springs are impossible to find back.

        To remove the cylinder, use a small jewelers screw driver or similar tool to push on the copper colored tab you can see in this photo at the 2:00 position and pushing the cylinder out at the same time….


        You now have the cylinder as shown….


        To put it back together, just reverse these procedures until you get to the point of putting the plastic and metal housings back together. The slots and tabs in the housing are different sizes on each side so you can only put them in the right way, but do note which side is up.

        When putting the two parts back together, I leave the metal plate of the back of the metal lock housing so I can use my finger on the plunger assembly to position it to line up with the white cam in the top section…..


        It can take a little fiddling to get it to all line up, but it slides together without a lot of force or effort. Then the cam holds the plunger in place…..


        Your ready to put the back plate on and then put the wires back in the clamp…..


        Put it back on the bike and go ride!!!!!


        Of course now I am late as usual!
        Last edited by DGXSER; 11-03-2010, 04:11 PM.
        Life is what happens while your planning everything else!

        When your work speaks for itself, don't interrupt.

        81 XS1100 Special - Humpty Dumpty
        80 XS1100 Special - Project Resurrection


        Previously owned
        93 GSX600F
        80 XS1100 Special - Ruby
        81 XS1100 Special
        81 CB750 C
        80 CB750 C
        78 XS750

        Comment

        Working...
        X