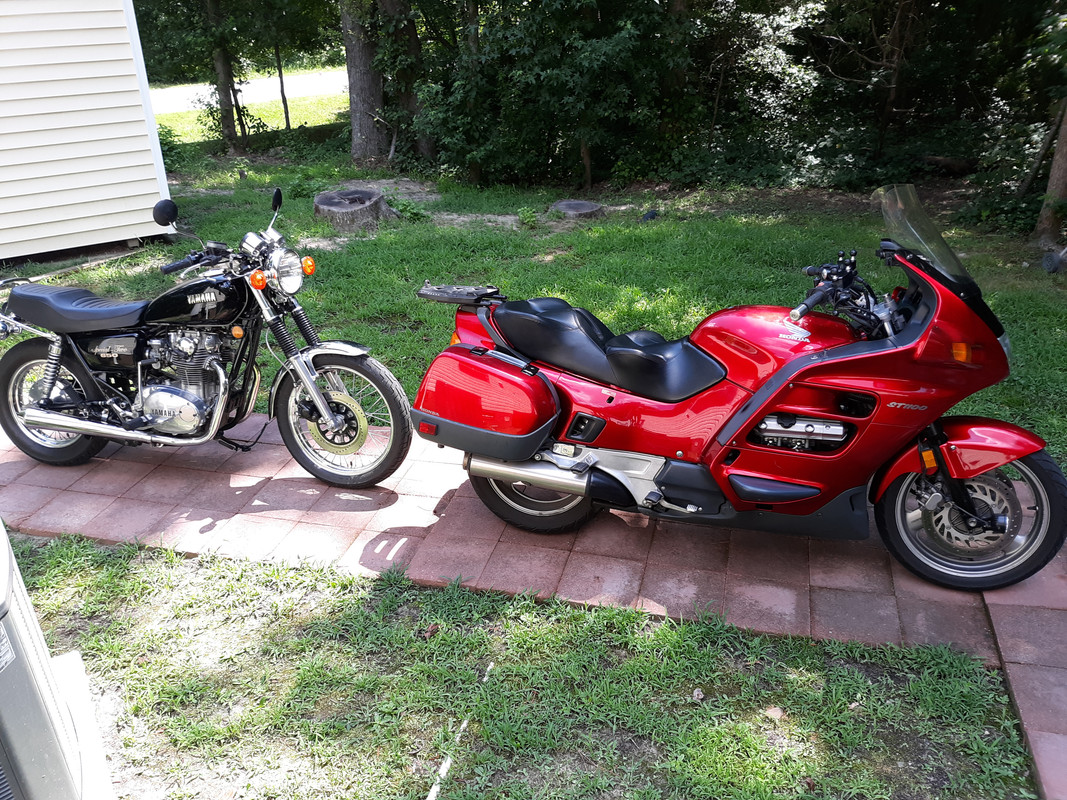
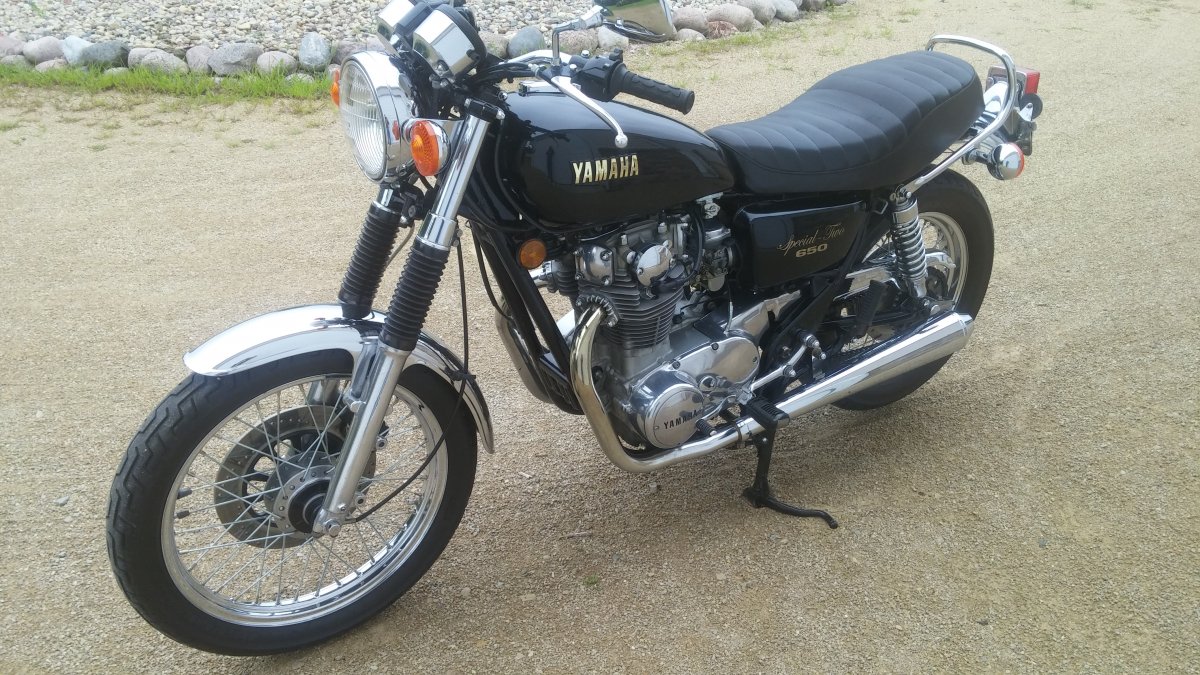
There are now multiple ways to include images in your posts. We will keep this post updated with all methods. There are a couple of constants however you should be aware of. When you upload a picture that is too big, vBulletin will shrink it it for you. The server has been configured to allow attachments up to 5 MB in size. Anything smaller than that will be resized for you by vBulletin. Anything larger than that will get rejected outright, at which point you will need to shrink yourself it on your end before you try again. Also, you can only attach 5 photos to a single post.
1. Attach the image to your post (preferred)
When creating a forum post, you will notice the camera icon in the upper left. Click that icon and you are given the option to Upload a photo. This will place the photos at the bottom of your final post. If a user clicks on the thumbnail for one of your photos, they will get a nice full screen "lightbox" where they can click through any photos attached to that post. The lightbox will even display whatever descriptive text you included with each photo.

2. Attach the image from your profile to your post
Same as #1 but with a twist. You upload photos from your profile page. Once uploaded, you can include them in any forum post by clicking Select from Photo Album.
3. Embed image inline in your post
When creating a forum post, click on the picture icon on the toolbar. That will open up a dialog where you can upload attachments to the server. Press Choose File then pick your picture, and press Send it to the Server. The Image Info tab is then populated for you, which you can edit if desired then press OK. Finally put your cursor in the text area where you want your picture to appear, and click on the Insert <size> link to insert your image in various sizes. You pick the size you want. The result is that the image will be embedded in-line in your forum post. That is how all images in this post were included, so that the image appears next to the appropriate paragraph describing it.


4. Link to an external image
When creating a forum post, click on the picture icon on the toolbar. On the Image Info tab, paste the address (e.g. on Photobucket) of the image in the URL box. Uncheck the box to Retrieve remote file and reference locally. Press OK. The result is that the image from the external website will be included in-line in your forum post in it's original size, or whatever size you chose. The downside is if the external website goes away or that URL gets broken, the image won't be displayed any more in our forum. The upside is the it doesn't use any of our bandwidth to display the image, though we should have plenty of bandwidth.

1. Attach the image to your post (preferred)
When creating a forum post, you will notice the camera icon in the upper left. Click that icon and you are given the option to Upload a photo. This will place the photos at the bottom of your final post. If a user clicks on the thumbnail for one of your photos, they will get a nice full screen "lightbox" where they can click through any photos attached to that post. The lightbox will even display whatever descriptive text you included with each photo.
2. Attach the image from your profile to your post
Same as #1 but with a twist. You upload photos from your profile page. Once uploaded, you can include them in any forum post by clicking Select from Photo Album.
3. Embed image inline in your post
When creating a forum post, click on the picture icon on the toolbar. That will open up a dialog where you can upload attachments to the server. Press Choose File then pick your picture, and press Send it to the Server. The Image Info tab is then populated for you, which you can edit if desired then press OK. Finally put your cursor in the text area where you want your picture to appear, and click on the Insert <size> link to insert your image in various sizes. You pick the size you want. The result is that the image will be embedded in-line in your forum post. That is how all images in this post were included, so that the image appears next to the appropriate paragraph describing it.
4. Link to an external image
When creating a forum post, click on the picture icon on the toolbar. On the Image Info tab, paste the address (e.g. on Photobucket) of the image in the URL box. Uncheck the box to Retrieve remote file and reference locally. Press OK. The result is that the image from the external website will be included in-line in your forum post in it's original size, or whatever size you chose. The downside is if the external website goes away or that URL gets broken, the image won't be displayed any more in our forum. The upside is the it doesn't use any of our bandwidth to display the image, though we should have plenty of bandwidth.


 . The problem was a legitimate bug in the latest vBulletin software
  . Don't worry, I got this
  .
.
Comment